


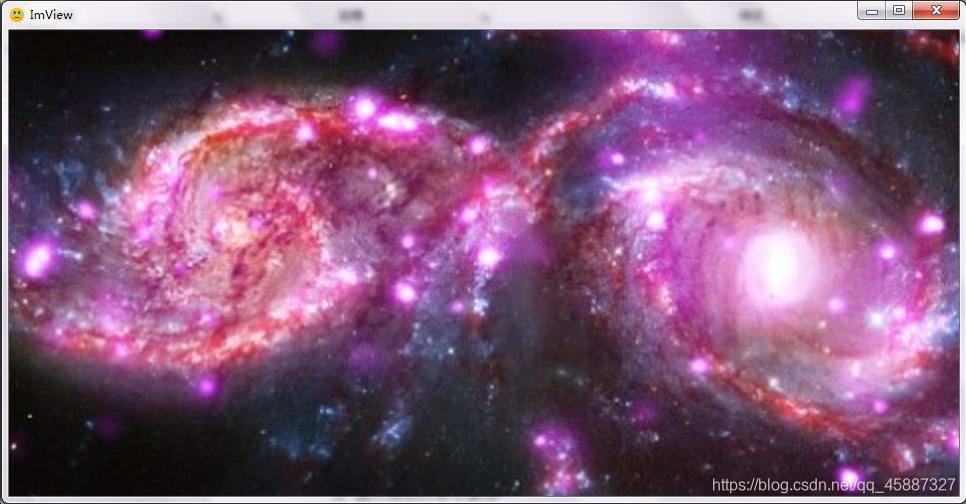
1. 界面设计
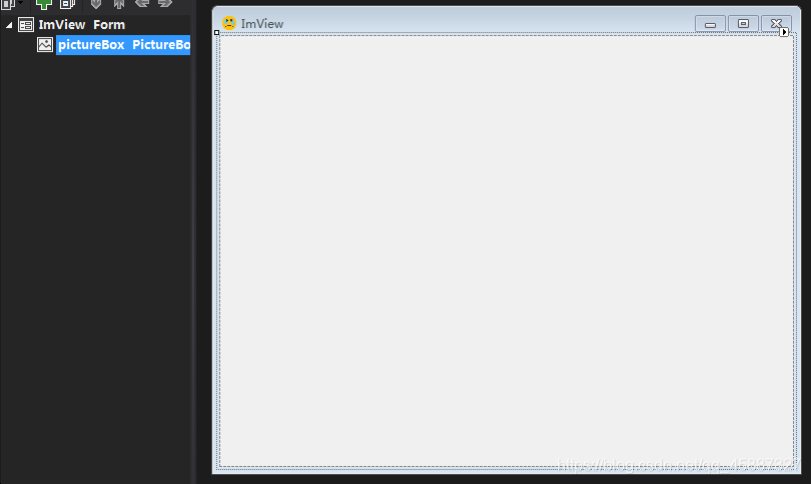
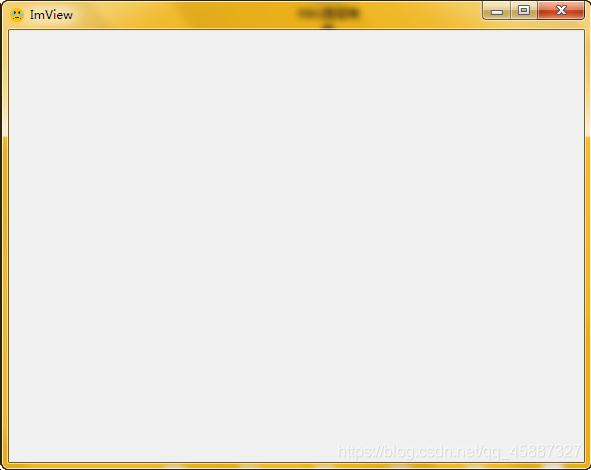
如图1 所示:一个名为ImView 的Form 只中包含有一个名为picturebox 的Picturebox。图2 是它的运行结果。该程序的界面设计较为简单,主要根据鼠标行为及键盘按键等事件触发行为。目前实现的功能有:图片的灰度化,鼠标滚轮控制图片缩放,鼠标控制图像平移。
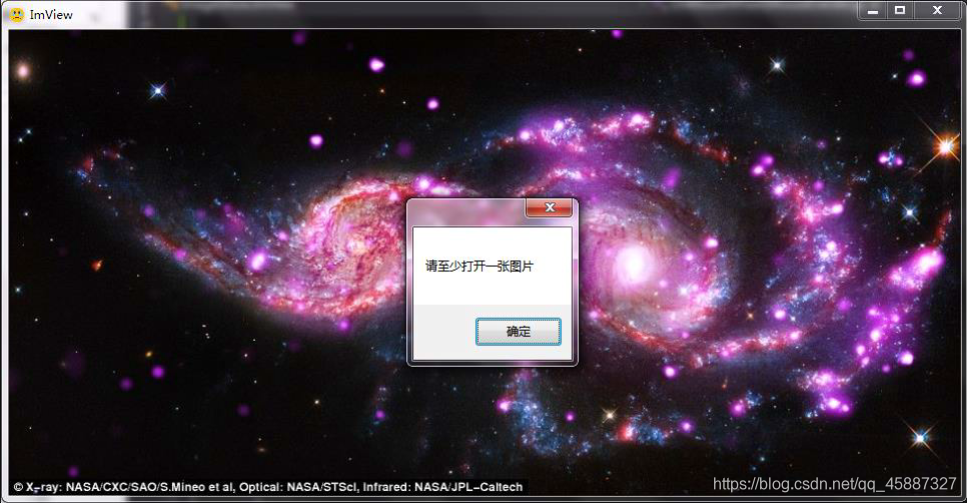
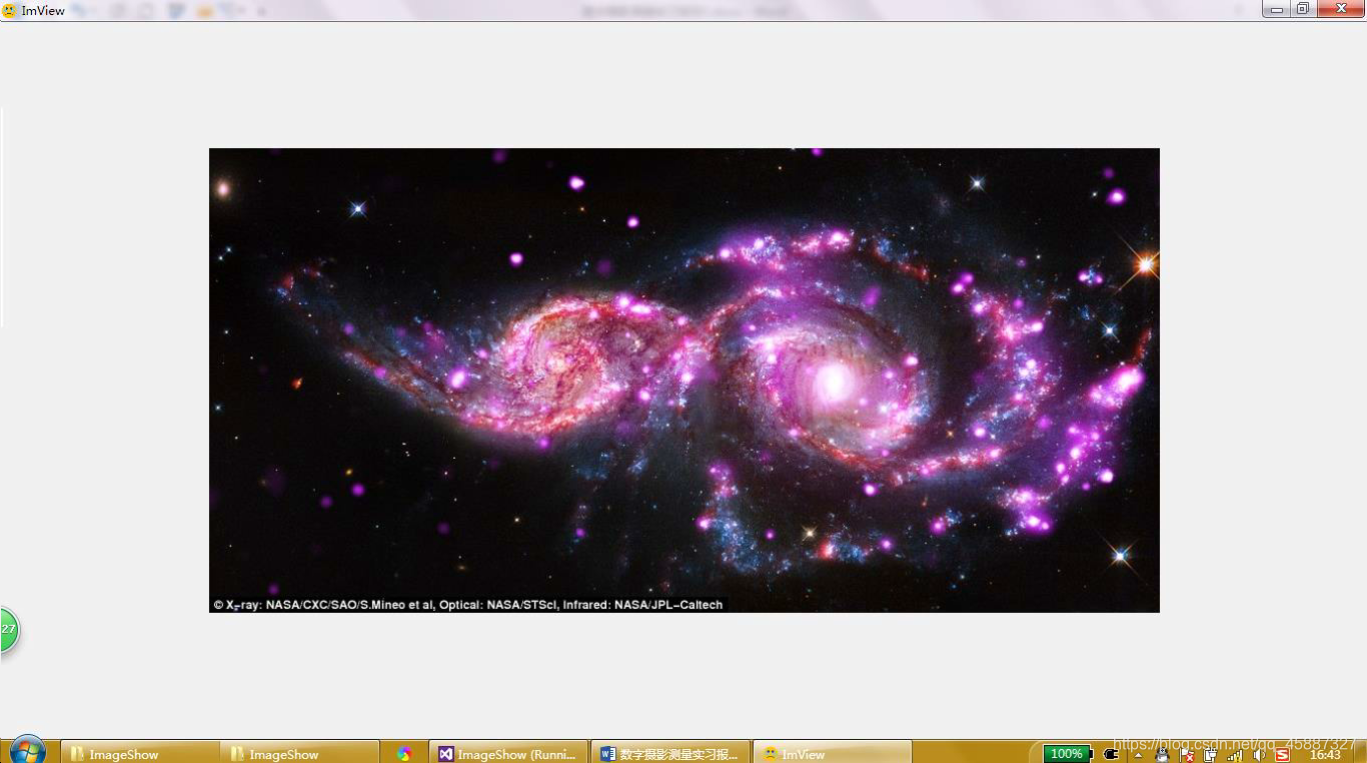
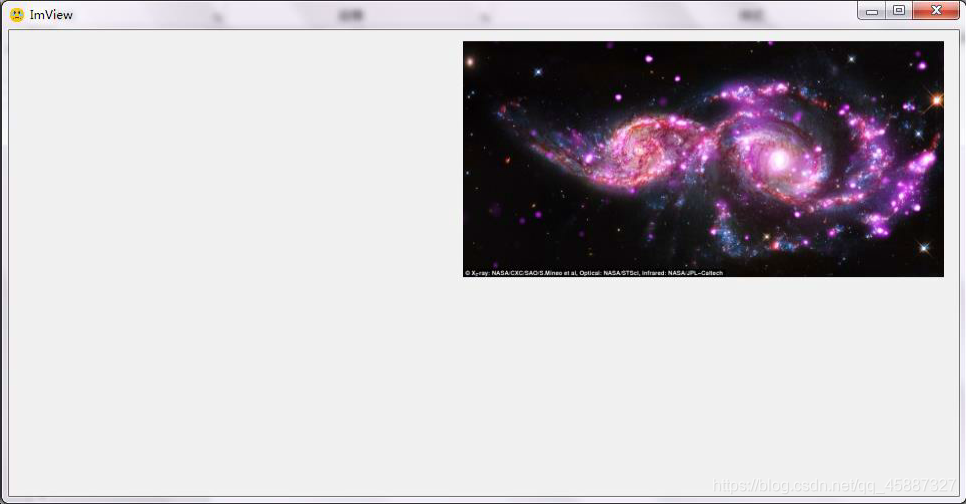
2. 打开图像
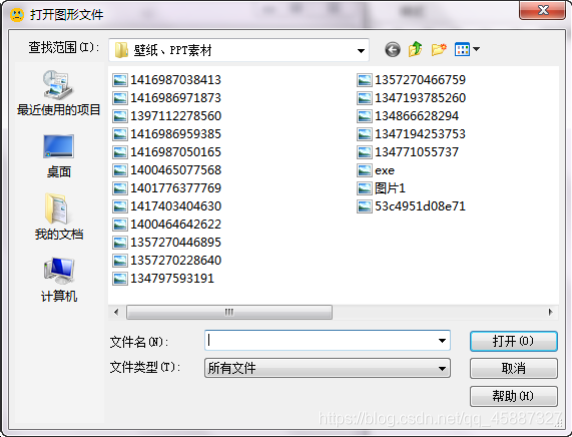
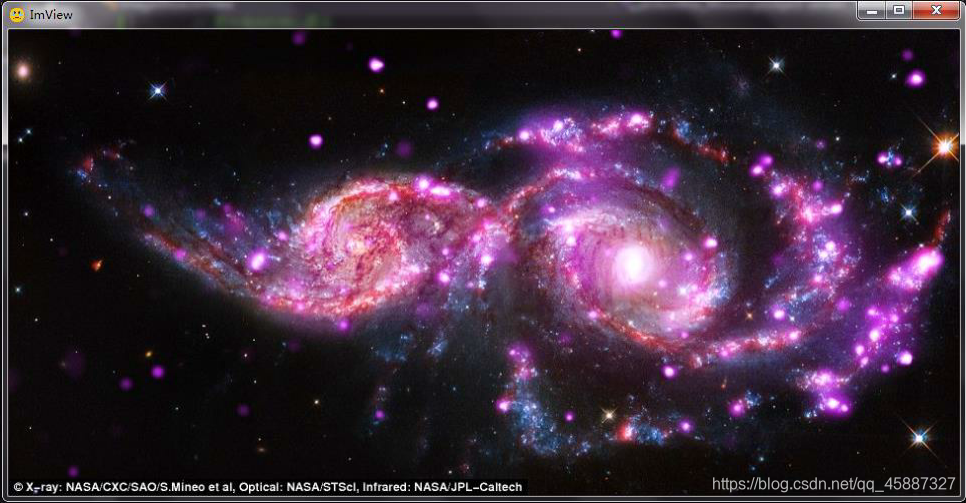
该部分的具体实现流程:双击主界面的空白部分=》弹出选择图片对话框=》读取图片的信息=》根据图片的长和宽设置主窗体的长和宽(并居中放置)=》显示图片=》结束。
2.1 效果预览
2.2 C#源代码
双击打开图片,并根据图片大小设置窗口的大小
private void pictureBox_DoubleClick(object sender, System.EventArgs e)
{
// 打开文件对话框
OpenFileDialog opndlg = new OpenFileDialog();
opndlg.Filter = "所有文件|*.bmp;*.pcx;*.png;*.jpg;*.gif;" +
"*.tif;*.ico;*.dcx;*.cgm;*.cdr;*.wmf;*.eps;*.emf;|" +
"位图(*.bmp;*.jpg;*.png;...)|*.bmp;*.pcx;*.png;*.jpg;*.gif;*.tif;*.ico|" +
"矢量图(*.wmf;*.eps;*.emf;...)|*.dcf;*.cgm;*.cdr;*.wmf;*.eps;*.emf";
opndlg.Title = "打开图形文件";
opndlg.ShowHelp = true;
if (opndlg.ShowDialog() == DialogResult.OK) {
curFileName = opndlg.FileName; // 内置参数读取
try {
curBitmap = (Bitmap)Image.FromFile(curFileName); // 内置参数读取
}
catch (Exception exp) {
MessageBox.Show(exp.Message);
}
}
else {
MessageBox.Show("请至少打开一张图片");
return;
}
// 内置参数读取及设置
width_prim = curBitmap.Width; height_prim = curBitmap.Height;
width = width_prim; height = height_prim;
pixelformat = curBitmap.PixelFormat;
factor = 1;
// 设置主窗体的大小及位置
Rectangle ScreenArea = System.Windows.Forms.Screen.GetWorkingArea(this);
//这个区域不包括任务栏的
//Rectangle ScreenArea = System.Windows.Forms.Screen.GetBounds(this);
//这个区域包括任务栏,就是屏幕显示的物理范围
int width_S = ScreenArea.Width; // 屏幕宽度
int height_S = ScreenArea.Height; // 屏幕高度
this.WindowState = FormWindowState.Normal;
// 设置主窗体的大小
if (width + 16 >= width_S || height + 38 >= height_S) { // 程序界面(预计)比屏幕大
this.Size = new Size(width_S, height_S);
this.Location = new System.Drawing.Point(0,0); // 指定窗体显示在右下角
//this.pictureBox.Location = new Point(0, 0);
this.pictureBox.Location = new Point((width_S - 16 - width) / 2, (height_S - 38 - height) / 2);
}
else {
this.Size = new Size(width + 16, height + 38); // 主窗体的的外框:高38、宽16(测试结果)
this.Location = new System.Drawing.Point((int)((width_S - Width) / 2), (int)((height_S - Height) / 2)); // 指定窗体显示在右下角
this.pictureBox.Location = new Point(0, 0);
}
// 设置picturebox 的位置
this.pictureBox.Image = curBitmap;
this.pictureBox.Width = width;
this.pictureBox.Height = height;
this.center_Point = new Point(pictureBox.Left + width / 2, pictureBox.Top + height / 2);
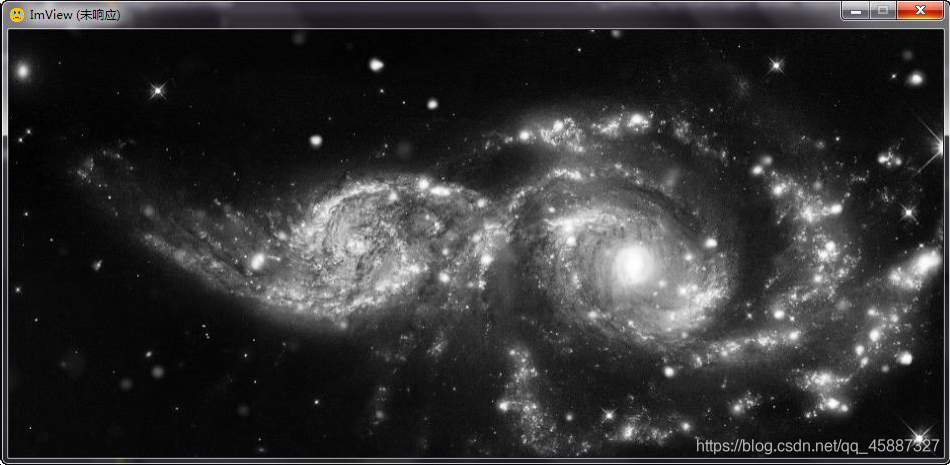
} 3. 将 RGB 图像转化为 Gray 图像
在该部分中,我将存储图像数据的curBitmap 读入到一个三维数组中,并应用心理学最重要的心理学公式将RGB 图像转化为Gray 图像,结果为一个储存Gray 图像数据的三维矩阵,然后将该矩阵重新写入到Bitmap 类中,并在picturebox 中显示。
3.1 效果预览
3.2 C#代码
将图像读入矩阵;RGB 图转化为 Gray 图
private void ImView_KeyDown(object sender, KeyEventArgs e) {
if (e.KeyValue == 71) {
imgMatrix = new int[curBitmap.Width, curBitmap.Height, 3];
for (int i = 0; i < curBitmap.Width; i++)
for (int j = 0; j < curBitmap.Height; j++) {
imgMatrix[i, j, 0] = curBitmap.GetPixel(i, j).R;
imgMatrix[i, j, 1] = curBitmap.GetPixel(i, j).G;
imgMatrix[i, j, 2] = curBitmap.GetPixel(i, j).B;
}
//将二维数据的数据显示到picturebox 上
for (int i = 0; i < curBitmap.Width; i++)
for (int j = 0; j < curBitmap.Height; j++) {
//Color tmp = Color.FromArgb(imgMatrix[i, j, 0], imgMatrix[i, j, 1], imgMatrix[i, j, 2]); //原图
int gray = (int)(imgMatrix[i, j, 0] * .299 + imgMatrix[i, j, 1] * .587 +
imgMatrix[i, j, 2] * .114);
Color tmp = Color.FromArgb(gray, gray, gray);
curBitmap.SetPixel(i, j, tmp);
}
pictureBox.Image = (Image)curBitmap;
}
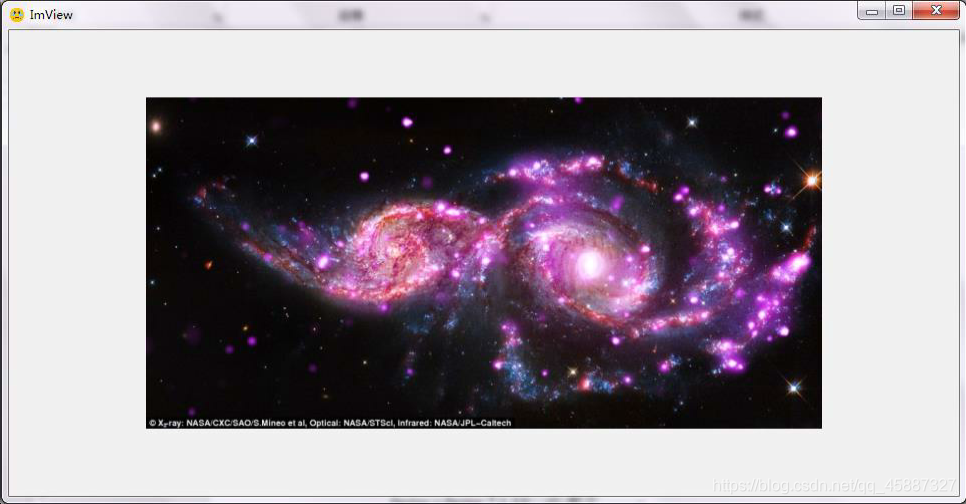
} 4. 鼠标滚轮控制图片缩放
该功能的实现分为两个核心部分,第一是缩放图片的方法,第二是利用该缩放图片的方法响应鼠标滚轮触发的事件。
该功能的实现经历一个很曲折的过程,如今的版本并不是我认为效果最好的一个版本,因为我override 了主窗体的OnMouseWheel 事件,也就是说在主窗体下拨动鼠标滚轮都会触发该事件(缩放图片)的发生,而我最希望实现的是在picturebox 下拨动鼠标滚轮触发事件,所以该功能还有待改进。
4.1 效果预览
4.2 C#源代码
鼠标滚轮控制图片缩放
// 图片缩放的核心算法
private void ZoomImage(bool shrink,ref Image tmp) { //第二个参数代表是否缩放
    if (shrink) {
        factor = factor / 1.12; // 缩小
    }
    else {
        factor = factor * 1.12; // 放大
    }

    if (factor > up_factor) {
        factor = up_factor; return; //最大放大 3 倍,再大内存消耗不起
    }
    else if (factor < low_factor) {
        factor = low_factor; return; //最小缩小10 倍
    }

    width = (int)(width_prim * factor); //缩小
    height = (int)(height_prim * factor);

    Bitmap bitmap = new Bitmap((int)width, (int)height, pixelformat);
    Graphics g = Graphics.FromImage(bitmap);
    g.Clear(Color.Transparent);
    g.DrawImage(curBitmap, new RectangleF(0, 0, (int)width, (int)height));
    tmp = Image.FromHbitmap(bitmap.GetHbitmap());
}

// 控制图片的缩放
protected override void OnMouseWheel(MouseEventArgs e) {
    if (pictureBox.Image == null) return;
    if (e.Delta > 0) { // 缩小
        Image tmp = pictureBox.Image; ZoomImage(true,ref tmp);
        pictureBox.Image = tmp;
        pictureBox.Height = height; pictureBox.Width = width;
        pictureBox.Location = new Point(center_Point.X - width / 2, center_Point.Y - height / 2);
        //pictureBox.Location = new Point(e.X - width / 2, e.Y - height / 2);
    }
    else { // 放大
        Image tmp = pictureBox.Image; ZoomImage(false, ref tmp);
        pictureBox.Image = tmp;
        pictureBox.Height = height; pictureBox.Width = width;
        pictureBox.Location = new Point(center_Point.X - width / 2, center_Point.Y - height / 2);
        //pictureBox.Location = new Point(e.X - width / 2, e.Y - height / 2);
    }
}
5. 鼠标控制图像平移
5.1 效果预览
该功能主要参考自百度知道里的一个教程,且没有做太大的改进。将该代码插入到我的程序中,成功地实现了鼠标滚轮键控制图像的平移,效果很好,没有出现任何卡顿。
注:在MouseMove 事件中添加了一行代码,记录了每一次平移结束后图像中心的相对坐标,以方便图像的缩放操作。
5.2 C#源代码
鼠标滚轮键控制图片平移
// 鼠标控制图片的平移
private void pictureBox_MouseMove(object sender, MouseEventArgs e) {
    if (canDrag) {
    // 在图片上按下鼠标中键并移动鼠标,改变图标的位置
    pictureBox.Location = new Point(pictureBox.Left + e.X - front_Point.X, pictureBox.Top + e.Y - front_Point.Y);
    center_Point = new Point(pictureBox.Left + width / 2, pictureBox.Top + height / 2);
    }
}

private void pictureBox_MouseDown(object sender, MouseEventArgs e) {
    if (e.Button == MouseButtons.Middle) {
    // 按下鼠标中键,记录鼠标按下的位置
    front_Point = e.Location;

    // 设置标志:准备拖动图片
    canDrag= true;
    }
}

private void pictureBox_MouseUp(object sender, MouseEventArgs e) {
    if (e.Button == MouseButtons.Middle) {
        canDrag= false;   // 松开鼠标中键,清除拖动标志,禁止鼠标拖动图标操作
    }
}


 1039
1039

 被折叠的 条评论
为什么被折叠?
被折叠的 条评论
为什么被折叠?
 到【灌水乐园】发言


