


 文章讲述了在使用pip安装PyTorch及其相关库时遇到的错误,原因是少写了参数中的减号,导致默认安装了CPU版本。解决方案包括设置正确的临时Pip源、明确指定GPU版本,并通过conda创建虚拟环境正确安装了GPU支持的PyTorch。
一、ERROR: Cannot unpack file C:\Users\yantz\AppData\Local\Temp\pip-unpack-q5r6zbda\simple.html (downloaded from C:\Users\yantz\AppData\Local\Temp\pip-req-build-coat_zab, content-type: text/html); cannot detect archive format
ERROR: Cannot determine archive format of C:\Users\yantz\AppData\Local\Temp\pip-req-build-coat_zab
场景
打开pytorch官网,用官网的命令,pip安装第三方库pytorch的时候,
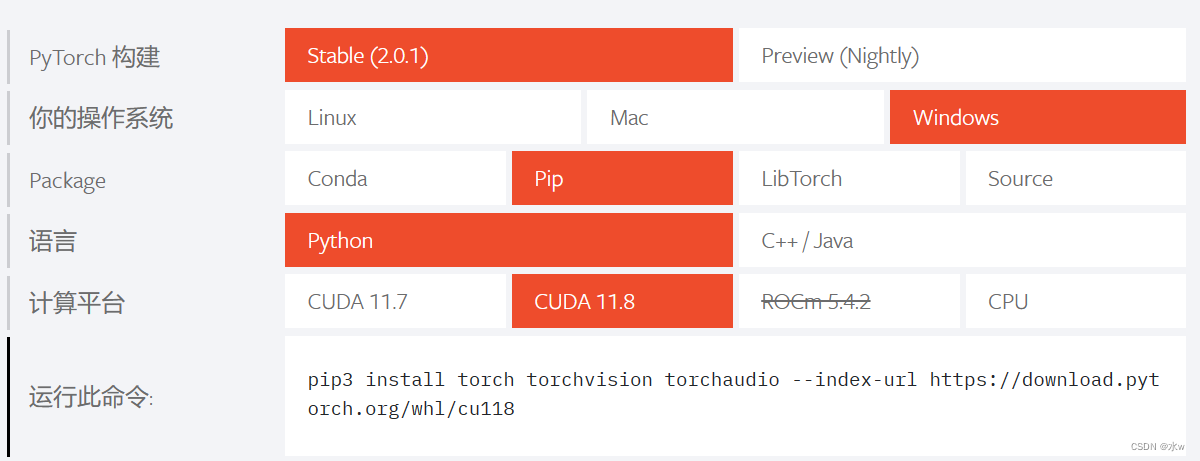
pip3 install torch torchvision torchaudio --index-url https://download.pytorch.org/whl/cu118 i https://pypi.mirrors.ustc.edu.cn/simple/报错了,

原因
发现是我在pip install的时候,参数i少些了一个“-”。
解决方法
(1)重新设置临时的Pip源,进行安装,
pip3 install torch torchvision torchaudio --index-url https://download.pytorch.org/whl/cu118 -i https://pypi.tuna.tsinghua.edu.cn/simple --trusted-host pypi.tuna.tsinghua.edu.cn

(2)安装完成之后,测试一下。
import math
import torch
import numpy as np
import torch.nn as nn
import torch.optim as optim
import torch.utils.data as Data
torch.cuda.is_available()
但是下载下来并不是gpu版本的torch,还是cpu版本的。
(3)重新找了一个命令,我猜测没成功的原因是没加这种“+cu118”后缀。
重新用conda创建了一个虚拟环境,再试一下。
conda create -n dl39 python=3.9pip3 install torch torchvision torchaudio --index-url https://download.pytorch.org/whl/cu118
这次就可以了,

用命令conda list打印看一下,


OK,成功了。


 2188
2188

 被折叠的 条评论
为什么被折叠?
被折叠的 条评论
为什么被折叠?
 到【灌水乐园】发言


