


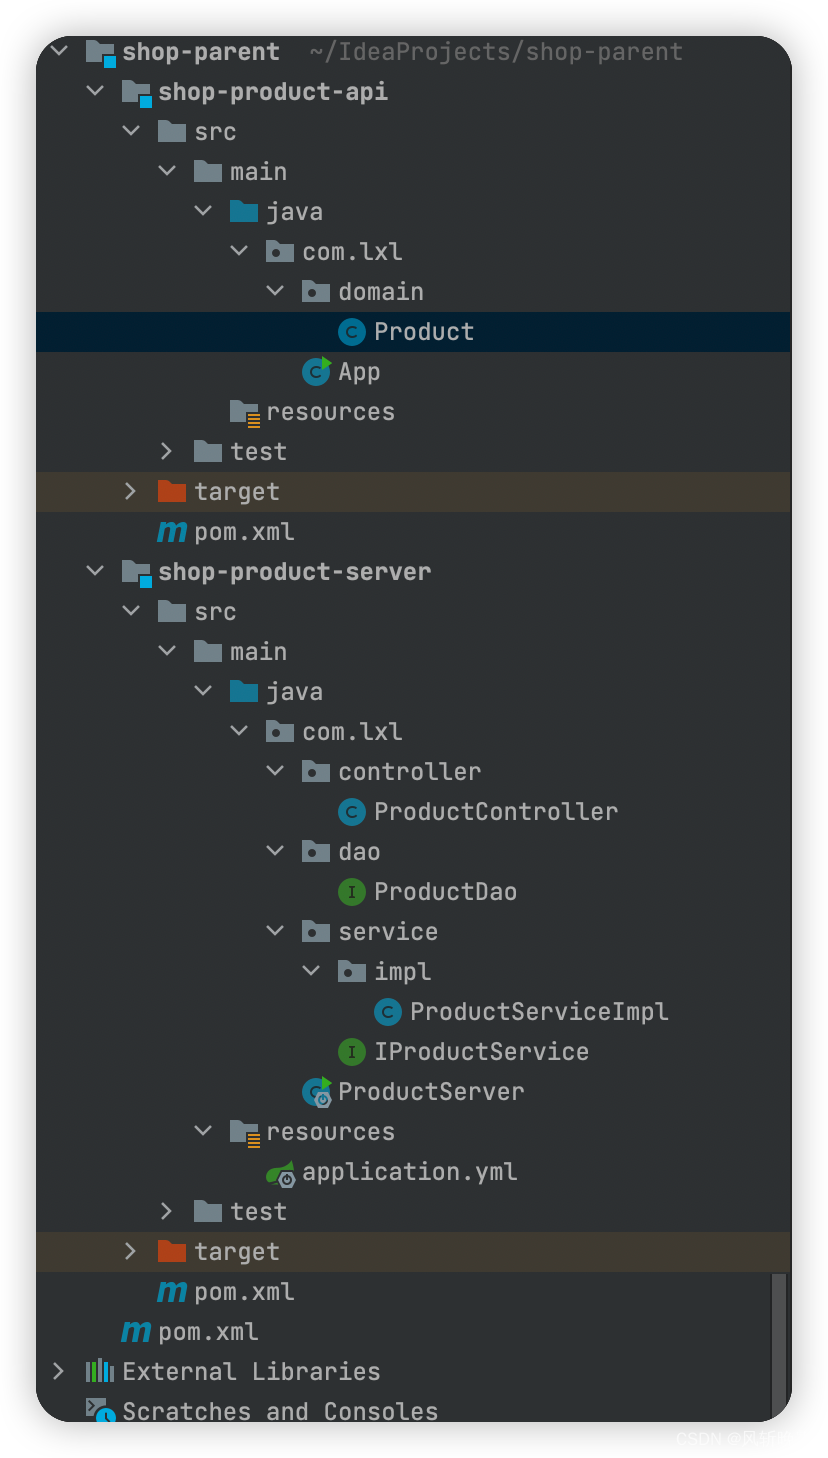
创建一个maven工程,shop-parent模块为父工程,进行确定。在shop-parent的pom.xml文件中增加一下内容:
<?xml version="1.0" encoding="UTF-8"?>
<project xmlns="http://maven.apache.org/POM/4.0.0"
         xmlns:xsi="http://www.w3.org/2001/XMLSchema-instance"
         xsi:schemaLocation="http://maven.apache.org/POM/4.0.0
http://maven.apache.org/xsd/maven-4.0.0.xsd">
  <modelVersion>4.0.0</modelVersion>
  <groupId>com.lxl</groupId>
  <artifactId>shop-parent</artifactId>
  <version>1.0.0</version>
  <modules>
    <module>shop-product-api</module>
    <module>shop-product-server</module>
  </modules>
  <packaging>pom</packaging>
  <!--⽗⼯程-->
  <parent>
    <groupId>org.springframework.boot</groupId>
    <artifactId>spring-boot-starter-parent</artifactId>
    <version>2.3.2.RELEASE</version>
  </parent>
  <!--依赖版本的锁定-->
  <properties>
    <java.version>1.8</java.version>
    <project.build.sourceEncoding>UTF-8</project.build.sourceEncoding>
    <project.reporting.outputEncoding>UTF-8</project.reporting.outputEncoding>
    <spring-cloud.version>Hoxton.SR8</spring-cloud.version>
    <spring-cloud-alibaba.version>2.2.3.RELEASE</spring-cloud-alibaba.version>
  </properties>
  <dependencyManagement>
    <dependencies>
      <dependency>
        <groupId>org.springframework.cloud</groupId>
        <artifactId>spring-cloud-dependencies</artifactId>
        <version>${spring-cloud.version}</version>
        <type>pom</type>
        <scope>import</scope>
      </dependency>
      <dependency>
        <groupId>com.alibaba.cloud</groupId>
        <artifactId>spring-cloud-alibaba-dependencies</artifactId>
        <version>${spring-cloud-alibaba.version}</version>
        <type>pom</type>
        <scope>import</scope>
      </dependency>
    </dependencies>
  </dependencyManagement>
</project>
右击shop-parent新建module创建子模块shop-product-api, 在pom.xml文件中添加下面内容 :
<?xml version="1.0" encoding="UTF-8"?>
<project xmlns="http://maven.apache.org/POM/4.0.0"
         xmlns:xsi="http://www.w3.org/2001/XMLSchema-instance"
         xsi:schemaLocation="http://maven.apache.org/POM/4.0.0
http://maven.apache.org/xsd/maven-4.0.0.xsd">
    <parent>
        <artifactId>shop-parent</artifactId>
        <groupId>com.lxl</groupId>
        <version>1.0.0</version>
    </parent>
    <modelVersion>4.0.0</modelVersion>
    <artifactId>shop-product-api</artifactId>
    <!--依赖-->
    <dependencies>
        <dependency>
            <groupId>org.springframework.boot</groupId>
            <artifactId>spring-boot-starter-data-jpa</artifactId>
        </dependency>
        <dependency>
            <groupId>org.projectlombok</groupId>
            <artifactId>lombok</artifactId>
        </dependency>
    </dependencies>
</project>
创建实体类:
//商品
@Entity(name = "t_shop_product")
@Data
public class Product {
    @Id
    @GeneratedValue(strategy = GenerationType.IDENTITY)
    private Long pid;//主键
    private String pname;//商品名称
    private Double pprice;//商品价格
    private Integer stock;//库存
}
右击shop-parent新建module创建子模块shop-product-server,在pom.xml文件中添加下面内容:
<?xml version="1.0" encoding="UTF-8"?>
<project xmlns="http://maven.apache.org/POM/4.0.0"
         xmlns:xsi="http://www.w3.org/2001/XMLSchema-instance"
         xsi:schemaLocation="http://maven.apache.org/POM/4.0.0
http://maven.apache.org/xsd/maven-4.0.0.xsd">
    <parent>
        <artifactId>shop-parent</artifactId>
        <groupId>com.lxl</groupId>
        <version>1.0.0</version>
    </parent>
    <modelVersion>4.0.0</modelVersion>
    <artifactId>shop-product-server</artifactId>
    <dependencies>
        <dependency>
            <groupId>org.springframework.boot</groupId>
            <artifactId>spring-boot-starter-web</artifactId>
        </dependency>
        <dependency>
            <groupId>mysql</groupId>
            <artifactId>mysql-connector-java</artifactId>
        </dependency>
        <dependency>
            <groupId>com.alibaba</groupId>
            <artifactId>fastjson</artifactId>
            <version>1.2.56</version>
        </dependency>
        <dependency>
            <groupId>com.lxl</groupId>
            <artifactId>shop-product-api</artifactId>
            <version>1.0.0</version>
        </dependency>
    </dependencies>
</project>
然后在shop-product-server中新建包以及启动类,ProductServer.java:
@SpringBootApplication
public class ProductServer
{
    public static void main( String[] args )
    {
        SpringApplication.run(ProductServer.class,args);
    }
}
在resource下新建配置文件application.yml:
server:
port: 8081
spring:
application:
name: product-service
datasource:
driver-class-name: com.mysql.jdbc.Driver
url: jdbc:mysql:///shop-product?serverTimezone=UTC&useUnicode=true&characterEncoding=utf-8&useSSL=true
username: root
password: 123456lxl
jpa:
properties:
hibernate:
hbm2ddl:
auto: update
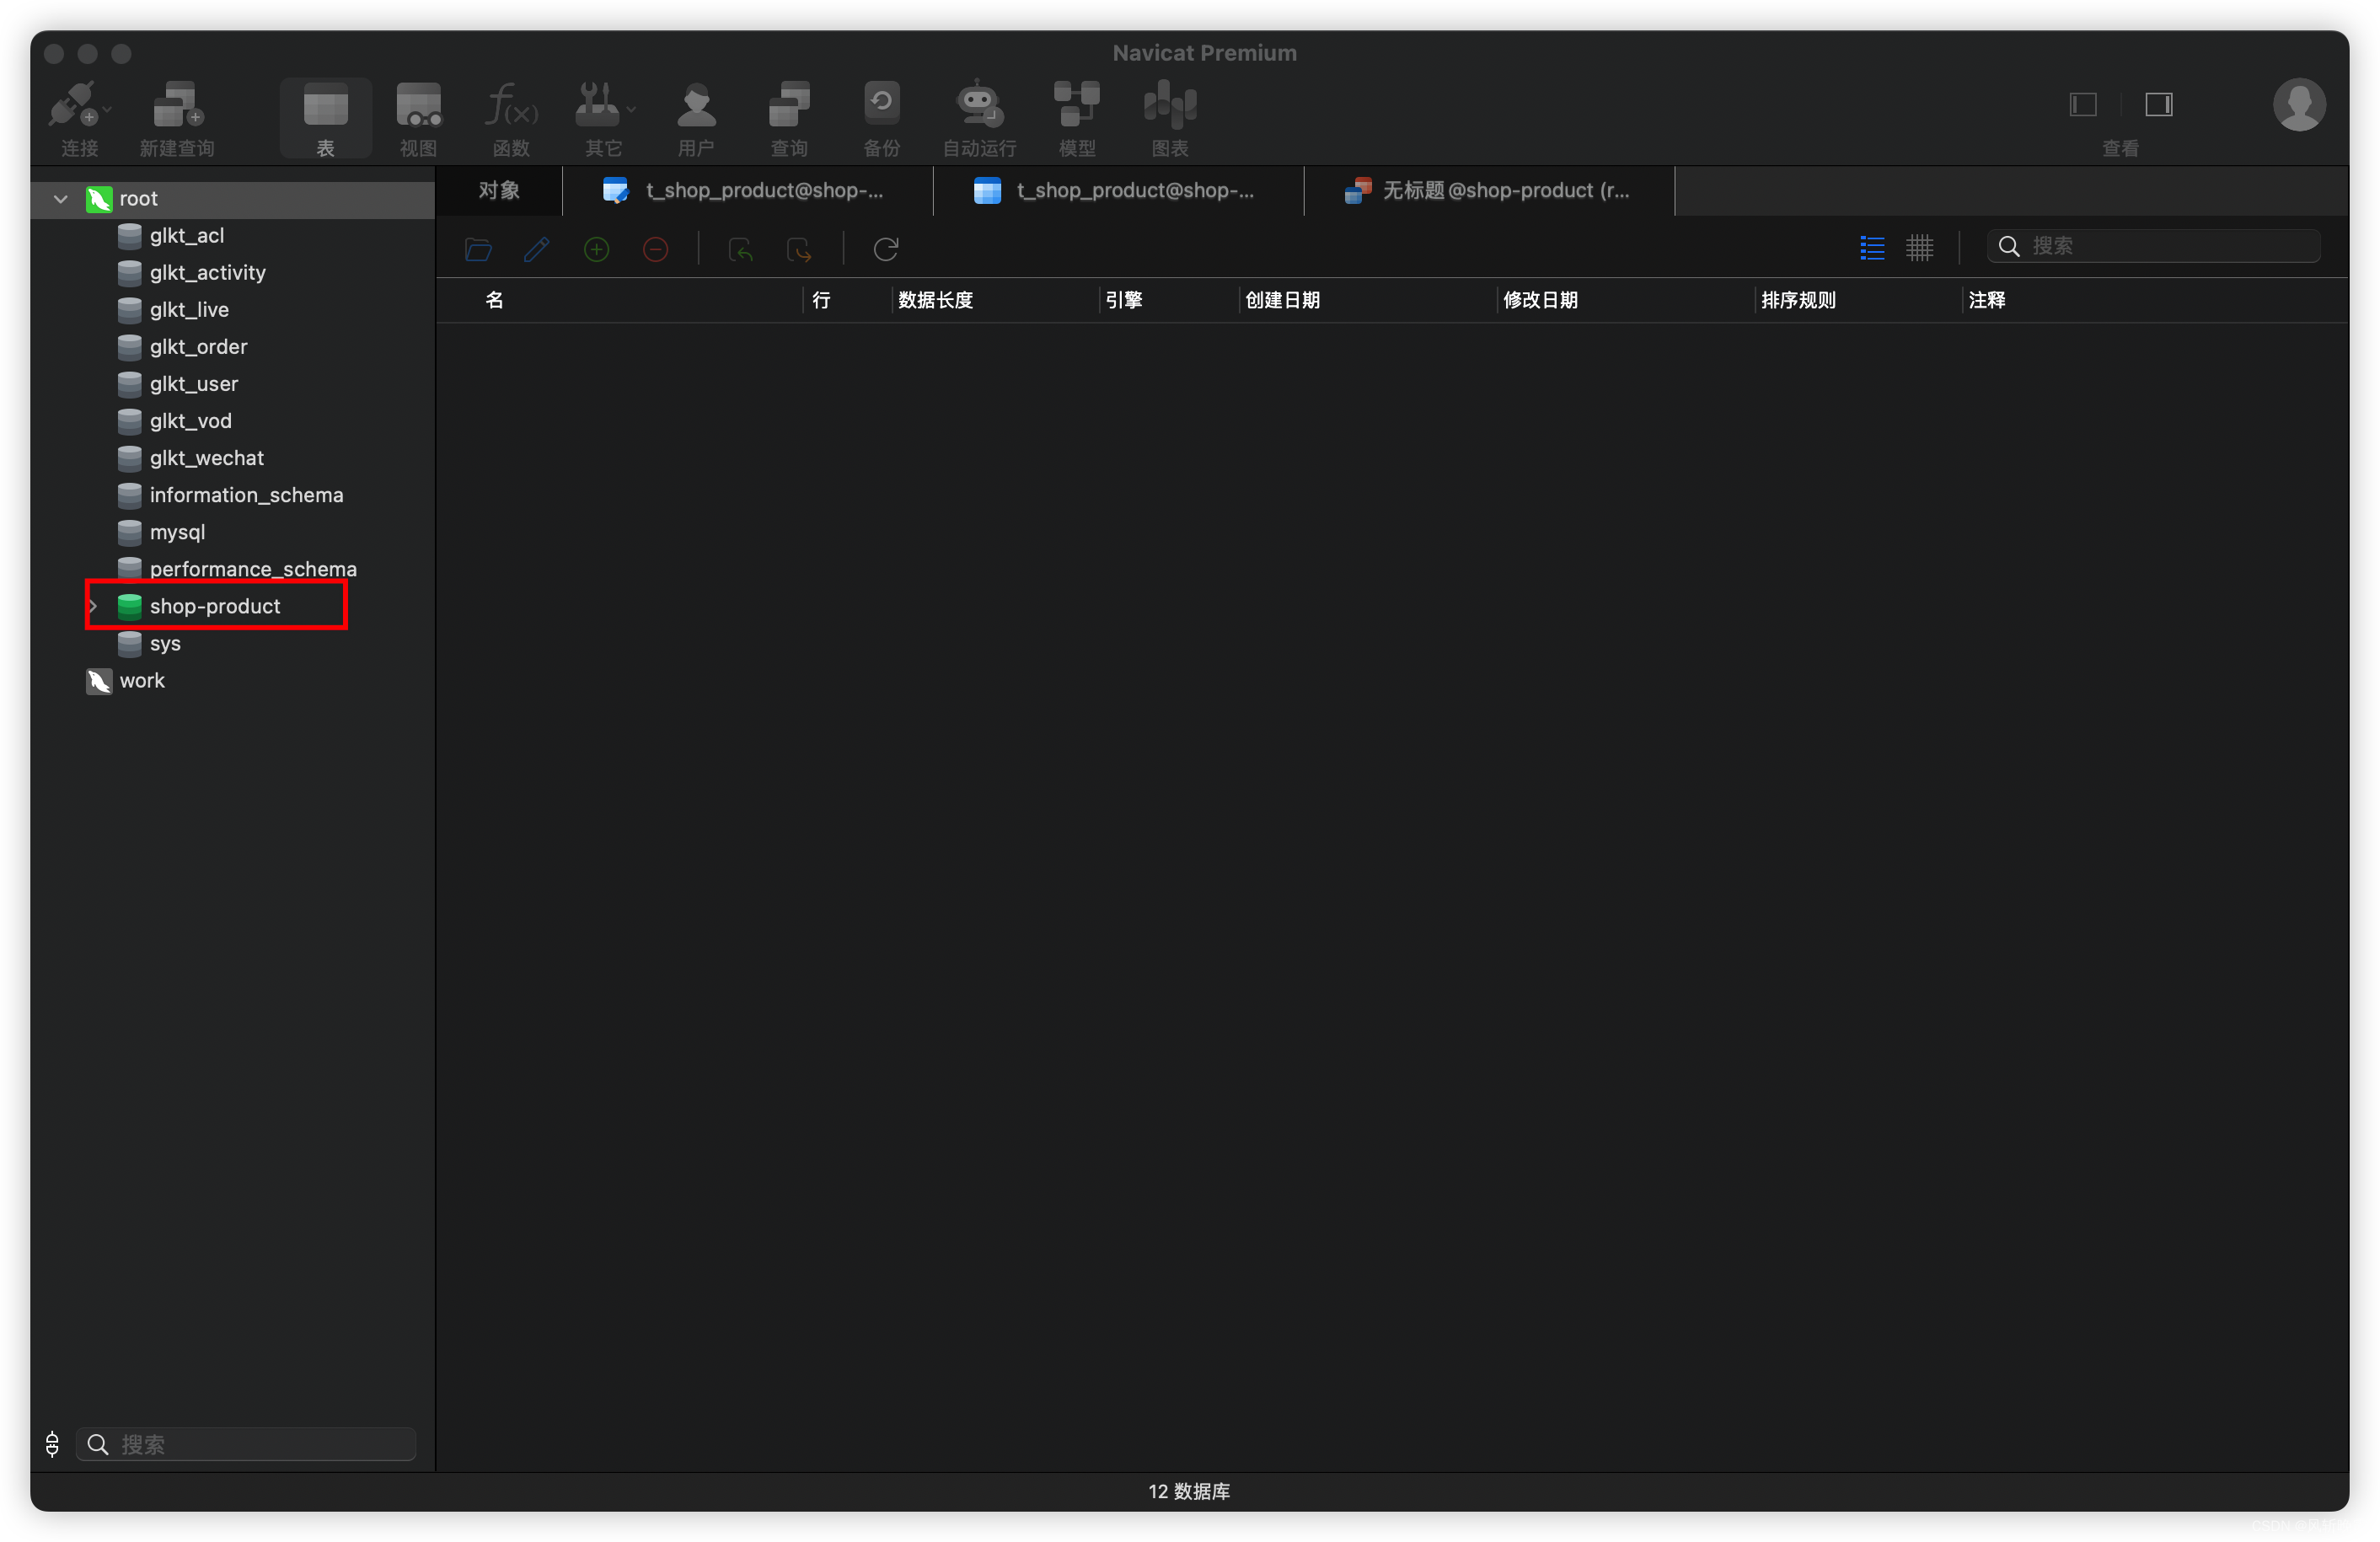
dialect: org.hibernate.dialect.MySQL5InnoDBDialect在数据库中创建shop-product的数据库
新建Dao包,创建ProductDao接口
public interface ProductDao extends JpaRepository<Product, Long> {
}
新建Service包,创建ProductService接口和实现类
public interface IProductService {
    Product findByPid(Long pid);
}
在service包下新建impl包,并在impl包下创建实现类ProductServiceImpl:
@Service
public class ProductServiceImpl implements IProductService {

    @Autowired
    private ProductDao productDao;

    @Override
        public Product findByPid(Long pid) {
            return productDao.findById(pid).get();
    }
}
新建controller包,创建ProductController:
@RestController
@Slf4j
public class ProductController {
    @Autowired
    private IProductService productService;

    //商品信息查询
    @RequestMapping("/product/{pid}")
    public Product findByPid(@PathVariable("pid") Long pid) {
        log.info("接下来要进⾏{}号商品信息的查询", pid);
        Product product = productService.findByPid(pid);
        log.info("商品信息查询成功,内容为{}", JSON.toJSONString(product));
        return product;
    }
}
运行项目会发现数据库已经存在实体类对应的字段,然后我们插入一定的数据
INSERT INTO t_shop_product VALUE(NULL,'⼩⽶','1000','5000');
INSERT INTO t_shop_product VALUE(NULL,'华为','2000','5000');
INSERT INTO t_shop_product VALUE(NULL,'苹果','3000','5000');
INSERT INTO t_shop_product VALUE(NULL,'OPPO','4000','5000');
通过浏览器访问服务:
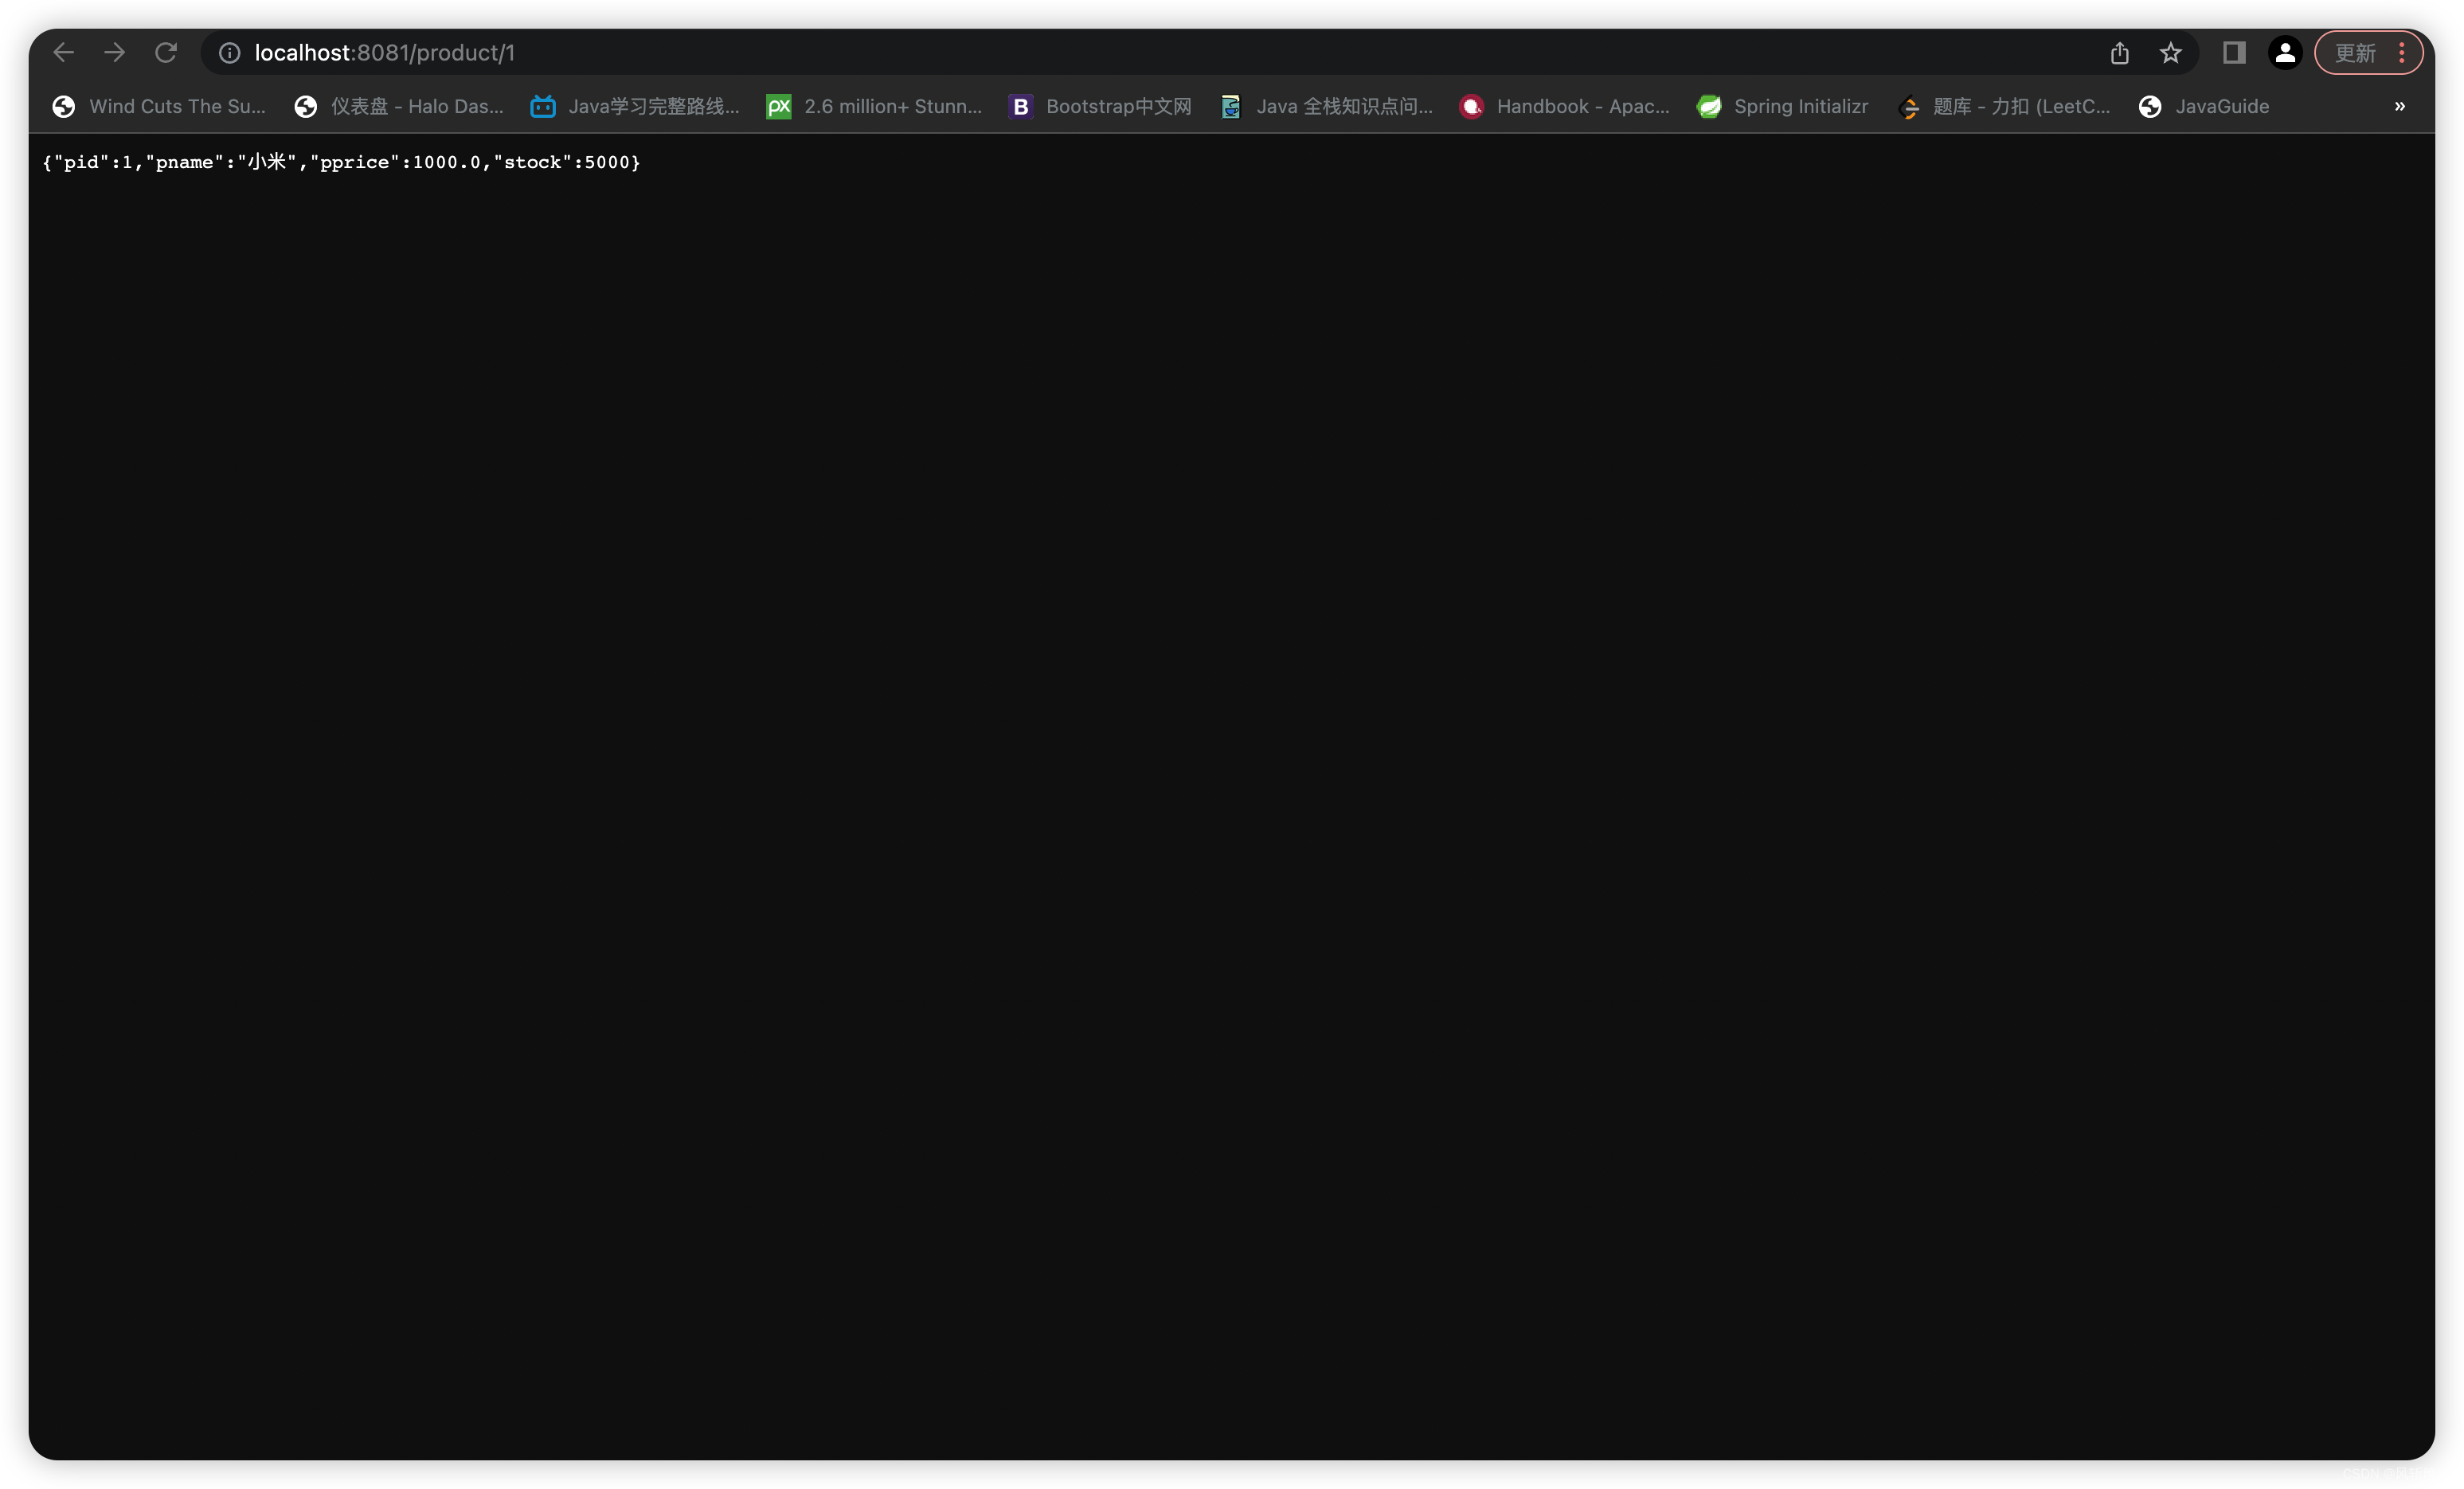
附路径:


 5345
5345


 被折叠的 条评论
为什么被折叠?
被折叠的 条评论
为什么被折叠?
 到【灌水乐园】发言


