


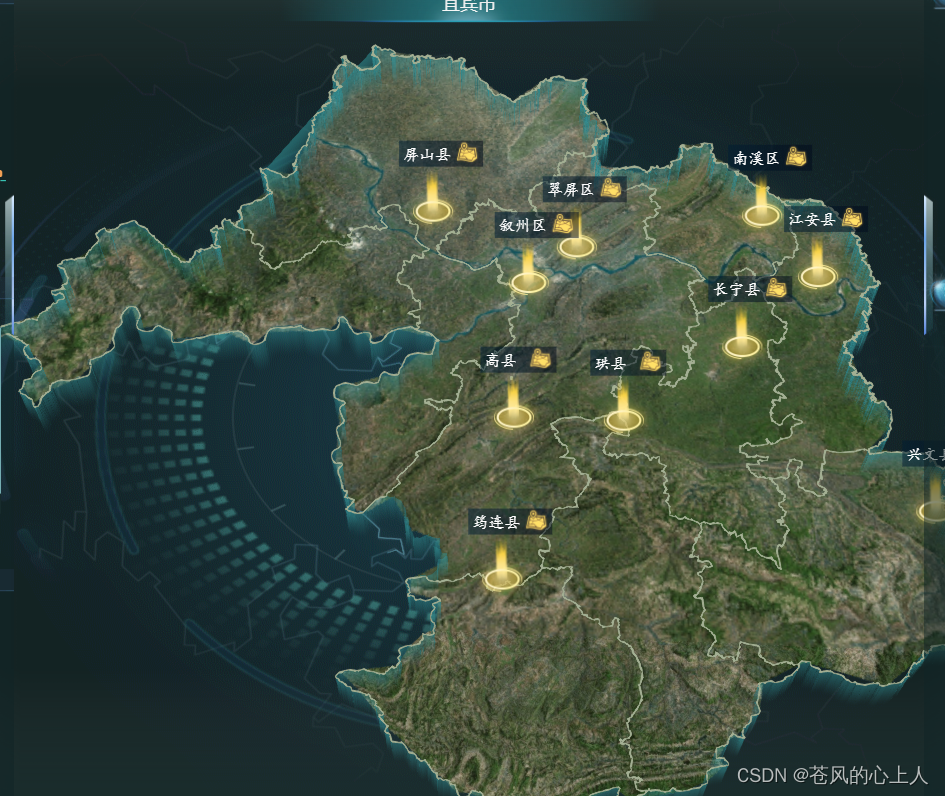
效果图
引入相关文件
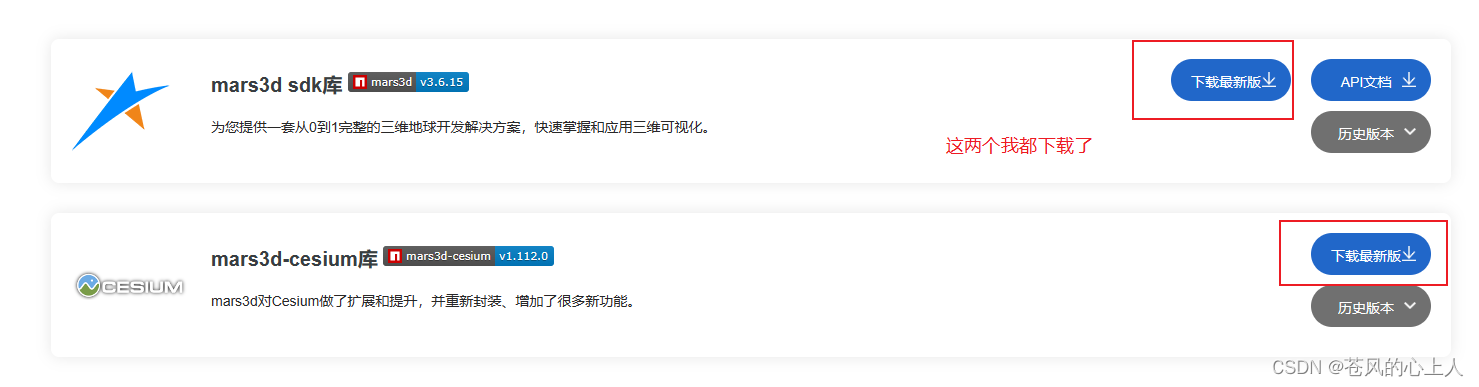
因为我也是第一次使用,所以我是把插件和源文件都引入了,能使用启动
源文件
下载地址:
http://mars3d.cn/download.html
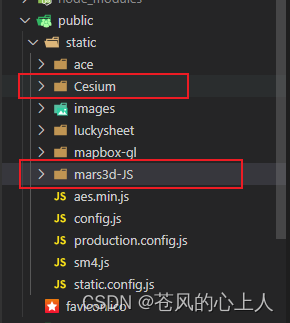
放入位置
在index.html中引入
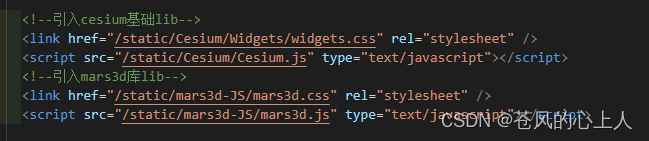
	<!--引入cesium基础lib-->
		<link href="/static/Cesium/Widgets/widgets.css" rel="stylesheet" />
		<script src="/static/Cesium/Cesium.js" type="text/javascript"></script>
		<!--引入mars3d库lib-->
		<link href="/static/mars3d-JS/mars3d.css" rel="stylesheet" />
		<script src="/static/mars3d-JS/mars3d.js" type="text/javascript"></script>
引入插件
npm install mars3d --save
我是封装的组件,代码的使用和意义 我直接放在备注中
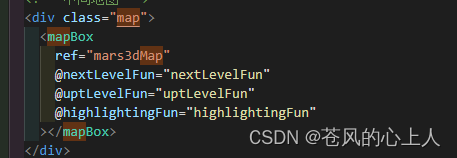
大体布局
父组件

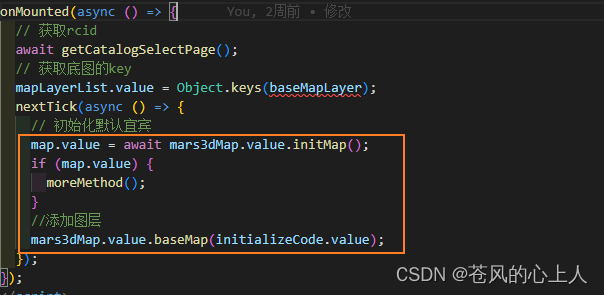
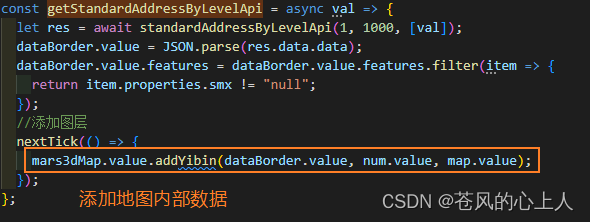
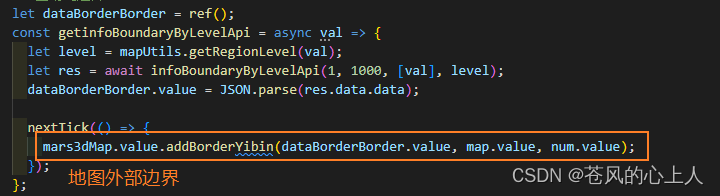
添加地图内部数据和地图外部数据的方法 ,我都是放在上图的moreMethod()方法中一起调用的
子组件
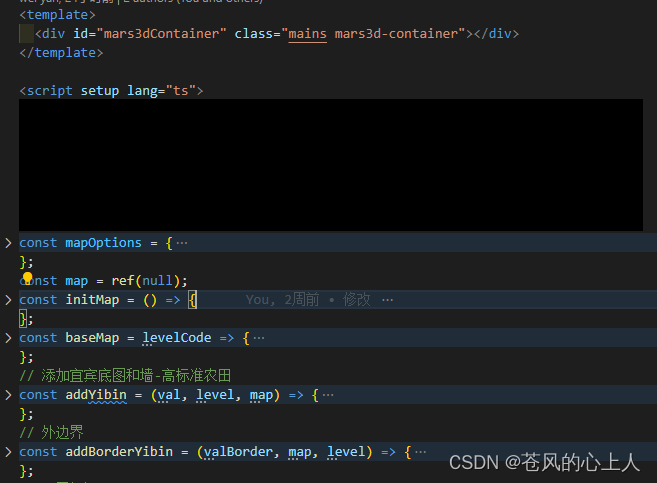
// 这个是初始化地图的视角等一些基本配置
const mapOptions = {
	scene: {
		center: { lat: 26.803502, lng: 104.706942, alt: 303223.8, heading: 357.36, pitch: -57.36, roll: 0.01 }, //alt 高度值  heading 方向角 pitch俯仰角 roll 翻滚角
		orderIndependentTranslucency: false,
		contextOptions: { webgl: { alpha: true } }, // 允许透明,只能Map初始化传入 [关键代码]
		showSun: false,
		showMoon: false,
		showSkyBox: false,
		showSkyAtmosphere: false,
		fog: false,
		globe: {
			baseColor: "rgba(0,0,0,0)", // 地球地面背景色
			showGroundAtmosphere: false,
			enableLighting: false
		}
	},
	control: {
		baseLayerPicker: false
	},
	terrain: { show: false },
	layers: [],
	basemaps: []
	// basemaps: [{ name: "天地图", type: "tdt", layer: "img_d", show: true }]
};
const map = ref(null);
//初始地图
const initMap = () => {
	return new Promise(resolve => {
	// mars3dContainer对应的是div上面的id,mapOptions就是上面写的配置
		map.value = new mars3d.Map("mars3dContainer", mapOptions);
		//添加背景图
		// map.value.container.style.backgroundImage = `url(${getImageUrl("bg")})`;
		map.value.container.style.backgroundRepeat = "no-repeat";
		map.value.container.style.backgroundSize = "100% 100%";
		resolve(map.value);
	});
};
// 这个是地图对应的底图
const baseMap = levelCode => {
	// 因为功能存在底图下钻和返回,所以当地图下钻或返回上一层级的时候
	//需要判断这个图层是否存在,存在就删除之前的图层,然后渲染信的图层页面
	if (map.value.getLayerById("tileBaseLayer")) {
		map.value.removeLayer(map.value.getLayerById("tileBaseLayer"));
	}
	const tileLayer = new mars3d.layer.XyzLayer({
		id: "tileBaseLayer",
		crs: "EPSG:4326",
		// 这个是写底图的来源,因为我项目是封装了底图的 所以你可以更换成你想要的其他的底图
		url: baseMapLayer[levelCode] // rectangle: { xmin: 114.883371, xmax: 119.649144, ymin: 29.395253, ymax: 34.650809 }
	});
	map.value.addLayer(tileLayer);
};
// 添加地图和内边界线 val--地图的数据  level--地图的层级  map--就是我父组件定义的map
const addYibin = (val, level, map) => {
	// 各市边界线和名称--先清除再添加
	if (map.getLayerById("childLineLayer")) {
		map.removeLayer(map.getLayerById("childLineLayer"));
	}
	//各子级标签--先清除再添加
	if (map.getLayerById("tipYibinGraphicLayer")) {
		map.removeLayer(map.getLayerById("tipYibinGraphicLayer"));
	}
	const childLineLayer = new mars3d.layer.GeoJsonLayer({
		id: "childLineLayer",
		name: "各子级边界线",
		// url: `//data.mars3d.cn/file/geojson/areas/${level}_full.json`,
		// 传递数据 包含子集
		data: val,
		symbol: {
			type: "polyline",
			styleOptions: {
				color: "#a4b094",
				width: 1
			}
		}
	});
	map.addLayer(childLineLayer);

	let tipYibinGraphicLayer = new mars3d.layer.GraphicLayer();
	tipYibinGraphicLayer.id = "tipYibinGraphicLayer";
	map.addLayer(tipYibinGraphicLayer);
	tipYibinGraphicLayer.on(mars3d.EventType.click, event => {
		const attr = event.graphic?.attr;
		if (attr) {
		}
	});
	// 标记
	let geojson = val;
	const arr = geojson.features;
	tipYibinGraphicLayer.clear();
	for (let index = 0; index < arr.length; index++) {
		const element = arr[index];
		const attr = element.properties; // 属性信息
		// 这个是定义标签的样式,html里面的内容可以自定义
		const divGraphic = new mars3d.graphic.DivGraphic({
			position: [attr.smx, attr.smy],
			style: {
				html: `<div class="tipbox">
					    <div class="tipboxTitle">
							<div class="titleChild">
								<p title='${attr.name}'>${attr.name}</p>
								<img code="${attr.adcode}-${attr.name}" src="${getImageUrl("next_icon")}" id=nextIcon_${index} class="nextIcon"></img>
								<img code="${attr.adcode}-${attr.name}" src="${getImageUrl("up-icon")}" id=upIcon_${index} class="upIcon" style="display:${
					level == -1 ? "none" : "block"
				}"></img>
							</div>

						</div>
						<img src="${getImageUrl("tip_bottom")}"  class="tipboxImage"></img>
					</div>`,
				horizontalOrigin: Cesium.HorizontalOrigin.LEFT,
				verticalOrigin: Cesium.VerticalOrigin.BOTTOM,
				clampToGround: true
			},
			attr
		});
		tipYibinGraphicLayer.addGraphic(divGraphic);
	}
	//上下钻事件
	let nextIconArr = document.getElementsByClassName("nextIcon");
	let upIconArr = document.getElementsByClassName("upIcon");

	for (let i = 0; i < nextIconArr.length; i++) {
		const item = nextIconArr[i];
		item.addEventListener("click", async (e: any) => {
			if (map.getLayerById("yibinWall")) {
				map.removeLayer(map.getLayerById("yibinWall"));
			}
			if (map.getLayerById("childLineLayer")) {
				map.removeLayer(map.getLayerById("childLineLayer"));
			}
			if (map.getLayerById("tipYibinGraphicLayer")) {
				map.removeLayer(map.getLayerById("tipYibinGraphicLayer"));
			}

			let attributesCode = e.target.attributes[0].value;

			let req = {
				parentCode: attributesCode.split("-")[0],
				name: attributesCode.split("-")[1]
			};

			emit("nextLevelFun", req);
		});
	}

	for (let i = 0; i < upIconArr.length; i++) {
		const item = upIconArr[i];
		item.addEventListener("click", async (e: any) => {
			if (map.getLayerById("yibinWall")) {
				map.removeLayer(map.getLayerById("yibinWall"));
			}
			if (map.getLayerById("childLineLayer")) {
				map.removeLayer(map.getLayerById("childLineLayer"));
			}
			if (map.getLayerById("tipYibinGraphicLayer")) {
				map.removeLayer(map.getLayerById("tipYibinGraphicLayer"));
			}
			let attributesCode = e.target.attributes[0].value;
			let req = {
				parentCode: attributesCode.split("-")[0],
				name: attributesCode.split("-")[1]
			};
			emit("uptLevelFun", req);
		});
	}
	// });
};
// 外边界
const addBorderYibin = (valBorder, map, level) => {
	// 宜宾边界线墙--先清除再添加
	if (map.getLayerById("yibinWall")) {
		map.removeLayer(map.getLayerById("yibinWall"));
	}

	const yibinWall = new mars3d.layer.GeoJsonLayer({
		id: "yibinWall",
		name: "宜宾边界墙",
		// 边界线传值-仅自己
		data: valBorder,
		// 自定义解析数据
		onCreateGraphic: function (options) {
			const points = options.positions; // 坐标
			const attr = options.attr; // 属性信息
			mars3d.PolyUtil.computeSurfaceLine({
				map: map,
				positions: points,
				has3dtiles: false,
				splitNum: 80
			}).then(result => {
				const graphic = new mars3d.graphic.WallPrimitive({
					positions: result.positions,
					style: {
						addHeight: level == 1 ? -3000 : -15000,
						diffHeight: level == 1 ? 3000 : 15000, // 墙高
						materialType: mars3d.MaterialType.Image2,
						materialOptions: {
							image: getImageUrl("fence-top"),
							color: "rgba(76,215,222,0.5)"
						}
					},
					attr
				});
				yibinWall.addGraphic(graphic);
				yibinWall.flyTo({
					scale: 1.5
				});
			});
		}
	});
	map.addLayer(yibinWall);
	// map.on(mars3d.EventType.renderError, function () {
	// 	window.location.reload();
	// });
};
defineExpose({
	initMap,
	addYibin,
	baseMap,
	addBorderYibin,
	map
});


 1298
1298


 被折叠的 条评论
为什么被折叠?
被折叠的 条评论
为什么被折叠?
 到【灌水乐园】发言


