1、项目清单
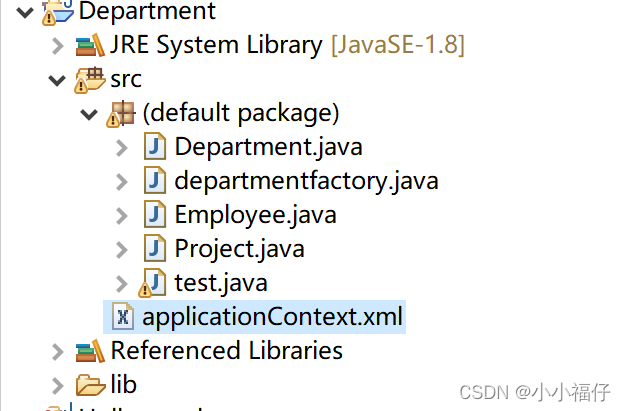
2、代码
2.1、 Department类代码
import java.util.Arrays;
import java.util.List;
import java.util.Map;
import java.util.Set;
public class Department {
String name;
String[] empName;
List<Employee> empList;
Set<Project> proarrys;
Map<String,String> Info;
public Department() {
System.out.println("这是第一题的无参构造方法");
}
public String getName() {
return name;
}
public void setName(String name) {
this.name = name;
}
public String[] getEmpName() {
return empName;
}
public void setEmpName(String[] empName) {
this.empName = empName;
}
public List<Employee> getEmpList() {
return empList;
}
public void setEmpList(List<Employee> empList) {
this.empList = empList;
}
public Set<Project> getProarrys() {
return proarrys;
}
public void setProarrys(Set<Project> proarrys) {
this.proarrys = proarrys;
}
public Map<String, String> getInfo() {
return Info;
}
public void setInfo(Map<String, String> info) {
Info = info;
}
public Department(String n,String[] e,List<Employee> el, Set<Project> p,Map<String,String> i) {
this.name=n;
this.empName=e;
this.empList=el;
this.proarrys=p;
this.Info=i;
}
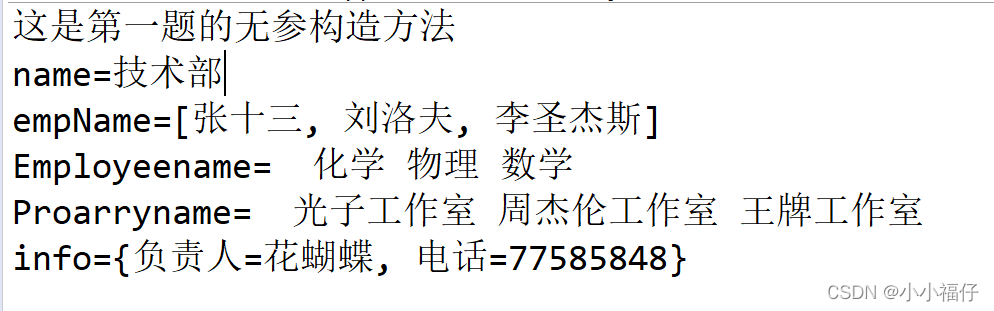
public String toString() {
String s="name="+name+"\nempName="+Arrays.toString(empName)+"\nEmployeename=";
for(Employee e:empList)
{
s=s+" "+e.getEmployeename();
}
s=s+""+"\nProarryname=";
for(Project p:proarrys) {
s=s+" "+p.getProarryname();
}
return s+"\ninfo="+Info;
}
}
2.2、 departmentfactory类代码
public class departmentfactory {
public static Department createBean1() {
return new Department();
}
}
2.3、 Project类代码
public class Project {
	String Proarryname;

	public String getProarryname() {
		return Proarryname;
	}

	public void setProarryname(String proarryname) {
		Proarryname = proarryname;
	}


}
2.4、 Employee类代码
public class Employee {
	String Employeename;

	public String getEmployeename() {
		return Employeename;
	}

	public void setEmployeename(String employeename) {
		Employeename = employeename;
	}

}
2.5、 applicationContext .xml代码
<?xml version="1.0" encoding="UTF-8"?>
<beans xmlns="http://www.springframework.org/schema/beans"
       xmlns:xsi="http://www.w3.org/2001/XMLSchema-instance"
       xsi:schemaLocation="http://www.springframework.org/schema/beans
        https://www.springframework.org/schema/beans/spring-beans.xsd">
   		<bean id="el1" class="Employee">
			<property name="Employeename" value="化学"></property>
		</bean>
		<bean id="el2" class="Employee">
			<property name="Employeename" value="物理"></property>
		</bean>
		<bean id="el3" class="Employee">
			<property name="Employeename" value="数学"></property>
		</bean>

		<bean id="p1" class="Project">
			<property name="Proarryname" value="光子工作室"></property>
		</bean>
			<bean id="p2" class="Project">
			<property name="Proarryname" value="周杰伦工作室"></property>
		</bean>

		<bean id="p3" class="Project">
			<property name="Proarryname" value="王牌工作室"></property>
		</bean>

<bean id="d1" class="departmentfactory" factory-method="createBean1">
</bean>
<bean id="d2" class="Department">
	<constructor-arg value="技术部"></constructor-arg>
	<constructor-arg>
			<array>
				<value>张十三</value>
				<value>刘洛夫</value>
				<value>李圣杰斯</value>
			</array>
	</constructor-arg>

	<constructor-arg >
			<list>
				<ref bean="el1"></ref>
				<ref bean="el2"></ref>
				<ref bean="el3"></ref>
			</list>
	</constructor-arg>
	<constructor-arg>
			<set>
				<ref bean="p1"></ref>
				<ref bean="p2"></ref>
				<ref bean="p3"></ref>
			</set>
	</constructor-arg>
		<constructor-arg>
			<map>
				<entry key="负责人" value="花蝴蝶"></entry>
				<entry key="电话" value="77585848"></entry>

			</map>
		</constructor-arg>
</bean>


</beans>
2.6、 test类代码
import org.springframework.context.ApplicationContext;
import org.springframework.context.support.FileSystemXmlApplicationContext;

public class test {
	public static void main(String[] args) {
		ApplicationContext context=new FileSystemXmlApplicationContext("src/applicationContext.xml");
		Department d2=(Department) context.getBean("d2");
		System.out.println(d2.toString());
	}
}
3、结果
4、笔记
- departmentfactory类只是用另一种方式来实例化Department类,以前是直接由xml文件来实例化(构造方法实例化),现在是通过实例化departmentfactory类然后调用里面的createBean1()方法来为Department实例化对象,createBean1()方法的返回值是Department类,return的是new Department(),此处就是在createBean1()方法实例化一个Department对象然后再返回Department类。它的原理很简单,就是多了一个中间商,这种方法的名字叫做静态工厂实例化,createBean1()经过static修饰它不再是departmentfactory对象的方法,也就是说调用此方法不需要依赖对象来进行访问,而是只要类被加载了就可以通过类名直接调用。
- 此处的List empList和Set proarrys的类型都不是普通的类型,是一个类。所以它的赋值有点不一样,分别创建Employee和Project类并定义属性,然后再xml文件中bean(实例化对象)并赋值。
- Department类中定义了一系列属性,同时定义一个有参构造方法方便在xml文件中赋值。还要定义一个toString()方法来输出,输出过程中因为List empList和Set proarrys不一样,所以获取其值需要分别用一个for循环来从数组、列表中逐一获取值(该for和foreach使用方法类似)。
- xml文件中分别为Employee和Project初始化三个对象,departmentfactory是题目中第一题利用静态工厂实例化为Department实例化。
- xml文件中Department实例化并复制赋值,此处赋值用的是constructor-arg而不是property所以不需要设置name,constructor-arg赋值是会根据Department中的有参构造方法中参数的顺序一一赋值,因为List empList和Set proarrys的类型是一个类,所以这里赋值只需要用ref将上面的bean赋值过去就好了。
- test类执行只需要向xml文件获取Department类的对象然后执行toString()方法就好了。


 911
911

 被折叠的 条评论
为什么被折叠?
被折叠的 条评论
为什么被折叠?
 到【灌水乐园】发言


