


第一步:导入依赖
        <!--swagger-->
        <dependency>
            <groupId>io.springfox</groupId>
            <artifactId>springfox-swagger2</artifactId>
            <scope>provided</scope>
        </dependency>
        <dependency>
            <groupId>io.springfox</groupId>
            <artifactId>springfox-swagger-ui</artifactId>
            <scope>provided</scope>
        </dependency>
第二步:配置类
@Configuration
@EnableSwagger2//swagger注解
public class SwaggerConfig {
@Bean
public Docket webApiConfig() {
return new Docket(DocumentationType.SWAGGER_2)
.groupName("webApi")
.apiInfo(webApiInfo())
.select()
.paths(Predicates.not(PathSelectors.regex("/admin/.*")))
.paths(Predicates.not(PathSelectors.regex("/error.*")))
.build();
}
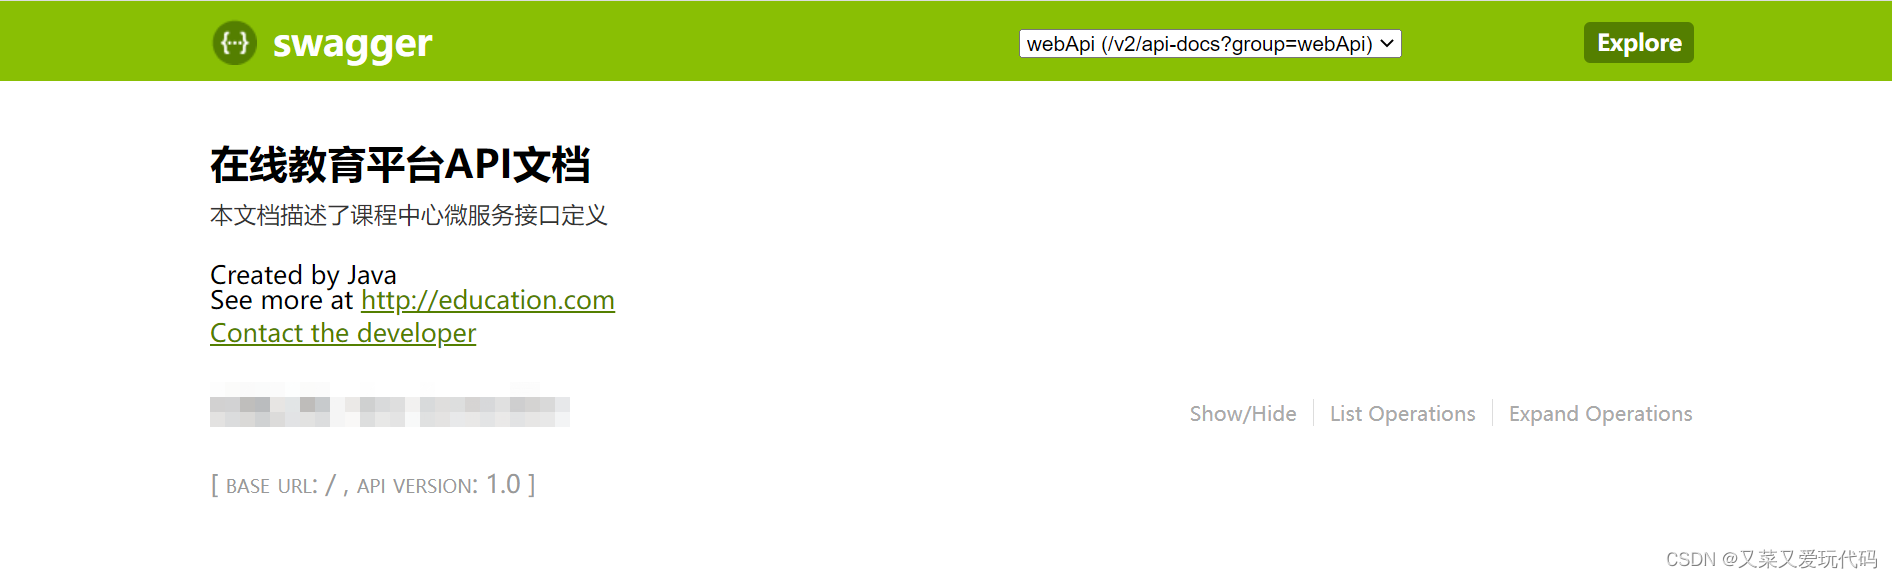
private ApiInfo webApiInfo() {
return new ApiInfoBuilder()
.title("在线教育平台API文档")
.description("本文档描述了课程中心微服务接口定义")
.version("1.0")
.contact(new Contact("Java", "http://education.com",
"***********@qq.com"))
.build();
}
}
配置类webApiInfo的内容
第三步:controller层使用swagger注解
@Api(tags = "讲师管理")
@RestController
@RequestMapping("/eduservice/edu-teacher")
@CrossOrigin
public class EduTeacherController {

    @ApiOperation(value = "逻辑删除讲师")
    @DeleteMapping("/{id}")
    public R remoteTeacher(@ApiParam(name = "id", value = "讲师ID", required = true) @PathVariable String id) {
        boolean b = teacherService.removeById(id);
     /*   if (b){
            return R.ok();
        }else{
            return R.erro();
        }*/
        return b ? R.ok() : R.error();
    }

}
部分注解的解释
1. @Api(tags = "讲师管理")

2. @ApiOperation(value = "逻辑删除讲师")

3. @ApiParam(name = "id", value = "讲师ID", required = true

4. @EnableSwagger2
启动swagger的注解


 381
381


 被折叠的 条评论
为什么被折叠?
被折叠的 条评论
为什么被折叠?
 到【灌水乐园】发言


