


Springboot + flutter前端
写一个简单的例子。
1. 首先准备好flutter前端页面
使用命令行打包,这里打包为web,web分为三种打包方式具体看这篇博客
https://blog.csdn.net/qq_39132095/article/details/120526794
打包好是不能用浏览器直接访问的,需要在容器里运行,如tomcat

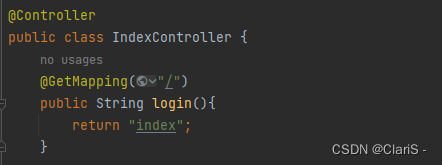
2. 创建 Springboot 后端,简单点只用写个Conroller就行。
要用@controller注解,不能用@RestController注解,返回 index.html
3. 融合配置
重点
- 引入 thymeleaf 模块
用于前端网页文件的扫描,
        <dependency>
            <groupId>org.springframework.boot</groupId>
            <artifactId>spring-boot-starter-thymeleaf</artifactId>
        </dependency>
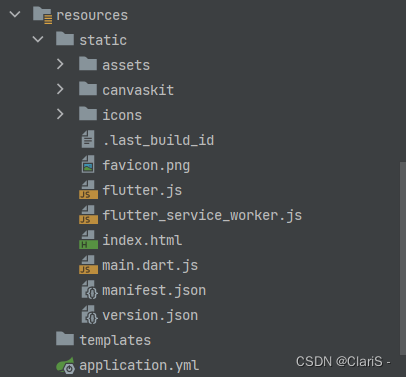
- 创建 web 请求映射 配置文件
这里创建了一个Config包,并创建WebMVCConfig类,
继承WebMvcConfigurationSupport并注解@Configuration
此步骤的原因具体看这篇博客:解决静态资源访问404
@Configuration
public class WebMVCConfig extends WebMvcConfigurationSupport {
    @Override
    public void addResourceHandlers(ResourceHandlerRegistry registry) {
        registry.addResourceHandler("/**")
                .addResourceLocations("classpath:static/","classpath:META-IFA/resources/","classpath:resources/","classpath:public/","classpath:/");
    }
}
-
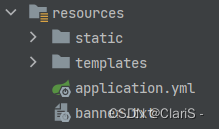
在
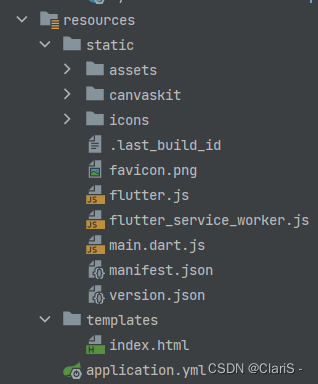
resource下创建static和templates两个包
-
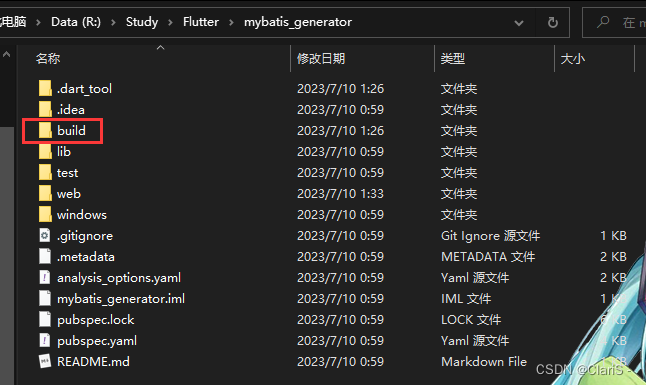
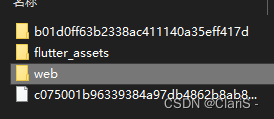
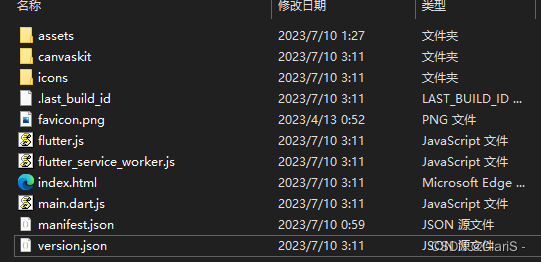
进入我们 flutter build 完成的文件目录
-
将下文件夹中的所有文件 ctrl+c 复制
-
来到我们的 idea,在static 文件夹下 ctrl + v 粘贴
-
之后将 index.html,拖拽到 templates 文件夹下,接着idea会自动替换文件中的路径
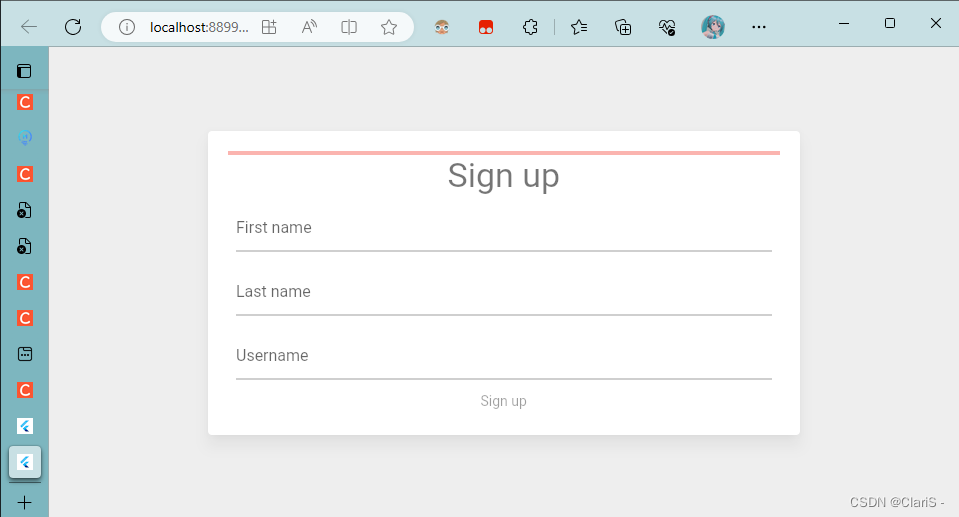
之后就可以启动项目了,访问端口试一试吧~
希望对你有帮助~
调试的时候可以前后端分离,分别调试,
打包项目的时候再把前端build放在springboot项目里,打成 jar 包


 607
607

 被折叠的 条评论
为什么被折叠?
被折叠的 条评论
为什么被折叠?
 到【灌水乐园】发言


