


文章目录
5 域对象共享数据
在SpringMVC中常用的域有以下三个:
- request:数据在当前请求有效,请求转发后有效,重定向无效
- session:数据在关闭浏览器前有效,中途关闭服务器,数据钝化(还在),重启浏览器数据又会活化(还能用)
- application:数据在关闭服务器前有效(关闭浏览器数据还在)
那么SpringMVC是如何使用域对象来共享数据的呢?请往下看:
5.1 使用ServletAPI向request域对象共享数据
新增加一个ScopeController类:
package com.zjw.mvc.controller;

import org.springframework.stereotype.Controller;
import org.springframework.web.bind.annotation.RequestMapping;

import javax.servlet.http.HttpServletRequest;

@Controller
public class ScopeController {
    @RequestMapping("/scope")
    public String scope(){
        return "test_scope";
    }
    @RequestMapping("/testRequestByServletAPI")
    public String testServletAPI(HttpServletRequest request){
        request.setAttribute("testRequestScope","hello,servletAPT");
        return "success";
    }
}
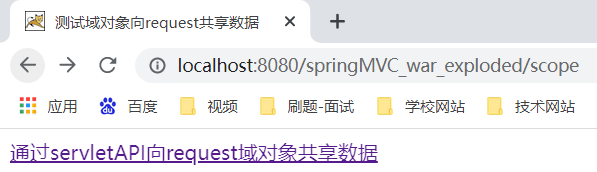
并且同时增加一个跳转页面 test_scope.html,里面放置超链接,实现点击跳转
<!DOCTYPE html>
<html lang="en" xmlns:th="http://www.thymeleaf.org">
<head>
    <meta charset="UTF-8">
    <title>测试域对象向request共享数据</title>
</head>
<body>
<a th:href="@{/testRequestByServletAPI}">通过servletAPI向request域对象共享数据</a>
</body>
</html>
同时增加一个success.html来验证我们是否成功完成跳转与域对象共享的任务
<!DOCTYPE html>
<html lang="en" xmlns:th="http://www.thymeleaf.org">
<head>
    <meta charset="UTF-8">
    <title>Method属性</title>
</head>
<body>
成功到达了success页面<br>
<p th:text="${testRequestScope}"></p>
</body>
</html>
结果展示:
点击链接后实现跳转
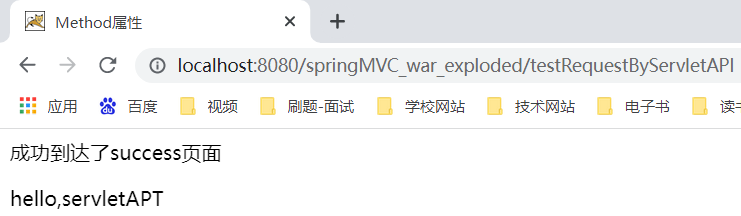
结果表示,成功的利用servlerAPI实现了域对象的共享。
5.2 使用ModelAndView向request域对象共享数据(官网推荐)
ModelAndView有Model和View的功能,Model主要用于向请求域共享数据 ,View主要用于设置视图,实现页面跳转 。
在ScopeController类中新增加一个控制器方法:
@RequestMapping("/testModelAndView")
public ModelAndView testModelAndView(){
ModelAndView mav = new ModelAndView();
//处理模型数据,即向请求域request共享数据
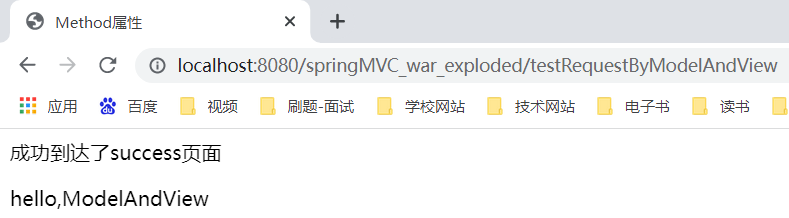
mav.addObject("testRequestScope", "hello,ModelAndView");
//设置视图名称
mav.setViewName("success");
return mav;
}
同时在test_scope中增加超链接:
<a th:href="@{/testRequestByModelAndView}">通过ModelAndView向request域对象共享数据</a><br>
结果展示:
5.3 使用Model向request域对象共享数据
上文中使用ModelAndView时又要新创建一个对象,同时还又要给他设置属性和视图名称,有没有更简便的方法呢?那就是通过Model来向request域对象共享数据。
在ScopeController类中新增加一个控制器方法:
@RequestMapping("/testRequestByModel")
public String testRequestByModel(Model model){
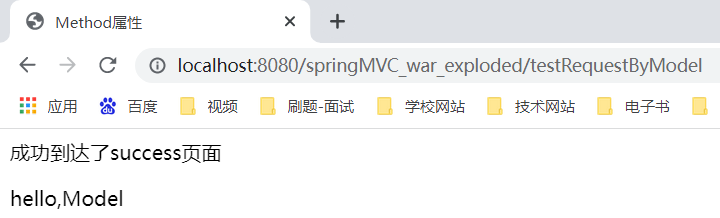
model.addAttribute("testRequestScope","hello,Model");
return "success";
}
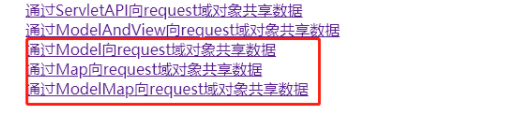
同时新增相应的超链接:
<a th:href="@{/testRequestByModel}">通过ModelAndView向request域对象共享数据</a><br>
结果展示:
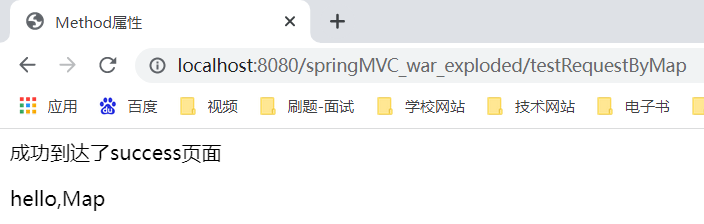
5.4 使用Map向request域对象共享数据
向ScopeController中添加方法:
    @RequestMapping("/testRequestByMap")
    public String testRequestByMap(Map<String,Object> map){
        map.put("testRequestScope","hello,Map");
        return "success";
    }
同时新增相应的超链接:
<a th:href="@{/testRequestByMap}">通过Map向request域对象共享数据</a><br>
结果展示:
5.5 使用ModelMap向request域对象共享数据
向ScopeController中添加方法:
    @RequestMapping("/testRequestByModelMap")
    public String testRequestByModelMap(ModelMap mp){
        mp.addAttribute("testRequestScope","hello,ModelMap");
        return "success";
    }
同时新增相应的超链接:
<a th:href="@{/testRequestByModelMap}">通过ModelMap向request域对象共享数据</a><br>
结果展示:

5.6 Model、ModelMap、Map的关系
这个Model、ModelMap和Map用起来感觉好像差不多呀,用着都很舒服,那他们之间有没有什么内在的联系呢?答案是肯定的。它们三个类型的参数其实本质上都是 BindingAwareModelMap 类型 的。
接下来我们验证一下就知道了:
在处理器方法处理请求时,输出它们三个类名:
    @RequestMapping("/testRequestByModel")
    public String testRequestByModel(Model model){
        model.addAttribute("testRequestScope","hello,Model");
        System.out.printf("", model.getClass().getName());
        return "success";
    }
    @RequestMapping("/testRequestByModelMap")
    public String testRequestByModelMap(ModelMap mp){
        mp.addAttribute("testRequestScope","hello,ModelMap");
        System.out.println(mp.getClass().getName());
        return "success";
    }
    @RequestMapping("/testRequestByMap")
    public String testRequestByMap(Map<String,Object> map){
        map.put("testRequestScope","hello,Map");
        System.out.println(map.getClass().getName());
        return "success";
    }
分别点击这三个链接来向服务器发送请求:
之后看一下控制台输出的内容:

所有从结果上验证了它们三个的类型参数其实本质上都是 BindingAwareModelMap 类型的。
5.7 使用ServletAPI向session域对象和application域对象共享数据
为什么要讲ServletAPI不讲其他的呢,首先吧,用得少,其次,前辈也建议使用这种,所以就讲这种啦!!!
向ScopeCotroller类新增它们的请求映射方法:
    @RequestMapping("/testSession")
    public String testSession(HttpSession session){
        session.setAttribute("testSessionScope", "hello,session");
        return "success";
    }

    @RequestMapping("/testApplication")
    public String testApplication(HttpSession session){
        ServletContext application = session.getServletContext();
        application.setAttribute("testApplicationScope", "hello,application");
        return "success";
    }
同时在test_scope页面中增加它们对应的超链接实现跳转功能:
<a th:href="@{/testSession}">通过servletAPI向session域对象共享数据</a><br>
<a th:href="@{/testApplication}">通过servletAPI向application域对象共享数据</a><br>
然后在success页面添加以下代码,来完成共享对象的展示:
  <p th:text="${session.testSessionScope}"/>
  <p th:text="${application.testApplicationScope}"/>


 3474
3474


 被折叠的 条评论
为什么被折叠?
被折叠的 条评论
为什么被折叠?
 到【灌水乐园】发言


