


Spring Boot makes it easy to create stand-alone, production-grade
Spring based Applications that you can “just run”.
使用springboot搭建应用只需要打成jar包,然后执行 java -jar xxxx.jar命令
We take an opinionated view of the Spring platform and third-party
libraries so you can get started with minimum fuss. Most Spring Boot
applications need minimal Spring configuration.
大多数 Spring Boot 应用程序需要最少的 Spring 配置。
Features
- Create stand-alone Spring applications——独立的 Spring 应用程序
- Embed Tomcat, Jetty or Undertow directly (no need to deploy WAR files)——内置servlet容器,不需要部署war包
- Provide opinionated ‘starter’ dependencies to simplify your build configuration——提供固定化起动器依赖,简化配置
- Automatically configure Spring and 3rd party libraries whenever possible——尽可能自动配置Spring库和第三方库
- Provide production-ready features such as metrics, health checks, and externalized configuration——提供生产水平功能:健康监测、监控等
- Absolutely no code generation and no requirement for XML configuration——无需代码生成以及XML配置
为什么学习Springboot?
内置tomcat,提供自动配置,搭建spring应用的脚手架,
解决了:
- 复杂的配置——配置xml
- 混乱的依赖管理——导jar包
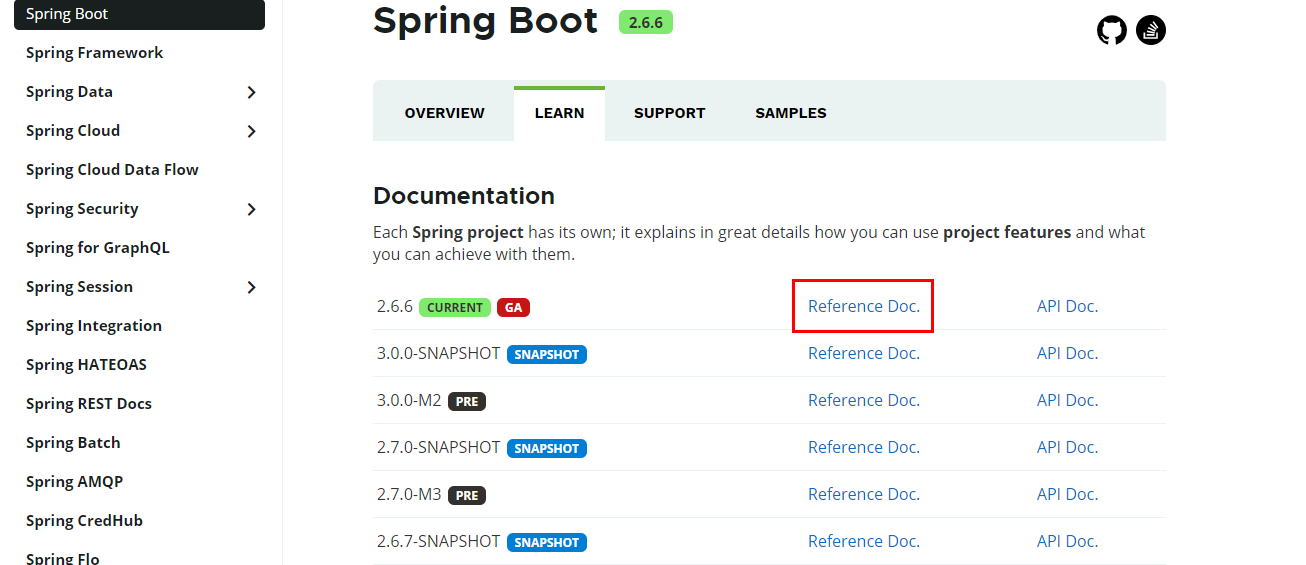
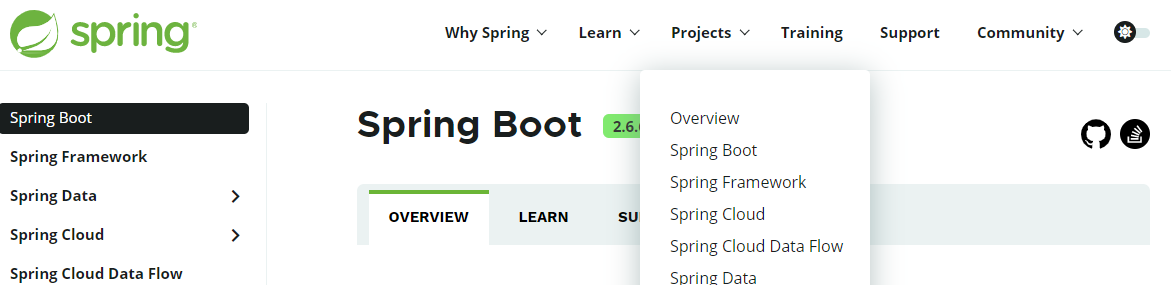
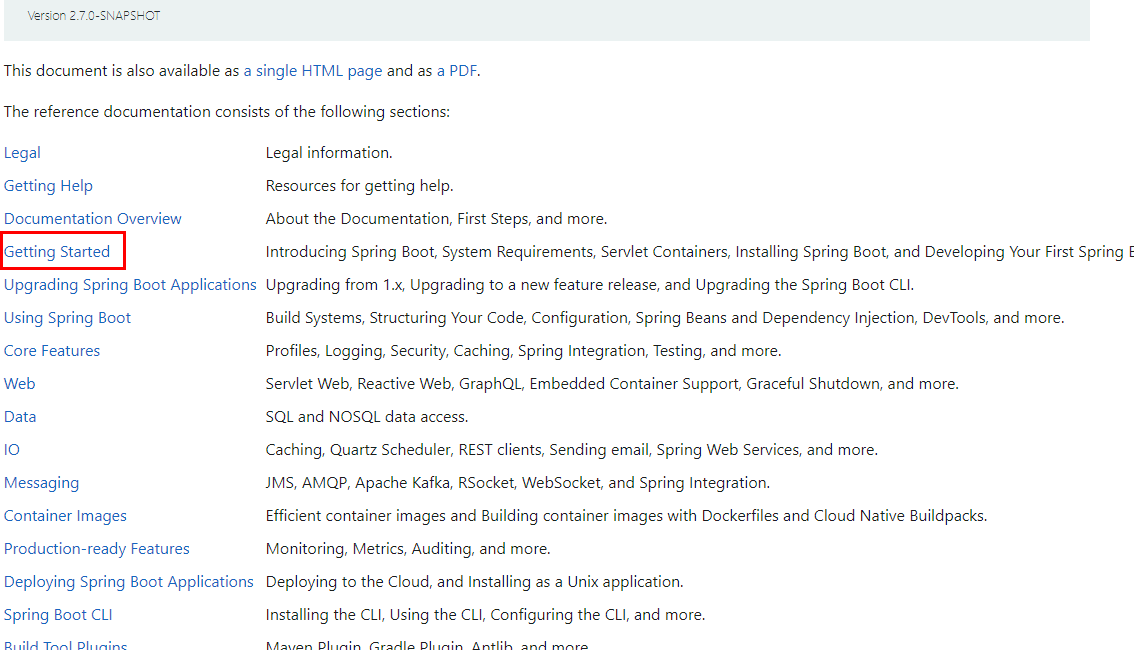
打开参考文档去阅读学习

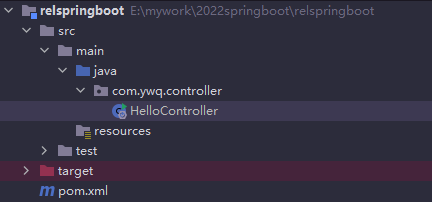
创建maven项目,添加pom依赖

这里需要注意 版本问题
maven版本、jdk版本是当前支持的版本
这里以maven3.8.2,jdk1.8为例
完整pom代码
<?xml version="1.0" encoding="UTF-8"?>
<project xmlns="http://maven.apache.org/POM/4.0.0" xmlns:xsi="http://www.w3.org/2001/XMLSchema-instance"
         xsi:schemaLocation="http://maven.apache.org/POM/4.0.0 https://maven.apache.org/xsd/maven-4.0.0.xsd">
    <modelVersion>4.0.0</modelVersion>

    <groupId>com.ywq</groupId>
    <artifactId>relspringboot</artifactId>
    <version>1.0-SNAPSHOT</version>

<!--  所有springboot应用都要以该工程为父工程  -->
    <parent>
        <groupId>org.springframework.boot</groupId>
        <artifactId>spring-boot-starter-parent</artifactId>
        <version>2.2.7.RELEASE</version>
    </parent>

    <dependencies>
<!--  启动器:每一个启动器背后都是一堆的依赖    web启动器 -->
        <dependency>
            <groupId>org.springframework.boot</groupId>
            <artifactId>spring-boot-starter-web</artifactId>
        </dependency>
    </dependencies>
</project>
创建controller文件
@RequestMapping("hello")
@RestController//@Controller+@ResponseBody 返回的是json的数据
@EnableAutoConfiguration//自动配置
public class HelloController {

    @GetMapping("show")
    public String test(){
        return "hello springboot";
    }


    public static void main(String[] args) {
        SpringApplication.run(HelloController.class,args);
    }
}
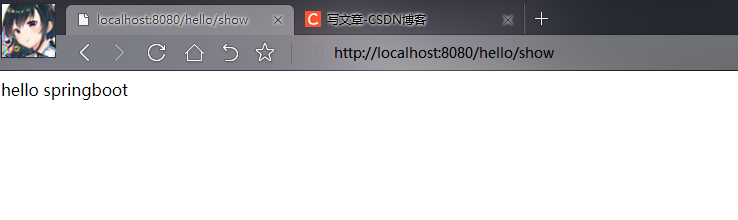
运行main方法

可以看到默认端口是8080,在浏览器打开如下:


 108
108


 被折叠的 条评论
为什么被折叠?
被折叠的 条评论
为什么被折叠?
 到【灌水乐园】发言


