


环境和版本:centos 7 es/kibana 1.17.1 jdk 1.8
三台centos服务器
安装
1.分别安装java环境 使用java -version和javac -version测试版本是否为1.8版本以上 可以直接使用yum install java -y
如果找不到javac -version 可以使用 yum install -y java-1.8.0-openjdk-devel
2.分别安装es
rpm -ivh elasticsearch-7.17.1-x86_64.rpm
3.配置es配置文件
vim /etc/elasticsearch
mkdir /data
mkdir /data/elasticsearch /data/log
chown -R elasticsearch:elasticsearch /data/
注意点:每一台的机器的node.name不一样
cluster.name: escluster
node.name: node-1
path.data: /data/elasticsearch
path.logs: /data/log
bootstrap.memory_lock: true
network.host: 0.0.0.0
discovery.seed_hosts: ["192.168.139.128","192.168.139.129","192.168.139.130"]
cluster.initial_master_nodes: ["192.168.139.128","192.168.139.129","192.168.139.130"]
http.cors.enabled: true
http.cors.allow-origin: "*"
http.cors.allow-headers: Authorization
xpack.security.enabled: true
xpack.security.transport.ssl.enabled: true
xpack.security.transport.ssl.verification_mode: certificate
xpack.security.transport.ssl.keystore.path: elastic-certificates.p12
xpack.security.transport.ssl.truststore.path: elastic-certificates.p12
4.生成集群认证文件
在其中一台执行,生成认证文件,传给另外两个文件
 cd /usr/share/elasticsearch/
 ./bin/elasticsearch-certutil ca
 ./bin/elasticsearch-certutil cert --ca elastic-stack-ca.p12
 scp elastic-* root@192.168.139.129:/etc/elasticsearch/
 scp elastic-* root@192.168.139.130:/etc/elasticsearch/
 cp elastic-* /etc/elasticsearch/
 chown elasticsearch:elasticsearch /etc/elasticsearch/elastic-certificates.p12

5.使用xpack进行加密
三台都需要执行
 cd /usr/share/elasticsearch
./bin/elasticsearch-keystore add xpack.security.transport.ssl.keystore.secure_password
./bin/elasticsearch-keystore add xpack.security.transport.ssl.truststore.secure_password
6.设置用户密码
启动es后,其中一台执行就可以了
注意点:在启动时,需要给三台的es添加最大文件的参数
vim  /usr/lib/systemd/system/elasticsearch.service
# 添加一行
# Specifies the maximum file size
LimitMEMLOCK=infinity

systemctl daemon-reload
否则会出现 memory locking requested for elasticsearch process but memory is not locked 错误
重启后可能还会出现错误:Unable to lock JVM Memory: error=12, reason=无法分配内存
解决方法:
vim /etc/security/limits.conf
# allow user 'elasticsearch' mlockall
elasticsearch soft memlock unlimited
elasticsearch hard memlock unlimited
systemctl stop firewalld
systemctl start elasticsearch
/usr/share/elasticsearch/bin/elasticsearch-setup-passwords interactive
查看es集群状态:输入用户名:elastic 密码:
http://192.168.139.128:9200/_cat/health?v

表示已经成功
7.安装Kibana
rpm -ivh kibana-7.17.1-x86_64.rpm
# 编辑配置文件
vim /etc/kibana/kibana.yml

server.port: 5601
server.host: "0.0.0.0"
server.publicBaseUrl: "http://192.168.139.128:5601"
elasticsearch.hosts:
  - http://192.168.139.128:9200
  - http://192.168.139.129:9200
  - http://192.168.139.130:9200
elasticsearch.username: "elastic"
elasticsearch.password: "123456"
xpack.security.encryptionKey: "something_at_least_32_characters"


# 启动
systemctl start kibana
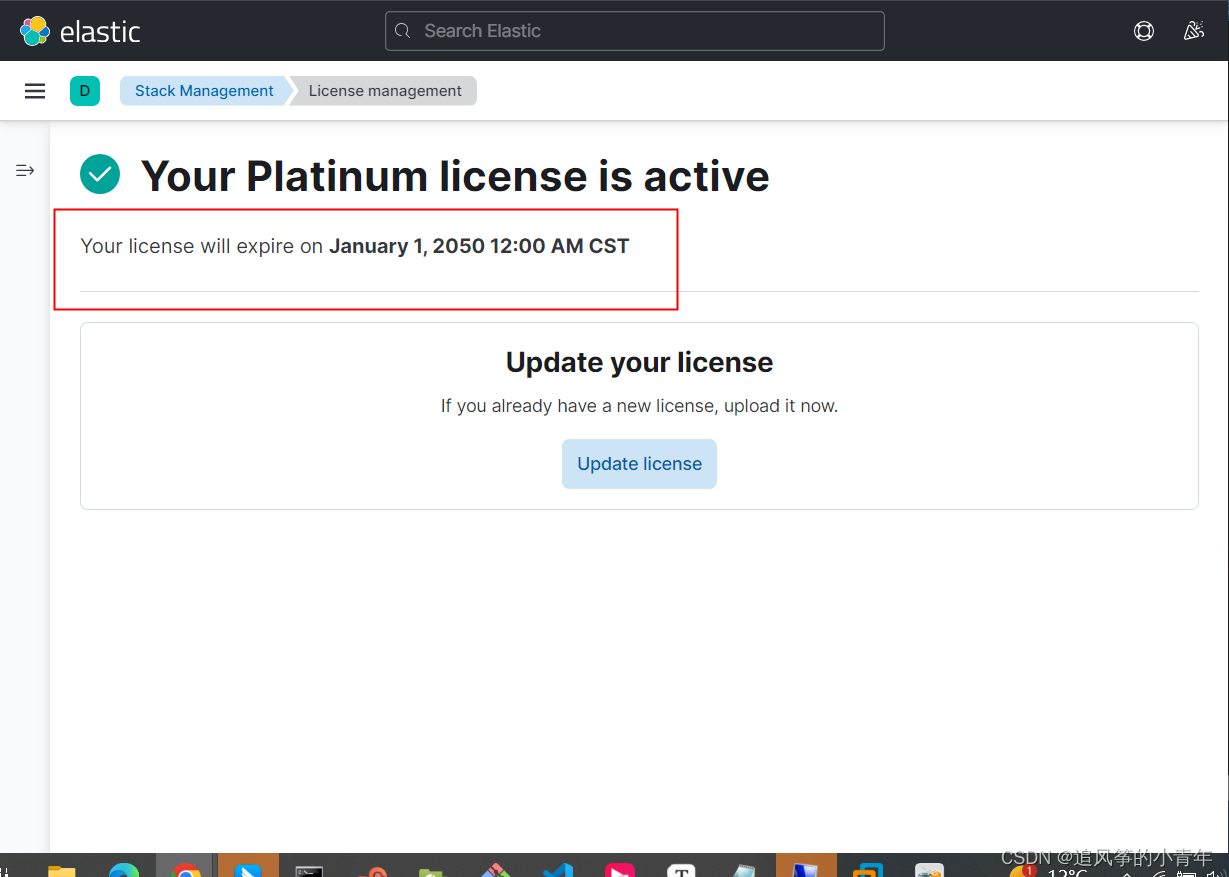
启动后访问:http://192.168.139.128:5601/
破解es白金版
1 下载反编译软件 链接: link
注意点:需要的环境是1.8。建议是windows中操作
2 路径为:/usr/share/elasticsearch/modules/x-pack-core/x-pack-core-7.17.1.jar 将包导出来
在本地windows上操作
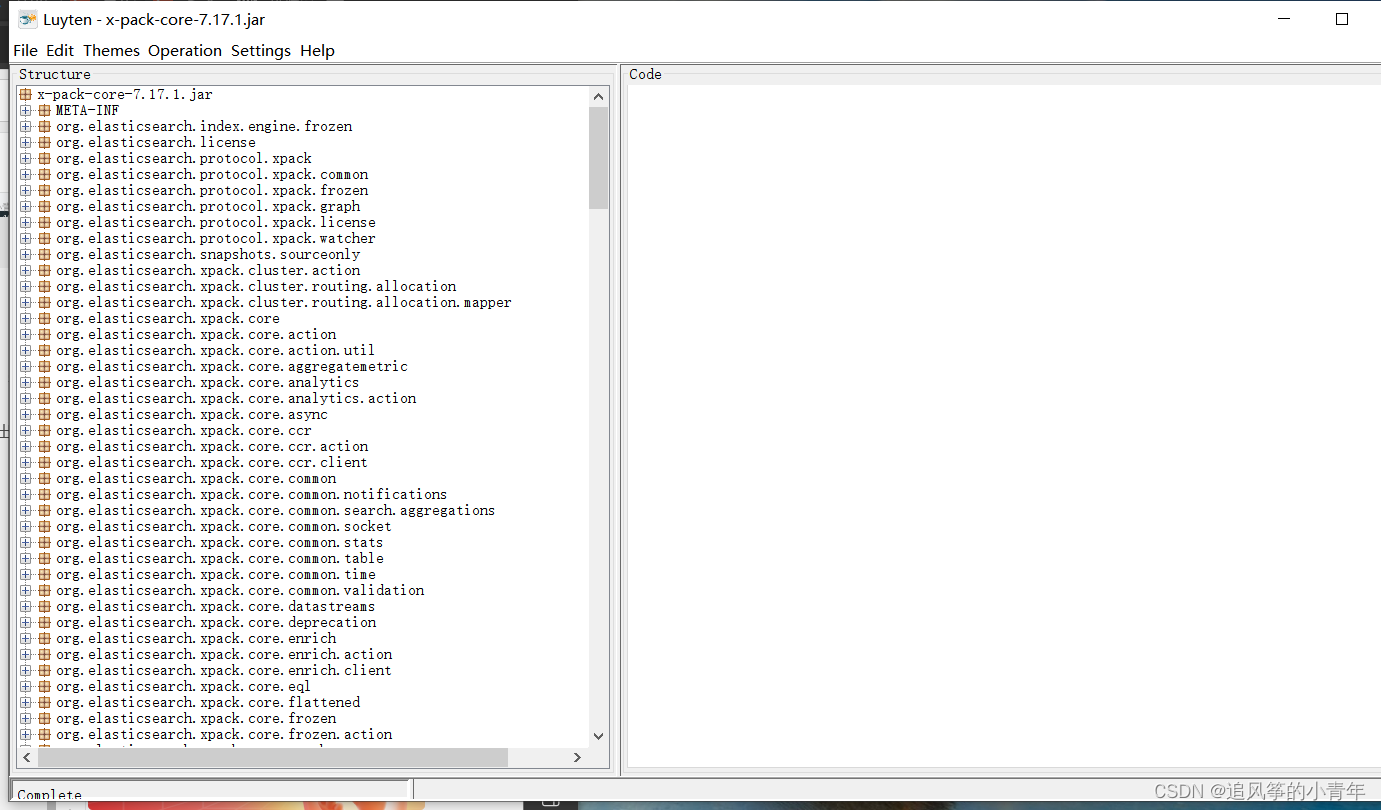
3.需要修改的两个文件
org.elasticsearch.license/LicenseVerifier.class LicenseVerifier.java
org.elasticsearch.xpack.core/XPackBuild.class XPackBuild.java
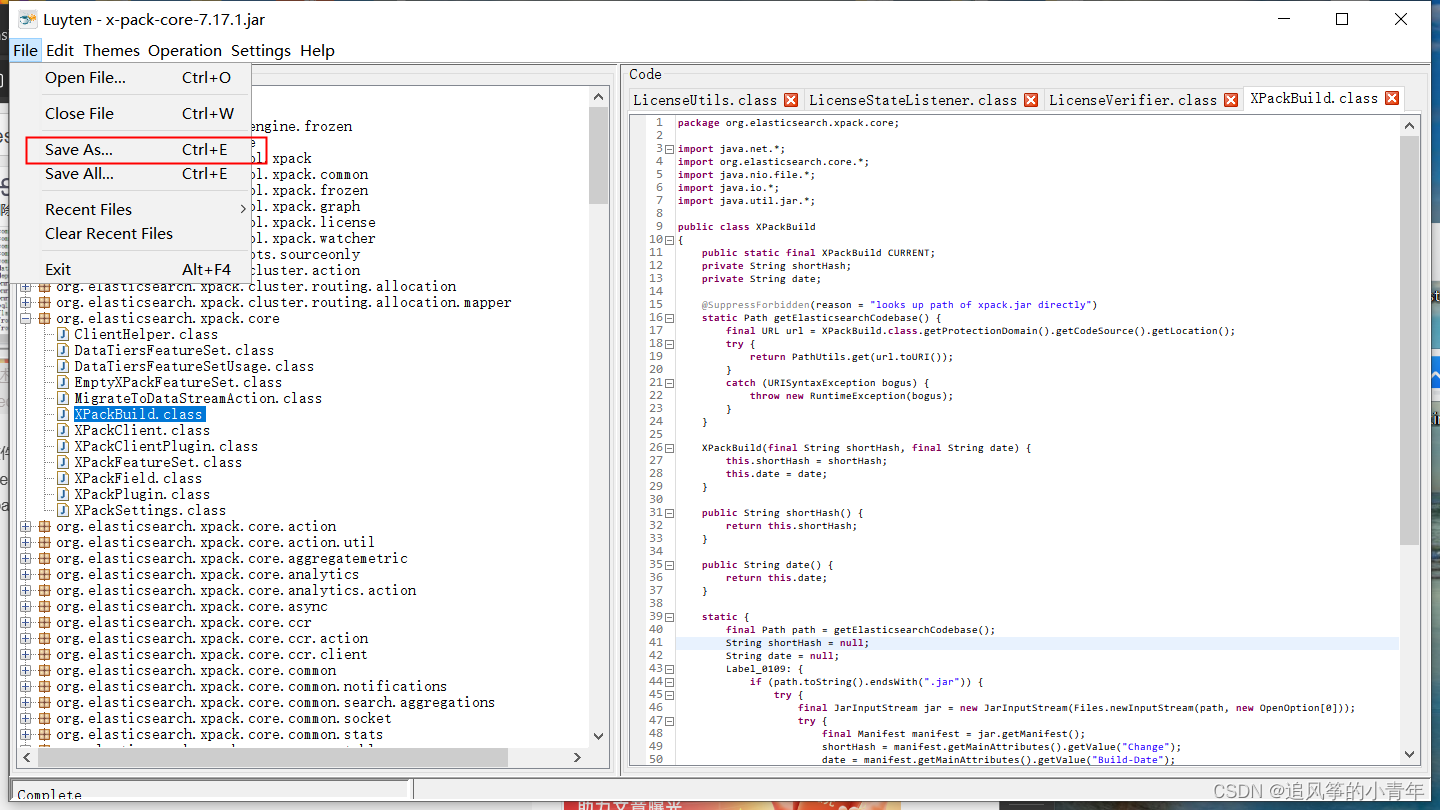
然后就可以在本地编辑这两个文件
4. 修改XPckBuild.java
package org.elasticsearch.xpack.core;

import java.net.*;
import org.elasticsearch.core.*;
import java.nio.file.*;
import java.io.*;
import java.util.jar.*;

public class XPackBuild
{
    public static final XPackBuild CURRENT;
    private String shortHash;
    private String date;

    @SuppressForbidden(reason = "looks up path of xpack.jar directly")
    static Path getElasticsearchCodebase() {
        final URL url = XPackBuild.class.getProtectionDomain().getCodeSource().getLocation();
        try {
            return PathUtils.get(url.toURI());
        }
        catch (URISyntaxException bogus) {
            throw new RuntimeException(bogus);
        }
    }

    XPackBuild(final String shortHash, final String date) {
        this.shortHash = shortHash;
        this.date = date;
    }

    public String shortHash() {
        return this.shortHash;
    }

    public String date() {
        return this.date;
    }

    static {
        final Path path = getElasticsearchCodebase();
        String shortHash = null;
        String date = null;
        Label_0109: {
          /*
            if (path.toString().endsWith(".jar")) {
                try {
                    final JarInputStream jar = new JarInputStream(Files.newInputStream(path, new OpenOption[0]));
                    try {
                        final Manifest manifest = jar.getManifest();
                        shortHash = manifest.getMainAttributes().getValue("Change");
                        date = manifest.getMainAttributes().getValue("Build-Date");
                        jar.close();
                    }
                    catch (Throwable t) {
                        try {
                            jar.close();
                        }
                        catch (Throwable t2) {
                            t.addSuppressed(t2);
                        }
                        throw t;
                    }
                    break Label_0109;
                }
                catch (IOException e) {
                    throw new RuntimeException(e);
                }
            }
            */
            shortHash = "Unknown";
            date = "Unknown";
        }
        CURRENT = new XPackBuild(shortHash, date);
    }
}
修改LicenseVerifier.java
package org.elasticsearch.license;

import java.nio.*;
import org.elasticsearch.common.bytes.*;
import java.security.*;
import java.util.*;
import org.elasticsearch.xcontent.*;
import org.apache.lucene.util.*;
import org.elasticsearch.core.internal.io.*;
import java.io.*;

public class LicenseVerifier
{
    public static boolean verifyLicense(final License license, final byte[] publicKeyData) {
        /*  //注释掉
        byte[] signedContent = null;
        byte[] publicKeyFingerprint = null;
        try {
            final byte[] signatureBytes = Base64.getDecoder().decode(license.signature());
            final ByteBuffer byteBuffer = ByteBuffer.wrap(signatureBytes);
            final int version = byteBuffer.getInt();
            final int magicLen = byteBuffer.getInt();
            final byte[] magic = new byte[magicLen];
            byteBuffer.get(magic);
            final int hashLen = byteBuffer.getInt();
            publicKeyFingerprint = new byte[hashLen];
            byteBuffer.get(publicKeyFingerprint);
            final int signedContentLen = byteBuffer.getInt();
            signedContent = new byte[signedContentLen];
            byteBuffer.get(signedContent);
            final XContentBuilder contentBuilder = XContentFactory.contentBuilder(XContentType.JSON);
            license.toXContent(contentBuilder, (ToXContent.Params)new ToXContent.MapParams((Map)Collections.singletonMap("license_spec_view", "true")));
            final Signature rsa = Signature.getInstance("SHA512withRSA");
            rsa.initVerify(CryptUtils.readPublicKey(publicKeyData));
            final BytesRefIterator iterator = BytesReference.bytes(contentBuilder).iterator();
            BytesRef ref;
            while ((ref = iterator.next()) != null) {
                rsa.update(ref.bytes, ref.offset, ref.length);
            }
            return rsa.verify(signedContent);
        }
        catch (IOException ex) {}
        catch (NoSuchAlgorithmException ex2) {}
        catch (SignatureException ex3) {}
        catch (InvalidKeyException e) {
            throw new IllegalStateException(e);
        }
        finally {
            if (signedContent != null) {
                Arrays.fill(signedContent, (byte)0);
            }
        }
        */
        return true;  //增加这一行
    }

    public static boolean verifyLicense(final License license) {
        /*  //注释掉
        byte[] publicKeyBytes;
        try {
            final InputStream is = LicenseVerifier.class.getResourceAsStream("/public.key");
            try {
                final ByteArrayOutputStream out = new ByteArrayOutputStream();
                Streams.copy(is, (OutputStream)out);
                publicKeyBytes = out.toByteArray();
                if (is != null) {
                    is.close();
                }
            }
            catch (Throwable t) {
                if (is != null) {
                    try {
                        is.close();
                    }
                    catch (Throwable t2) {
                        t.addSuppressed(t2);
                    }
                }
                throw t;
            }
        }
        catch (IOException ex) {
            throw new IllegalStateException(ex);
        }
        return verifyLicense(license, publicKeyBytes);
        */
      return true;  //增加这一行
    }
}
修改后上传服务器
5 再次生成Class文件
 javac -cp "/usr/share/elasticsearch/lib/elasticsearch-7.17.1.jar:/usr/share/elasticsearch/lib/lucene-core-8.11.1.jar:/usr/share/elasticsearch/modules/x-pack-core/x-pack-core-7.17.1.jar:/usr/share/elasticsearch/lib/elasticsearch-x-content-7.17.1.jar:/usr/share/elasticsearch/lib/elasticsearch-core-7.17.1.jar" /root/LicenseVerifier.java
 javac -cp "/usr/share/elasticsearch/lib/elasticsearch-7.17.1.jar:/usr/share/elasticsearch/lib/lucene-core-8.11.1.jar:/usr/share/elasticsearch/modules/x-pack-core/x-pack-core-7.17.1.jar:/usr/share/elasticsearch/lib/elasticsearch-x-content-7.17.1.jar:/usr/share/elasticsearch/lib/elasticsearch-core-7.17.1.jar" /root/XPackBuild.java
6 重新替换打包
 cp /usr/share/elasticsearch/modules/x-pack-core/x-pack-core-7.17.1.jar /elk/x-pack
 cd /elk/x-pack
 # 解压
 jar -xvf x-pack-core-7.17.1.jar
 # 替换.class文件
cp /root/XPackBuild.class /elk/x-pack/org/elasticsearch/xpack/core/
cp /root/LicenseVerifier.class /elk/x-pack/org/elasticsearch/license/
# 重新打包生成x-pack-core-7.5.1.jar文件
cd /elk/x-pack
rm -rf x-pack-core-7.17.1.jar   # 删除临时拷贝过来的源文件
jar cvf x-pack-core-7.17.1.jar .   #得到新的破解jar包
将新生成的 x-pack-core-7.17.1.jar 替换到/usr/share/elasticsearch/modules/x-pack-core/
 cp x-pack-core-7.17.1.jar /usr/share/elasticsearch/modules/x-pack-core/
 # 发送到另外两台机器上
 scp x-pack-core-7.17.1.jar root@192.168.139.129:/app
 scp x-pack-core-7.17.1.jar root@192.168.139.130:/app
 #将x-pack-core-7.17.1.jar换到/usr/share/elasticsearch/modules/x-pack-core/中
 cp x-pack-core-7.17.1.jar /usr/share/elasticsearch/modules/x-pack-core/
7 申请证书
link
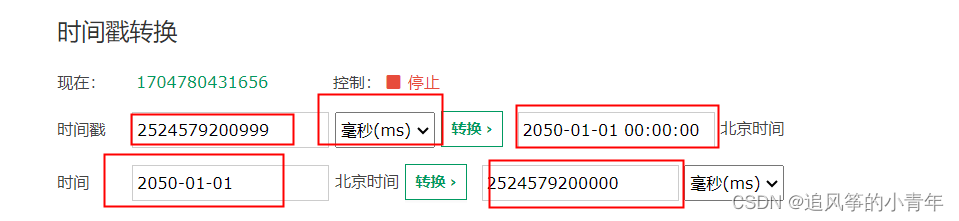
下载后需要修改的部分:License中的type改为platinum,将expiry_date_in_millis延长N年时间(利用时间戳修改)
修改网站:
link
8 导入证书
从kibana中导入,访问
link
前提:需要将es配置进行一下修改。等导入成功后,再重新修改为原来的配置,三台都要修改
cluster.name: escluster
node.name: node-2
path.data: /data/elasticsearch
path.logs: /data/log
bootstrap.memory_lock: true
network.host: 0.0.0.0
discovery.seed_hosts: ["192.168.139.128","192.168.139.129","192.168.139.130"]
cluster.initial_master_nodes: ["192.168.139.128","192.168.139.129","192.168.139.130"]
http.cors.enabled: true
http.cors.allow-origin: "*"
http.cors.allow-headers: Authorization
xpack.security.enabled: false
xpack.security.transport.ssl.enabled: false
#xpack.security.transport.ssl.verification_mode: certificate
#xpack.security.transport.ssl.keystore.path: elastic-certificates.p12
#xpack.security.transport.ssl.truststore.path: elastic-certificates.p12
9 记得将/etc/elasticsearch/elasticsearch.yml文件修改过来
安装es分词器
(1)analysis-ik
/usr/share/elasticsearch/bin/elasticsearch-plugin install file:///app/elasticsearch-analysis-ik-7.17.1.zip
(2)jieba
gradle下载路径:link
jieba下载路径:https://codeload.github.com/sing1ee/elasticsearch-jieba-plugin/zip/refs/tags/v7.4.2
gradle命令 直接使用需要在 /etc/profile中添加这几行 加好后记得 source /etc/profile
export JAVA_HOME=JAVA_HOME=/usr/lib/jvm/java-1.8.0-openjdk-1.8.0.402.b06-1.el7_9.x86_64
export PATH=$JAVA_HOME/bin:$PATH
export CLASSPATH=.:$JAVA_HOME/lib/dt.jar:$JAVA_HOME/lib/tools.jar
export PATH=/usr/local/gradle/gradle-6.8/bin:$PATH
# 步骤:先解压
unzip gradle-6.8-bin.zip -d /usr/local/gradle
unzip elasticsearch-jieba-plugin-7.4.2.zip -d jieba
cd jieba/elasticsearch-jieba-plugin-7.4.2
gradle pz  #编译
cp /app/jieba/elasticsearch-jieba-plugin-7.4.2/build/distributions/elasticsearch-jieba-plugin-7.4.2.zip /usr/share/elasticsearch/plugins
cd /usr/share/elasticsearch/plugins/
unzip elasticsearch-jieba-plugin-7.4.2.zip -d jieba
vim plugin-descriptor.properties
 #下面是修改的部分  修改版本  三台都需要执行
 version=7.17,1
 elasticsearch.version=7.17.1

# 删除/usr/share/elasticsearch/plugins路径下的elasticsearch-jieba-plugin-7.4.2.zip
rm -f /usr/share/elasticsearch/plugins/elasticsearch-jieba-plugin-7.4.2.zip
# 查看是否安装好
/usr/share/elasticsearch/bin/elasticsearch-plugin list
# 需要重新启动es  加载插件

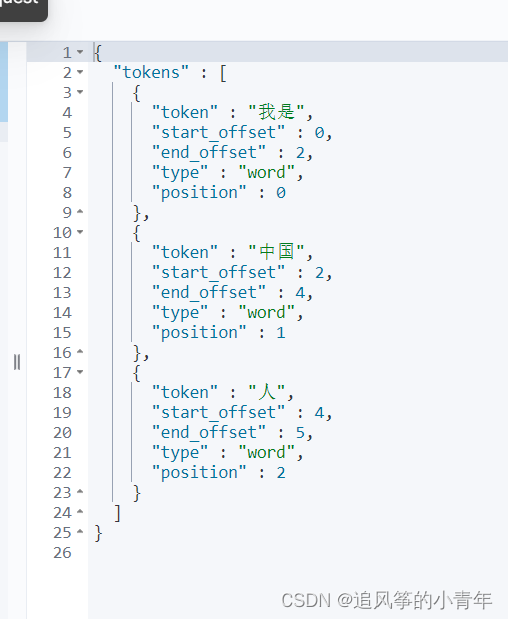
进入kibana中测试是否能用
访问 http://192.168.139.128:5601/app/dev_tools#/console
在控制台中输入:
POST _analyze
{
  "analyzer": "jieba_index",
  "text": "我是中国人"
}


 596
596


 被折叠的 条评论
为什么被折叠?
被折叠的 条评论
为什么被折叠?
 到【灌水乐园】发言


