


一、项目分析
根据要求,我这里没有使用数据库,所以可以不用连接数据库,当用户点击登陆时,将会获取servlet里面的用户参数,来进行判断,若符合要求则跳转到成功登陆界面,若不符合则跳转到失败界面。(这里还可以使用数据库,对用户进行增、删、查、改)
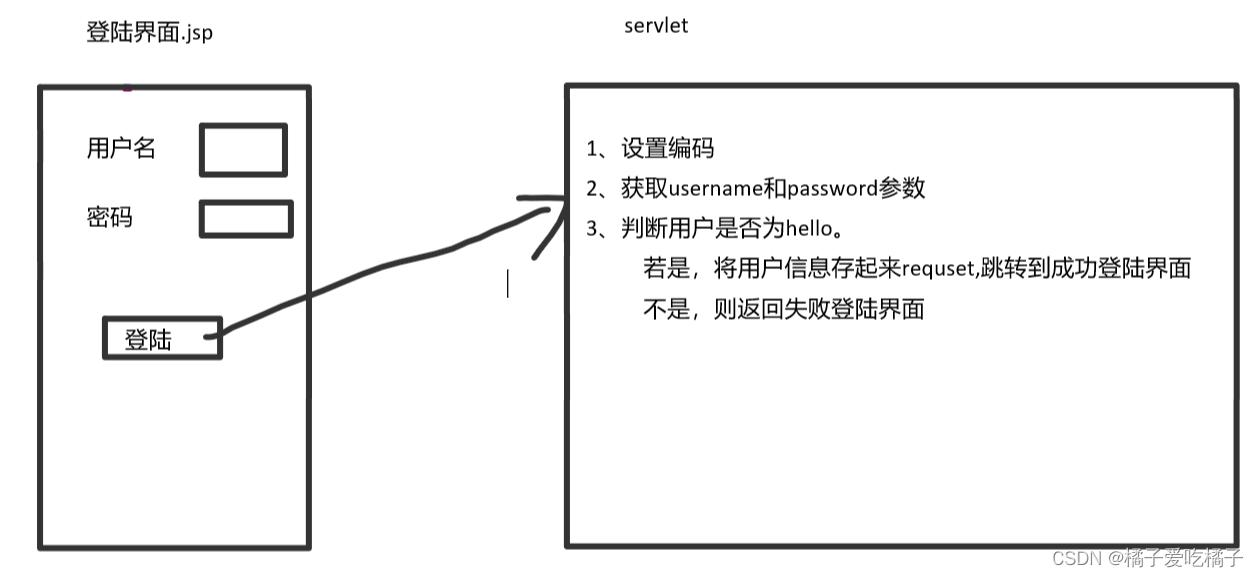
二、项目功能(只实现了记住密码功能!其他的学会了再补上!)
使用servlet实现用户登陆、记住密码。记住密码我使用的是cookie保存,这里我单独设置了一个servlet页面,来做跳转。如果判断账户成功,则跳转到登陆成功页面,若失败,则跳转到失败页面。
Servelet----LoginServelet.java
package com.cc;

import java.awt.Checkbox;
import java.io.IOException;
import javax.servlet.ServletException;
import javax.servlet.annotation.WebServlet;
import javax.servlet.http.Cookie;
import javax.servlet.http.HttpServlet;
import javax.servlet.http.HttpServletRequest;
import javax.servlet.http.HttpServletResponse;


@WebServlet("/LoginServlet")
public class LoginServlet extends HttpServlet
{
	private static final long serialVersionUID = 1L;


    public LoginServlet()
    {
        super();
    }

	protected void doPost(HttpServletRequest request, HttpServletResponse response) throws ServletException, IOException
	{
		//获取请求参数
		String name = request.getParameter("username");
		String pwd = request.getParameter("password");
		String checkbox=request.getParameter("c1");
		String infomessage="";
		String FailLogin="";
		boolean Successlogin="hello".equals(name)&&"123456".equals(pwd);
	//用户判断
		if(Successlogin)
		{

			//			选中是否记住我,使用cookie
			if(checkbox!=null)
			{
				Cookie cookie=new Cookie("loginname",name);//创建cookie对象
				Cookie cookie2=new Cookie("loginpwd",pwd);
				cookie.setMaxAge(7*24*60*60);//设置有效期,7天24小时60分60秒
				cookie2.setMaxAge(7*24*60*60);//设置有效期,7天24小时60分60秒
				response.addCookie(cookie);//将cookie放在客户端
				response.addCookie(cookie2);//将cookie放在客户端
			}
			else
			{
				//删除cookie
				Cookie cookie=new Cookie("loginname",name);
				Cookie cookie2=new Cookie("loginpwd",pwd);
				cookie2.setMaxAge(7*24*60*60);//设置有效期,7天24小时60分60秒
				cookie.setMaxAge(0);
				cookie2.setMaxAge(0);
				response.addCookie(cookie);
				response.addCookie(cookie2);//将cookie放在客户端
			}
			infomessage = "欢迎您:\t "+"\t "+name+"\t"+"!";
			request.setAttribute("infomessages", infomessage);
			request.getRequestDispatcher("/LoginServlet.jsp").forward(request, response);
		}
		else
		{
			FailLogin="请输入正确的账号和密码!";
			request.setAttribute("FailLogin", FailLogin);
			request.getRequestDispatcher("/FailLogin.jsp").forward(request, response);
		}

	}

}
三、制作界面
在制作登陆界面时,我分成了三个界面,分别是成功登陆(只设置hello一个用户,没有连接数据库)、登陆失败、还有一个登陆页面
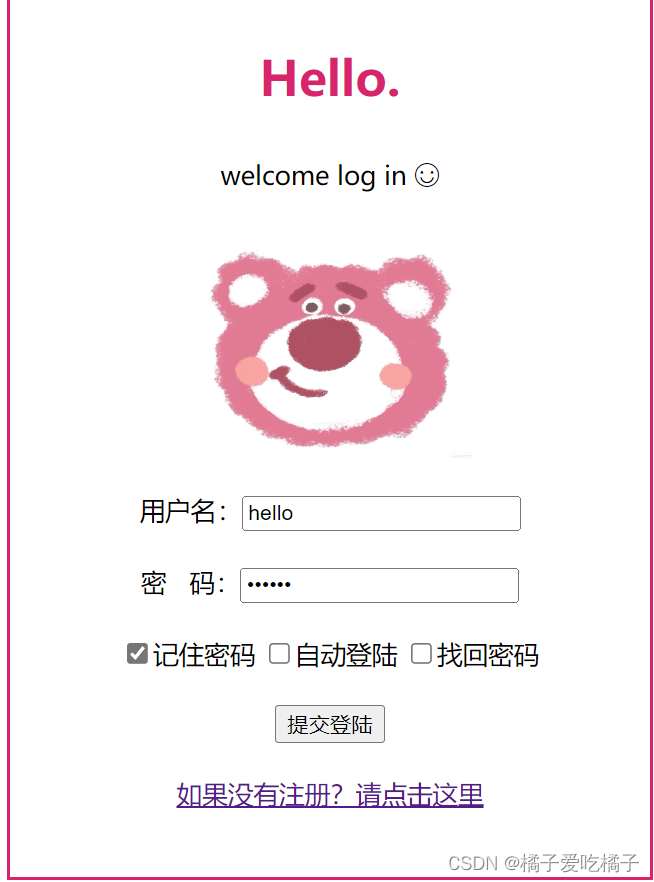
登陆界面-------Login.jsp
<%@ page language="java" contentType="text/html; charset=UTF-8"
pageEncoding="UTF-8"%>
<!DOCTYPE html PUBLIC "-//W3C//DTD HTML 4.01 Transitional//EN" "http://www.w3.org/TR/html4/loose.dtd">
<html>
<head>
<meta http-equiv="Content-Type" content="text/html; charset=UTF-8">
<head>
<title>登陆界面</title>
<style type="text/css">
.div1{border:solid 2px #D8246C;width: 400px;height:550px;}
.top{width: 100%;height:150px; }
.message{padding-top: 130px;
</style>
</head>
<body>
<!-- 从cookie取出登陆用户名 -->
<%
String Uname = "";
String Pwd = "";
Cookie cookie[]=request.getCookies();//获取cookie
Cookie cookie2[]=request.getCookies();//获取cookie
if(cookie!=null)
{
for(int i =0;i<cookie.length;i++)
{
if(cookie[i].getName().equals("loginname"))
{
Uname=cookie[i].getValue();
}
}
}
if(cookie2!=null)
{
for(int i =0;i<cookie2.length;i++)
{
if(cookie2[i].getName().equals("loginpwd"))
{
Pwd=cookie2[i].getValue();
}
}
}
%>
<center>
<div class="div1">
<div class="top">
<p style="color: #D8246C;font-weight: bold;font-size:30px;">Hello.</p>
<p>welcome log in ☺</p>
<img src="image/4.jpg" width="50%" height="150px"></br></br>
</div>
<div class="message">
<form action="LoginServlet" method="post">
<label>用户名:</label><input type="text" name="username" id="username" placeholder="请输入用户名" value=<%= Uname %> ></br></br>
<label>密 码:</label><input type="password" name="password" id="password" placeholder="请输入密码" value=<%= Pwd %>></br></br>
<input type="checkbox" name="c1" value="passwords" >记住密码
<input type="checkbox" name="c2" value="p2">自动登陆
<input type="checkbox" name="c3" value="p3">找回密码</br></br>
<input type="submit" class="button" name="b1" value="提交登陆"></br></br>
<a href="https://mail.qq.com/" >如果没有注册?请点击这里</a>
</form>
</div>
</div>
</center>
</body>
</html>
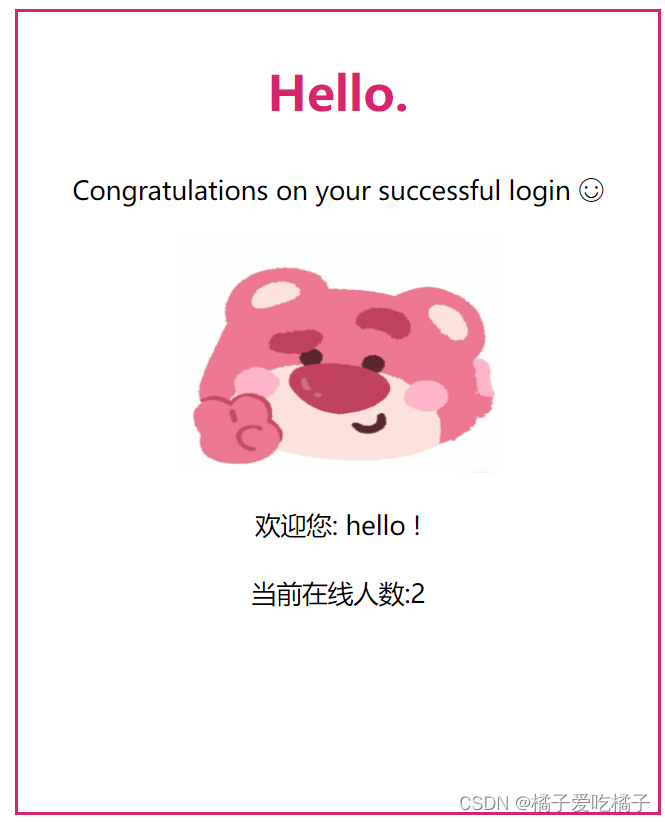
登陆成功界面----LoginServlet.jsp
<%@ page language="java" contentType="text/html; charset=UTF-8"
    pageEncoding="UTF-8"%>
<!DOCTYPE html PUBLIC "-//W3C//DTD HTML 4.01 Transitional//EN" "http://www.w3.org/TR/html4/loose.dtd">
<html>
<head>
<meta http-equiv="Content-Type" content="text/html; charset=UTF-8">
	<title>登陆成功后的界面</title>
	<style type="text/css">
		.div1{border:solid 2px #D8246C;width: 400px;height:500px;}
		.top{width: 100%;height:150px; }
		.message{padding-top: 130px;}
	</style>
</head>
<body>
<center>
<div class="div1">
	<div class="top">
		<p style="color: #D8246C;font-weight: bold;font-size:30px;">Hello.</p>
		<p>Congratulations on your successful login ☺</p>
		<img src="image/5.jpg" width="50%" height="150px"></br></br>
	</div>

	<div class="message">
    <%= request.getAttribute("infomessages")%></br></br>
    <%
    	int onlinenumber;
    	Object obj=application.getAttribute("count");
    	if(obj==null)
    	{
    		onlinenumber=1;
    	}
    	else
    	{
    		onlinenumber=(int)obj+1;
    	}
    	application.setAttribute("count", onlinenumber);
    %>
    当前在线人数:<%= onlinenumber %>
    </center>
	</div>
</div>
</body>
</html>
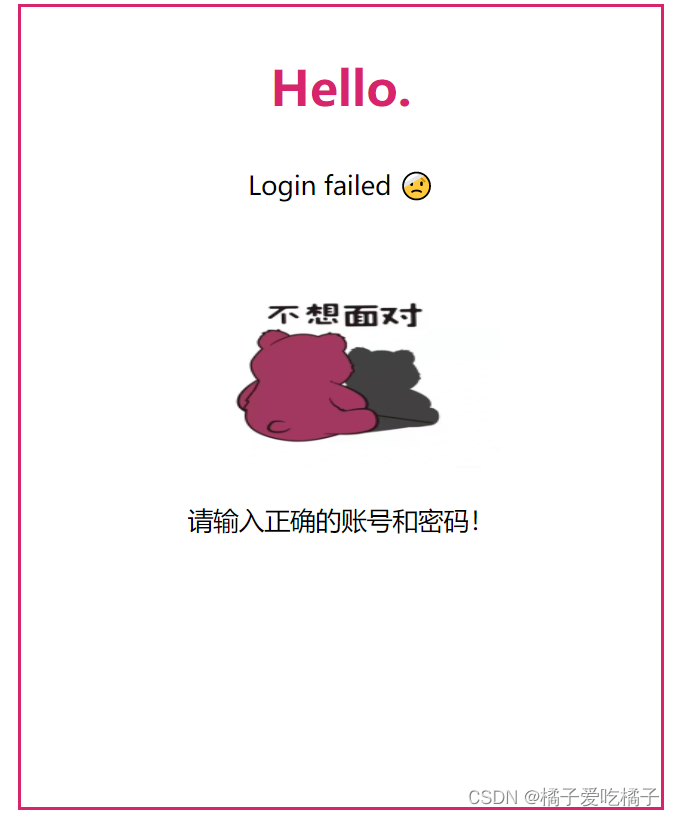
登陆失败界面----FailLogin.jsp
<%@ page language="java" contentType="text/html; charset=UTF-8"
    pageEncoding="UTF-8"%>
<!DOCTYPE html PUBLIC "-//W3C//DTD HTML 4.01 Transitional//EN" "http://www.w3.org/TR/html4/loose.dtd">
<html>
<head>
<meta http-equiv="Content-Type" content="text/html; charset=UTF-8">
	<title>登陆失败后的界面</title>
	<style type="text/css">
		.div1{border:solid 2px #D8246C;width: 400px;height:500px;}
		.top{width: 100%;height:150px; }
		.message{padding-top: 130px;}
	</style>
</head>
<body>
<center>
<div class="div1">
	<div class="top">
		<p style="color: #D8246C;font-weight: bold;font-size:30px;">Hello.</p>
		<p>Login failed 🤕</p>
		<img src="image/6.jpg" width="50%" height="150px"></br></br>
	</div>

	<div class="message">
    <%= request.getAttribute("FailLogin")%></center>
	</div>
</div>
</body>
</html>
四、项目实现结果(只实现了记住密码功能!!其他的等我学到了那部分再去补上!!)
第一次登陆,点击记住密码,下次可以直接免密登陆
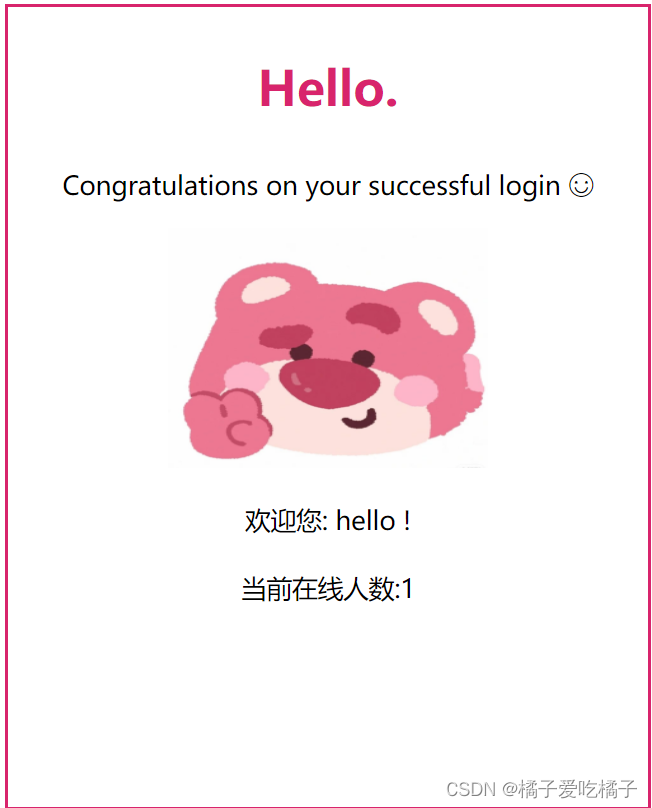
第二次登陆,就会直接登陆。显示在线人数2人,因为我在elipse上没有重新发布运行。
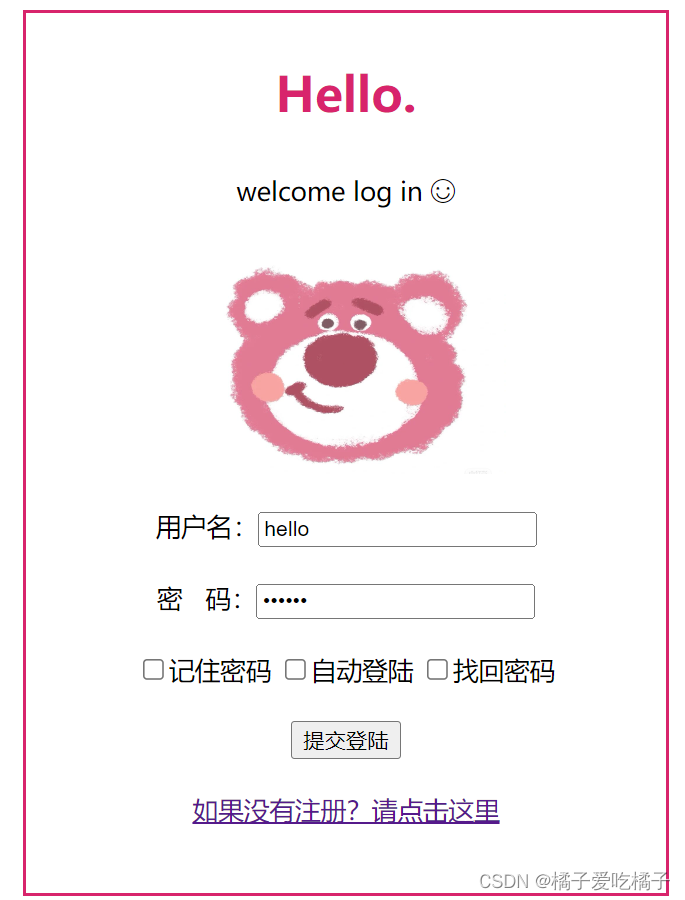
登陆失败页面


 4333
4333


 被折叠的 条评论
为什么被折叠?
被折叠的 条评论
为什么被折叠?
 到【灌水乐园】发言


