


系列文章目录
提示:写完文章后,目录可以自动生成,如何生成可参考右边的帮助文档
文章目录
前言
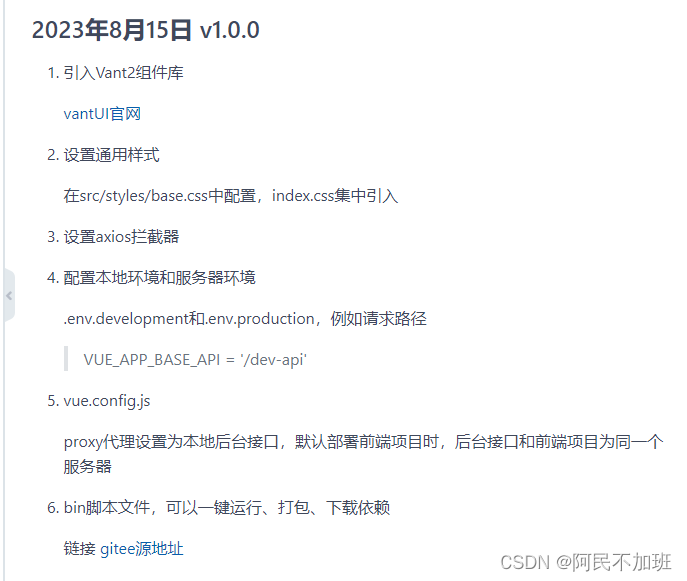
如果没有现成的脚手架,可以用我的,教程需要看上中下三篇。
传送门 【Vue】Vue2创建移动端项目实战教程,创建移动端项目保姆级教程,设置axios,utils工具包,vue.fonfig.js配置项

也可以直接拿现成的
vue-app
我按照我上面gitee中的包来操作
参考教程Vue+高德地图API的使用
一、安装高德地图
npm i @amap/amap-jsapi-loader --save
如果是用我的脚手架,还要npm i一遍其他依赖
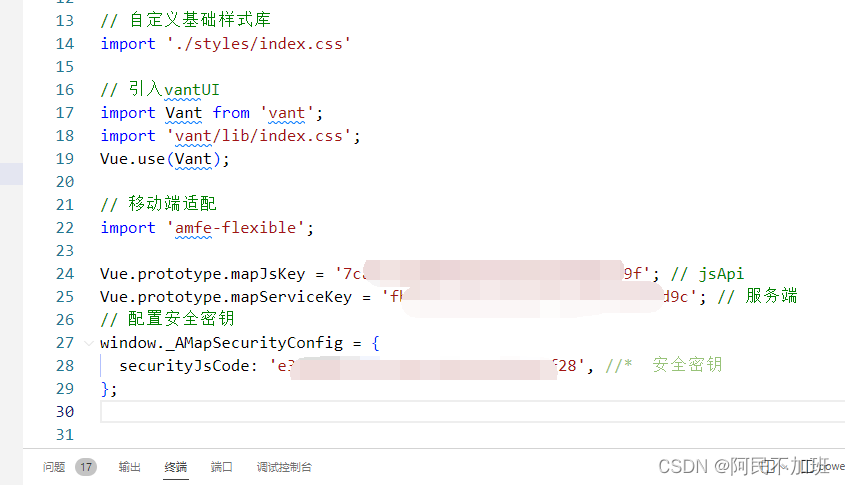
二、在main.js中配置
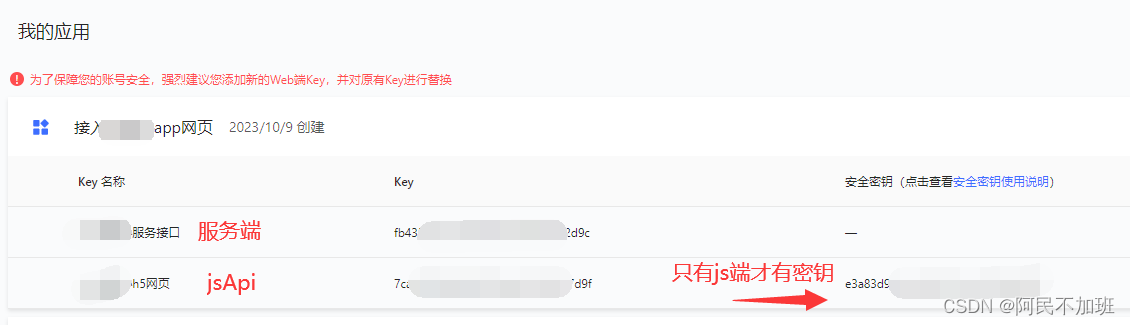
需要配置2个key值以及1个密钥
Vue.prototype.mapJsKey = '***************************'; // jsApi
Vue.prototype.mapServiceKey = '***********************'; // 服务端
// 配置安全密钥
window._AMapSecurityConfig = {
  securityJsCode: '***********************', //*  安全密钥
};
web js端的变量叫mapJsKey
服务端的变量叫mapServiceKey
把上面的key放进去
后面有用
securityJsCode这个就是密钥,存放jsApi的key值
三、在页面中使用
这里不作组件引入了,直接在页面中使用
全部可以一键复制粘贴,无须担心
3.1 新建路由
{
    path: '/park',
    name: 'park',
    component: () => import('../views/park/index.vue'),
    children: [
      {
        path: 'main',
        name: 'parkMain',
        component: () => import('../views/park/main.vue'),
        meta: {
          title: '周边公园',
          keepAlive: false,
        },
      },
    ],
  },
3.2新建vue页面
3.2-1 index.vue
用来作为父级容器,好控制路由的写法
<template>
  <div>
    <keep-alive>
      <router-view v-if="$route.meta.keepAlive" />
    </keep-alive>
    <router-view v-if="!$route.meta.keepAlive" />
  </div>
</template>

<script>
export default {
  name: 'park',
};
</script>
3.2-2 main.vue 主页面显示
页面所有内容,过于简单,我全部放在一起,后续再一点点加功能
<template>
<div class="container">
<div id="Map" class="map"></div>
</div>
</template>
<script>
import AMapLoader from '@amap/amap-jsapi-loader';
export default {
name: 'vinit',
components: {},
data() {
return {
map: null,
position: [], // 当前经纬度
locationInfo: {}, // 当前位置信息
};
},
computed: {
},
watch: {},
filters: {},
created() { },
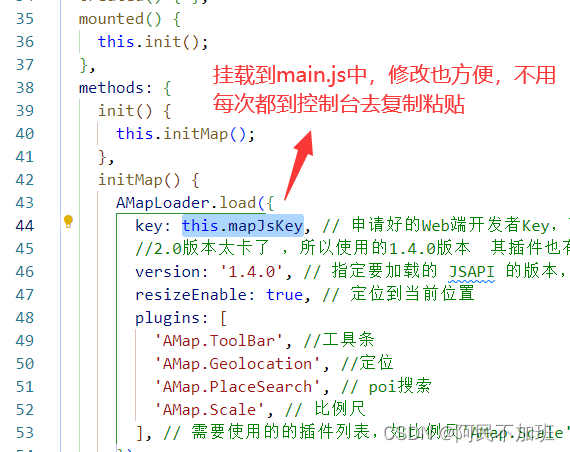
mounted() {
this.init();
},
methods: {
init() {
this.initMap();
},
initMap() {
AMapLoader.load({
key: this.mapJsKey, // 申请好的Web端开发者Key,首次调用 load 时必填
//2.0版本太卡了 ,所以使用的1.4.0版本 其插件也有不同 如:ToolBar
version: '1.4.0', // 指定要加载的 JSAPI 的版本,缺省时默认为 1.4.15
resizeEnable: true, // 定位到当前位置
plugins: [
'AMap.ToolBar', //工具条
'AMap.Geolocation', //定位
'AMap.PlaceSearch', // poi搜索
'AMap.Scale', // 比例尺
], // 需要使用的的插件列表,如比例尺'AMap.Scale'等
})
.then((AMap) => {
this.map = new AMap.Map('Map', {
viewMode: '3D', //是否为3D地图模式
zoom: 14, //初始化地图级别
});
this.map.addControl(new AMap.ToolBar()); // 工具条
this.map.addControl(new AMap.Scale()); // 比例尺
this.geolocation = new AMap.Geolocation({
//定位
enableHighAccuracy: true, //是否使用高精度定位,默认:true
timeout: 5000, //超过10秒后停止定位,默认:无穷大
maximumAge: 0, //定位结果缓存0毫秒,默认:0
convert: true, //自动偏移坐标,偏移后的坐标为高德坐标,默认:true
showButton: true, //显示定位按钮,默认:true
buttonPosition: 'RB', //定位按钮停靠位置,默认:'LB',左下角
buttonOffset: new AMap.Pixel(60, 20), //定位按钮与设置的停靠位置的偏移量,默认:Pixel(10, 20)
showMarker: true, //定位成功后在定位到的位置显示点标记,默认:true
showCircle: true, //定位成功后用圆圈表示定位精度范围,默认:true
panToLocation: true, //定位成功后将定位到的位置作为地图中心点,默认:true
zoomToAccuracy: true, //定位成功后调整地图视野范围使定位位置及精度范围视野内可见,默认:false
});
this.map.addControl(this.geolocation); //在地图上引入定位插件
this.geolocation.getCurrentPosition((status, result) => {
if (status == 'complete') {
this.locationInfo = result;
// console.log('位置信息 complete: => ', result);
// console.log('位置经纬度: => ', result.position);
this.position = [result.position.lng, result.position.lat];
} else {
console.log('位置信息 error: =>', result);
}
});
})
.catch((e) => {
console.log(e);
});
},
},
};
</script>
<style scoped lang="scss">
.container {
background-color: #f4f4f4;
height: 100vh;
.map {
height: 400px;
}
}</style>
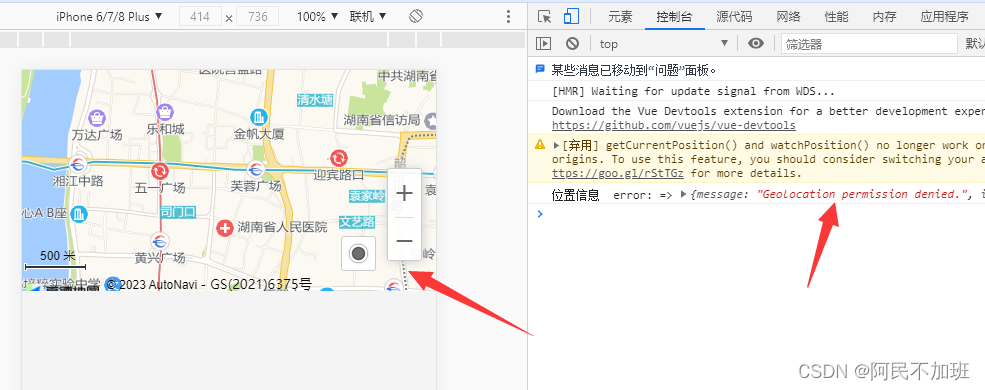
3.3 页面效果
电脑是没有gps模块的,所以并不能显示所在位置,但是手机可以
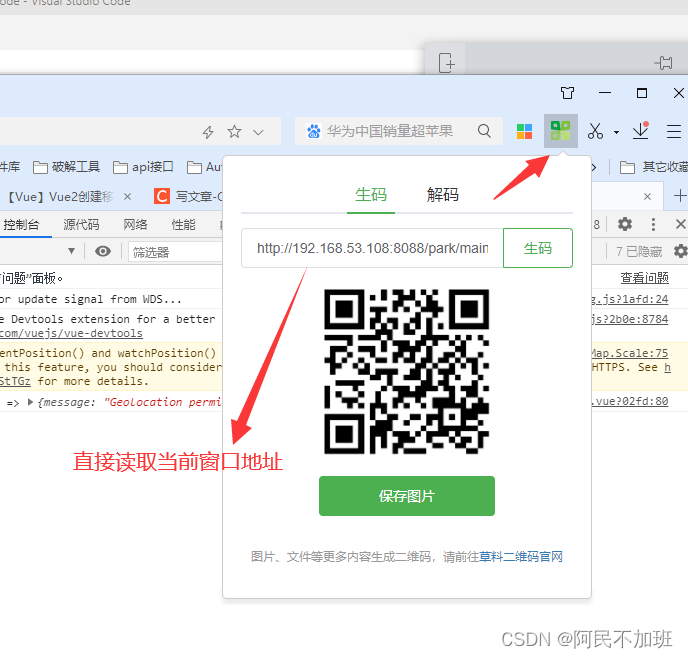
3.4 使用手机查看定位
使用草料二维码,将本地ip转为二维码,用手机系统浏览器打开,不要用微信、或者其他例如via浏览器。
草料二维码官网
如果嫌每次都要复制链接去转码比较麻烦,可以下载它的插件,安装到浏览器,如下效果图
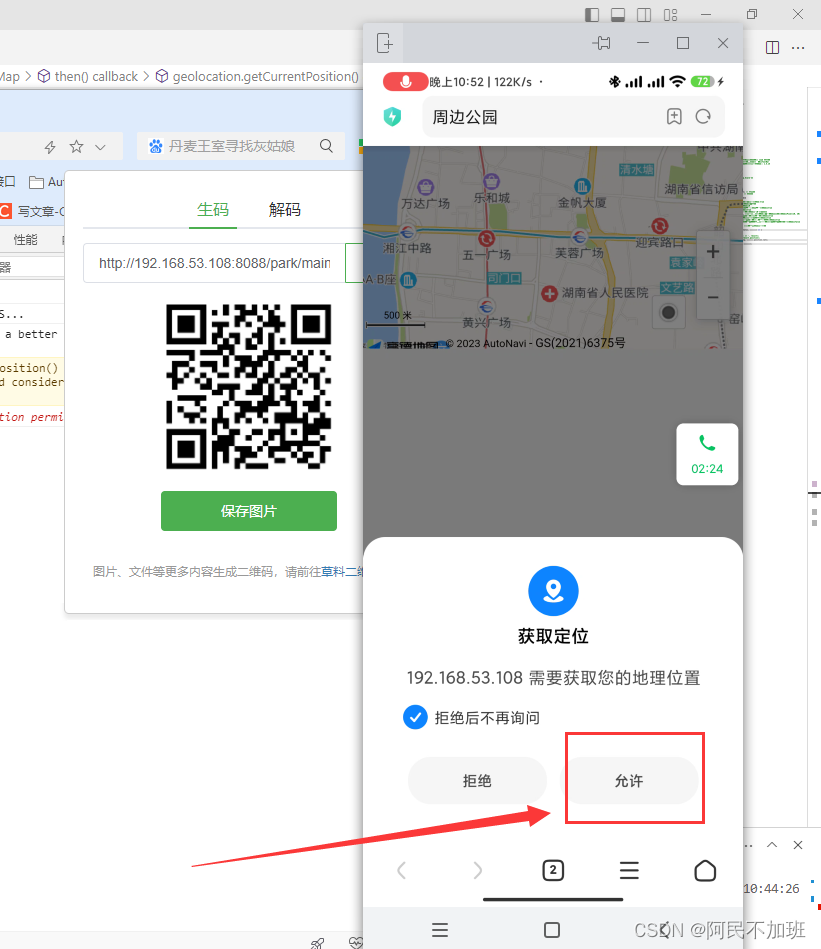
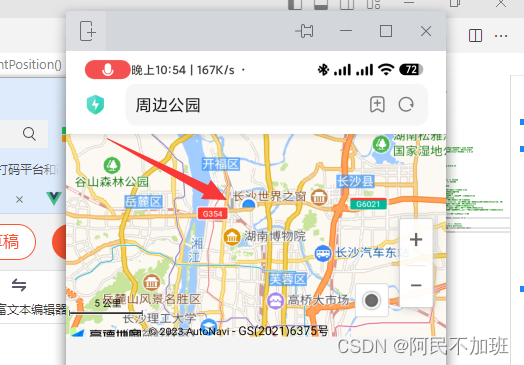
3.5 必须允许获取位置授权
为了隐私,我缩小了视图。
总结
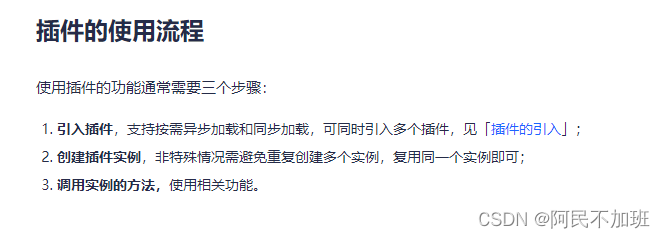
关于插件
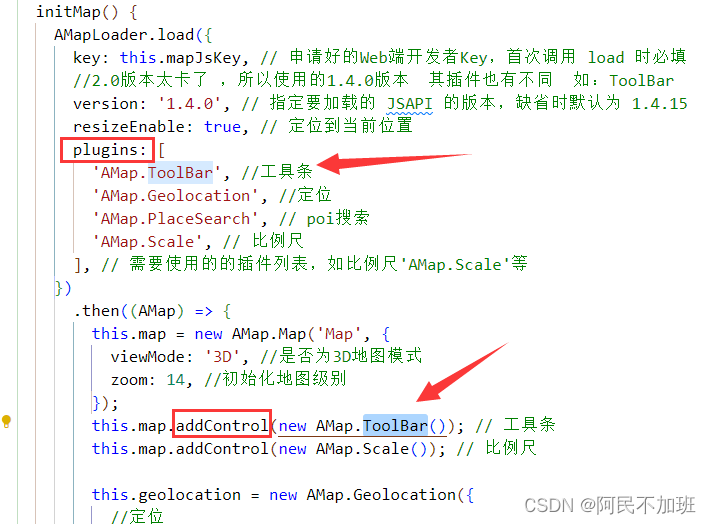
需要用什么,用addControl方法添加
传送门地图js 插件的使用
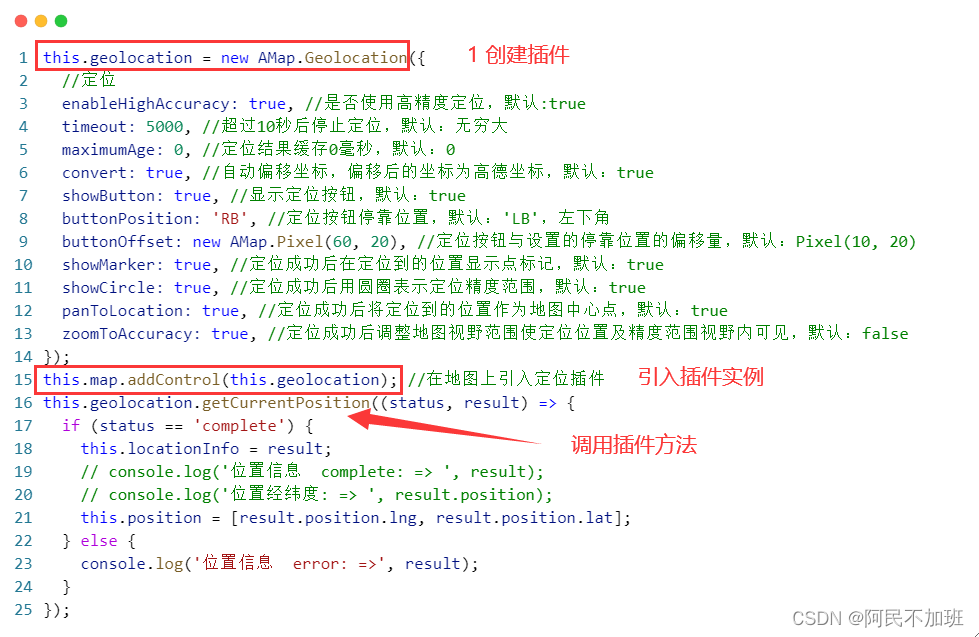
关于定位
这里需要注意的是,我创建了插件,可以不引入,因为引入的这个是地图上的小圆点,点击它可以把位置定位到当前来。如果你没有地图,只需要1+3就可以获取到当前位置。
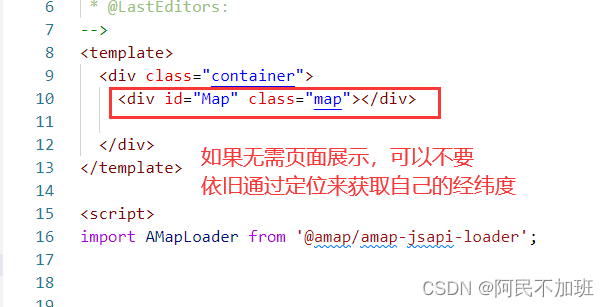
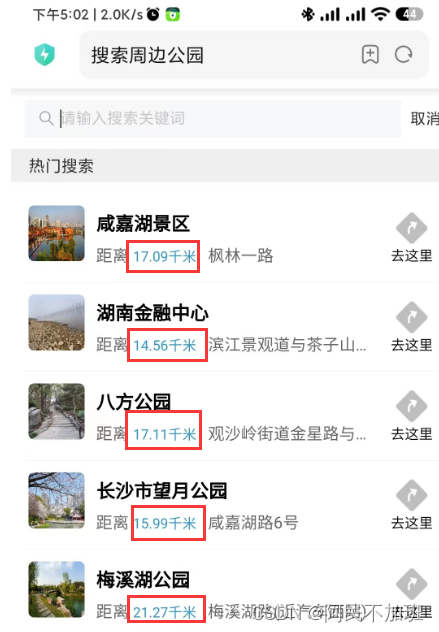
例如下图,页面中不需要地图展示,但是依旧需要获取当前位置(经纬度),用来计算距离。这个留在后面了
常用定位方法
this.geolocation = new AMap.Geolocation({
  //定位
  enableHighAccuracy: true, //是否使用高精度定位,默认:true
  timeout: 5000, //超过10秒后停止定位,默认:无穷大
  maximumAge: 0, //定位结果缓存0毫秒,默认:0
  convert: true, //自动偏移坐标,偏移后的坐标为高德坐标,默认:true
  showButton: true, //显示定位按钮,默认:true
  buttonPosition: 'RB', //定位按钮停靠位置,默认:'LB',左下角
  buttonOffset: new AMap.Pixel(60, 20), //定位按钮与设置的停靠位置的偏移量,默认:Pixel(10, 20)
  showMarker: true, //定位成功后在定位到的位置显示点标记,默认:true
  showCircle: true, //定位成功后用圆圈表示定位精度范围,默认:true
  panToLocation: true, //定位成功后将定位到的位置作为地图中心点,默认:true
  zoomToAccuracy: true, //定位成功后调整地图视野范围使定位位置及精度范围视野内可见,默认:false
});
this.geolocation.getCurrentPosition((status, result) => {
  if (status == 'complete') {
    this.locationInfo = result;
    // console.log('位置信息  complete: => ', result);
    // console.log('位置经纬度: => ', result.position);
    this.position = [result.position.lng, result.position.lat];
  } else {
    console.log('位置信息  error: =>', result);
  }
});


 1435
1435


 被折叠的 条评论
为什么被折叠?
被折叠的 条评论
为什么被折叠?
 到【灌水乐园】发言


