


1.配置.condarc文件
不同系统下的 .condarc 目录如下:
- Linux: ${HOME}/.condarc
- macOS: ${HOME}/.condarc
- Windows: C:\Users\<YourUserName>\.condarc
Windows 用户无法直接创建名为 .condarc 的文件,可先执行
conda config --set show_channel_urls yes 生成该文件之后再修改。然后就是配置.condarc文件:
channels:
  - http://mirrors.tuna.tsinghua.edu.cn/anaconda/pkgs/free/
  - http://mirrors.tuna.tsinghua.edu.cn/anaconda/cloud/conda-forge/
  - http://mirrors.tuna.tsinghua.edu.cn/anaconda/cloud/msys2/
  - http://mirrors.tuna.tsinghua.edu.cn/anaconda/cloud/pytorch/
  - http://mirrors.tuna.tsinghua.edu.cn/anaconda/cloud/pytorch-lts/
  - http://mirrors.tuna.tsinghua.edu.cn/anaconda/cloud/simpleitk/
show_channel_urls: true
default_channels:
  - http://mirrors.tuna.tsinghua.edu.cn/anaconda/pkgs/main
  - http://mirrors.tuna.tsinghua.edu.cn/anaconda/pkgs/r
  - http://mirrors.tuna.tsinghua.edu.cn/anaconda/pkgs/msys2
custom_channels:
  conda-forge: http://mirrors.tuna.tsinghua.edu.cn/anaconda/cloud
  msys2: http://mirrors.tuna.tsinghua.edu.cn/anaconda/cloud
  bioconda: http://mirrors.tuna.tsinghua.edu.cn/anaconda/cloud
  menpo: http://mirrors.tuna.tsinghua.edu.cn/anaconda/cloud
  pytorch: http://mirrors.tuna.tsinghua.edu.cn/anaconda/cloud
  pytorch-lts: http://mirrors.tuna.tsinghua.edu.cn/anaconda/cloud
  simpleitk: http://mirrors.tuna.tsinghua.edu.cn/anaconda/cloud
在之前的文件基础上对channels进行了增加。接下来简单介绍一下channels、default_channels、custom_channels:
channels列表指定了 Conda 会优先从 上到下下载包。default_channels定义了 Conda 默认使用的官方源。custom_channels为某些特定的频道指定了自定义的 URL
故此,我在channels中加入了pytorch的URL。配置结束,使用下面命令清楚缓存后下载pytorch
conda clean -i2.安装pytorch
安装环境:RTX3050,cuda11.7,python3.9.6
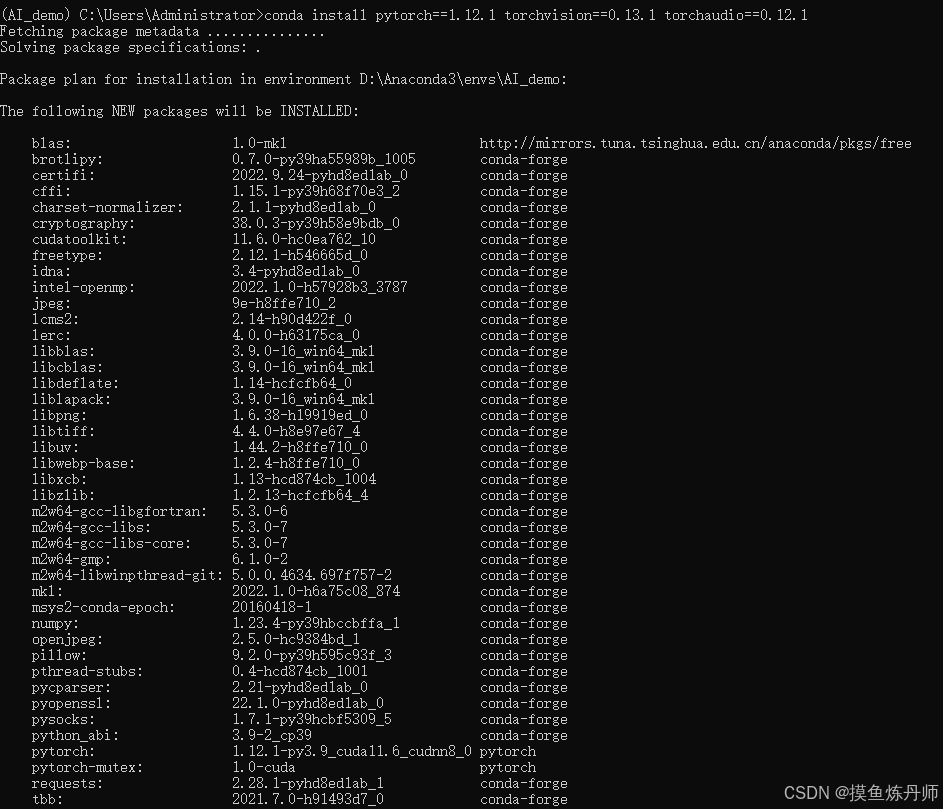
安装命令:
conda install pytorch==1.12.1 torchvision==0.13.1 torchaudio==0.12.1安装过程:
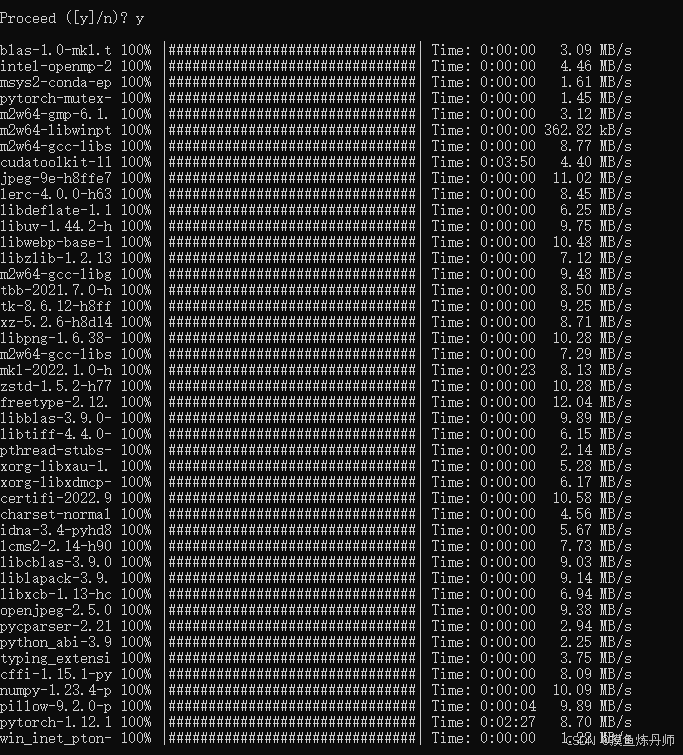

亲测时间:2024.09.20,但愿后续源还能用,不能用的话下载真的是太慢了,呜呜呜~


 1万+
1万+

 被折叠的 条评论
为什么被折叠?
被折叠的 条评论
为什么被折叠?
 到【灌水乐园】发言


