


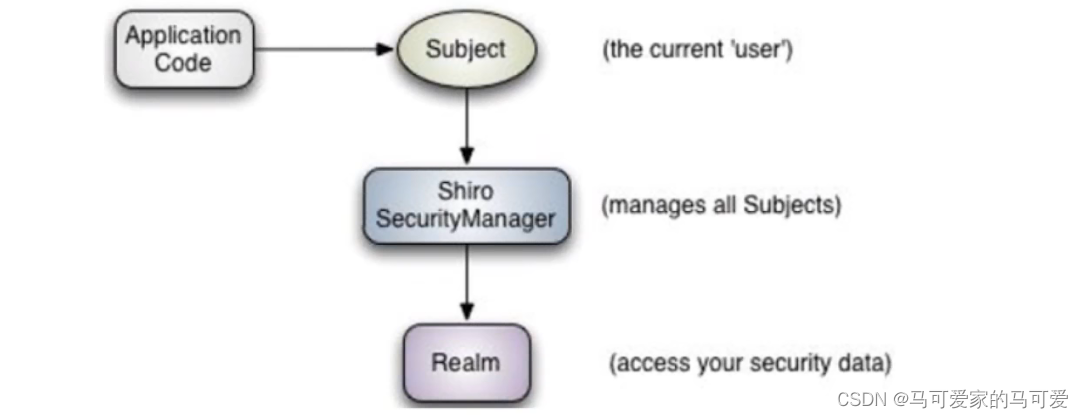
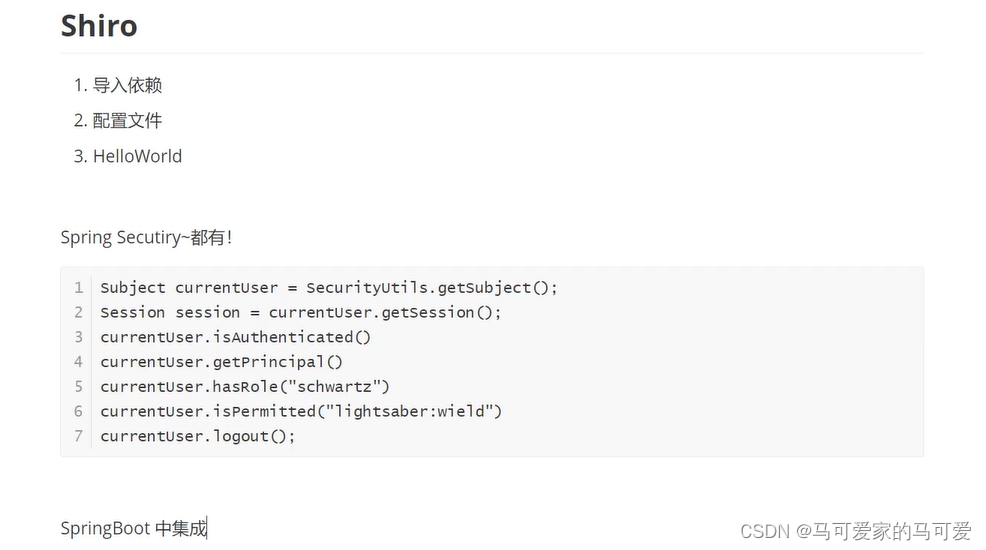
1、Shiro简介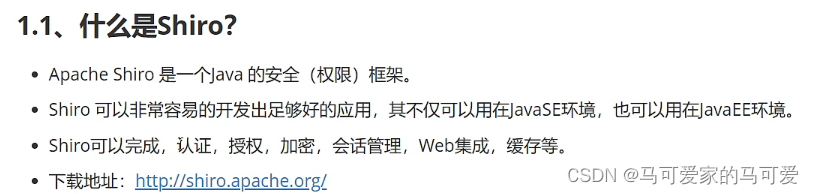
2、springboot集成Shiro
(1)、导入themleaf依赖
<dependency>
            <groupId>org.thymeleaf</groupId>
            <artifactId>thymeleaf-spring5</artifactId>
        </dependency>
        <dependency>
            <groupId>org.thymeleaf.extras</groupId>
            <artifactId>thymeleaf-extras-java8time</artifactId>
        </dependency>
(2)、导入shiro整合springboot的包
<dependency>
            <groupId>org.apache.shiro</groupId>
            <artifactId>shiro-spring</artifactId>
            <version>1.9.0</version>
        </dependency>
(3)、Shiro实现登陆拦截
1)、自定义后端响应
package com.example.shirospringboot.controller;

import org.springframework.stereotype.Controller;
import org.springframework.ui.Model;
import org.springframework.web.bind.annotation.RequestMapping;

@Controller
public class MyController {
    @RequestMapping({"/", "/index"})
    public String index(Model model) {
        model.addAttribute("msg","ml");
        return "index";
    }

    @RequestMapping("/add")
    public String add() {
        return "user/add";
    }

    @RequestMapping("/update")
    public String update() {
        return "user/update";
    }

    @RequestMapping("/toLogin")
    public String toLogin(){
        return "login";
    }
}
2)、核心配置文件javaConfig
首先必须要在config目录下定义一个UserRealm类
package com.example.shirospringboot.config;

import org.apache.shiro.authc.AuthenticationException;
import org.apache.shiro.authc.AuthenticationInfo;
import org.apache.shiro.authc.AuthenticationToken;
import org.apache.shiro.authz.AuthorizationInfo;
import org.apache.shiro.realm.AuthorizingRealm;
import org.apache.shiro.subject.PrincipalCollection;

//自定义的UserRealm extends AuthorizingRealm
public class UserRealm extends AuthorizingRealm {
    //授权
    @Override
    protected AuthorizationInfo doGetAuthorizationInfo(PrincipalCollection principalCollection) {
        System.out.println("执行了授权");
        return null;
    }

    //认证
    @Override
    protected AuthenticationInfo doGetAuthenticationInfo(AuthenticationToken authenticationToken) throws AuthenticationException {
        System.out.println("执行了认证");
        return null;
    }
}
然后将前面定义好的 UserRealm注册到容器中交给springboot托管,config目录下的ShiroConfig.java文件如下
package com.example.shirospringboot.config;

import org.apache.shiro.spring.web.ShiroFilterFactoryBean;
import org.apache.shiro.web.mgt.DefaultWebSecurityManager;
import org.springframework.beans.factory.annotation.Qualifier;
import org.springframework.context.annotation.Bean;
import org.springframework.context.annotation.Configuration;

import java.util.HashMap;
import java.util.LinkedHashMap;
import java.util.Map;

@Configuration
public class ShiroConfig {


//1、创建Realm对象,需要自定义类,将定义好的UserRealm注册到容器中交给springboot托管
@Bean
public UserRealm userRealm() {
    return new UserRealm();
}


    //2、DefaultWebSecurityManager
    @Bean("defaultWebSecurityManager")
    public DefaultWebSecurityManager defaultWebSecurityManager(@Qualifier("userRealm") UserRealm userRealm) {
        DefaultWebSecurityManager securityManager = new DefaultWebSecurityManager();
        //关联Realm对象
        securityManager.setRealm(userRealm);
        return securityManager;
    }

    //3、ShiroFilterFactoryBean
    @Bean
    public ShiroFilterFactoryBean shiroFilterFactoryBean(@Qualifier("defaultWebSecurityManager") DefaultWebSecurityManager defaultWebSecurityManager) {
        ShiroFilterFactoryBean bean = new ShiroFilterFactoryBean();
        //设置安全管理器
        bean.setSecurityManager(defaultWebSecurityManager);
        //添加Shiro的内置过滤器
        /*
         * anon:无需认证就可以访问
         * authc:只有认证之后才能访问
         * user:必须拥有 记住我 功能才能访问
         * perms:拥有对某个资源的权限才能访问
         * role:拥有某个角色的权限才能访问
         * */
        Map<String, String> filrterMap = new LinkedHashMap<>();
        filrterMap.put("/add", "authc");
        filrterMap.put("/update", "authc");
        bean.setFilterChainDefinitionMap(filrterMap);
        //设置登陆的请求,只有登陆之后才可以访问
        bean.setLoginUrl("/toLogin");
        return bean;
    }
}
登陆演示,点击添加页面或者更新页面发现被拦截了
被拦截之后路由跳转到登陆页面

只有认证登陆之后才能访问刚才点击的“更新页面”或者“添加页面”,拦截成功!
登陆拦截代码分析
//1、创建Realm对象,需要自定义类,将定义好的UserRealm注册到容器中交给springboot托管
    @Bean
    public UserRealm userRealm() {
        return new UserRealm();
    }
这段代码是将自定义好的UserRealm类注册到容器中让spring托管
 //2、DefaultWebSecurityManager
    @Bean("defaultWebSecurityManager")
    public DefaultWebSecurityManager defaultWebSecurityManager(@Qualifier("userRealm") UserRealm userRealm) {
        DefaultWebSecurityManager securityManager = new DefaultWebSecurityManager();
        //关联Realm对象
        securityManager.setRealm(userRealm);
        return securityManager;
    }
//点开源码了可以看到,DefaultWebSecurityManager管理的类很多,不止是前面自定义好的一个
public DefaultWebSecurityManager(Realm singleRealm) {
        this();
        this.setRealm(singleRealm);
    }

    public DefaultWebSecurityManager(Collection<Realm> realms) {
        this();
        this.setRealms(realms);
    }
这段代码是让DefaultWebSecurityManager管理前面我们自己定义好的UserRealml类;点开源码了可以看到,DefaultWebSecurityManager管理的类很多,不止是前面自定义好的一个。将DefaultWebSecurityManager注册到spring容器中
 //3、ShiroFilterFactoryBean
    @Bean
    public ShiroFilterFactoryBean shiroFilterFactoryBean(@Qualifier("defaultWebSecurityManager") DefaultWebSecurityManager defaultWebSecurityManager) {
        ShiroFilterFactoryBean bean = new ShiroFilterFactoryBean();
        //设置安全管理器
        bean.setSecurityManager(defaultWebSecurityManager);
        //添加Shiro的内置过滤器
        /*
         * anon:无需认证就可以访问
         * authc:只有认证之后才能访问
         * user:必须拥有 记住我 功能才能访问
         * perms:拥有对某个资源的权限才能访问
         * role:拥有某个角色的权限才能访问
         * */
        Map<String, String> filrterMap = new LinkedHashMap<>();
        filrterMap.put("/add", "authc");
        filrterMap.put("/update", "authc");
        bean.setFilterChainDefinitionMap(filrterMap);
        //设置登陆的请求,只有登陆之后才可以访问
        bean.setLoginUrl("/toLogin");
        return bean;
    }
这段代码是实现拦截的根本代码。filrterMap.put("/add", "authc"); filrterMap.put("/update", "authc");设置拦截的规则,只有这两个路由会被拦截,没有使用filrterMap.put的不会被拦截。拦截之后会走向我们自己定义好的登陆认证页面,没有登陆认证是不可能访问到想要的页面的。但是我们需要注意的是在Shiro中没有提前定义好的登陆页面供我们使用,这个拦截之后的登陆页面必须我们自己写!这个和springSecurity是不同的。然后将ShiroFilterFactoryBean注册到spring中供我们使用!
(4)、Shiro实现用户认证(driud+mybatis)
1)、引入相关依赖
 <!--德鲁伊数据源-->
        <dependency>
            <groupId>com.alibaba</groupId>
            <artifactId>druid</artifactId>
            <version>1.2.1</version>
        </dependency>
        <!--mysql驱动-->
        <dependency>
            <groupId>mysql</groupId>
            <artifactId>mysql-connector-java</artifactId>
        </dependency>
        <dependency>
            <groupId>log4j</groupId>
            <artifactId>log4j</artifactId>
            <version>1.2.12</version>
        </dependency>
        <!--导入mybatis,mybatis中包含jdbc,不需要额外引入jdbc的包-->
        <dependency>
            <groupId>org.mybatis.spring.boot</groupId>
            <artifactId>mybatis-spring-boot-starter</artifactId>
            <version>2.2.1</version>
        </dependency>
        <!--引入lombok-->
        <dependency>
            <groupId>org.projectlombok</groupId>
            <artifactId>lombok</artifactId>
        </dependency>
2)、自定义登陆User类、mapper接口、Service接口的实现类
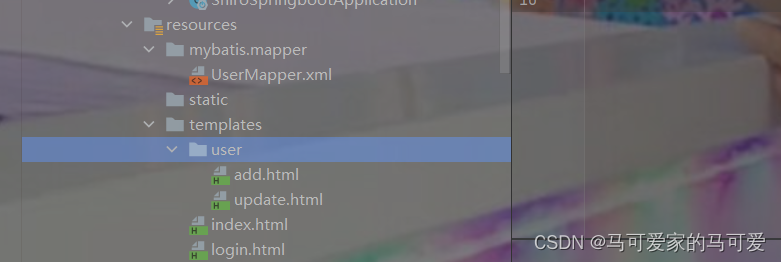
UserMapper.xml中的代码如下
<?xml version="1.0" encoding="UTF-8" ?>
<!DOCTYPE mapper
        PUBLIC "-//mybatis.org//DTD Mapper 3.0//EN"
        "http://mybatis.org/dtd/mybatis-3-mapper.dtd">
<mapper namespace="com.example.shirospringboot.mapper.UserMapper">
    <!--resultType="com.example.shirospringboot.entity.User"-->
    <select id="returnUser" parameterType="java.lang.String" resultType="User">
        select * from test.user where name = #{username}
    </select>
</mapper>
application.yml中的配置使用driud、mybatis如下
server:
  port: 8001
spring:
  datasource:
    username: root
    password: 123456
    #假如时区报错了,就增加一个时区配置即可
    url: jdbc:mysql://localhost:3306/test?serverTimezone=Asia/Shanghai&useUnicode=true&characterEncoding=utf-8
    driver-class-name: com.mysql.cj.jdbc.Driver
    #   指定数据源的类型,spring默认的数据源是hikari,指定我们自己引入的德鲁伊数据源
    type: com.alibaba.druid.pool.DruidDataSource
    #druid数据源专有配置
    initialSize: 5
    minIdle: 5
    maxActive: 20
    maxWait: 60000
    timeBetweenEvictionRunsMillis: 60000
    minEvictableIdleTimeMillis: 300000
    validationQuery: SELECT 1 FROM DUAL
    testWhileIdle: true
    testOnBorrow: false
    testOnReturn: false
    poolPreparedStatements: true

    #配置监控统计拦截的filters,stat:监控统计、log4j:日志记录、wall:防御sql注入
    #如果允许报错,java.lang.ClassNotFoundException: org.apache.Log4j.Properity
    #则导入log4j 依赖就行
    filters: stat,wall,log4j
    maxPoolPreparedStatementPerConnectionSize: 20
    useGlobalDataSourceStat: true
    connectionoProperties: druid.stat.mergeSql=true;druid.stat.slowSqlMillis=500
mybatis:
  configuration:
    log-impl: org.apache.ibatis.logging.stdout.StdOutImpl
  mapper-locations:  classpath:mybatis/mapper/*.xml
  type-aliases-package: com.example.shirospringboot.entity
  #  type-aliases-package: com.example.shirospringboot.entity 和 resultType="User"配合使用,若不配置type-aliases-package: com.example.shirospringboot.entity,则可以直接使用 <!--resultType="com.example.shirospringboot.entity.User"-->
3)、由于使用filrterMap.put("/add", "authc"); filrterMap.put("/update", "authc");所以当访问add.html页面和update.html页面的时候,需要登陆认证才能继续访问这两个页面(当然这里也可以使用filrterMap.put(“/user/“, “authc”),与上面的效果一样。但是由于我自己写的Controller中没有“/user/add”或者“/user/update”路由,只有”/add"和“/update”路由。。但是如果使用“filterMap.put("/”, “authc”)”,这样会拦截所有的路由,包括自己写的去首页请求)
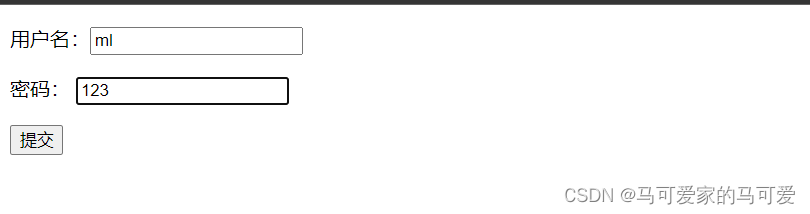
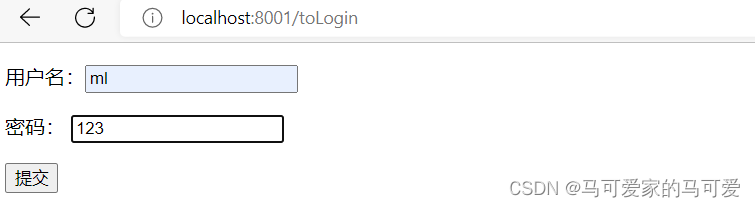
前端请求页面login.html如下
<!DOCTYPE html>
<html lang="en" xmlns:th="http://www.thymeleaf.org">
<head>
    <meta charset="UTF-8">
    <title>登陆页面</title>
</head>
<body>
<label th:text="${msg}" style="color:red;"></label>
<form action="/login" method="post">
    <p>用户名:<input type="text" name="username"></p>
    <p>密码:  <input type="text" name="password"></p>
    <p><input type="submit"></p>
</form>
</body>
</html>
后端响应如下
 @RequestMapping(value = "/login",method = RequestMethod.POST)
    public String login(@RequestParam("username") String username,@RequestParam("password") String password,Model model){
        //使用Subject获取当前用户
        Subject currentUser = SecurityUtils.getSubject();
        //封装用户的登陆数据
        UsernamePasswordToken userToken = new UsernamePasswordToken(username,password);
        try{
            currentUser.login(userToken);  //执行登陆方法,如果没有异常就说明Ok啦
            return "index";//登陆成功
        }catch (UnknownAccountException unknownAccountException){   //用户名不存在
            model.addAttribute("msg","用户名错误!");
            return "login";   //重新回到登陆页面
        }catch (IncorrectCredentialsException incorrectCredentialsException){  //密码不存在
            model.addAttribute("msg","密码错误!");
            return "login";   //重新回到登陆页面
        }
    }
当执行上面的"/login"路由之后,会执行config下配置UserRealm类中的登陆认证操作
 package com.example.shirospringboot.config;

import com.example.shirospringboot.Service.UserService;
import com.example.shirospringboot.entity.User;
import org.apache.shiro.authc.*;
import org.apache.shiro.authz.AuthorizationInfo;
import org.apache.shiro.realm.AuthorizingRealm;
import org.apache.shiro.subject.PrincipalCollection;
import org.springframework.beans.factory.annotation.Autowired;

//自定义的UserRealm extends AuthorizingRealm
public class UserRealm extends AuthorizingRealm {
    @Autowired
    UserService userService;

    //授权
    @Override
    protected AuthorizationInfo doGetAuthorizationInfo(PrincipalCollection principalCollection) {
        System.out.println("执行了授权");
        return null;
    }

    //认证
    @Override
    protected AuthenticationInfo doGetAuthenticationInfo(AuthenticationToken authenticationToken) throws AuthenticationException {
        //当执行登陆的时候,AuthenticationToken authenticationToken会从"/login"请求中拿到用户的登陆信息
        UsernamePasswordToken userToken = (UsernamePasswordToken) authenticationToken;
        User user = userService.returnUser(userToken.getUsername());
        if (user==null) {  //没有这个人
            return null; //UnknownAccountException unknownAccountException   //用户名不存在
        }
        //密码认证:Shiro自己做,因为密码可能泄露
        return new SimpleAuthenticationInfo("",user.getPwd(), "");
    }
}
测试如下当认证之后可以访问“添加页面”和“更新页面”
(5)、Shiro请求授权操作
1)、在Config目录下的ShiroConfig.java中的“添加授权”
//3、ShiroFilterFactoryBean
    @Bean
    public ShiroFilterFactoryBean shiroFilterFactoryBean(@Qualifier("defaultWebSecurityManager") DefaultWebSecurityManager defaultWebSecurityManager) {
        ShiroFilterFactoryBean bean = new ShiroFilterFactoryBean();
        //设置安全管理器
        bean.setSecurityManager(defaultWebSecurityManager);
        //添加Shiro的内置过滤器
        /*
         * anon:无需认证就可以访问
         * authc:只有认证之后才能访问
         * user:必须拥有 记住我 功能才能访问
         * perms:拥有对某个资源的权限才能访问
         * role:拥有某个角色的权限才能访问
         * */
        //拦截
        Map<String, String> filrterMap = new LinkedHashMap<>();

        //授权
        filrterMap.put("/add","perms[user:add]");   //对这个请求"/add"必须有add权限才能操作,此时数据库中当前user用户还没有这个add权利
        filrterMap.put("/add", "authc");
        filrterMap.put("/update", "authc");

        bean.setFilterChainDefinitionMap(filrterMap);
        //设置登陆的请求
        bean.setLoginUrl("/toLogin");
        return bean;
    }
其中具有“授权”功能的是 filrterMap.put("/add","perms[user:add]"); //对这个请求"/add"user用户必须有add权限才能访问操作
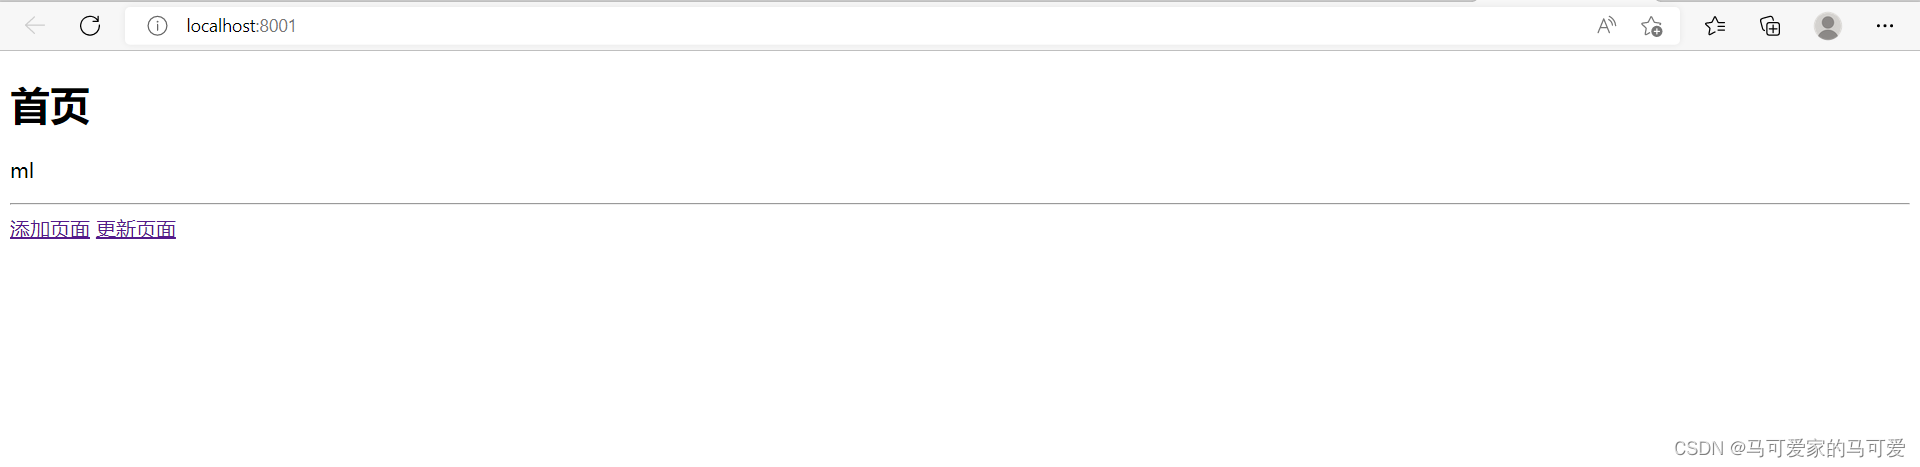
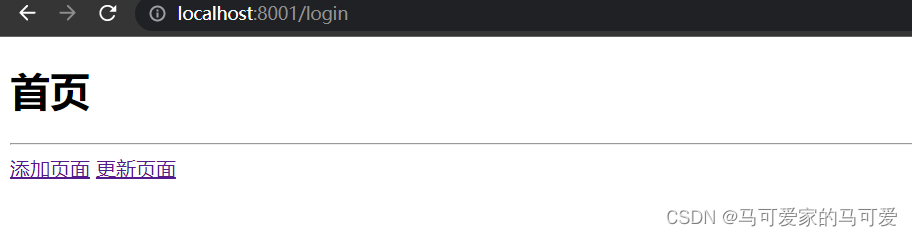
登陆首页

随便点击一个页面需要登陆操作,使用账户、密码执行登陆操作
点击登陆之后可以发现,点击“更新页面”的链接可以访问页面,但是“添加页面”显示未授权

理想中是添加页面显示未授权,但是实际上是点击添加页面也有权利访问。经过仔细排查,发现问题出现在下面的代码,因为同时有"/add路由,产生歧义
 //授权
        filrterMap.put("/add","perms[user:add]");   //对这个请求"/add"必须有add权限才能操作,此时数据库中当前user用户还没有这个add权利
        filrterMap.put("/add", "authc");
        filrterMap.put("/update", "authc");
所以我将Controller中的返回uodate.html和add.html页面的路由修改为“/user/add”和“/user/update”,并且将首页中的这两个页面的跳转页面链接路由修改
@RequestMapping("/user/add")
    public String add(Model model) {
        return "user/add";
    }

    @RequestMapping("/user/update")
    public String update() {
        return "user/update";
    }
 //授权,正常情况下未授权会跳转到未授权页面
        filrterMap.put("/user/add","perms[user:add]");   //对这个请求"/add"必须有add权限才能操作
        /*filrterMap.put("/add", "authc");
        filrterMap.put("/update", "authc")*/;
        filrterMap.put("/user/*","authc");//user路由下的访问都被禁止访问而跳转到login页面

        bean.setFilterChainDefinitionMap(filrterMap);
        //设置登陆的请求
        bean.setLoginUrl("/toLogin");
        return bean;
 <a th:href="@{/user/add}">添加页面</a>
 <a th:href="@{/user/update}">更新页面</a>
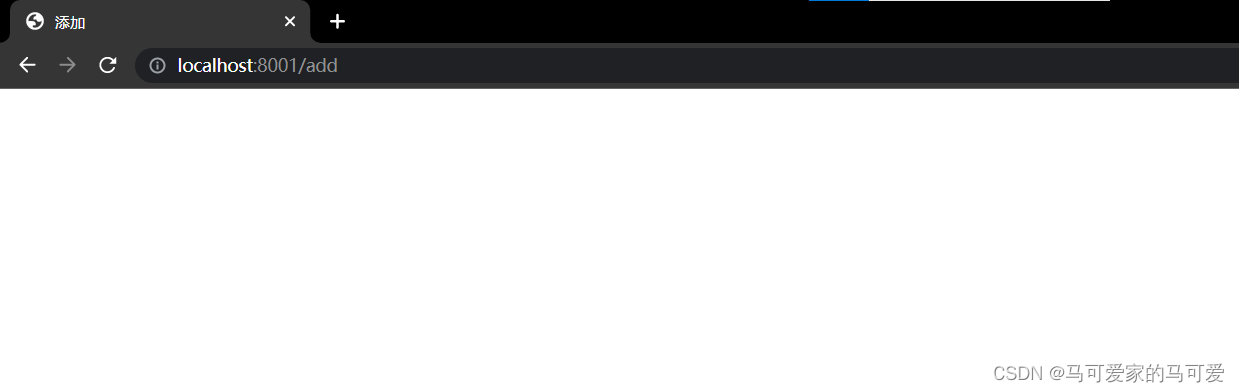
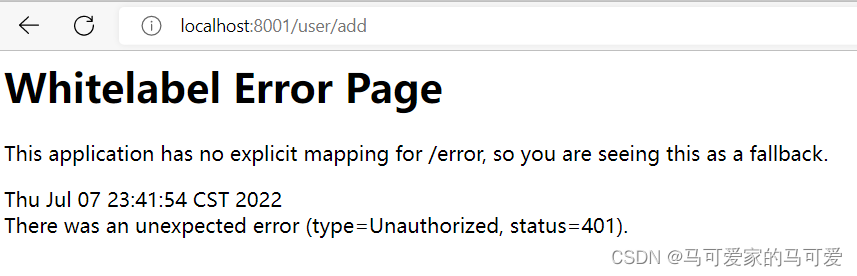
重新执行上面的操作,再次访问首页之后,要登陆之后才可以点击访问“更新页面”的访问,但是“添加页面”的链接点击之后出现401未授权的显示提示。正常情况下应该是跳转到未授权页面
在Controller中写一个未授权页面,如下
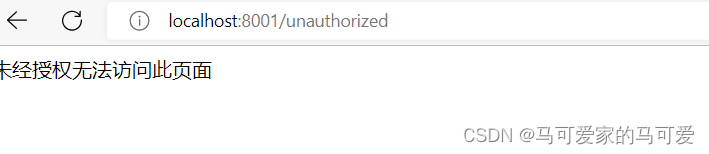
 @RequestMapping("/unauthorized")
    @ResponseBody
    public String unauthorized(){
        return "未经授权无法访问此页面";
    }
在Config目录下的ShiroConfig.java中的“添加未授权”页面的提示
 //开启未授权页面,如果未授权访问某一页面,则会跳转到未授权页面
        bean.setUnauthorizedUrl("/unauthorized");
        return bean;
重新执行上面的操作,再次访问首页之后,要登陆之后才可以点击访问“更新页面”的访问,但是“添加页面”的链接点击之后出现“未经授权无法访问此页面”的提示

在Config目录下的UserRealm.java下的protected AuthorizationInfo doGetAuthorizationInfo(PrincipalCollection principalCollection) 方法中添加“user:add”授权
//授权
    @Override
    protected AuthorizationInfo doGetAuthorizationInfo(PrincipalCollection principalCollection) {
        System.out.println("执行了授权");
        SimpleAuthorizationInfo info = new SimpleAuthorizationInfo();
        info.addStringPermission("user:add");
        return info;
    }
这样用户就可以正常访问首页之后,通过登陆就可以访问上面不被访问的add.html页面

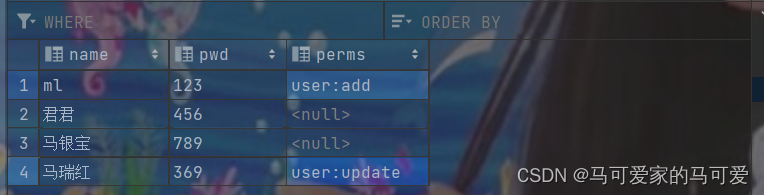
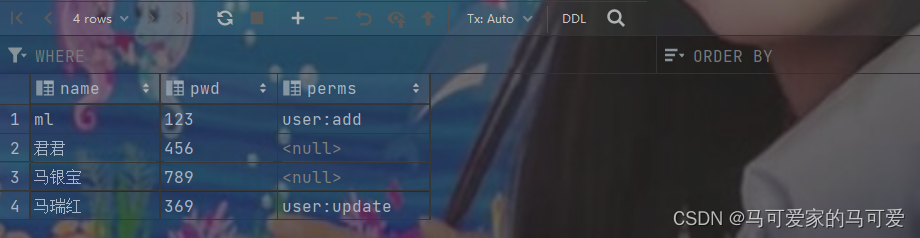
但是对于上面的 info.addStringPermission("user:add");,这里就成了硬编码,所有的用户登陆都授权了 filrterMap.put("/user/add","perms[user:add]"); //对这个请求"/user/add"必须有add操作权限操作,所以为了解决这个问题必须在数据库中进行限制,检查每个用户是否拥有这个权限,进而才能确定是否可以访问add.html页面。所以修改user数据表,给user中的每个用户添加相应的权限

这样,每个用户就有了相应的权限
然后修改相应的user实体、mapper文件。
首先和 filrterMap.put("/user/add","perms[user:add]"); //对这个请求"/add"必须有add权限才能操作一样添加 filrterMap.put("/user/add","perms[user:update]"); //对这个请求"/add"必须有add权限才能操作
其次需要从UserRealm中的认证中拿到user对象,这样才能在授权中使用,代码如下
 //授权
    @Override
    protected AuthorizationInfo doGetAuthorizationInfo(PrincipalCollection principalCollection) {
        System.out.println("执行了授权");
        SimpleAuthorizationInfo info = new SimpleAuthorizationInfo();
        //拿到当前登陆的用户
        Subject subject = SecurityUtils.getSubject();
        //拿到认证中传过来的对象, return new SimpleAuthenticationInfo(user,user.getPwd(), "");
        User currentUser  = (User) subject.getPrincipal();
        //设置当前用户的权限,从数据库中查找每个用户的权限,而不是给所有的用户都设置相同的权限
        info.addStringPermission(currentUser.getPerms());
        return info;
    }
使用下面的账号登陆可以访问add.html页面,但是却无法访问update.html页面

使用下面的账号登陆可以访问update.html页面,但是却无法访问add.html页面


但是登陆下面的账号,却都没有任何权限去访问add.html和update.html的权限
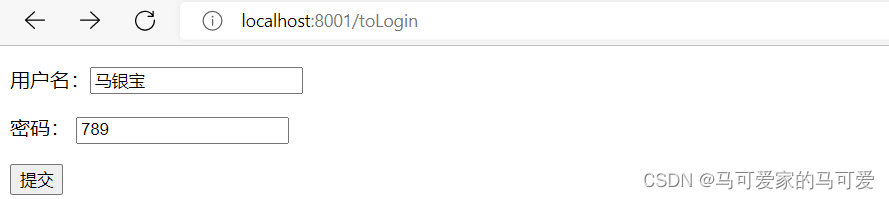

上面的访问情况和数据库中的访问权限一致!
’
(6)、退出当前用户
update.html或者add.html中添加“注销功能”
<a th:href="@{/logout}">退出登录</a>
后台中的Controller中如下
@RequestMapping("/logout")
    public String logout(){
        Subject currentUser = SecurityUtils.getSubject();
        currentUser.logout();
        return "redirect:/index";
    }

}
其中 Subject currentUser = SecurityUtils.getSubject(); currentUser.logout();一定是不能少的,因为这里的情况和SpringSecurity中的一样,如果仅仅使用 return "redirect:/index"而没有Subject currentUser = SecurityUtils.getSubject(); currentUser.logout();只是相当于一个路由跳转,但是session中的登陆对象还存在,即使退出也可以再次不使用密码就可以访问能够访问的页面。但是使用Subject currentUser = SecurityUtils.getSubject(); currentUser.logout();相当于销毁了session中的对象,所以再次访问想要访问的页面必须登录才可以访问,保证了数据的安全性

退出登录之后,再次访问页面就需要登陆账号!
(7)、Shiro整合themleaf
1)、导入shiro整合thymeleaf的包
 <!--Shiro、thymeleaf整合-->
        <dependency>
            <groupId>com.github.theborakompanioni</groupId>
            <artifactId>thymeleaf-extras-shiro</artifactId>
            <version>2.1.0</version>
        </dependency>
2)、将shiroDialect放入到配置类ShiroConfig.class中使spring托管
 //整合spiroDialect,用来整合Shiro和thymeleaf
    @Bean
    public ShiroDialect returnShiro(){
        return new ShiroDialect();
    }
3)、在index.html页面中做出如下修改
<!DOCTYPE html>
<html lang="en" xmlns:th="http://www.thymeleaf.org"
      xmlns:shiro="http://www.pollix.at/thymeleaf/shiro">
<head>
    <meta charset="UTF-8">
    <title>首页</title>
</head>
<body>
<h1>首页</h1>
<p th:text="${msg}"></p>
<hr>
<p>
    <a th:href="@{/toLogin}">登陆</a>
</p>
<div>
    <div shiro:hasPermission="user:add">
        <a th:href="@{/user/add}">添加页面</a>
    </div>
    <div shiro:hasPermission="user:update">
        <a th:href="@{/user/update}">更新页面</a>
    </div>
</div>
</body>
</html>
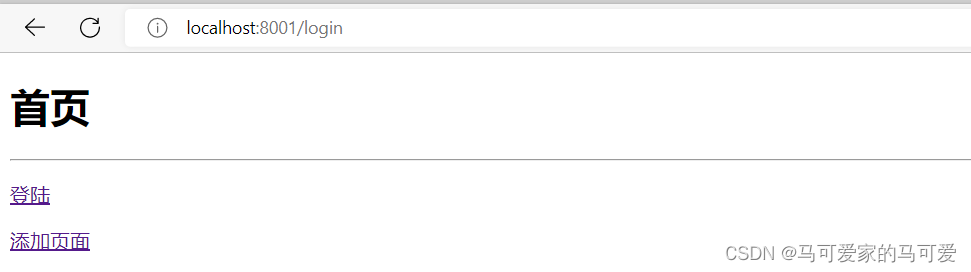
当再次访问首页的时候,“添加页面”由于只有user:add权限的才能访问和“更新页面”只有user:update权限的才能访问。所以直接访问首页什么也没有。因为没有权限
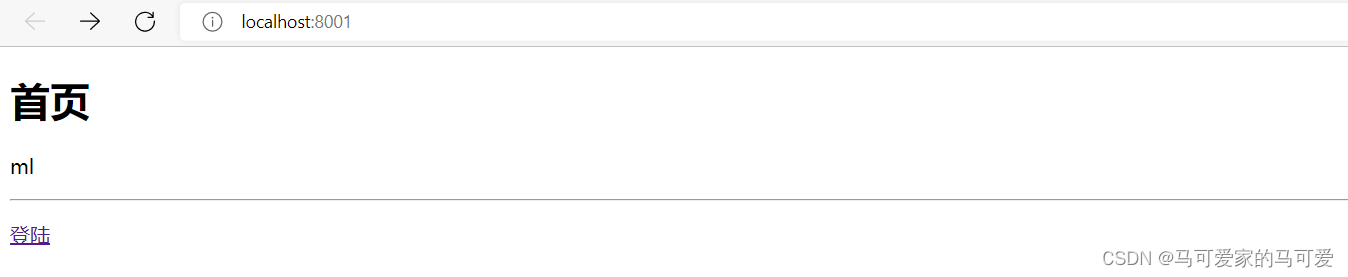
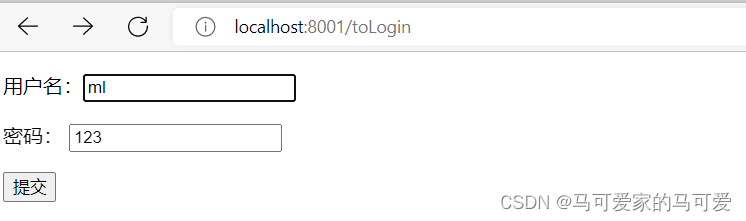
点击登陆,使用ml、123登陆,即可看见该账号对应的链接

点击“添加页面”的链接,可以看见拥有user:add权限的用户可以直接访问

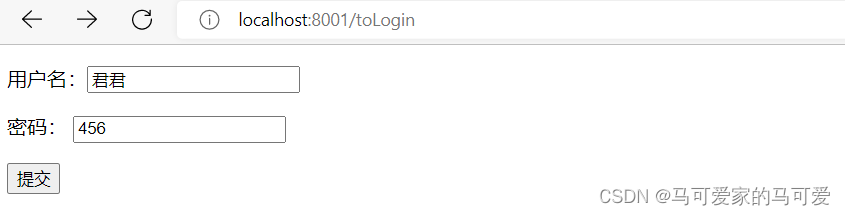
使用君君、456登陆账号,可以看见,该用户由于没有任何权限,所以没有任何对应可以访问的页面

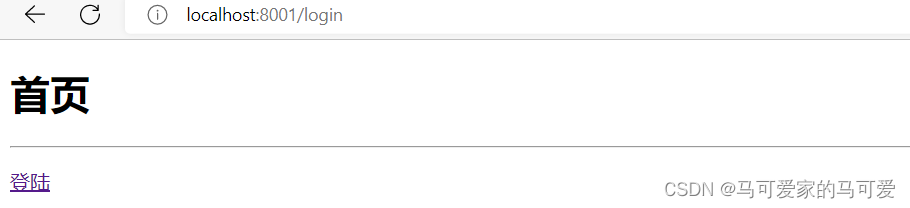
但是这里出现了一个问题,当用户使用自己的账号登陆之后应该访问首页,再没有了“登陆”的链接。但是实际上用户登陆访问首页之后还有“登陆”的提示
在UserRealm类中的认证中添加如下代码
//认证
    @Override
    protected AuthenticationInfo doGetAuthenticationInfo(AuthenticationToken authenticationToken) throws AuthenticationException {
        //当执行登陆的时候,AuthenticationToken authenticationToken会从"/login"请求中拿到用户的登陆信息
        UsernamePasswordToken userToken = (UsernamePasswordToken) authenticationToken;
        User user = userService.returnUser(userToken.getUsername());
        if (user==null) {  //没有这个人
            return null; //UnknownAccountException unknownAccountException   //用户名不存在
        }
        Subject currentUser = SecurityUtils.getSubject();  //拿到当前登陆的用户
        Session session = currentUser.getSession();
        session.setAttribute("loginUser",user);
        //密码认证:Shiro自己做,因为密码可能泄露
        return new SimpleAuthenticationInfo(user,user.getPwd(), "");
    }
        Subject currentUser = SecurityUtils.getSubject();  //拿到当前登陆的用户
        Session session = currentUser.getSession();
        session.setAttribute("loginUser",user);
通过当前用户拿到session并且使用 session.setAttribute("loginUser",user)供前端判断是否已经登陆。若登陆则session中存在用户,那么不显示“登陆按钮;否则由于没有登陆,session中为空,所以肯定会显示“登陆按钮””;
在index.html中做出如下改变
<!DOCTYPE html>
<html lang="en" xmlns:th="http://www.thymeleaf.org"
      xmlns:shiro="http://www.pollix.at/thymeleaf/shiro">
<head>
    <meta charset="UTF-8">
    <title>首页</title>
</head>
<body>
<h1>首页</h1>
<p th:text="${msg}"></p>
<hr>
<p th:if="${session.loginUser}==null">   <!--从session中判断值如果为空,显示登陆,已经有用户登陆就不显示登陆-->
    <a th:href="@{/toLogin}">登陆</a>
</p>
<div>
    <div shiro:hasPermission="user:add">
        <a th:href="@{/user/add}">添加页面</a>
    </div>
    <div shiro:hasPermission="user:update">
        <a th:href="@{/user/update}">更新页面</a>
    </div>
</div>
</body>
</html>
<p th:if="${session.loginUser}==null">   <!--从session中判断值如果为空,显示登陆,已经有用户登陆就不显示登陆-->
    <a th:href="@{/toLogin}">登陆</a>
</p>
当时用马瑞红、369账号登陆可以发现在没有登陆之前存在“登陆”按钮,但是登陆之后有由于session中不为空,所以没有显示“登陆”按钮
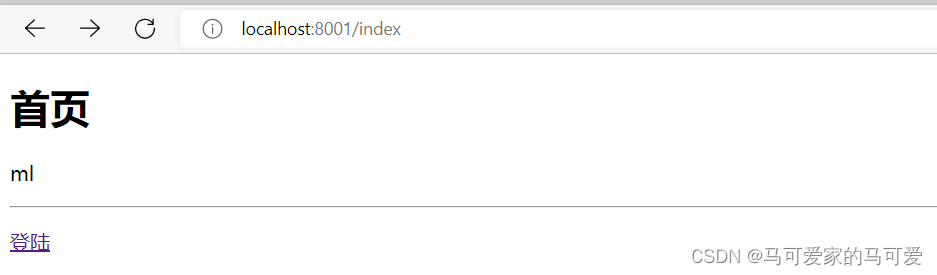
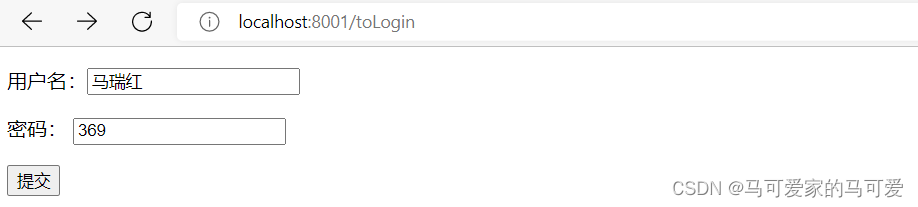
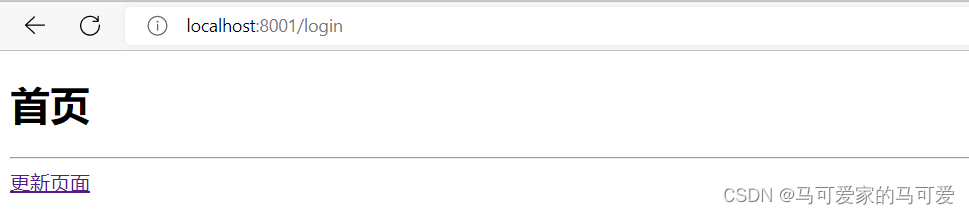

可以看见达到了我们想要的效果!
3、整个小项目中应用到的代码

1)、配置类中ShiroConfig中的代码
package com.example.shirospringboot.config;

import at.pollux.thymeleaf.shiro.dialect.ShiroDialect;
import org.apache.shiro.spring.web.ShiroFilterFactoryBean;
import org.apache.shiro.web.mgt.DefaultWebSecurityManager;
import org.springframework.beans.factory.annotation.Qualifier;
import org.springframework.context.annotation.Bean;
import org.springframework.context.annotation.Configuration;

import java.util.HashMap;
import java.util.LinkedHashMap;
import java.util.Map;

@Configuration
public class ShiroConfig {


    //1、创建Realm对象,需要自定义类
    @Bean
    public UserRealm userRealm() {
        return new UserRealm();
    }


    //2、DefaultWebSecurityManager
    @Bean("defaultWebSecurityManager")
    public DefaultWebSecurityManager defaultWebSecurityManager(@Qualifier("userRealm") UserRealm userRealm) {
        DefaultWebSecurityManager securityManager = new DefaultWebSecurityManager();
        //关联Realm对象
        securityManager.setRealm(userRealm);
        return securityManager;
    }

    //3、ShiroFilterFactoryBean
    @Bean
    public ShiroFilterFactoryBean shiroFilterFactoryBean(@Qualifier("defaultWebSecurityManager") DefaultWebSecurityManager defaultWebSecurityManager) {
        ShiroFilterFactoryBean bean = new ShiroFilterFactoryBean();
        //设置安全管理器
        bean.setSecurityManager(defaultWebSecurityManager);
        //添加Shiro的内置过滤器
        /*
         * anon:无需认证就可以访问
         * authc:只有认证之后才能访问
         * user:必须拥有 记住我 功能才能访问
         * perms:拥有对某个资源的权限才能访问
         * role:拥有某个角色的权限才能访问
         * */
        //拦截
        Map<String, String> filrterMap = new LinkedHashMap<>();

        //授权
        filrterMap.put("/user/add","perms[user:add]");   //对这个请求"/user/add"必须有add权限才能操作
        filrterMap.put("/user/update","perms[user:update]");   //对这个请求"/user/update"必须有add权限才能操作
        /*filrterMap.put("/add", "authc");
        filrterMap.put("/update", "authc")*/;
        filrterMap.put("/user/*","authc");//user路由下的访问都被禁止访问而跳转到login页面

        bean.setFilterChainDefinitionMap(filrterMap);
        //设置登陆的请求
        bean.setLoginUrl("/toLogin");
        //开启未授权页面,如果未授权访问某一页面,则会跳转到未授权页面
        bean.setUnauthorizedUrl("/unauthorized");
        return bean;
    }

    //整合spiroDialect
    @Bean
    public ShiroDialect returnShiro(){
        return new ShiroDialect();
    }
}
2)、UserRealm中的代码
package com.example.shirospringboot.config;

import com.example.shirospringboot.Service.UserService;
import com.example.shirospringboot.entity.User;
import org.apache.shiro.SecurityUtils;
import org.apache.shiro.authc.*;
import org.apache.shiro.authz.AuthorizationInfo;
import org.apache.shiro.authz.SimpleAuthorizationInfo;
import org.apache.shiro.realm.AuthorizingRealm;
import org.apache.shiro.session.Session;
import org.apache.shiro.subject.PrincipalCollection;
import org.apache.shiro.subject.Subject;
import org.springframework.beans.factory.annotation.Autowired;

//自定义的UserRealm extends AuthorizingRealm
public class UserRealm extends AuthorizingRealm {
    @Autowired
    UserService userService;

    //授权
    @Override
    protected AuthorizationInfo doGetAuthorizationInfo(PrincipalCollection principalCollection) {
        System.out.println("执行了授权");
        SimpleAuthorizationInfo info = new SimpleAuthorizationInfo();
        //拿到当前登陆的用户
        Subject subject = SecurityUtils.getSubject();
        //拿到认证中传过来的对象, return new SimpleAuthenticationInfo(user,user.getPwd(), "");
        User currentUser  = (User) subject.getPrincipal();
        //设置当前用户的权限
        info.addStringPermission(currentUser.getPerms());
        return info;
    }

    //认证
    @Override
    protected AuthenticationInfo doGetAuthenticationInfo(AuthenticationToken authenticationToken) throws AuthenticationException {
        //当执行登陆的时候,AuthenticationToken authenticationToken会从"/login"请求中拿到用户的登陆信息
        UsernamePasswordToken userToken = (UsernamePasswordToken) authenticationToken;
        User user = userService.returnUser(userToken.getUsername());
        if (user==null) {  //没有这个人
            return null; //UnknownAccountException unknownAccountException   //用户名不存在
        }
        Subject currentUser = SecurityUtils.getSubject();  //拿到当前登陆的用户
        Session session = currentUser.getSession();
        session.setAttribute("loginUser",user);
        //密码认证:Shiro自己做,因为密码可能泄露
        return new SimpleAuthenticationInfo(user,user.getPwd(), "");
    }
}
3)、@Ccontroller中的代码
package com.example.shirospringboot.controller;

import org.apache.shiro.SecurityUtils;
import org.apache.shiro.authc.IncorrectCredentialsException;
import org.apache.shiro.authc.UnknownAccountException;
import org.apache.shiro.authc.UsernamePasswordToken;
import org.apache.shiro.subject.Subject;
import org.springframework.stereotype.Controller;
import org.springframework.ui.Model;
import org.springframework.web.bind.annotation.*;

import javax.servlet.http.HttpSession;

@Controller
public class MyController {
    @RequestMapping({"/", "/index"})
    public String index(Model model) {
        model.addAttribute("msg","ml");
        return "index";
    }

    @RequestMapping("/user/add")
    public String add(Model model) {
        return "user/add";
    }

    @RequestMapping("/user/update")
    public String update() {
        return "user/update";
    }

    @RequestMapping("/toLogin")
    public String toLogin(){
        return "login";
    }

    @RequestMapping(value = "/login",method = RequestMethod.POST)
    public String login(@RequestParam("username") String username,@RequestParam("password") String password,Model model){
        //使用Subject获取当前用户
        Subject currentUser = SecurityUtils.getSubject();
        //封装用户的登陆数据
        UsernamePasswordToken userToken = new UsernamePasswordToken(username,password);
        try{
            currentUser.login(userToken);  //执行登陆方法,如果没有异常就说明Ok啦
            return "index";//登陆成功
        }catch (UnknownAccountException unknownAccountException){   //用户名不存在
            model.addAttribute("msg","用户名错误!");
            return "login";   //重新回到登陆页面
        }catch (IncorrectCredentialsException incorrectCredentialsException){  //密码不存在
            model.addAttribute("msg","密码错误!");
            return "login";   //重新回到登陆页面
        }
    }

    @RequestMapping("/unauthorized")
    @ResponseBody
    public String unauthorized(){
        return "未经授权无法访问此页面";
    }

    @RequestMapping("/logout")
    public String logout(){
        Subject currentUser = SecurityUtils.getSubject();
        currentUser.logout();
        return "redirect:/index";
    }

}
完结!!!!!!!!!!!!!!!!!!!!!!!


 3064
3064


 被折叠的 条评论
为什么被折叠?
被折叠的 条评论
为什么被折叠?
 到【灌水乐园】发言


