


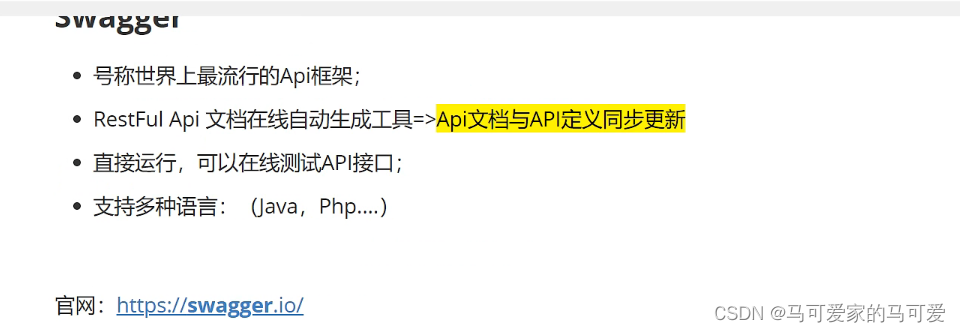
1、Swagger简介
2、springboot集成swagger
(1)、pom中导入swagger包
<dependency>
            <groupId>io.springfox</groupId>
            <artifactId>springfox-swagger2</artifactId>
            <version>3.0.0</version>
        </dependency>
        <dependency>
            <groupId>io.springfox</groupId>
            <artifactId>springfox-swagger-ui</artifactId>
            <version>2.9.2</version>
        </dependency>
(2)、配置swagger->config
package com.example.swagger.config;

import org.springframework.context.annotation.Configuration;
import springfox.documentation.swagger2.annotations.EnableSwagger2;

@Configuration
@EnableSwagger2   //开启swagger
public class SwaggerConfig {
}
(3)、写@Contrller进行测试
package com.example.swagger.controller;

import org.springframework.web.bind.annotation.GetMapping;
import org.springframework.web.bind.annotation.RestController;

@RestController
public class ApiController {
    @GetMapping("/testApi")
    public String test(){
        return "测试swagger";
    }
}
(4)、启动项目发现失败
org.springframework.context.ApplicationContextException:
 Failed to start bean 'documentationPluginsBootstrapper';
  nested exception is java.lang.NullPointerException
在application.yml中或者application.properties中加入配置修改升级之后的版本与springboot不兼容的问题
spring.mvc.pathmatch.matching-strategy=ant_path_matcher
(5)、重新启动项目测试
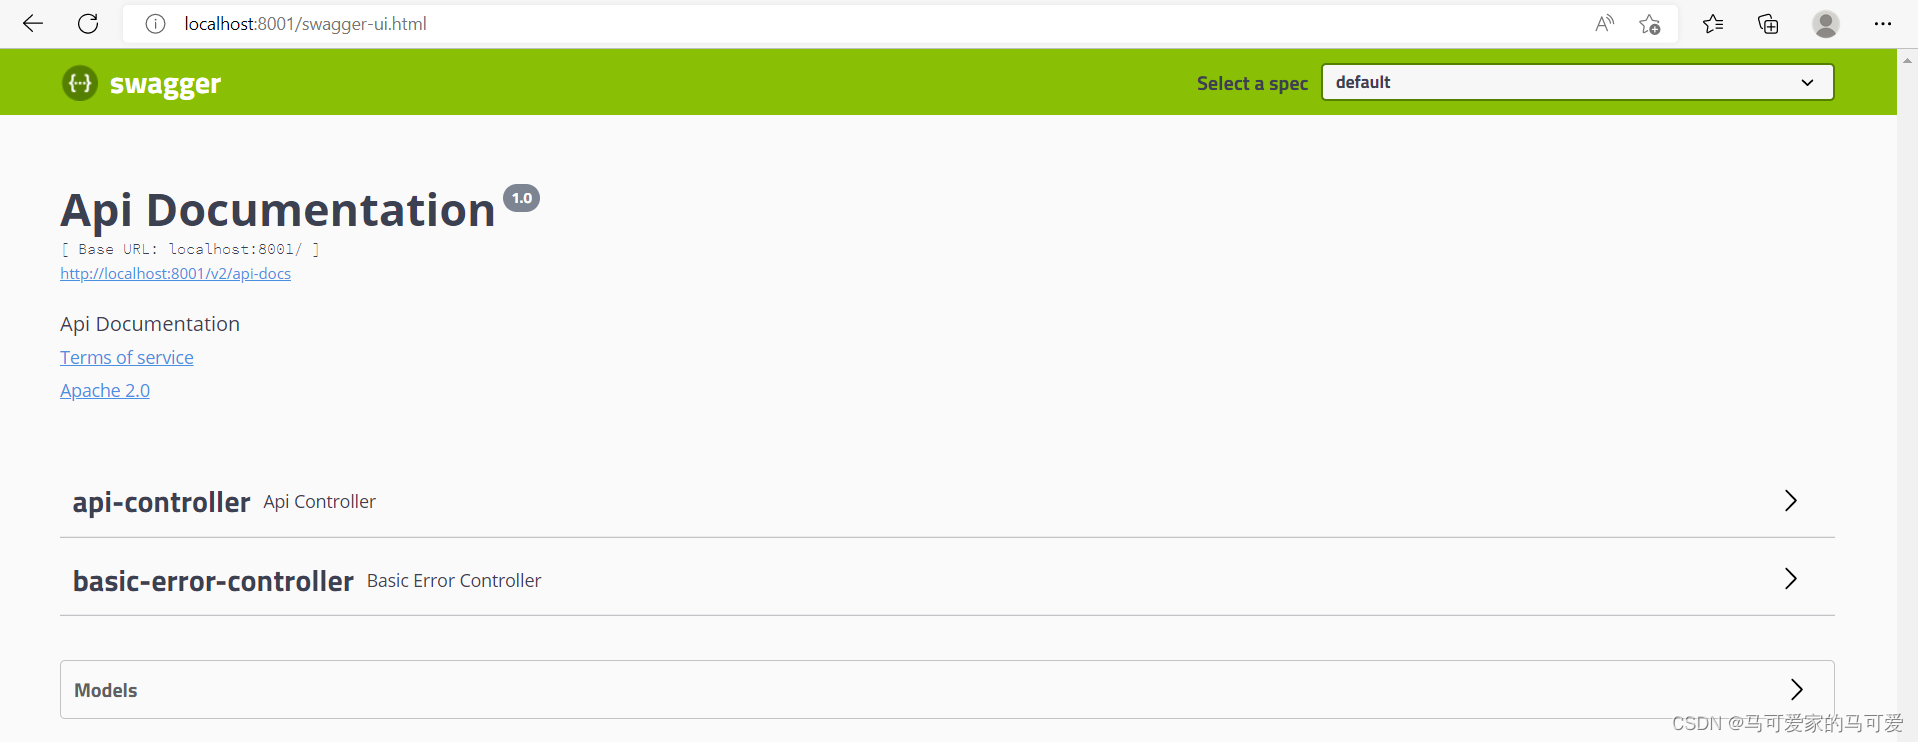
访问ip http://localhost:8001/swagger-ui.html,失败

更换版本,解决问题(但是在application.yml中或者application.properties中加入有关swagger的配置不能删除,否则即使降低版本也会依然报错)
 <dependency>
            <groupId>io.springfox</groupId>
            <artifactId>springfox-swagger2</artifactId>
            <version>2.9.2</version>
        </dependency>
        <dependency>
            <groupId>io.springfox</groupId>
            <artifactId>springfox-swagger-ui</artifactId>
            <version>2.9.2</version>
        </dependency>
所以归根结底是版本的问题才导致出现一系列的问题!但是要注意即使更换版本,在application.yml中或者application.properties中加入有关swagger的配置spring.mvc.pathmatch.matching-strategy=ant_path_matcher依然不能删除
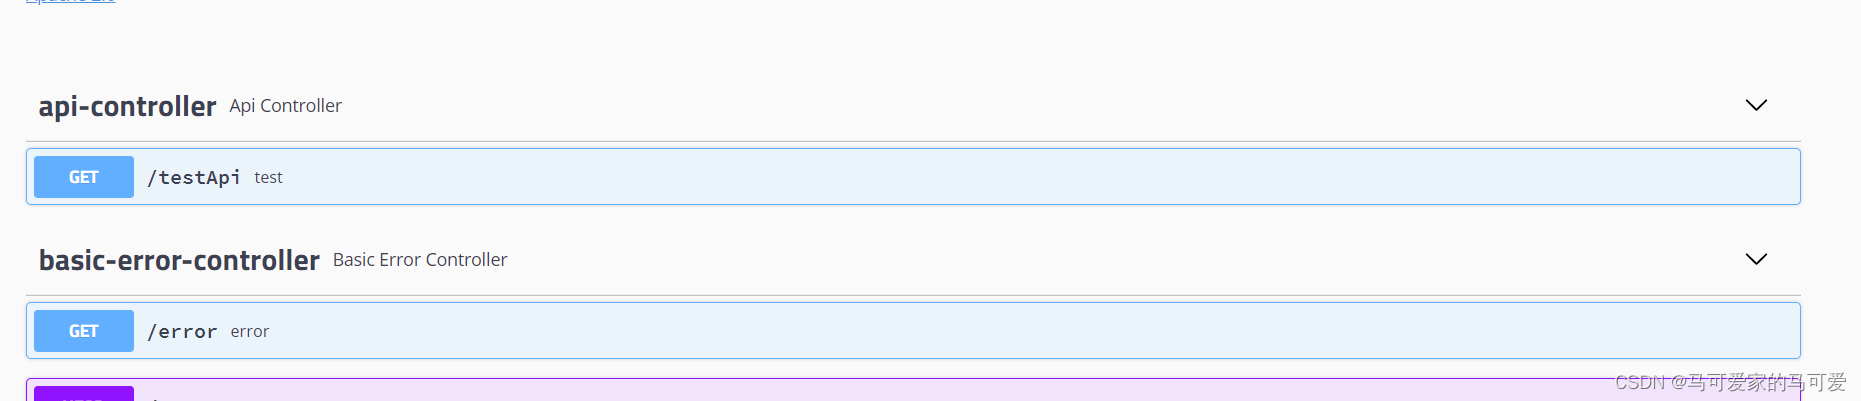
可以看到通过访问ip http://localhost:8001/swagger-ui.html看到我们自己写的@Controller中有多少个api接口,更方便团队合作开发!
3、配置swagger信息
(1)、SwaggerConfig中进行如下配置
package com.example.swagger.config;
import org.springframework.context.annotation.Bean;
import org.springframework.context.annotation.Configuration;
import springfox.documentation.service.ApiInfo;
import springfox.documentation.service.Contact;
import springfox.documentation.spi.DocumentationType;
import springfox.documentation.spring.web.plugins.Docket;
import springfox.documentation.swagger2.annotations.EnableSwagger2;
import java.util.ArrayList;
@Configuration
@EnableSwagger2 //开启swagger
public class SwaggerConfig {
//配置swagger的Docket的bean实例
@Bean
public Docket docket(){
Docket docket = new Docket(DocumentationType.SWAGGER_2);
docket.apiInfo(apiInfo());
return docket;
}
//配置swagger信息=apiInfo
private ApiInfo apiInfo(){
Contact DEFAULT_CONTACT = new Contact("ml", "http://malong.pythonanywhere.com/ml/", "3518802826@qq.com");
return new ApiInfo(
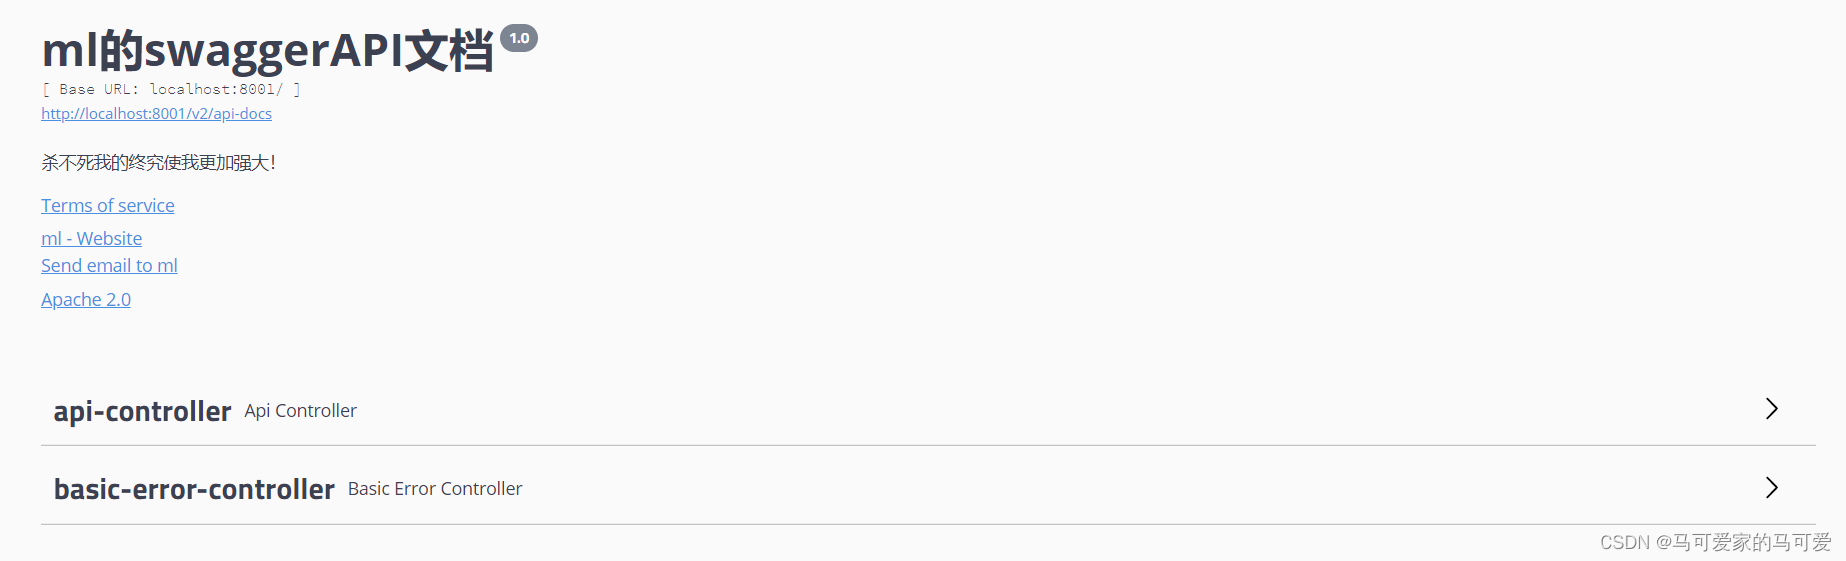
"ml的swaggerAPI文档",
"杀不死我的终究使我更加强大!",
"1.0",
"urn:tos",
DEFAULT_CONTACT, "Apache 2.0",
"http://malong.pythonanywhere.com/ml/",
new ArrayList());
}
}
(2)、访问ip http://localhost:8001/swagger-ui.html可以看到我们自己的配置生效
(3)、swagger配置扫描接口
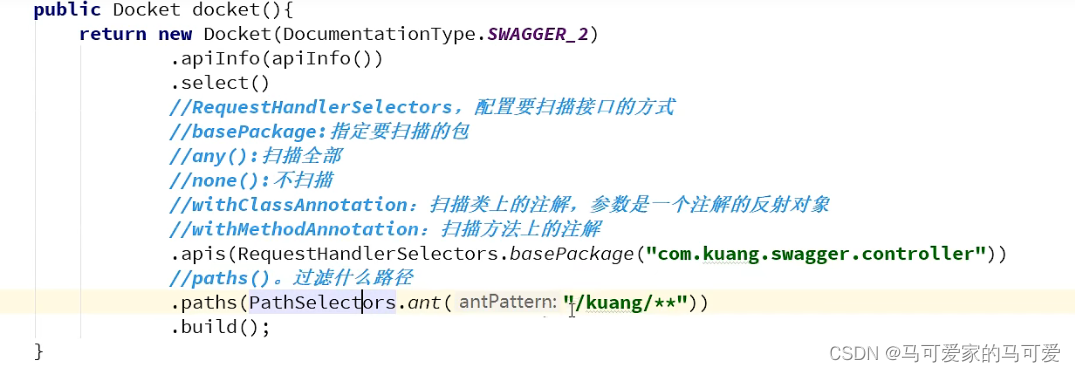
//basePackage指定要扫描的包
        docket.select().apis(RequestHandlerSelectors.basePackage("com.example.swagger.controller")).build();
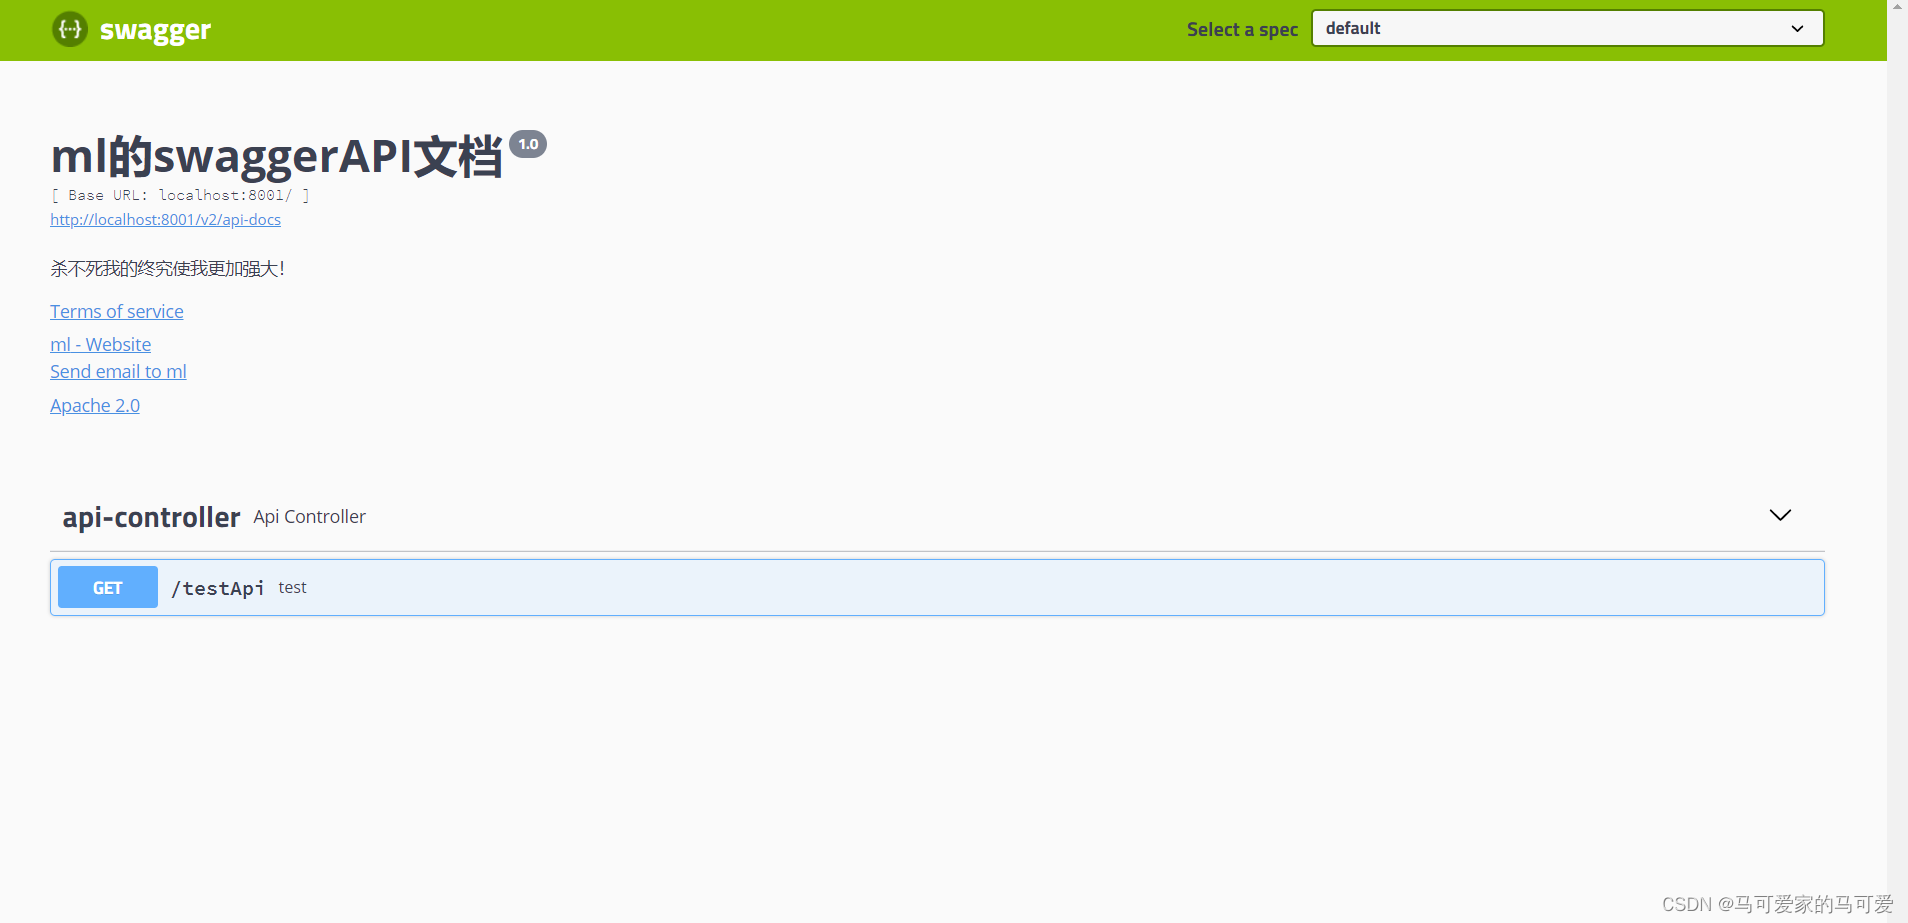
访问ip http://localhost:8001/swagger-ui.html可以看到我们自己的配置生效,相比于之前现在只有我们自己写的接口才会在API文档生效显示。没有了base-erro-controller。只显示了我们配置扫描的接口文件
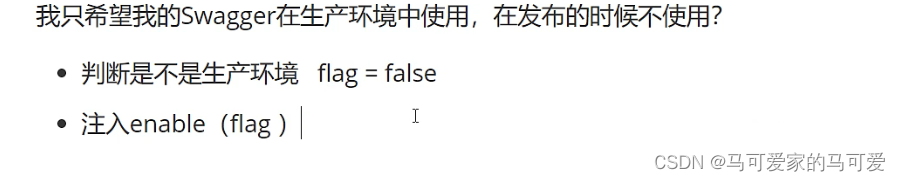
(4)、swagger在生产环境中使用,在发布的时候不使用
定义如下的properties文件

application.properties中的定义如下,用于激活生产环境
spring.profiles.active=dev
application-dev.properties中设置生产环境的端口号设置如下
server.port=8001
application-pro.properties中设置生产环境的端口号设置如下
server.port=8002
Swagger中的配置如下
//配置swagger的Docket的bean实例
    @Bean
    public Docket docket(Environment environment){
        //设置显示的swagger环境
        Profiles profiles = Profiles.of("dev");
        //通过 environment.acceptsProfiles(profiles)判断是否处在自己设定的生产环境中
        boolean flag = environment.acceptsProfiles(profiles);

        Docket docket = new Docket(DocumentationType.SWAGGER_2);
        docket.apiInfo(apiInfo());
        //判断是否为生产环境
        docket.enable(flag);
        //basePackage指定要扫描的包
        docket.select().apis(RequestHandlerSelectors.basePackage("com.example.swagger.controller")).build();
        return docket;
    }
 //设置显示的swagger环境
        Profiles profiles = Profiles.of("dev");
        //通过 environment.acceptsProfiles(profiles)判断是否处在自己设定的生产环境中
        boolean flag = environment.acceptsProfiles(profiles);
        //判断是否为生产环境
        docket.enable(flag);
使用ip http://localhost:8001/swagger-ui.html,可以正常访问,是因为当前是的生产环境是“dev”
修改application.properties中的定义如下,为产品上线,非生产环境时期
spring.profiles.active=pro
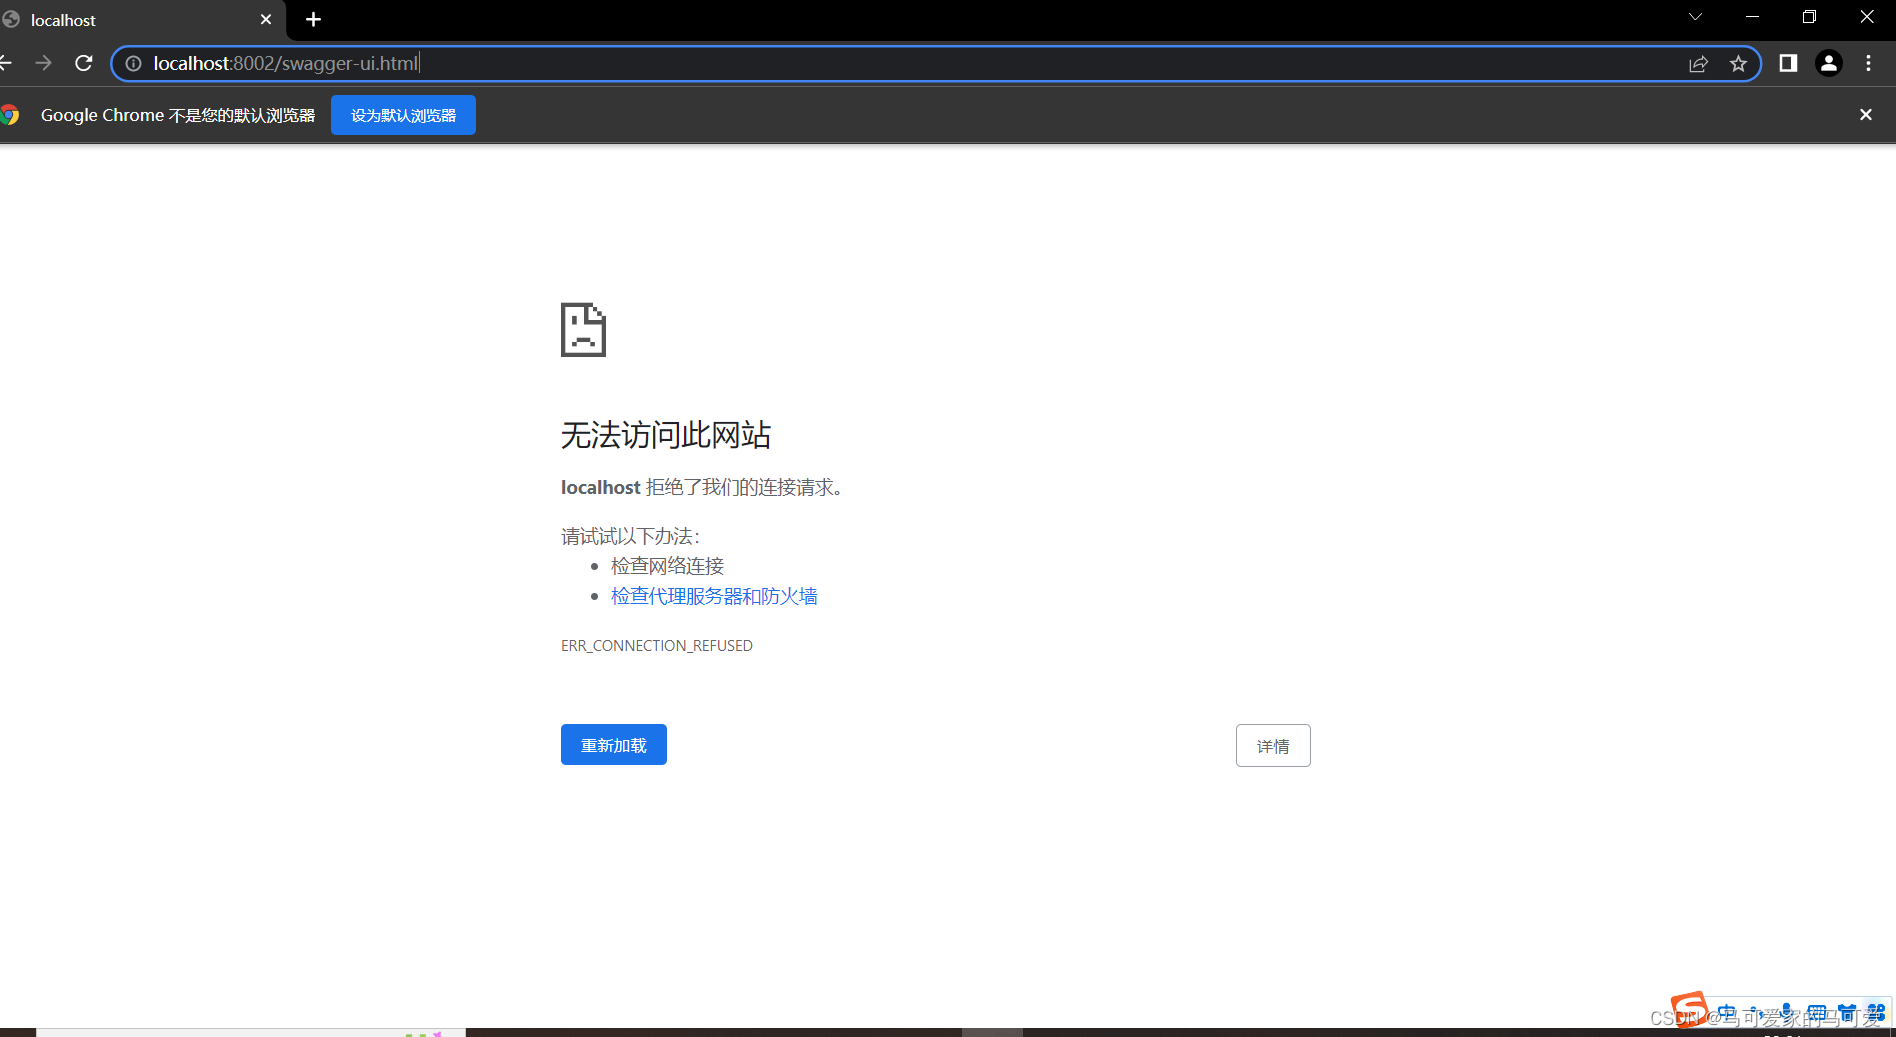
使用ip http://localhost:8002/swagger-ui.html,不能正常访问,是因为当前是的生产环境是“pro”
(5)、配置分组

//B组
    @Bean
    public Docket docketB() {
        return new Docket(DocumentationType.SWAGGER_2)
                .groupName("B组");
    }
    //A组
    @Bean
    public Docket docketA() {
        return new Docket(DocumentationType.SWAGGER_2)
                .groupName("A组");
    }
而在我自己的分组中定义如下
docket.groupName("ml自己的组");
使用http://localhost:8001/swagger-ui.html#/访问

配置分组的意义在于团队开发,每个人都会有自己的开发文档,每个人只管理自己的API文档,最后一起集成到springboot中。
(6)、swagger中的各个接口注释
package com.example.swagger.entity;

import io.swagger.annotations.ApiModel;
import io.swagger.annotations.ApiModelProperty;
import lombok.AllArgsConstructor;
import lombok.Data;
import lombok.NoArgsConstructor;

@Data
@NoArgsConstructor
@AllArgsConstructor
@ApiModel("user实体类")
public class User {
    @ApiModelProperty("用户")
    private String username;
    @ApiModelProperty("密码")
    private String password;
}
//只要在接口中存在实体类,就会被自动扫描到swagger中
    @PostMapping("/testUser")
    @ApiOperation("Post测试方法")
    public User user(@ApiParam("username和password") User user) {
        return user;
    }
访问ml自己的组

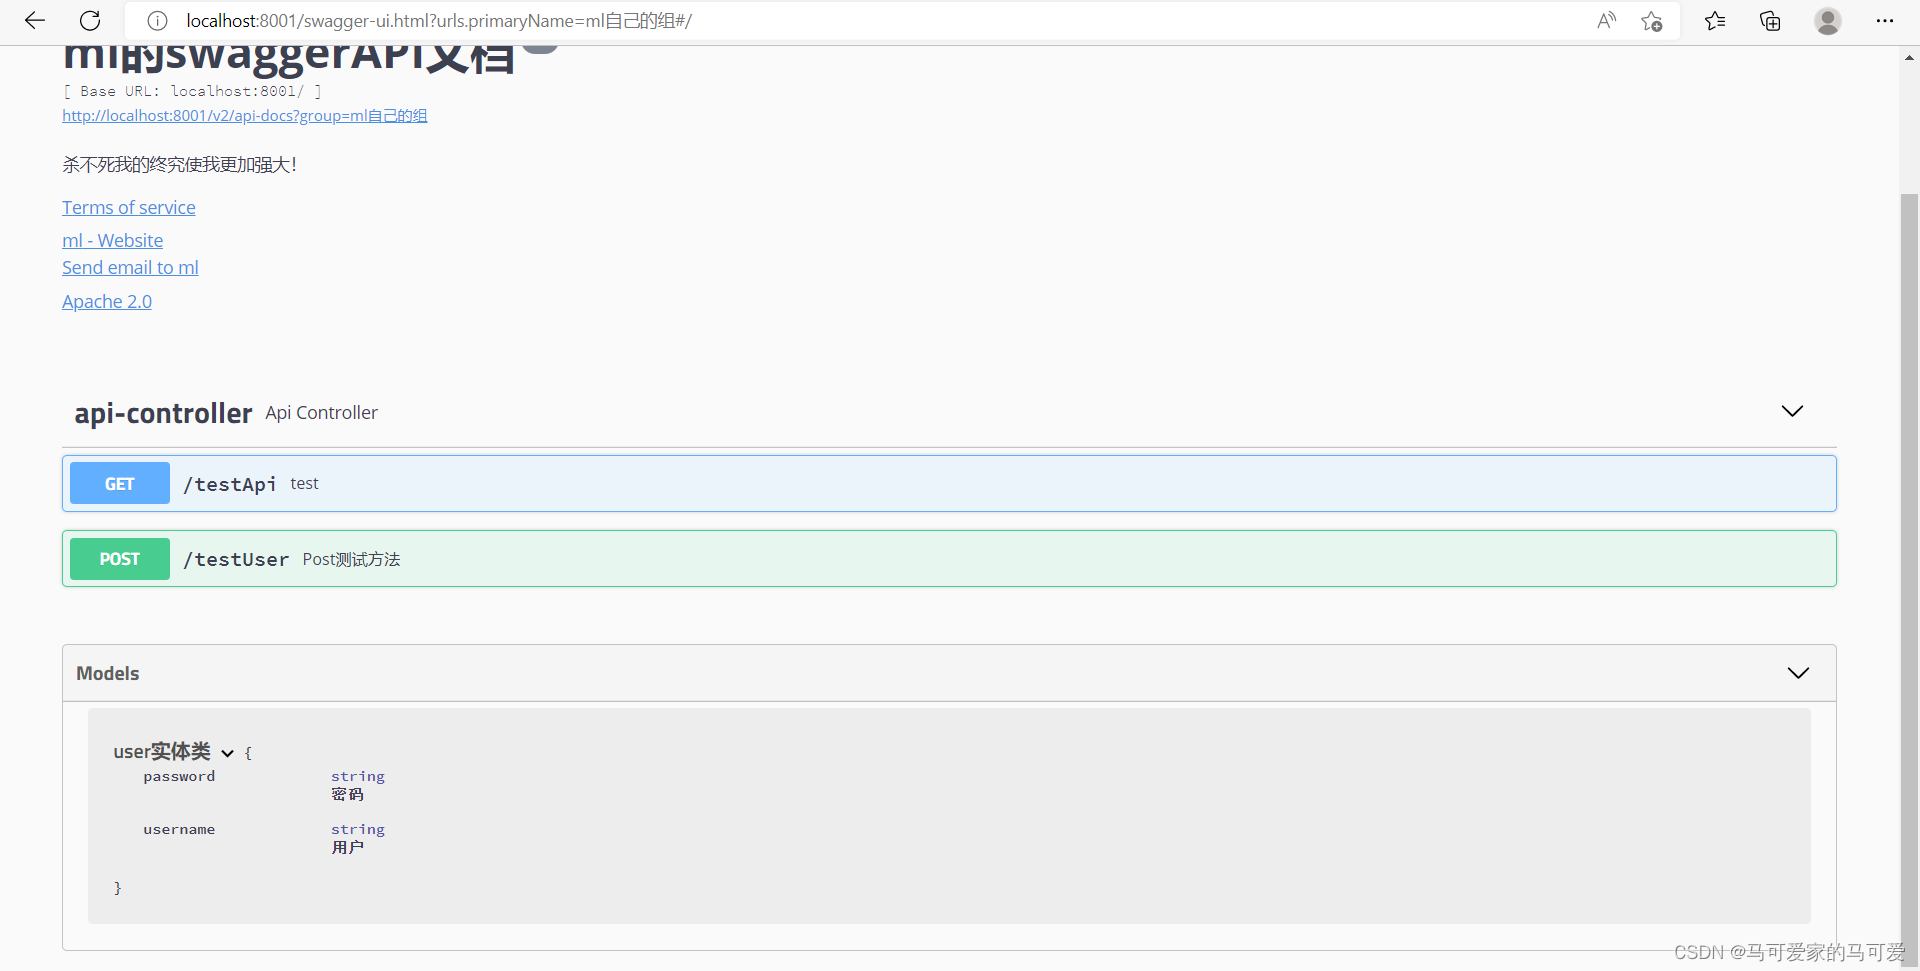
可以看到我们自己配置的User实体类已经别扫描到了实体类,并且成功使用了接口注释
点击testUser post测试方法
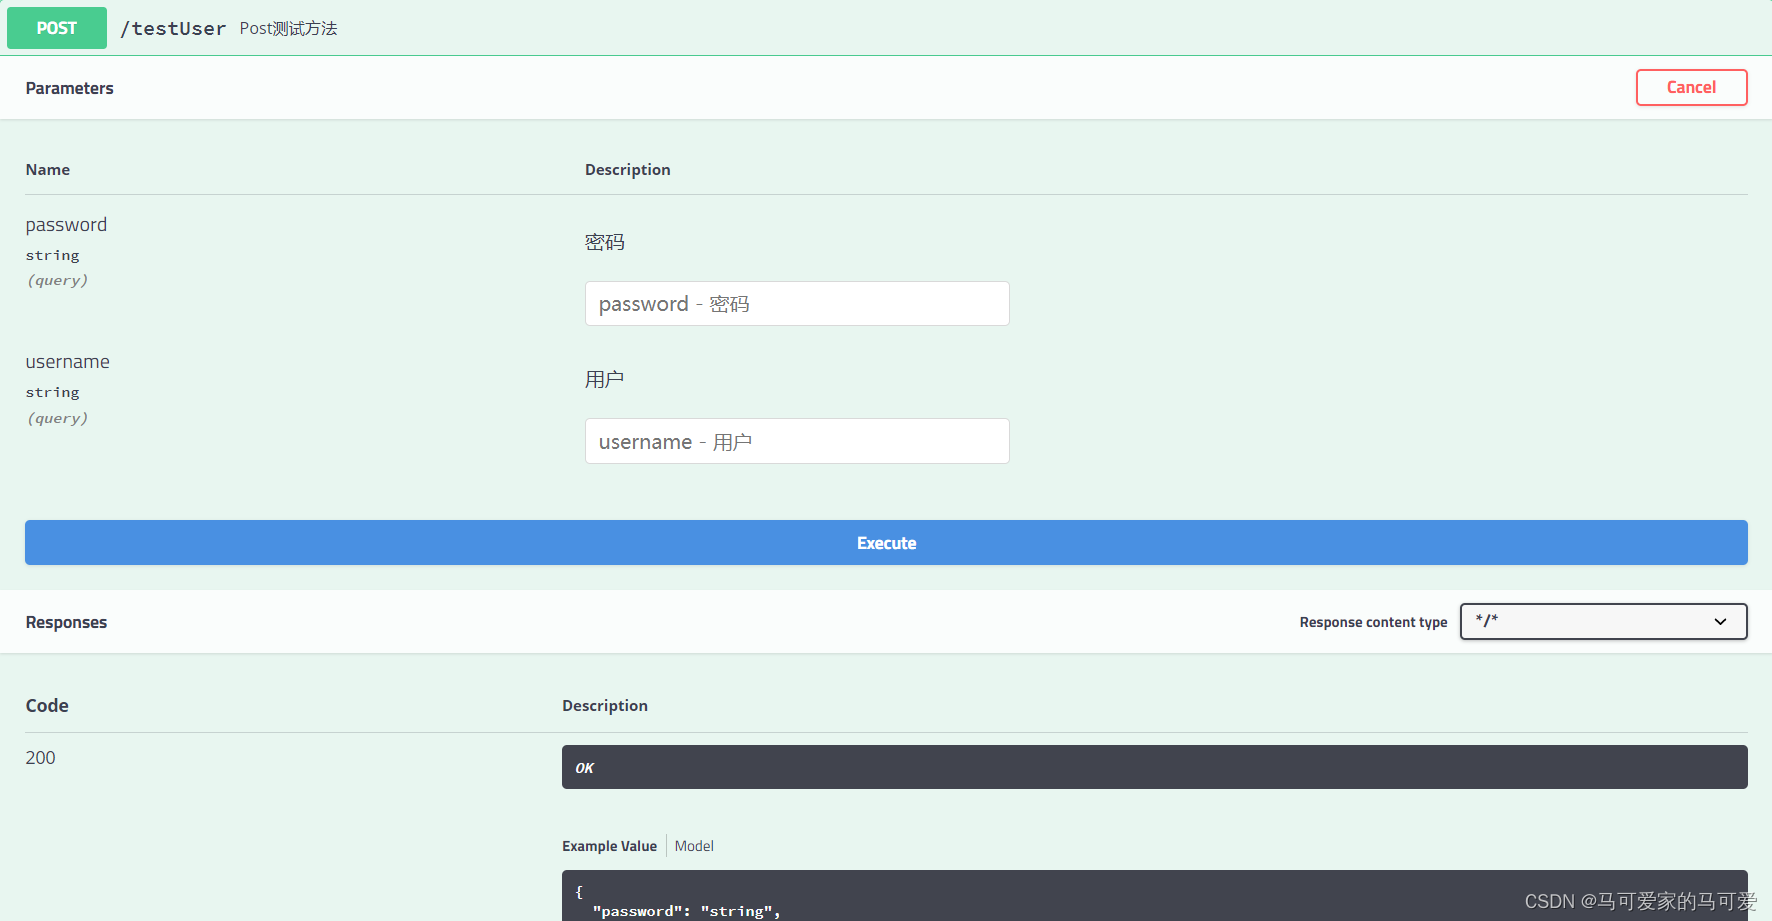
可以直接使用swagger进行接口测试
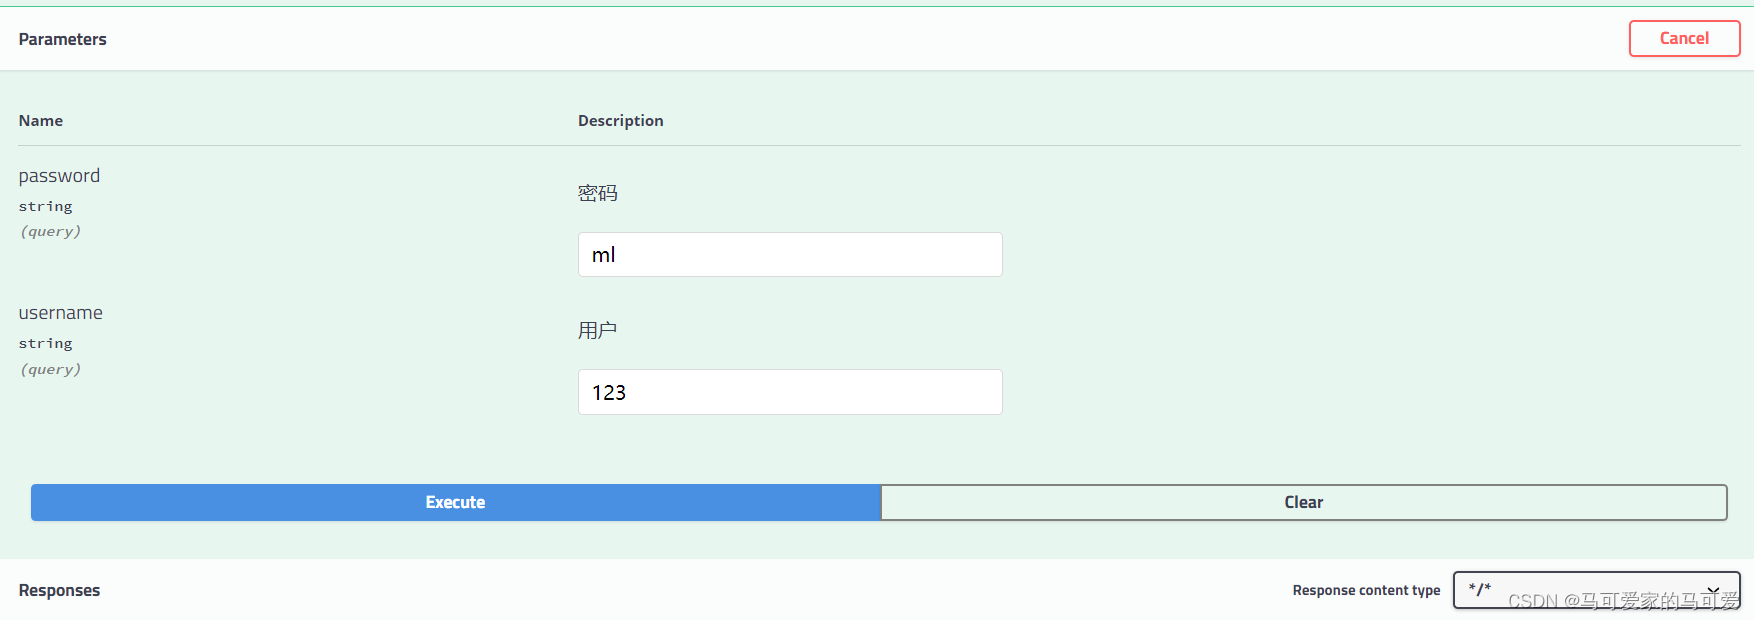
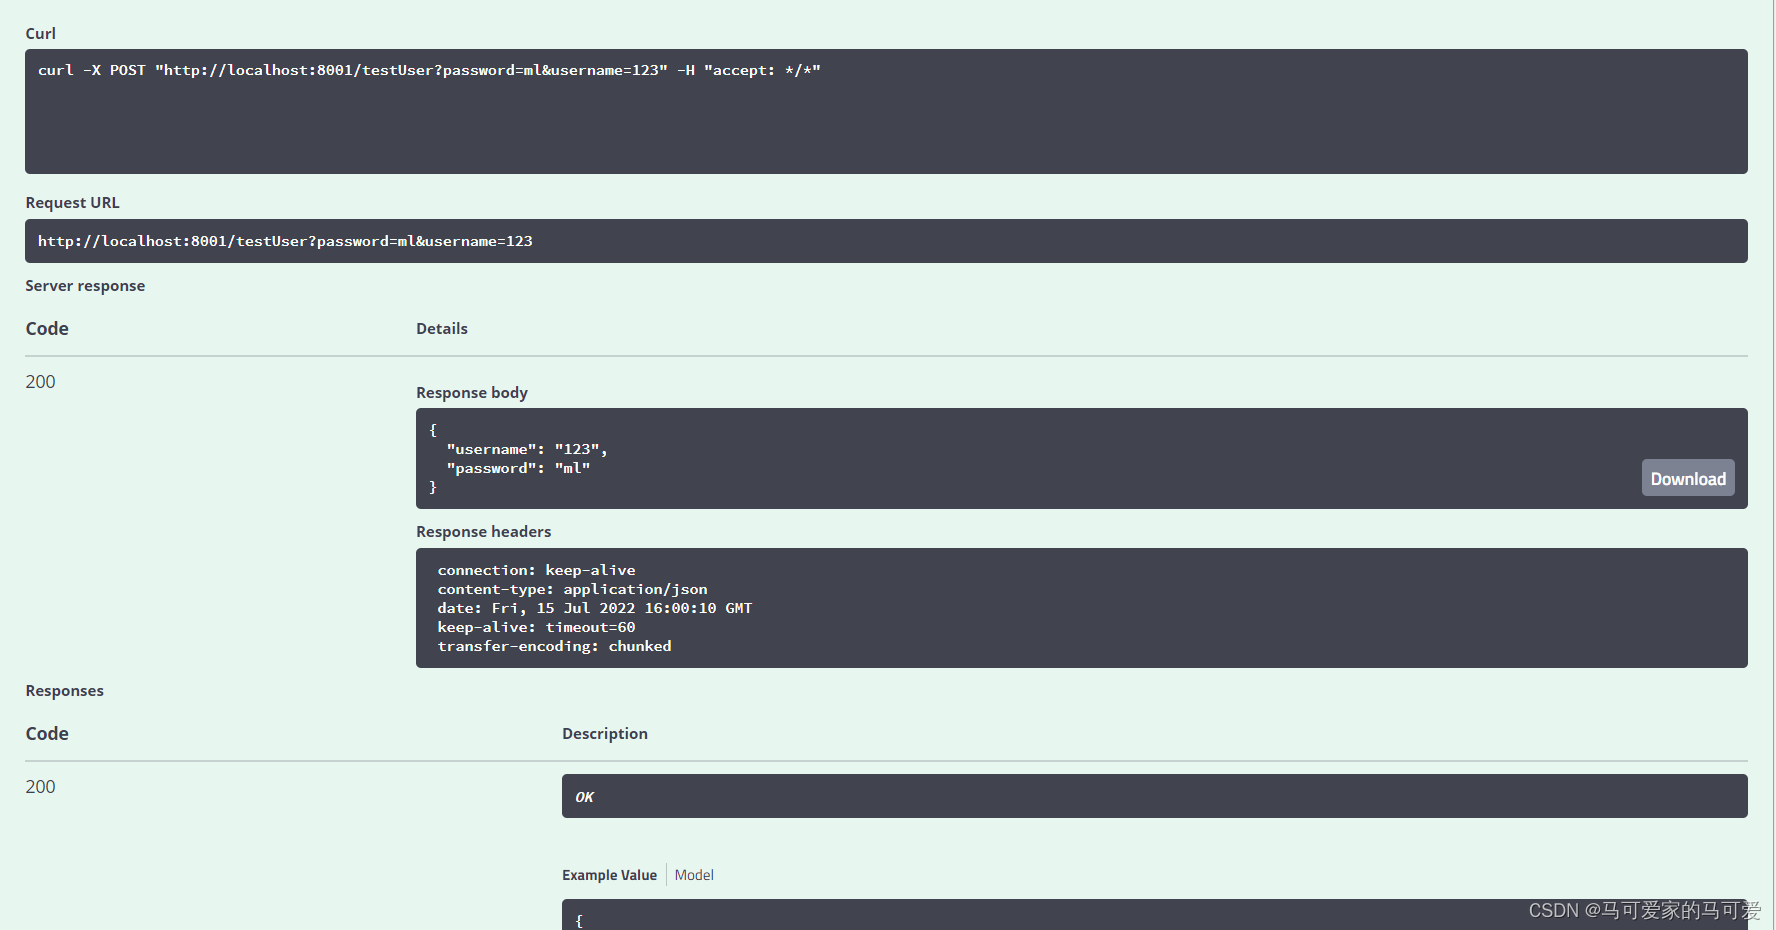
不得不说swagger是真的强大!!!!!!!!!!!
(4)、上面测试用到的代码如下
package com.example.swagger.config;

import org.springframework.context.annotation.Bean;
import org.springframework.context.annotation.Configuration;
import org.springframework.core.env.Environment;
import org.springframework.core.env.Profiles;
import springfox.documentation.builders.RequestHandlerSelectors;
import springfox.documentation.service.ApiInfo;
import springfox.documentation.service.Contact;
import springfox.documentation.spi.DocumentationType;
import springfox.documentation.spring.web.plugins.Docket;
import springfox.documentation.swagger2.annotations.EnableSwagger2;

import java.util.ArrayList;

@Configuration
@EnableSwagger2   //开启swagger
public class SwaggerConfig {
    //B组
    @Bean
    public Docket docketB() {
        return new Docket(DocumentationType.SWAGGER_2)
                .groupName("B组");
    }
    //A组
    @Bean
    public Docket docketA() {
        return new Docket(DocumentationType.SWAGGER_2)
                .groupName("A组");
    }

    //配置swagger的Docket的bean实例
    @Bean
    public Docket docket(Environment environment) {
        //设置显示的swagger环境
        Profiles profiles = Profiles.of("dev");
        //通过 environment.acceptsProfiles(profiles)判断是否处在自己设定的生产环境中
        boolean flag = environment.acceptsProfiles(profiles);

        Docket docket = new Docket(DocumentationType.SWAGGER_2);
        docket.apiInfo(apiInfo());
        //判断是否为生产环境
        docket.groupName("ml自己的组");
        docket.enable(flag);
        //basePackage指定要扫描的包
        docket.select().apis(RequestHandlerSelectors.basePackage("com.example.swagger.controller")).build();
        return docket;
    }

    //配置swagger信息=apiInfo
    private ApiInfo apiInfo() {
        Contact DEFAULT_CONTACT = new Contact("ml", "http://malong.pythonanywhere.com/ml/", "3518802826@qq.com");
        return new ApiInfo(
                "ml的swaggerAPI文档",
                "杀不死我的终究使我更加强大!",
                "1.0",
                "http://malong.pythonanywhere.com/ml/",
                DEFAULT_CONTACT, "Apache 2.0",
                "http://malong.pythonanywhere.com/ml/",
                new ArrayList());
    }
}
package com.example.swagger.controller;

import com.example.swagger.entity.User;
import io.swagger.annotations.ApiOperation;
import io.swagger.annotations.ApiParam;
import org.springframework.web.bind.annotation.GetMapping;
import org.springframework.web.bind.annotation.PathVariable;
import org.springframework.web.bind.annotation.PostMapping;
import org.springframework.web.bind.annotation.RestController;


@RestController

public class ApiController {
    @GetMapping("/testApi")
    public String test() {
        return "测试swagger";
    }
    //只要在接口中存在实体类,就会被自动扫描到swagger中
    @PostMapping("/testUser")
    @ApiOperation("Post测试方法")
    public User user(@ApiParam("username和password") User user) {
        return user;
    }
}


 456
456


 被折叠的 条评论
为什么被折叠?
被折叠的 条评论
为什么被折叠?
 到【灌水乐园】发言


