


一、物理系统基本概念
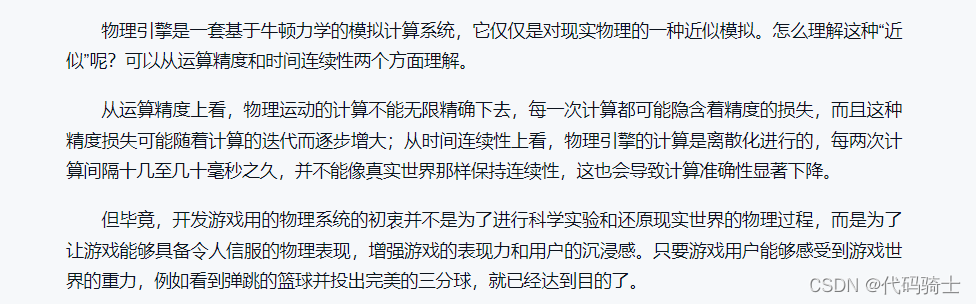
1、刚体

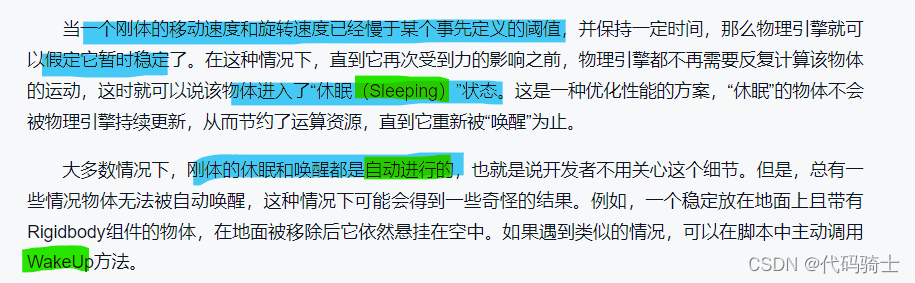
2、休眠
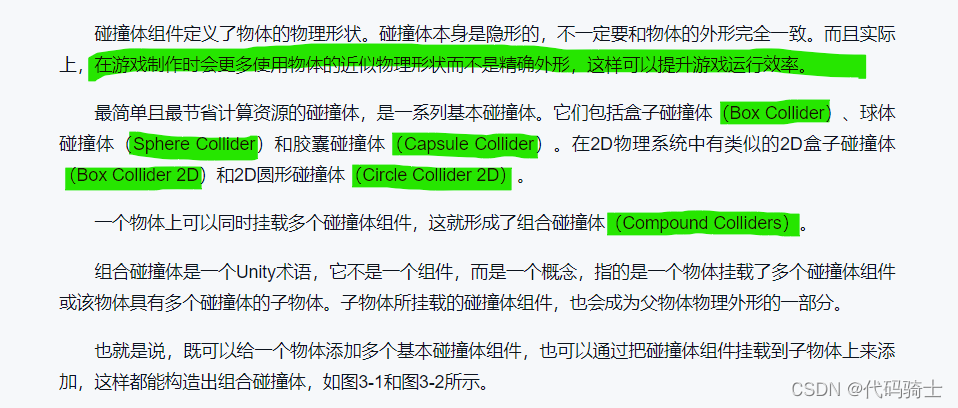
3、碰撞体
例如:
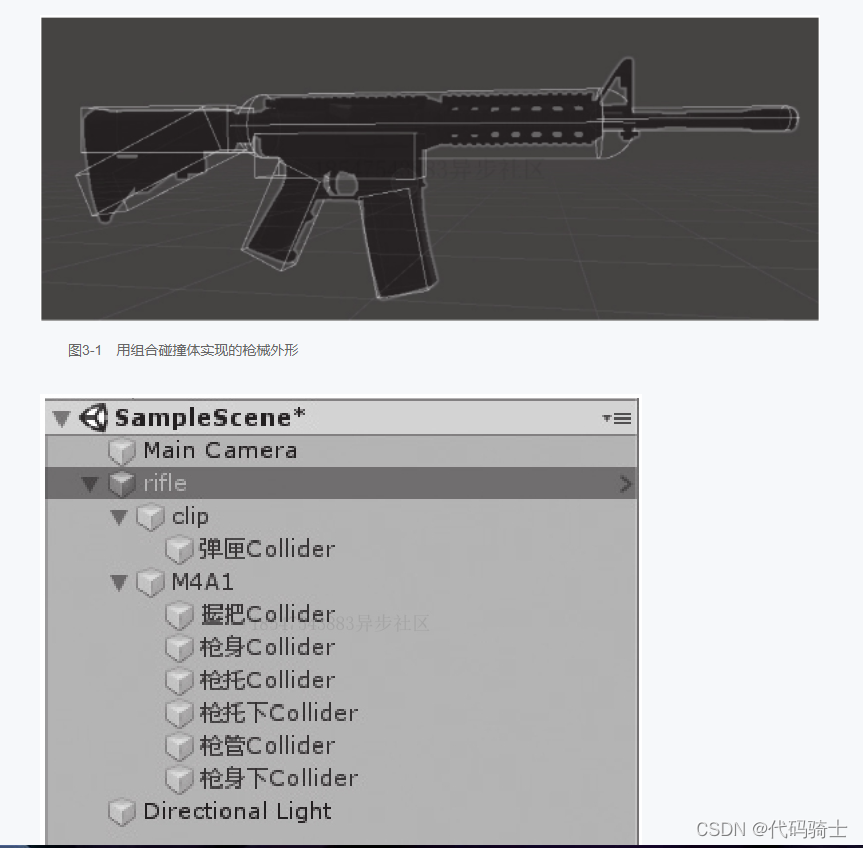
用多个子物体构造组合碰撞体,方便调节物理外形。

Tip:
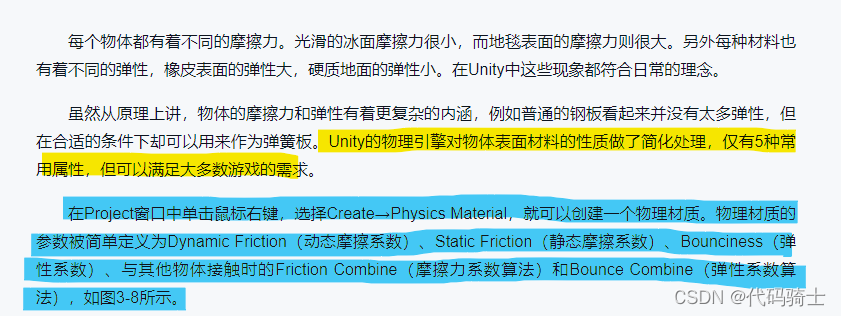
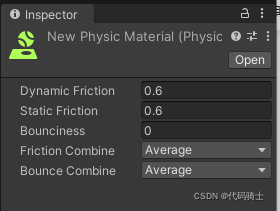
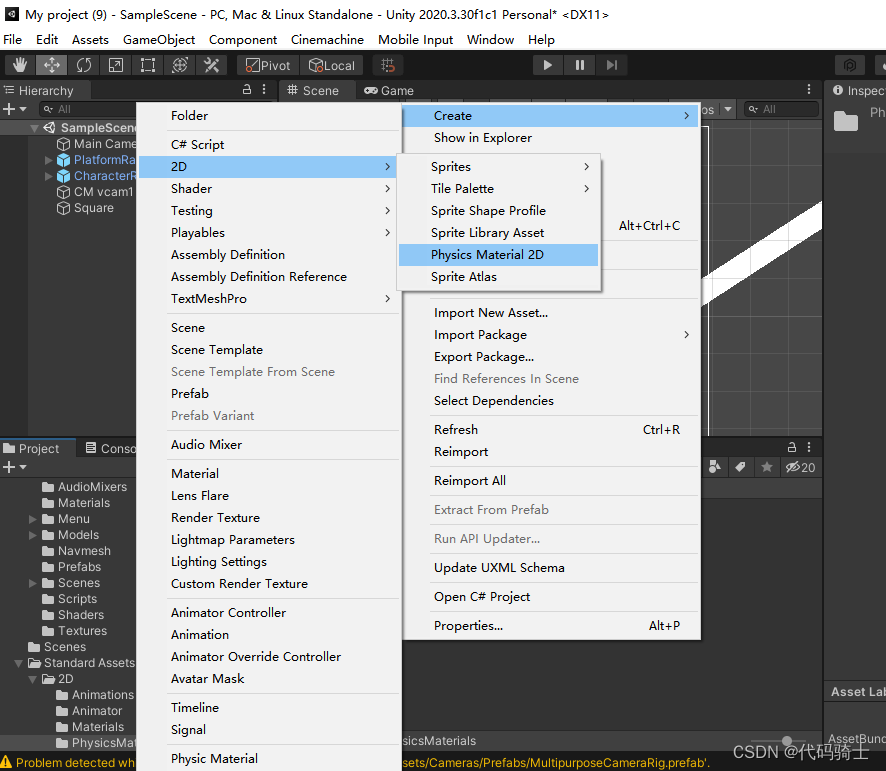
4、物理材质
Tip:
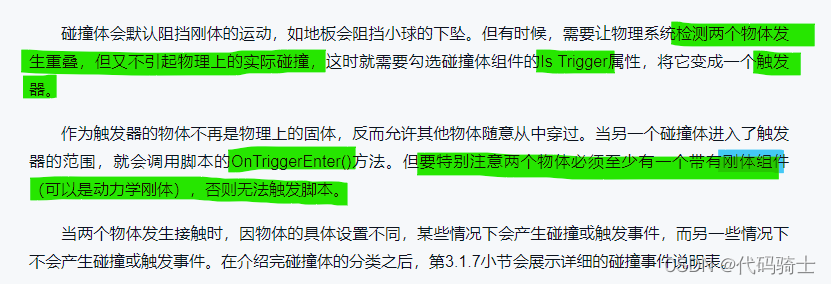
5、触发器
Tip:
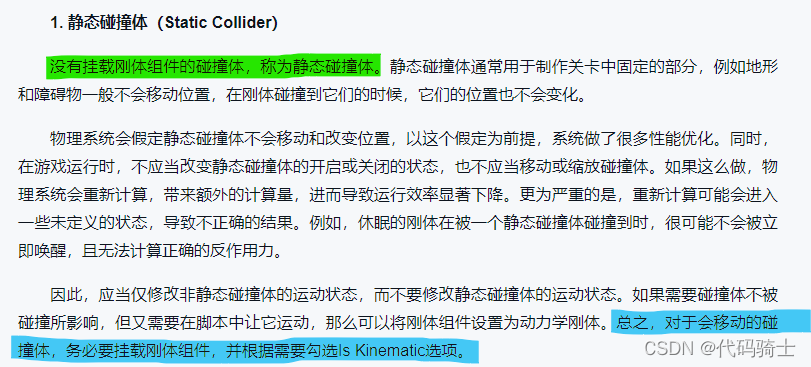
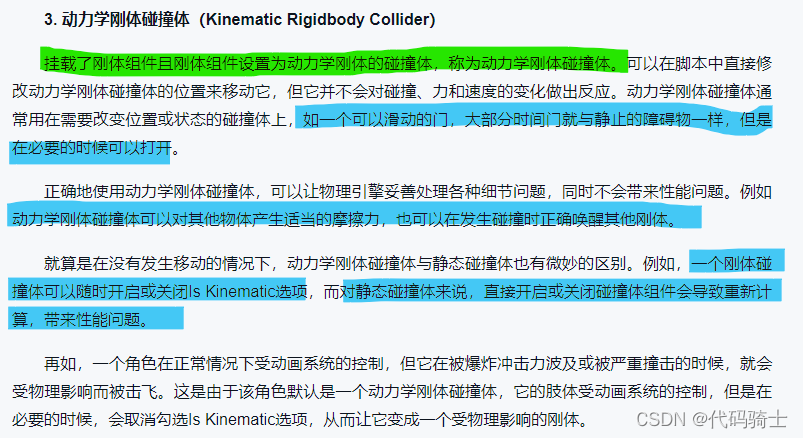
6、碰撞体的分类
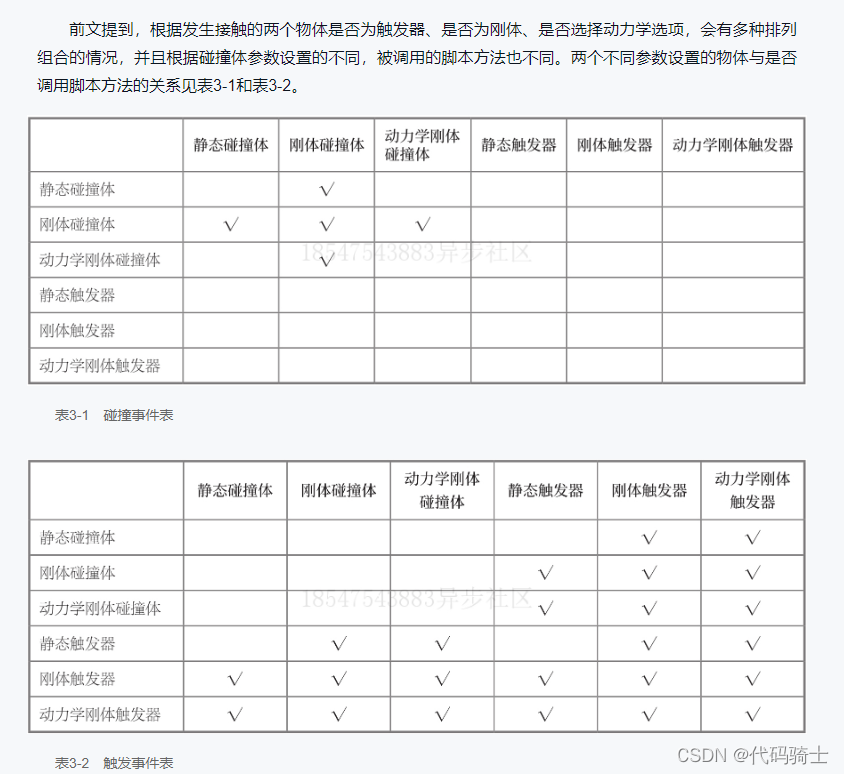
对包含了碰撞体组件的物体来说,物体上是否具有刚体组件,以及刚体上动力学设置的不同,都会使物体的物理碰撞特性产生变化。可以将所有的碰撞体分为静态碰撞体、刚体碰撞体和动力学刚体碰撞体三类。

Tip:
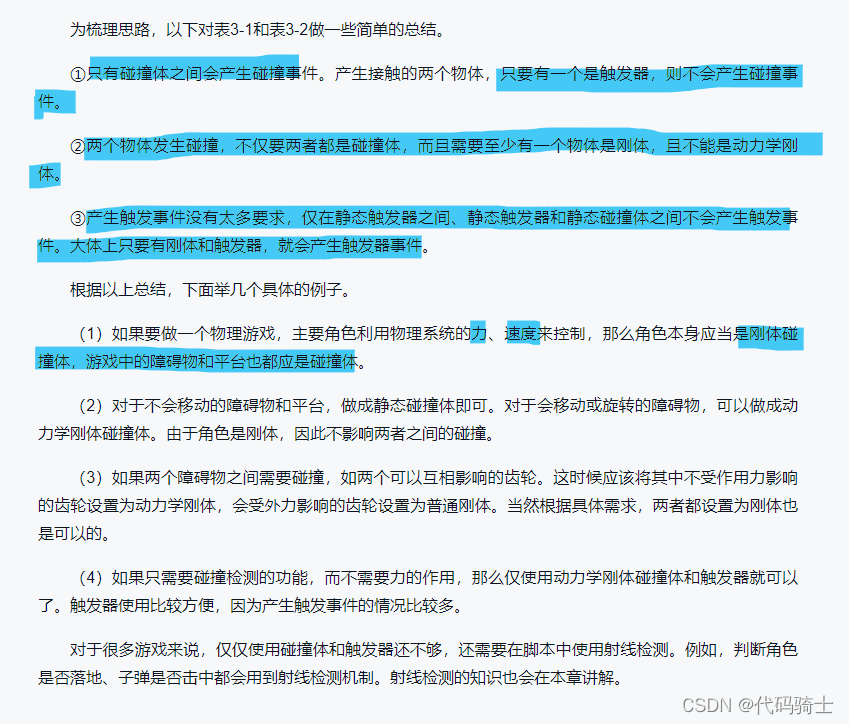
7、碰撞事件表
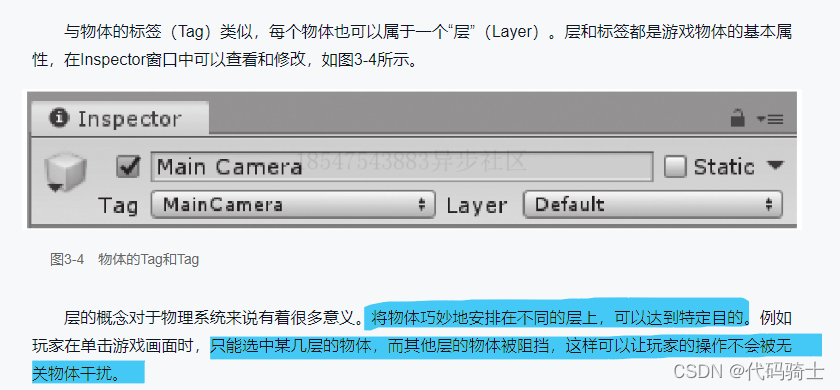
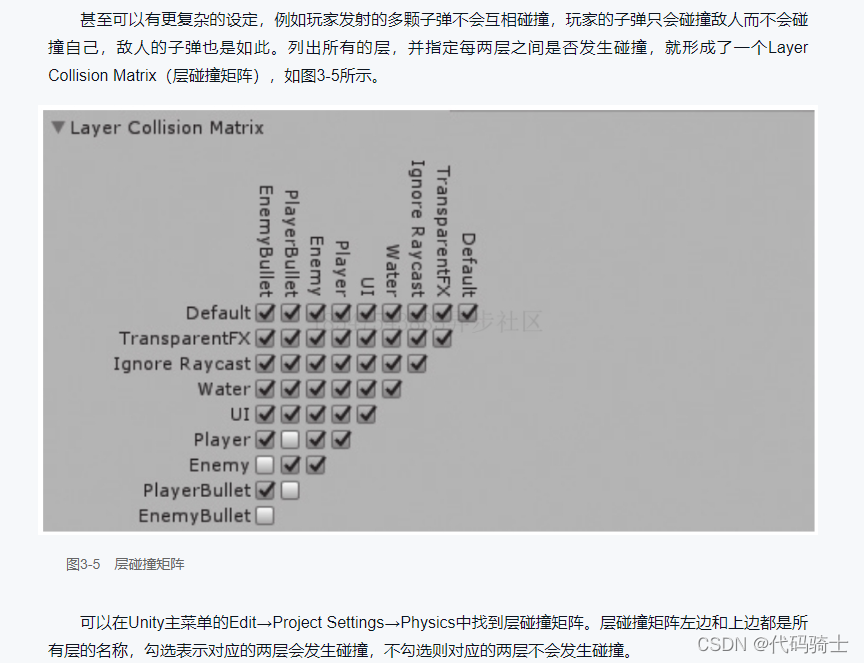
8、层
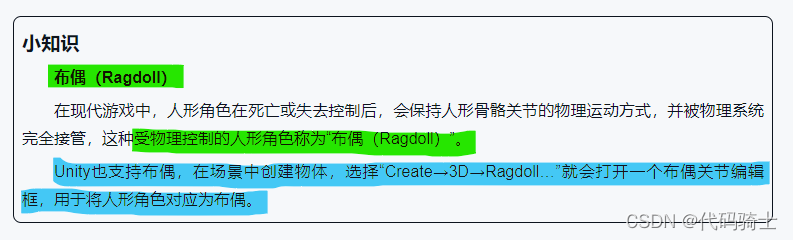
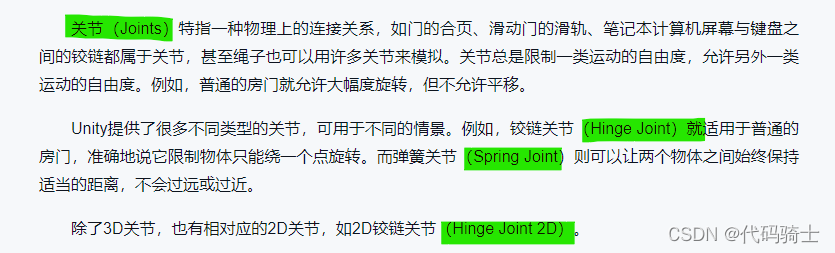
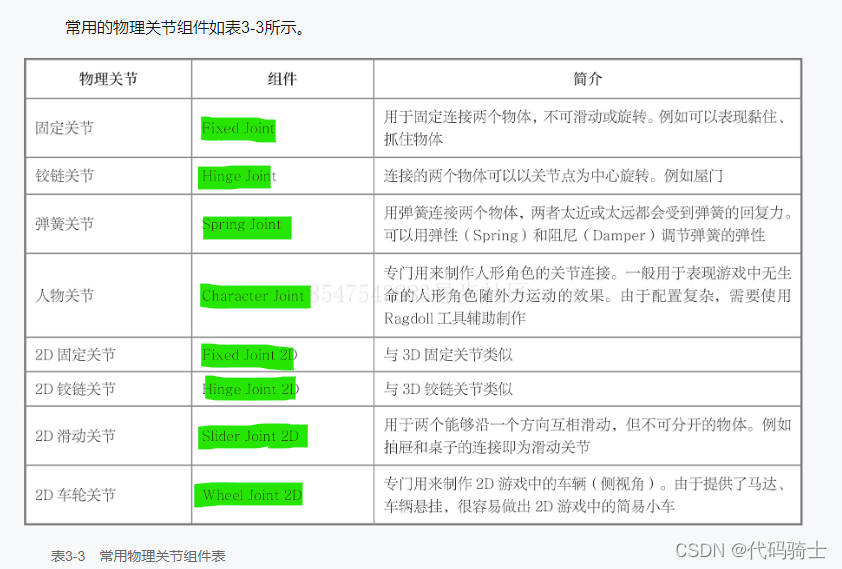
9、物理关节

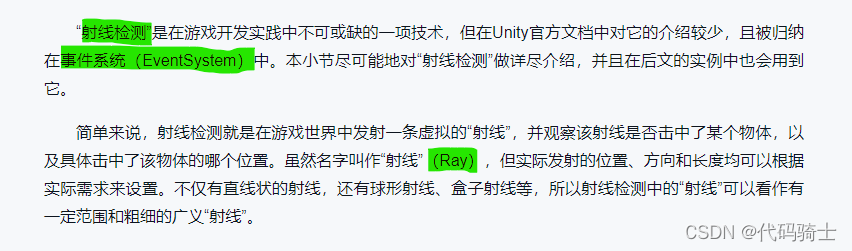
10、射线检测
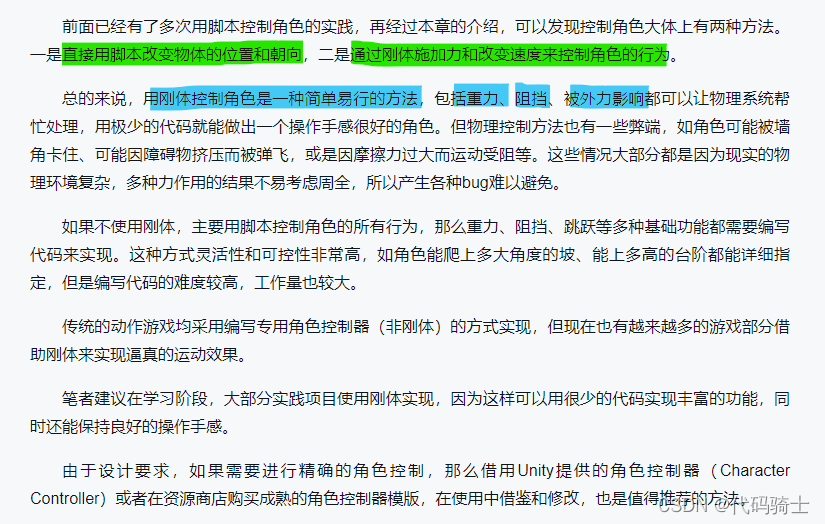
11、角色控制器与物理系统
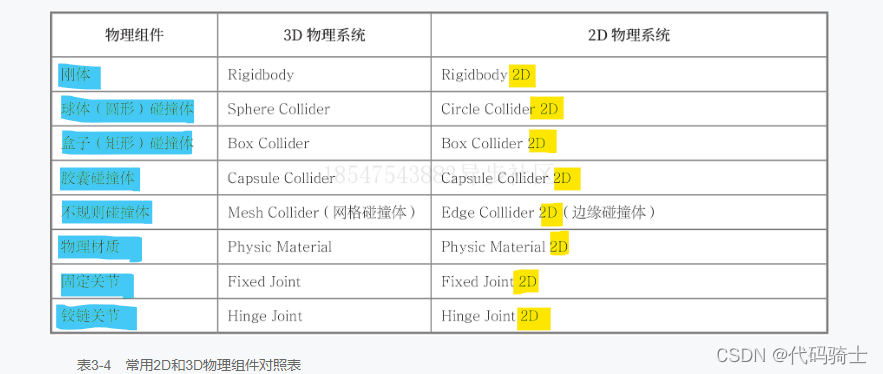
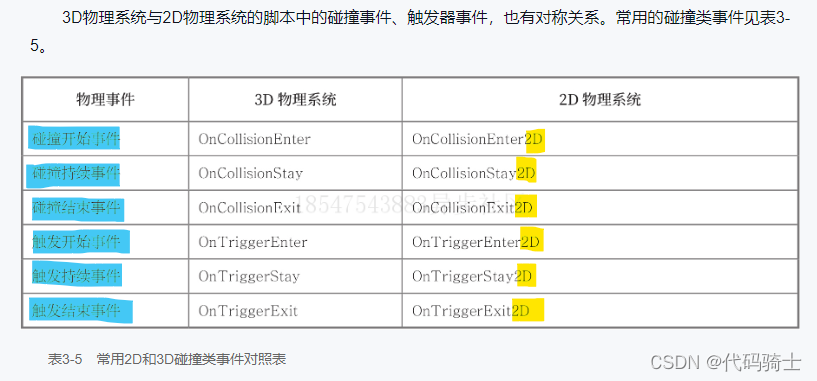
12、3D物理系统与2D物理系统

二、物理系统脚本编程

1、获取刚体组件
当一个物体挂载了刚体时,即可在脚本中获取该物体的刚体组件,其代码如下。
using UnityEngine;

public class Test : MonoBehaviour
{
    Rigidbody rigid;
    void Start()
    {
        rigid = GetComponent<Rigidbody>();
    }
}
一般将刚体变量命名为rigid并定义为一个字段,方便之后反复使用。
2、施加压力作用
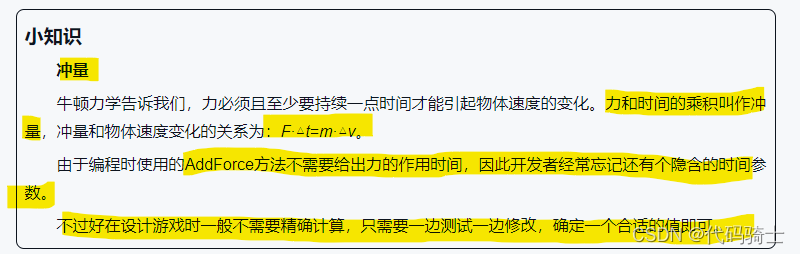
最常用的施加力的作用的方法是AddForce()。参数为Vector3类型。该参数用一个向量表示力,而且该向量符合牛顿力学,如下代码。
    private void Update()
    {
        if(Input.GetButtonDown("Jump"))
        {
            rigid.AddForce(new Vector3(0, 100, 0));
        }
    }
以上代码的作用是在玩家按下空格键时,对刚体施加一个向上的力,大小为100牛,持续时间是一个物理帧间隔(默认0.02秒)。如果物体只有1千克,重力就不到10牛,那么这个力会使物体跳起一定高度。
Tip:
3、修改速度
再使用Transform组件时,让物体匀速移动的方法是,每帧让物体的位置前进一段很短的距离。Transform组件本身并没有速度这一属性,但通常在脚本中会定义速度变量,以方便控制物体的移动速度。
对物理系统中的刚体来说,速度是一个非常重要的固有属性。速度影响着物体的动量、动能,决定着碰撞结果。
在Unity中,不仅可以获取刚体当前的速度,还可以直接修改速度,其方法如下。
//获取当前物体速度
Vector3 ve1 = rigid.velocity;
//当前速度沿z轴增加1m/s
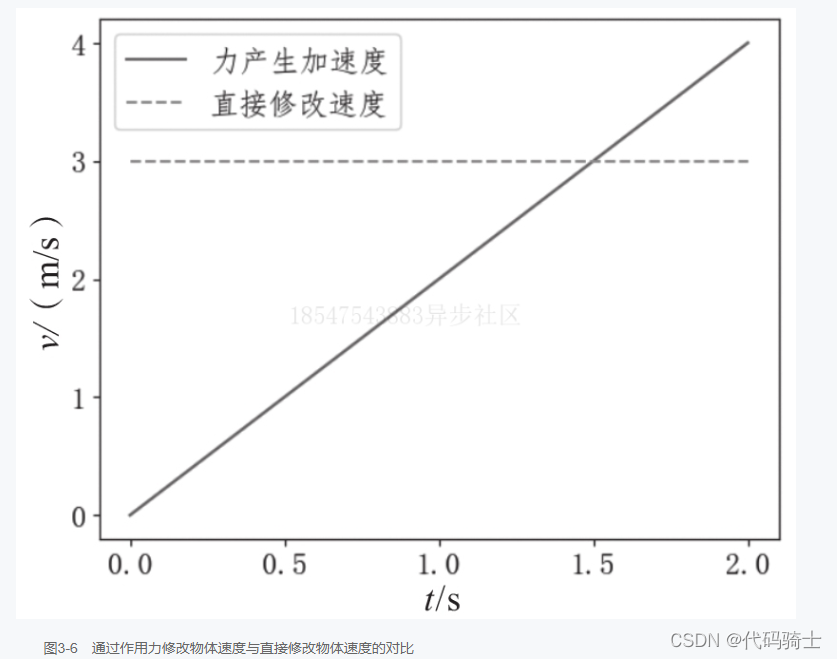
rigid.velocity = ve1+new Vector3(0,0,1);力的作用在物体上会产生加速度,加速度会引起速度的变化。用力控制物体运动的思路必须在牛顿力学的框架之下。而直接修改速度引起速度变化的步骤,对速度进行控制,在实践中直接修改速度是一种很有用的方法。
直接修改速度还有一个典型的用法,那就是制作游戏中的“二段跳”。下面来介绍一下实现空中多次跳跃的技巧。
一下脚本的意图是按空格键使角色跳跃,而且角色可以在空中多次跳跃。
using UnityEngine;

public class Test : MonoBehaviour
{

    Rigidbody rigid;

    void Start()
    {
        rigid = GetComponent<Rigidbody>();
    }

    private void Update()
    {
        if(Input.GetButtonDown("Jump"))
        {
            rigid.AddForce(new Vector3(0, 100, 0));
        }
    }
}
private void Update()
    {
        if(Input.GetButtonDown("Jump"))
        {
            rigid.velocity = new Vector3(rigid.velocity.x, 0, rigid.velocity.z);
            rigid.AddForce(new Vector3(0, 100, 0));
        }
    }
这样修改后,无论物体处于上升阶段还是下降阶段,都会有比较好的多次跳跃效果。
4、射线的使用方法
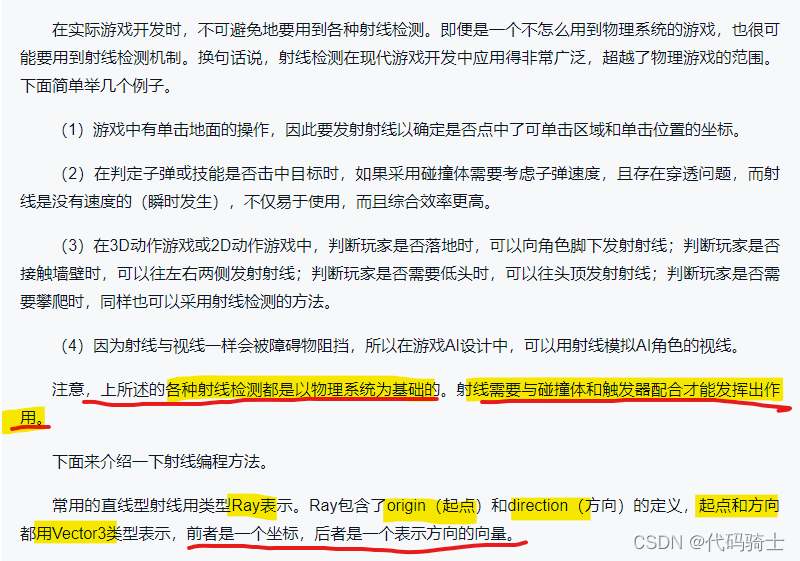

    bool Raycast(Vector3 origin, Vector3 direction);
    bool Raycast(Vector3 origin, Vector3 direction, float maxDistance);
bool Raycast(Vector3 origin, Vector3 direction, float maxDistance, int layerMsk); 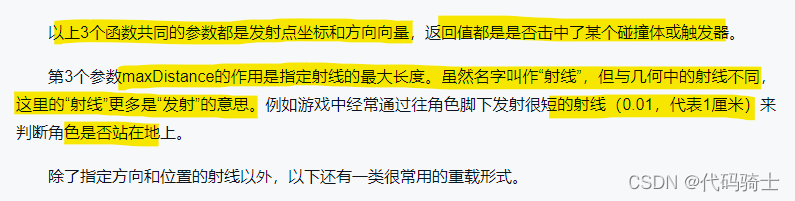
    bool Raycast(Ray ray, out RaycastHit hitInfo);
    bool Raycast(Ray ray, out RaycastHit hitInfo, float maxDistance);
bool Raycast(Ray ray, out RaycastHit hitInfo, float maxDistance, int layrMask); 
   //创建从原点向上的射线
    Ray ray = new Ray(Vector3.zero, Vector3.up);
    //获取当前鼠标指针在屏幕上的位置(单位像素)
    Vector2 mousePos = Input.mousePosition;
    //创建一条射线,起点是摄像机位置,方向指向鼠标所在点(隐含了从屏幕到世界坐标的转换)
    Ray ray2 = Camera.main.ScreenPointToRay(mousePos);

    //之后可以将ray或ray2发射出去,例如:
Physics.Raycast(Ray,10000,LayerMask.GetMask("Default")); 
5、层和层遮罩

    int mask = LayerMask.GetMask("Ground", "Player", "Obstacle");
    if(Physics.Raycast(transform.position,Vector3.forward,mask))
    {
        //碰到了物体
    }

mask = ~mask;//英文波浪线代表二进制取反 
gameObject.layer = LayerMask.NameToLayer("Default"); 
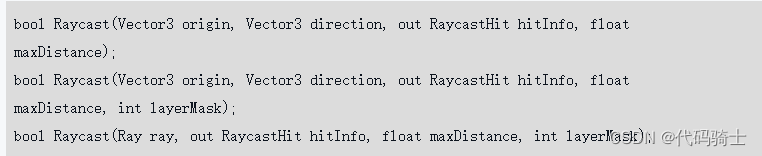
6、射线编程详情
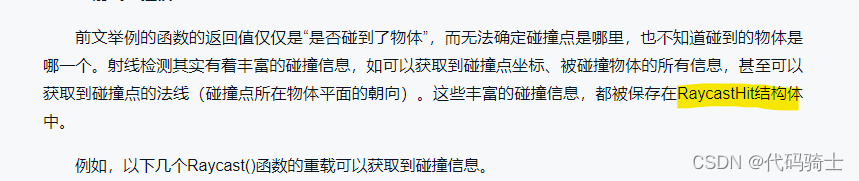
1、射线碰撞信息
综合用法演示:
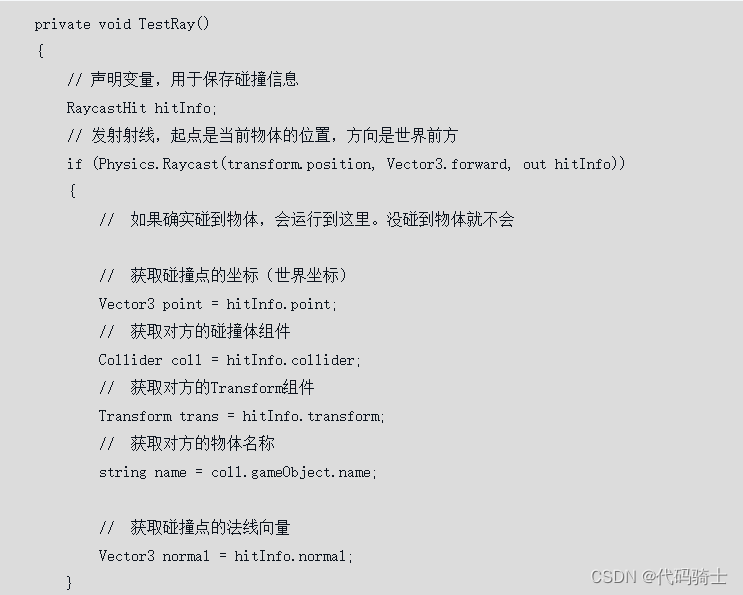 以上例子涵盖了能从hitlnfo中获取到的信息,更多碰撞信息可以查阅Raycastlift结构体定义。
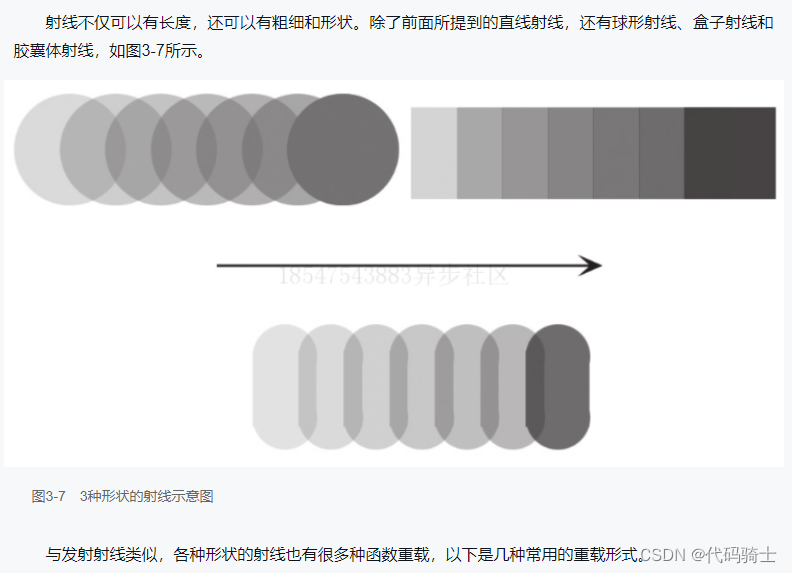
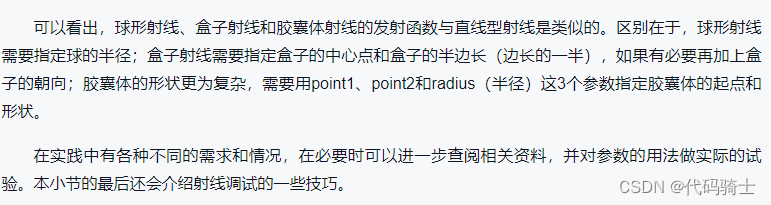
2、其它形状的射线

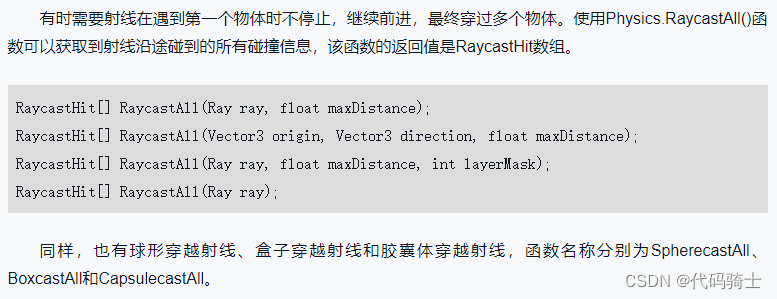
3、穿过多个物体的射线
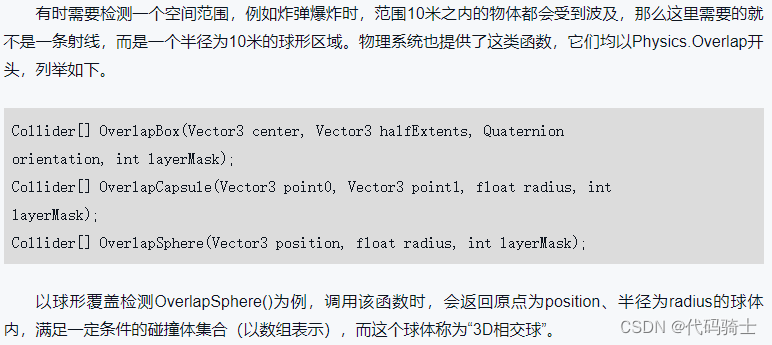
4、区域覆盖型射线(Overlap)
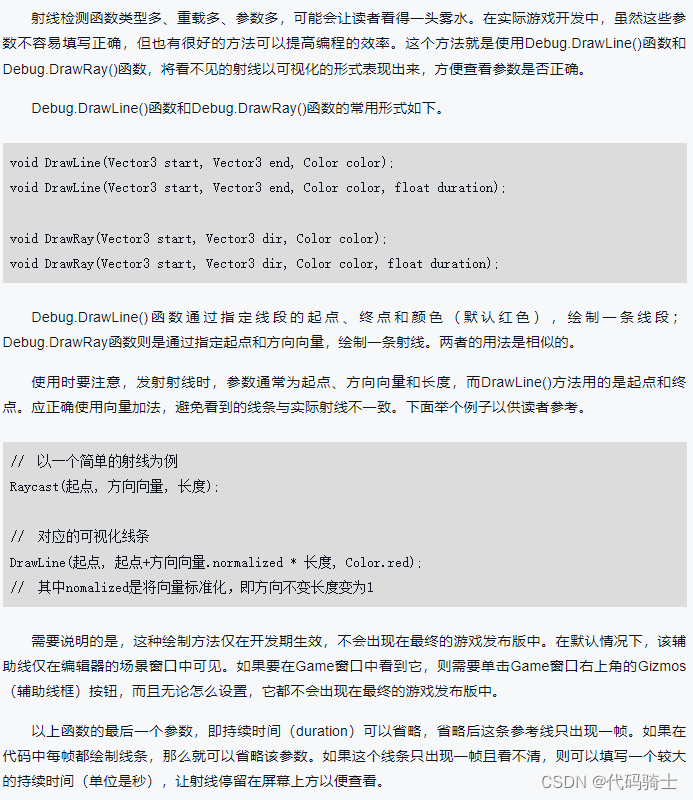
5、射线调试技巧
7、修改物理材质

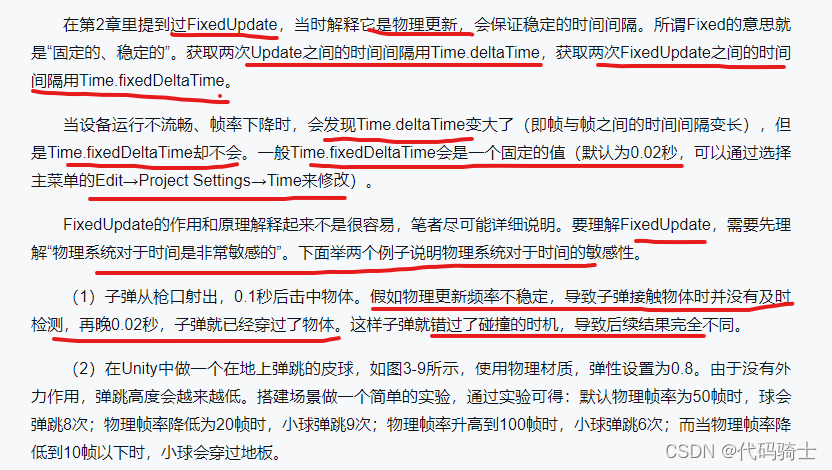
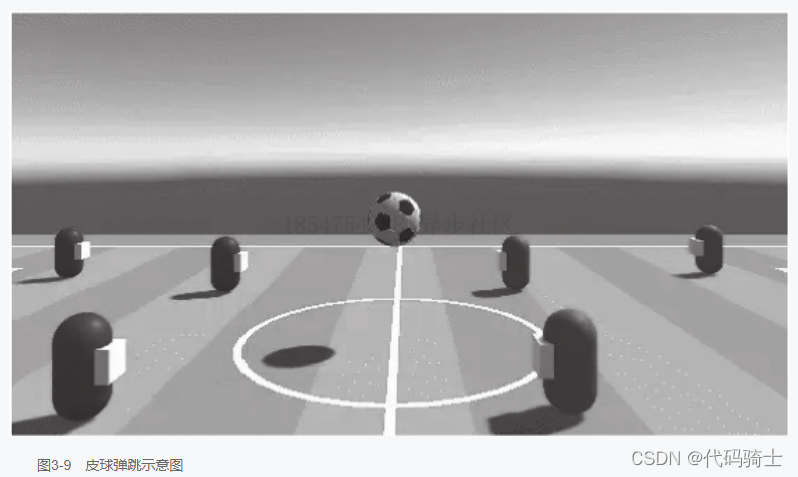
8、FixedUpdate详解

Tip:
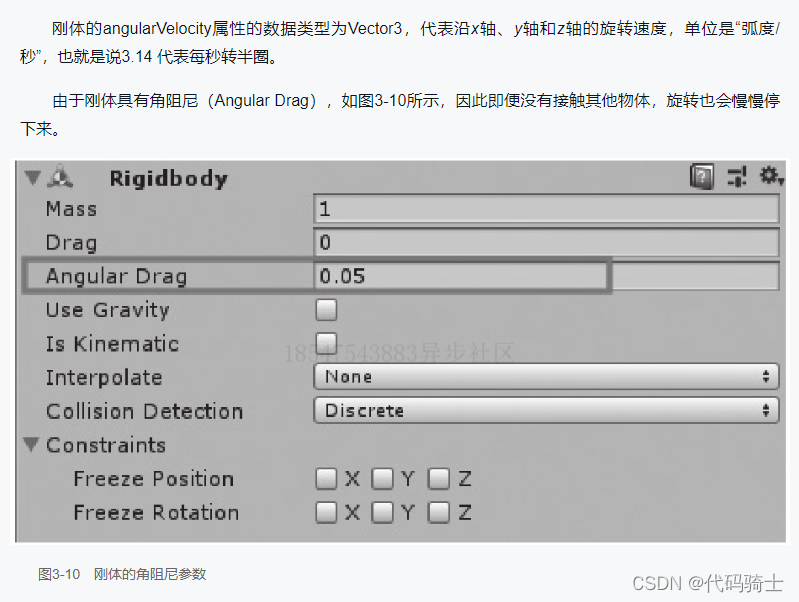
9、修改角速度

void Update()
    {
        if(Input.GetKeyDown(KeyCode.R))
        {
            rigid.angularVelocity = new Vecotor3(0, 60, 0);
        }
    }
10、质心


using System.Collections;
using System.Collections.Generic;
using UnityEngine;

public class Tumbler : MonoBehaviour
{
    Rigidbody rigid;
    void Start()
    {
        rigid = GetComponent<Rigidbody>();
        //设置centerOfMass就可以指定重心了(本地坐标系)
        rigid.centerOfMass = new Vector3(0, -1, 0);
    }
}
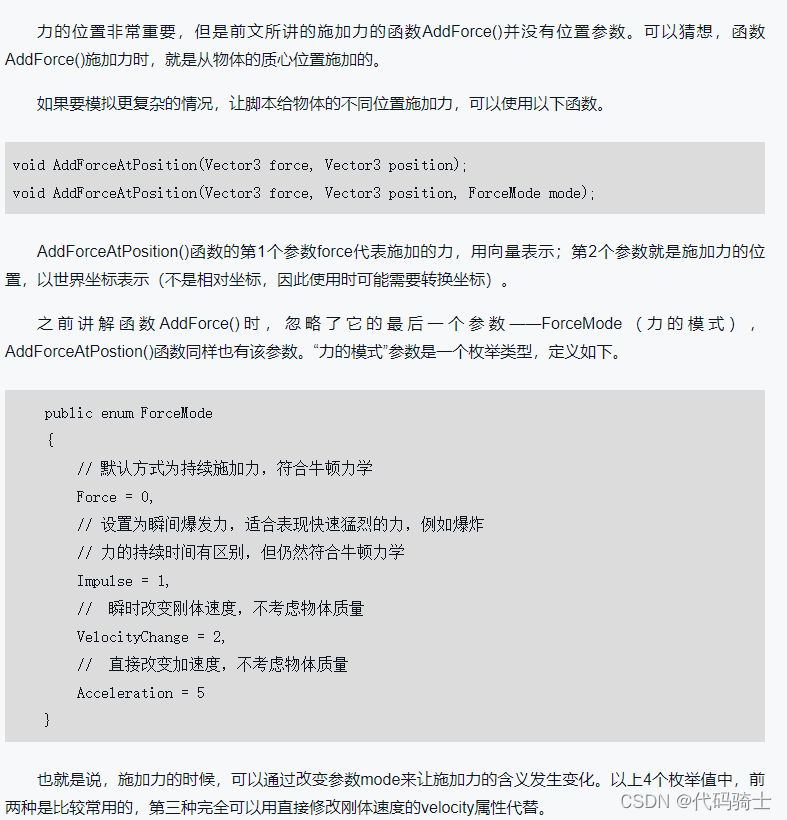
11、更多施加力的方式
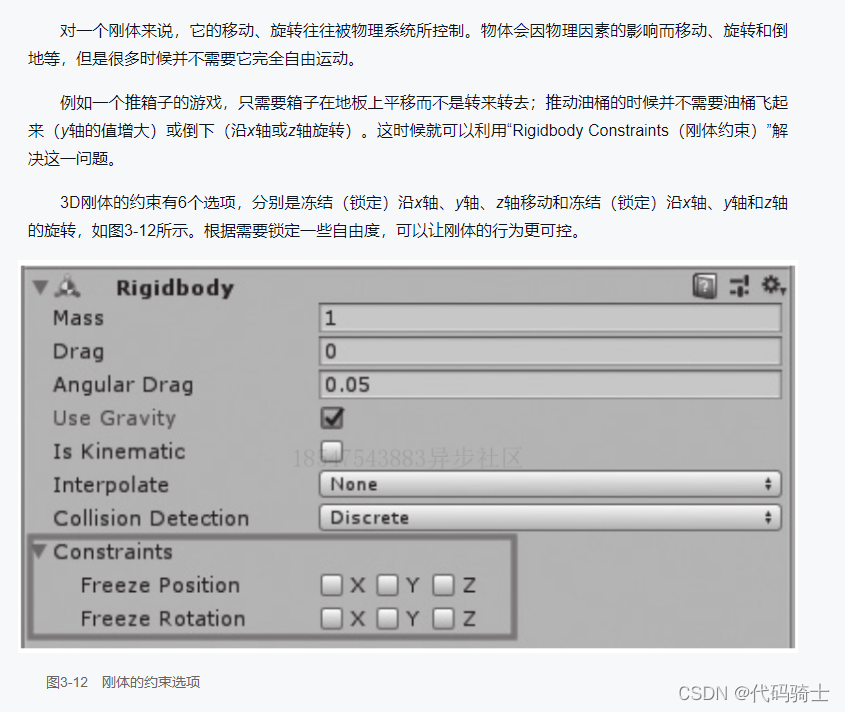
12、刚体约束
三、实例:基于物理系统的2D平台闯关游戏
1、游戏设计
准备工作:
Unity 资源商店 - 优质3D 2D游戏制作资源平台 https://assetstore.unity.com/
1、在Unity资源商店搜索:Standard Assets 下载以下素材包
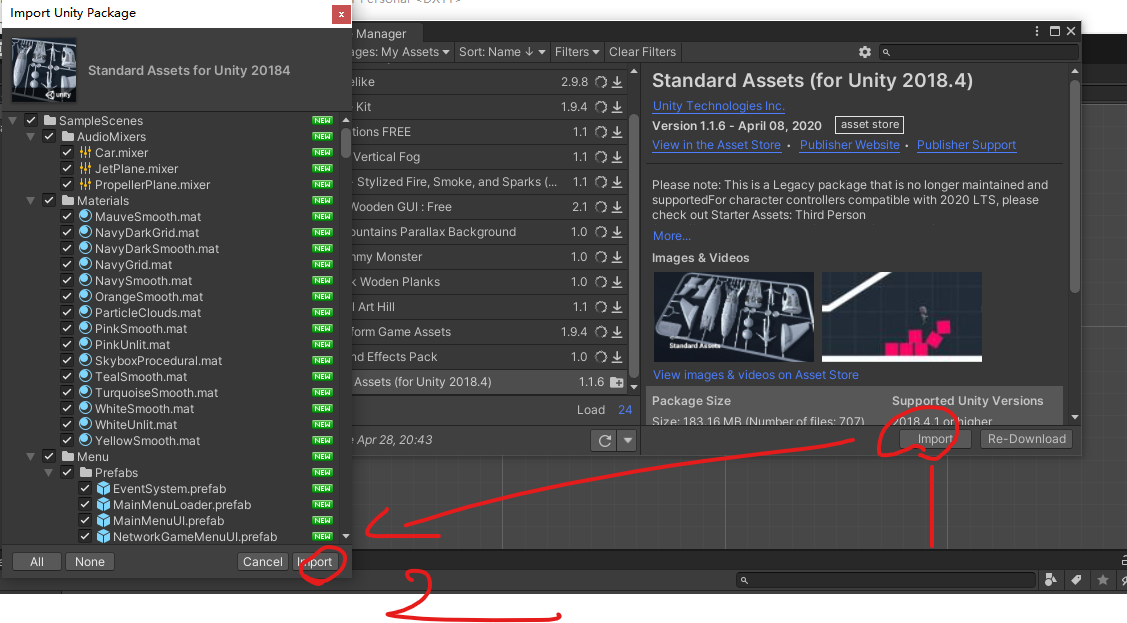
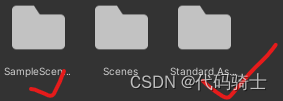
2、将下载好的全部素材导入程序
这两个是新导入的:
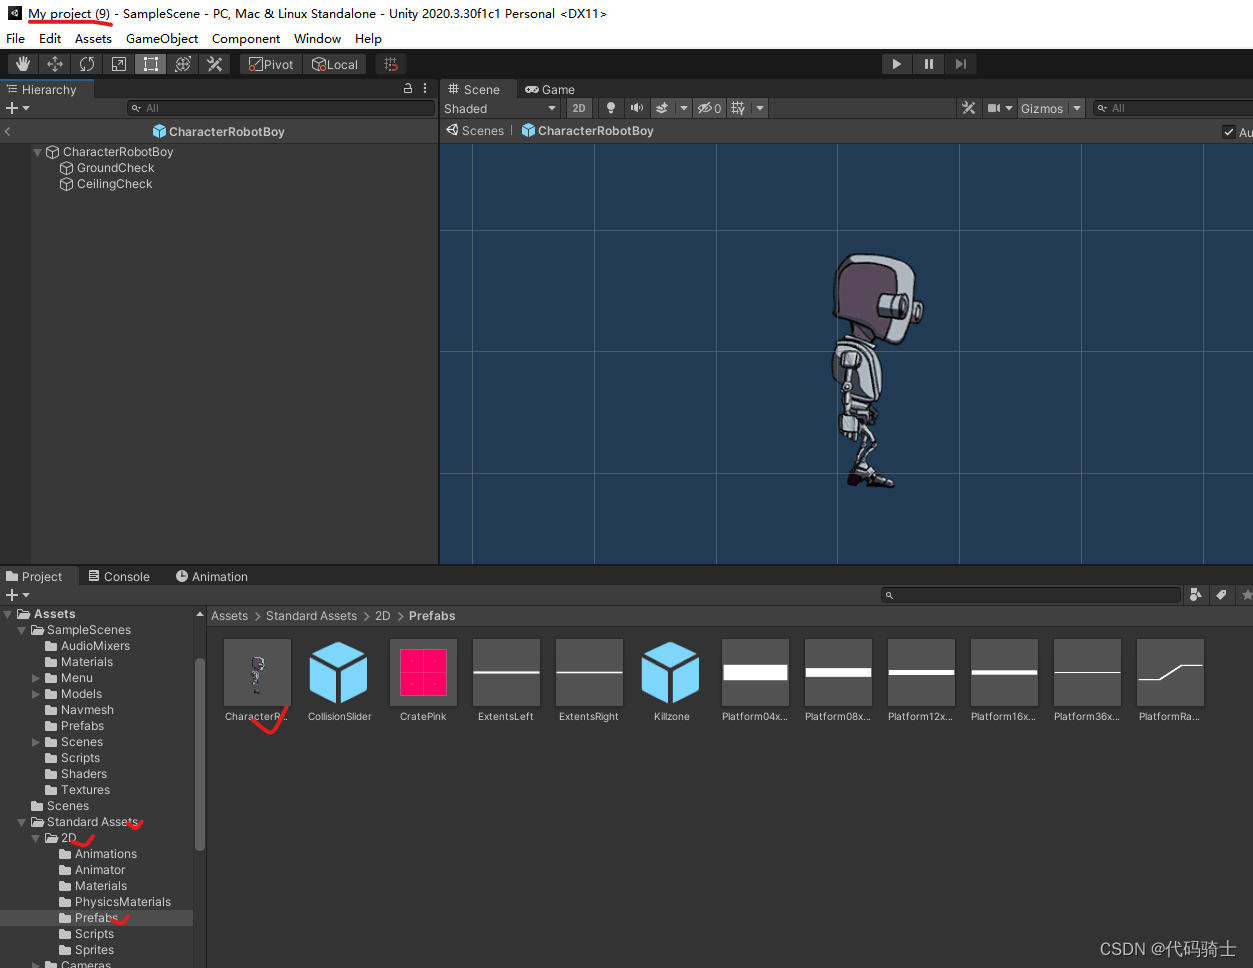
3、找到我们的游戏主角
Standard Assets / 2D / Prefabs -> CharacterRobotBoy
2、功能实现
不得不说,资源包还是非常友好的。里面的角色预制体已经挂载好了控制移动的脚本及相应动画:
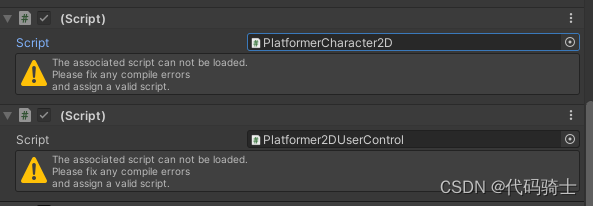
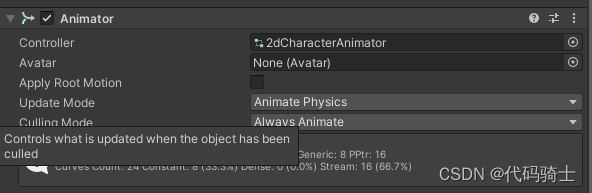
因此,我们只要在加入其他功能时在编写代码就可以了,这个实例的主要目的是熟悉物理系统。
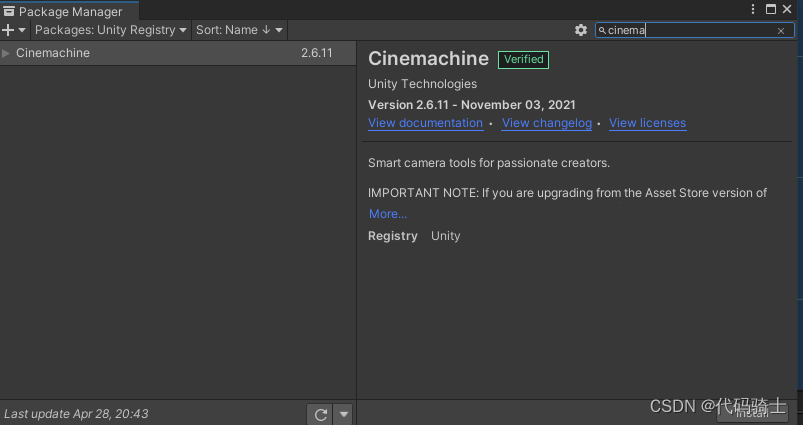
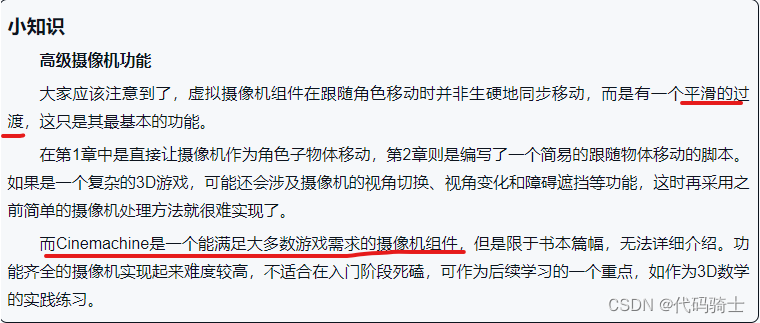
因此,摄像机跟随角色移动也使用插件来实现。选择主菜单中的Window->Package Manager,
选择Cinemachine插件并安装。
创建一个2D虚拟相机:
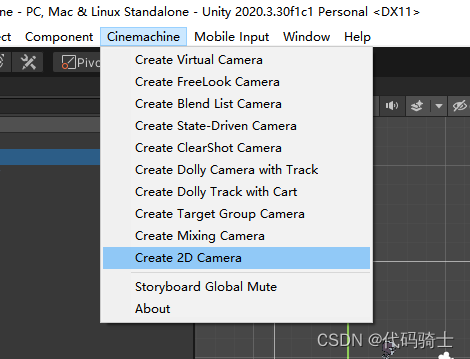
在相机follow一栏中拖入角色预制体,使相机跟随角色移动:

Tip:
3、游戏机制
使用物理系统实现游戏机制:
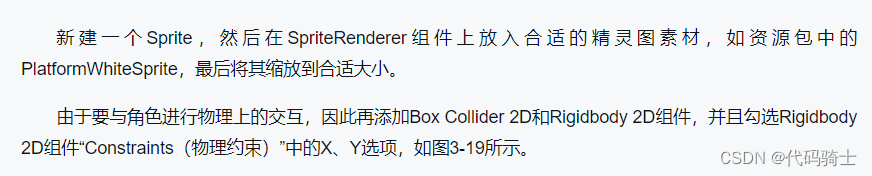
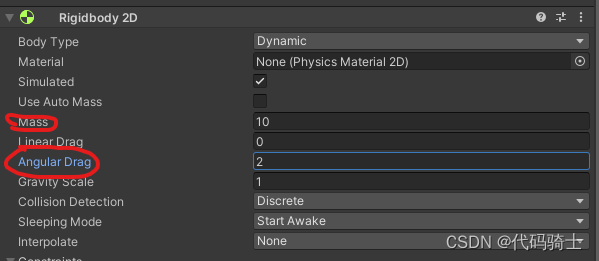
(1)跷跷板
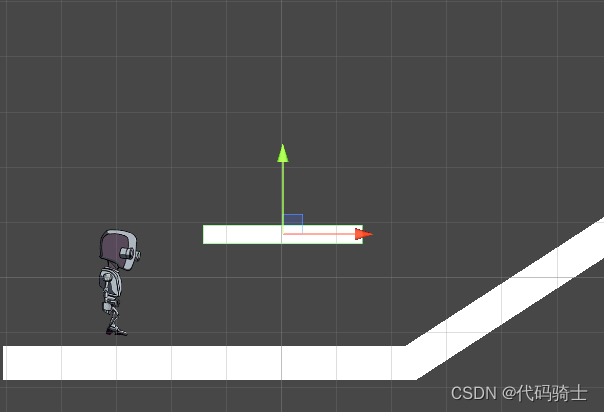
(2)蹦床


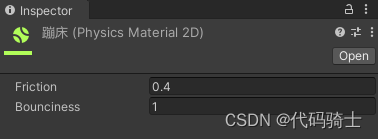
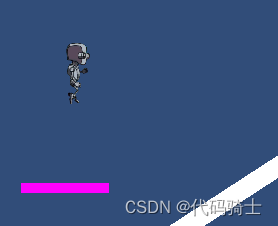
Tip:

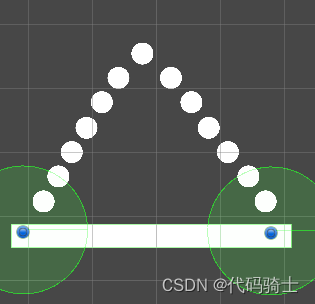
(3)秋千

创建多个结点:
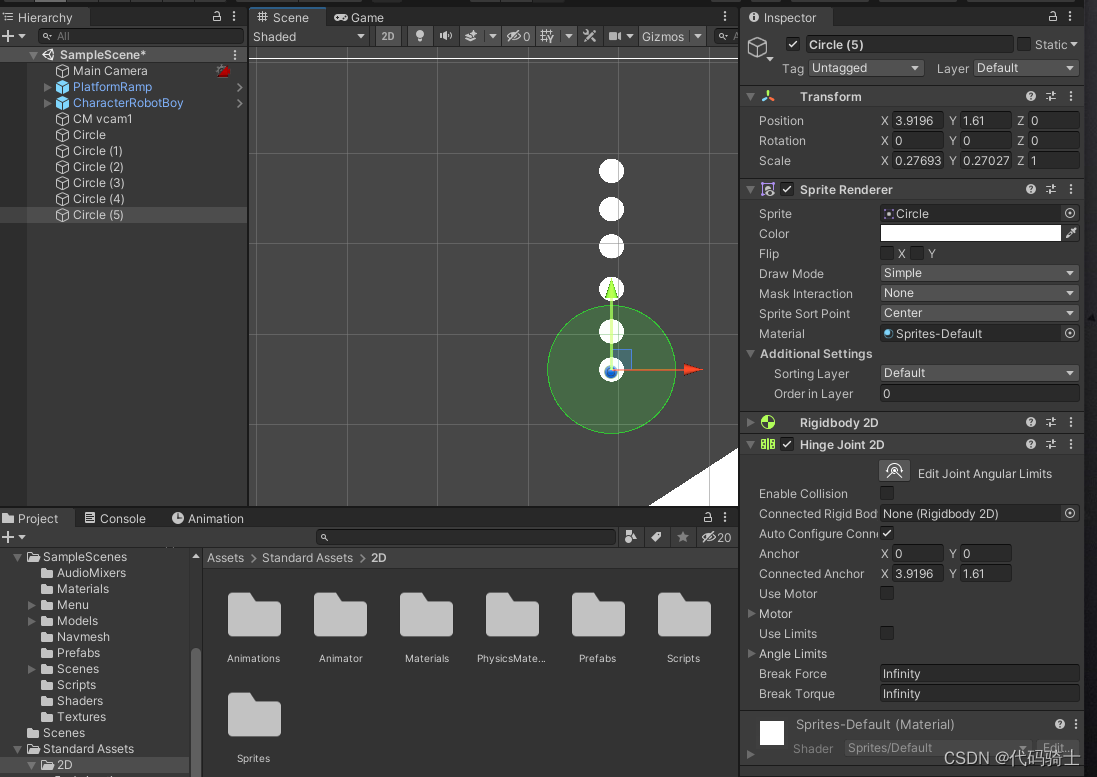 依次连接:
依次连接:
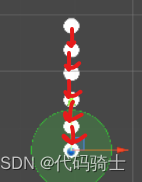
如果最后一个连接自己的话,且第一个保持static,一条锁链就做好了。
最后一个长条要用两个铰链放在两端,连接上面两条锁链完成秋千。
连接次序:
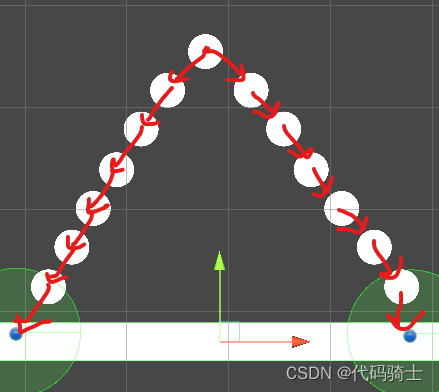
秋千效果:
4、完成和完善游戏
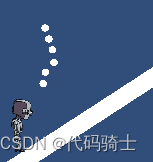
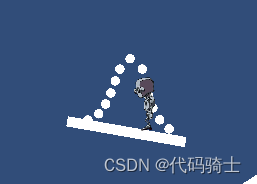
(1)跳跃次数重置点

修改跳跃条件:
 重置点制作
重置点制作

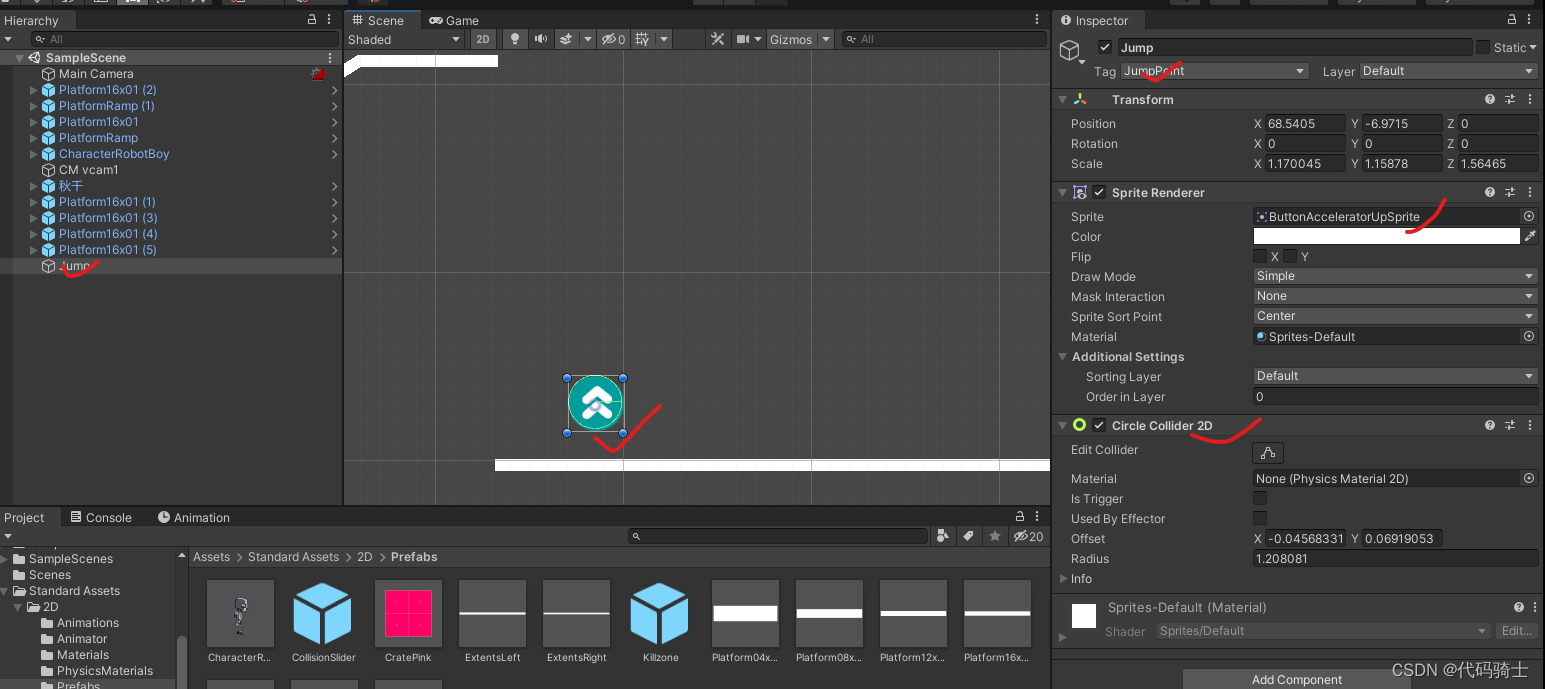

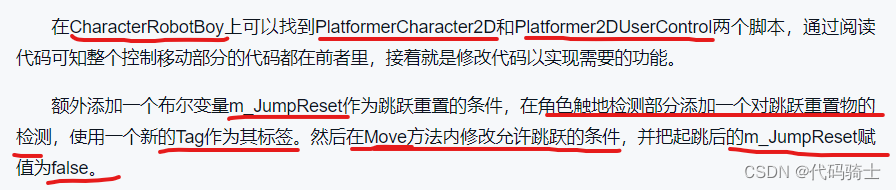
修改PlatformerCharacter2D 中的代码:
using System;
using UnityEngine;

#pragma warning disable 649
namespace UnityStandardAssets._2D
{
    public class PlatformerCharacter2D : MonoBehaviour
    {
        [SerializeField] private float m_MaxSpeed = 10f;                    // The fastest the player can travel in the x axis.
        [SerializeField] private float m_JumpForce = 400f;                  // Amount of force added when the player jumps.
        [Range(0, 1)] [SerializeField] private float m_CrouchSpeed = .36f;  // Amount of maxSpeed applied to crouching movement. 1 = 100%
        [SerializeField] private bool m_AirControl = false;                 // Whether or not a player can steer while jumping;
        [SerializeField] private LayerMask m_WhatIsGround;                  // A mask determining what is ground to the character

        private Transform m_GroundCheck;    // A position marking where to check if the player is grounded.
        const float k_GroundedRadius = .2f; // Radius of the overlap circle to determine if grounded
        private bool m_Grounded;            // Whether or not the player is grounded.
        private Transform m_CeilingCheck;   // A position marking where to check for ceilings
        const float k_CeilingRadius = .01f; // Radius of the overlap circle to determine if the player can stand up
        private Animator m_Anim;            // Reference to the player's animator component.
        private Rigidbody2D m_Rigidbody2D;
        private bool m_FacingRight = true;  // For determining which way the player is currently facing.

        public bool m_JumpReset = false;

        private void Awake()
        {
            // Setting up references.
            m_GroundCheck = transform.Find("GroundCheck");
            m_CeilingCheck = transform.Find("CeilingCheck");
            m_Anim = GetComponent<Animator>();
            m_Rigidbody2D = GetComponent<Rigidbody2D>();
        }


        private void FixedUpdate()
        {
            m_Grounded = false;

            // The player is grounded if a circlecast to the groundcheck position hits anything designated as ground
            // This can be done using layers instead but Sample Assets will not overwrite your project settings.
            Collider2D[] colliders = Physics2D.OverlapCircleAll(m_GroundCheck.position, k_GroundedRadius, m_WhatIsGround);
            for (int i = 0; i < colliders.Length; i++)
            {
                if (colliders[i].gameObject != gameObject)
                {
                    if(colliders[i].gameObject.tag=="JumpPoint")
                    {
                        m_JumpReset = true;
                        Destroy(colliders[i].gameObject);
                    }
                    else
                    {
                        m_Grounded = true;
                    }
                }
            }
            m_Anim.SetBool("Ground", m_Grounded);

            // Set the vertical animation
            m_Anim.SetFloat("vSpeed", m_Rigidbody2D.velocity.y);
        }


        public void Move(float move, bool crouch, bool jump)
        {
            // If crouching, check to see if the character can stand up
            if (!crouch && m_Anim.GetBool("Crouch"))
            {
                // If the character has a ceiling preventing them from standing up, keep them crouching
                if (Physics2D.OverlapCircle(m_CeilingCheck.position, k_CeilingRadius, m_WhatIsGround))
                {
                    crouch = true;
                }
            }

            // Set whether or not the character is crouching in the animator
            m_Anim.SetBool("Crouch", crouch);

            //only control the player if grounded or airControl is turned on
            if (m_Grounded || m_AirControl)
            {
                // Reduce the speed if crouching by the crouchSpeed multiplier
                move = (crouch ? move*m_CrouchSpeed : move);

                // The Speed animator parameter is set to the absolute value of the horizontal input.
                m_Anim.SetFloat("Speed", Mathf.Abs(move));

                // Move the character
                m_Rigidbody2D.velocity = new Vector2(move*m_MaxSpeed, m_Rigidbody2D.velocity.y);

                // If the input is moving the player right and the player is facing left...
                if (move > 0 && !m_FacingRight)
                {
                    // ... flip the player.
                    Flip();
                }
                    // Otherwise if the input is moving the player left and the player is facing right...
                else if (move < 0 && m_FacingRight)
                {
                    // ... flip the player.
                    Flip();
                }
            }
            // If the player should jump...
            if ((m_Grounded||m_JumpReset) && jump)
            {
                // Add a vertical force to the player.
                m_Grounded = false;
                m_JumpReset = false;
                m_Anim.SetBool("Ground", false);

                Vector2 resetVlocity = m_Rigidbody2D.velocity;

                resetVlocity.y = Mathf.Max(0, resetVlocity.y);

                m_Rigidbody2D.velocity = resetVlocity;

                m_Rigidbody2D.AddForce(new Vector2(0f, m_JumpForce));
            }
        }


        private void Flip()
        {
            // Switch the way the player is labelled as facing.
            m_FacingRight = !m_FacingRight;

            // Multiply the player's x local scale by -1.
            Vector3 theScale = transform.localScale;
            theScale.x *= -1;
            transform.localScale = theScale;
        }
    }
}
这个功能是玩家踩到触发器后的下落过程中才能二次跳跃,落地后就不能二段跳了。


 被折叠的 条评论
为什么被折叠?
被折叠的 条评论
为什么被折叠?
 到【灌水乐园】发言


