


9.1 vue-router 路由
在实际开发中,我们会遇到一些特殊的需求。比如说 我们不想要 跳转到新的页面,但是 页面的部分内容还需要更新,切换着显示。也就是说 页面上的组件,某个模块,需要切换成其它的模块。或者也可以被称为 组件的跳转。那么怎么办呢?
Vue Router 是 Vue.js 官方的路由管理器。它和 Vue.js 的核心深度集成,让构建单页面应用变得易如反掌。包含的功能有:
- 嵌套的路由/视图表
- 模块化的、基于组件的路由配置
- 路由参数、查询、通配符
- 基于 Vue.js 过渡系统的视图过渡效果
- 细粒度的导航控制
- 带有自动激活 的 CSS class 的链接
- HTML5 历史模式 或 hash 模式,在 IE9 中自动降级
- 自定义的滚动条行为
其实一个 vue-cli 程序 的 assets 、 components 下的资源是可以删掉的。
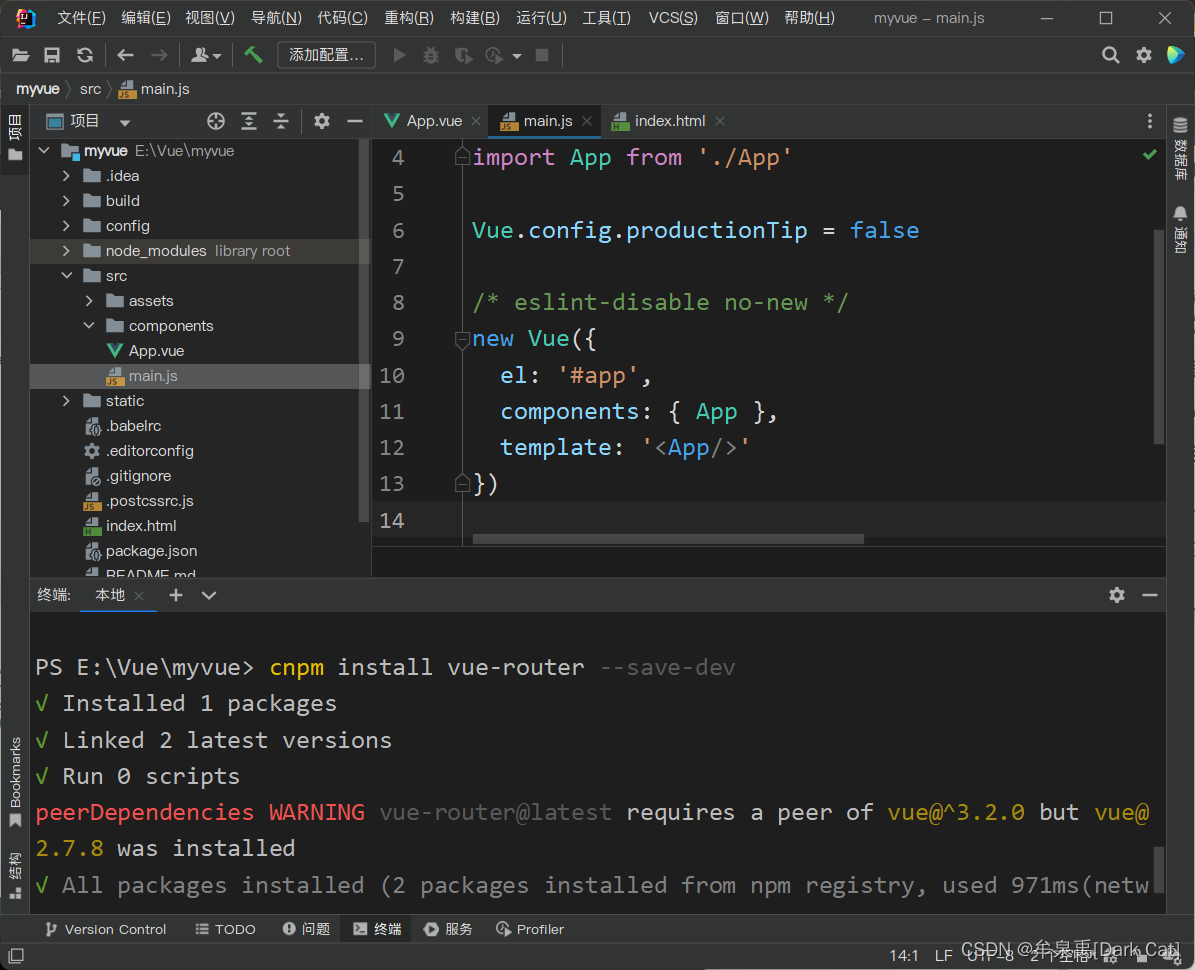
cnpm install vue-router@3.1.3 --save-dev下载和安装vue-router
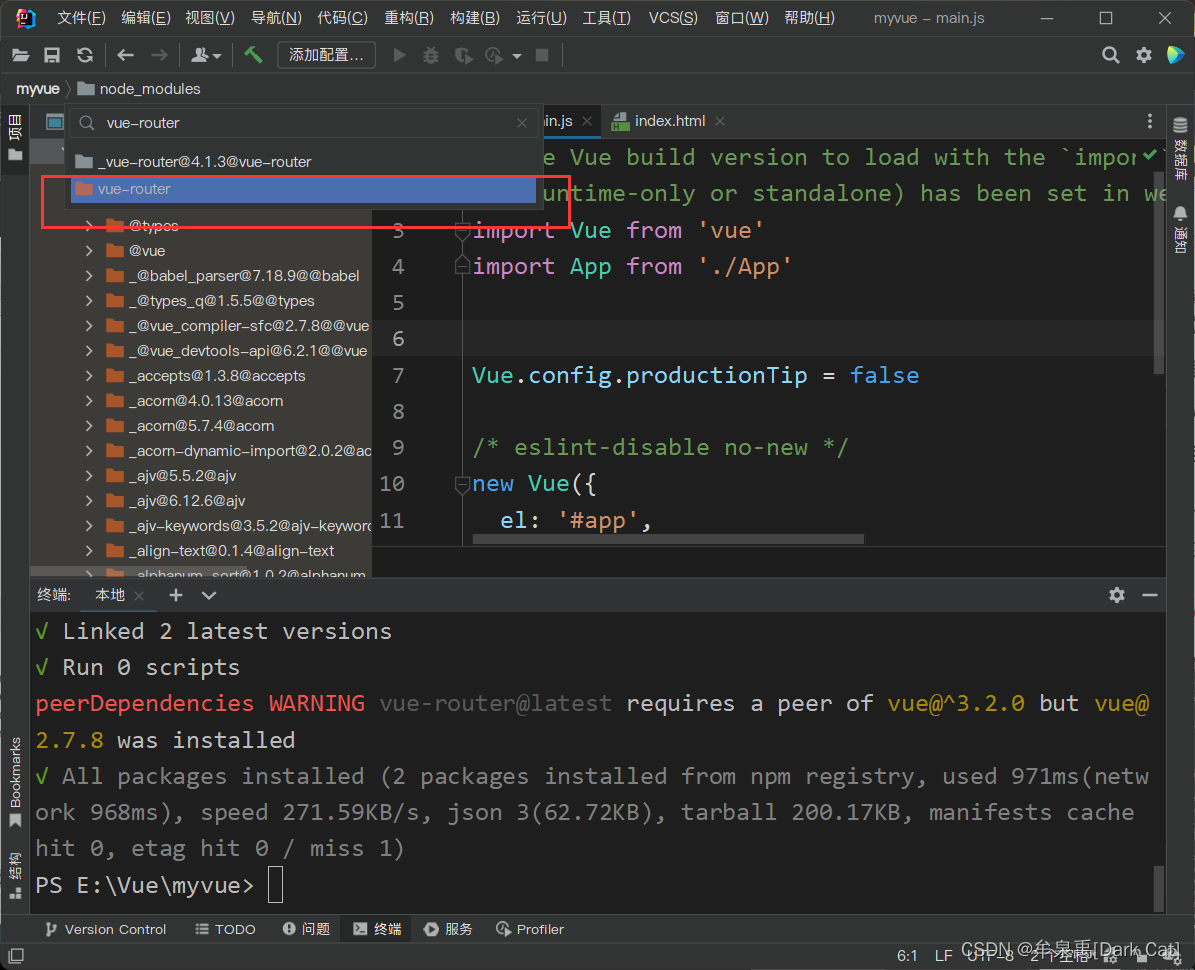
2. 导入 vue-router
// The Vue build version to load with the `import` command
// (runtime-only or standalone) has been set in webpack.base.conf with an alias.
import Vue from 'vue'
import App from './App'
import VueRouter from 'vue-router'

Vue.config.productionTip = false

// 显式声明使用
Vue.use(VueRouter);

/* eslint-disable no-new */
new Vue({
  el: '#app',
  components: { App },
  template: '<App/>'
})
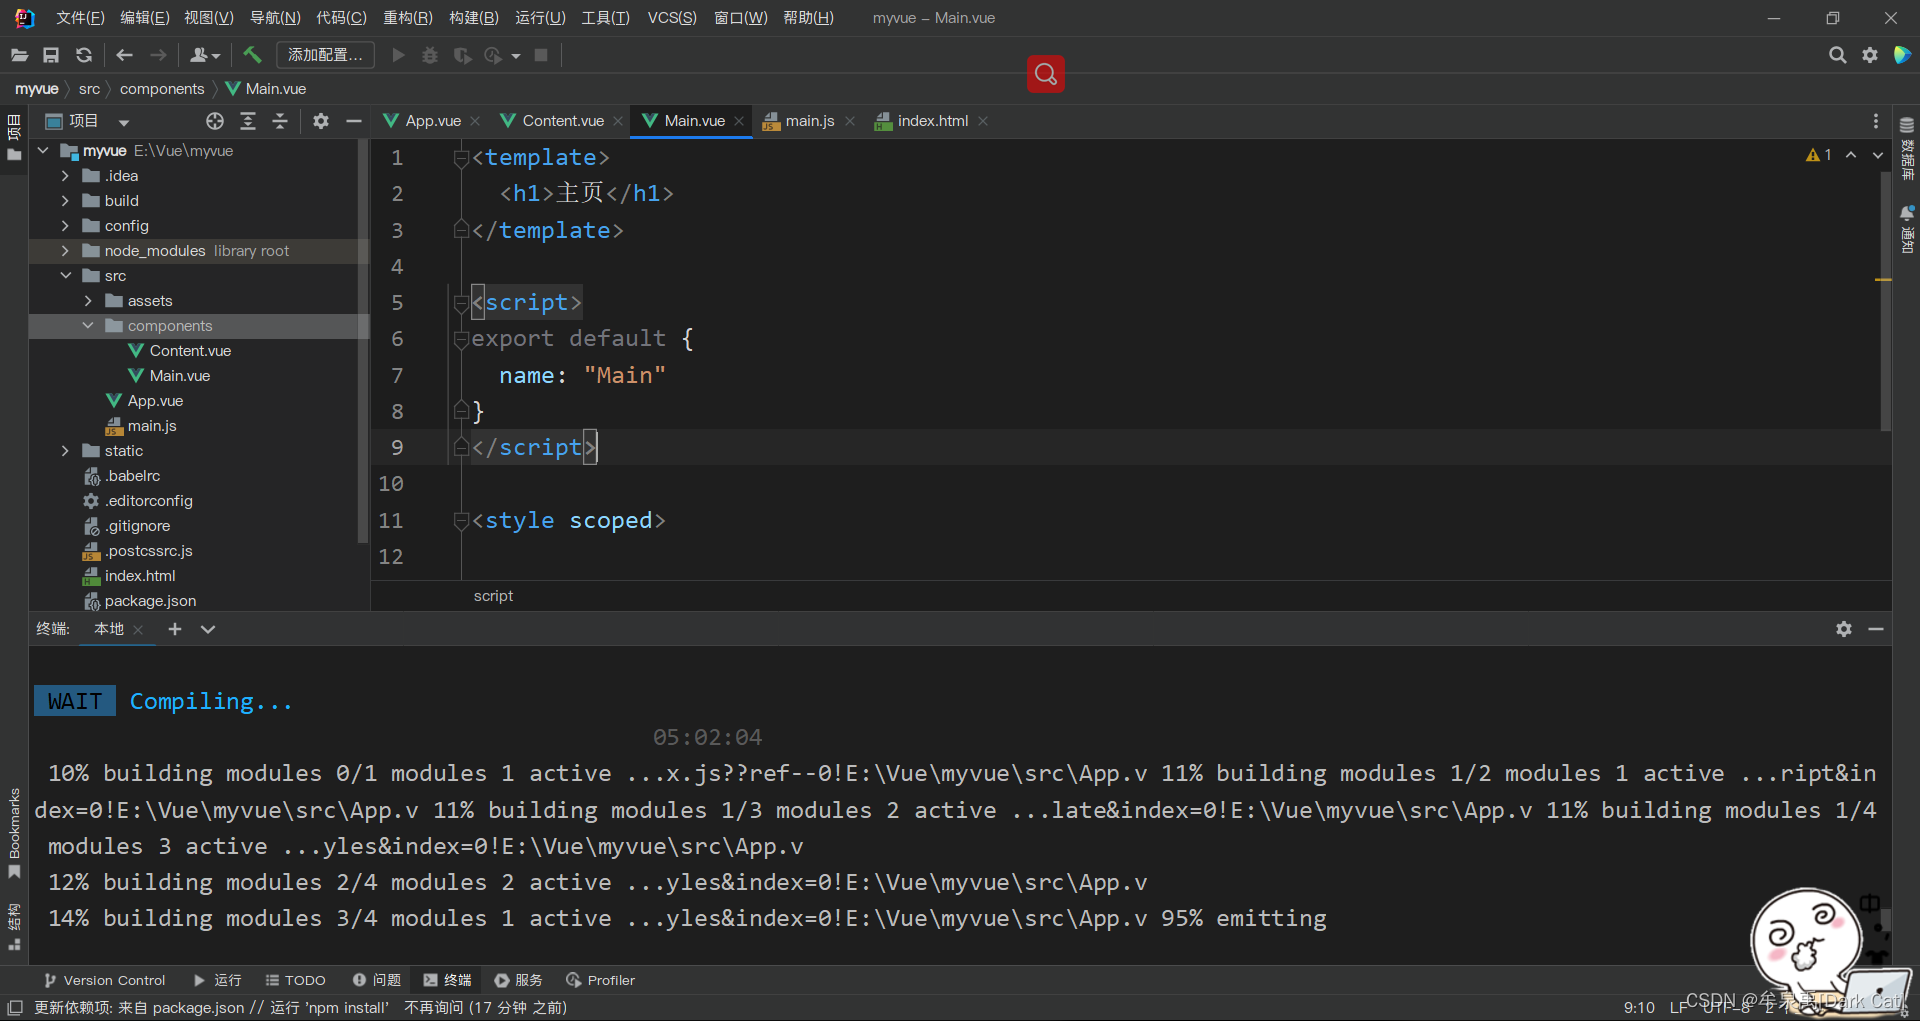
- 尝试写一个 .vue 组件
export default {
  name: "组件名"
}
意味着 导出 自己的唯一标识,这样 才能让其它 地方引入它。知道它是哪个组件。
import 组件名 from '组件文件路径':就可以将 一个 组件 引入。
<stryle scoped>:它的意思是 当前样式 只 适用于 该组件,或该文件。不影响 其它 地方的 样式。
<template>
  <h1>内容页</h1>
</template>

<script>
export default {
  name: "Content"
}
</script>

<style scoped>

</style>
把 使用 router 的代码 封装到 一个 js 文件里。便于 模块化开发。
import Vue from "vue"
import VueRouter from "vue-router";
import Content from "./Content";
import Main from "./Main";

// 显式声明使用
Vue.use(VueRouter);

export default new VueRouter({ // 配置路由跳转
  routes:[
    {
      name: 'content',
      path: '/content',
      component: Content
    },
    {
      name: 'main',
      path: '/main',
      component: Main
    }
  ]
});
你会感觉很简单,这个所谓的路由 router 好像就是 配置。配置完了,然后 传给 Vue 实例 的 router 属性,Vue 就可以 用了。绑定的区域 就可以使用 router 的标签了,就可以实现 路由了。
// The Vue build version to load with the `import` command
// (runtime-only or standalone) has been set in webpack.base.conf with an alias.
import Vue from 'vue'
import App from './App'
import router from './components/test'

Vue.config.productionTip = false


/* eslint-disable no-new */
new Vue({
  el: '#app',
  router,
  components: { App },
  template: '<App/>'
})
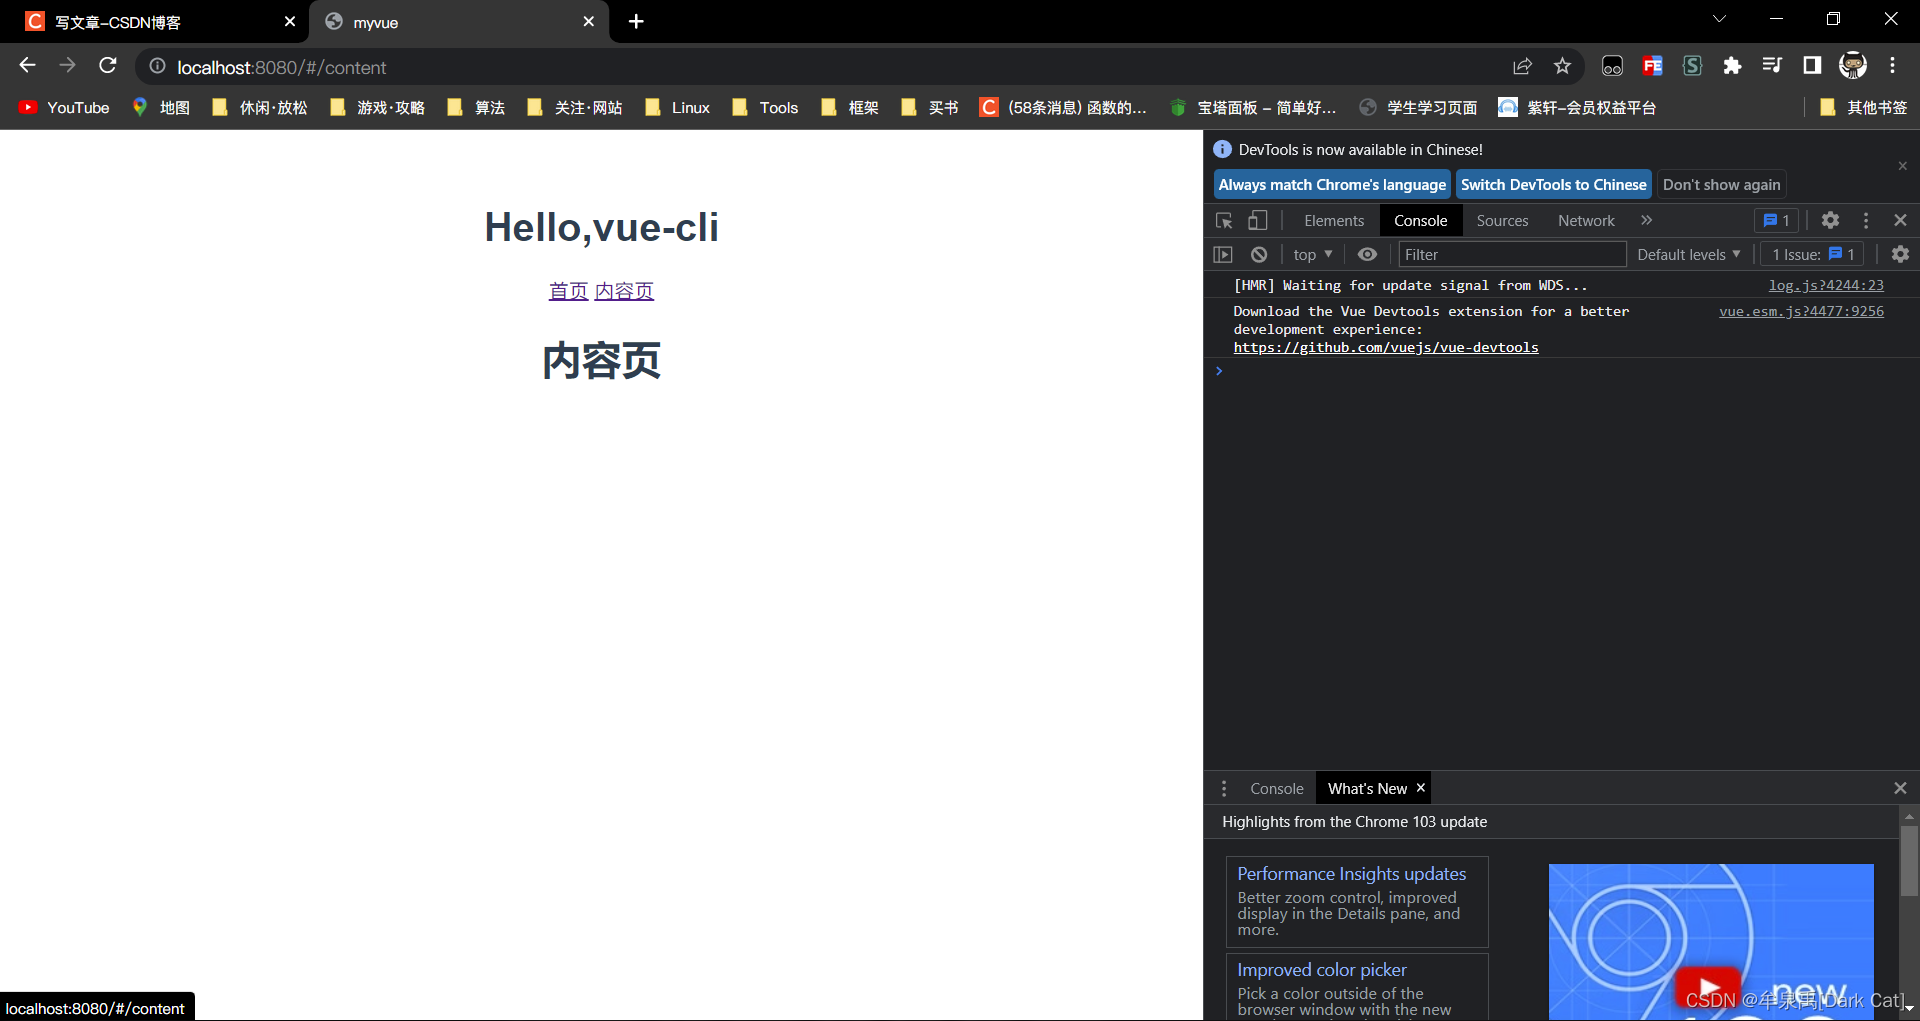
router-link:路由跳转
router-view:路由后展示的视图。
<template>
  <div id="app">
    <h1>Hello,vue-cli</h1>
    <router-link to="/main">首页</router-link>
    <router-link to="/content">内容页</router-link>
    <router-view></router-view>
  </div>
</template>

<script>

export default {
  name: 'App',
}

</script>

<style>
#app {
  font-family: 'Avenir', Helvetica, Arial, sans-serif;
  -webkit-font-smoothing: antialiased;
  -moz-osx-font-smoothing: grayscale;
  text-align: center;
  color: #2c3e50;
  margin-top: 60px;
}
</style>
5. 多个 router-view 怎么处理
那就必须改动 component => components 了。
import Vue from "vue"
import VueRouter from "vue-router";
import Content from "./Content";
import Main from "./Main";
import App from "../App";

// 显式声明使用
Vue.use(VueRouter);

export default new VueRouter({ // 配置路由跳转
  routes:[
    {
      name: 'content',
      path: '/content',
      components: {
        default: App,
        left: Content
      }
    },
    {
      name: 'main',
      path: '/main',
      components: {
        default: App,
        right: Main
      }
    }
  ]
});
<template>
  <div id="app">
    <h1>Hello,vue-cli</h1>
    <router-link to="/main">首页</router-link>
    <router-link to="/content">内容页</router-link>
    <router-view name="left" style="float: left;"></router-view>
    <router-view name="right" style="float: right;"></router-view>
  </div>
</template>

<script>

export default {
  name: 'App',
}

</script>

<style>
#app {
  font-family: 'Avenir', Helvetica, Arial, sans-serif;
  -webkit-font-smoothing: antialiased;
  -moz-osx-font-smoothing: grayscale;
  text-align: center;
  color: #2c3e50;
  margin-top: 60px;
}
</style>

如果 想把 url 那里的 # 干掉的话。直接 配置 mode: 'history', 就完事了。


 2565
2565


 被折叠的 条评论
为什么被折叠?
被折叠的 条评论
为什么被折叠?
 到【灌水乐园】发言


