


目录

一、web指纹识别
web指纹扫描四大特征:应用名称(版本)、服务器软件(版本)、编程语言(版本)、应用框架(版本)
网站指纹信息包括:应用名、版本、前端框架、后端框架、服务端语言、服务器操作系统、网站容器、内容管理系统和数据库等
设备指纹信息包括:应用名、版本、开放端口、操作系统、服务名、地理位置等
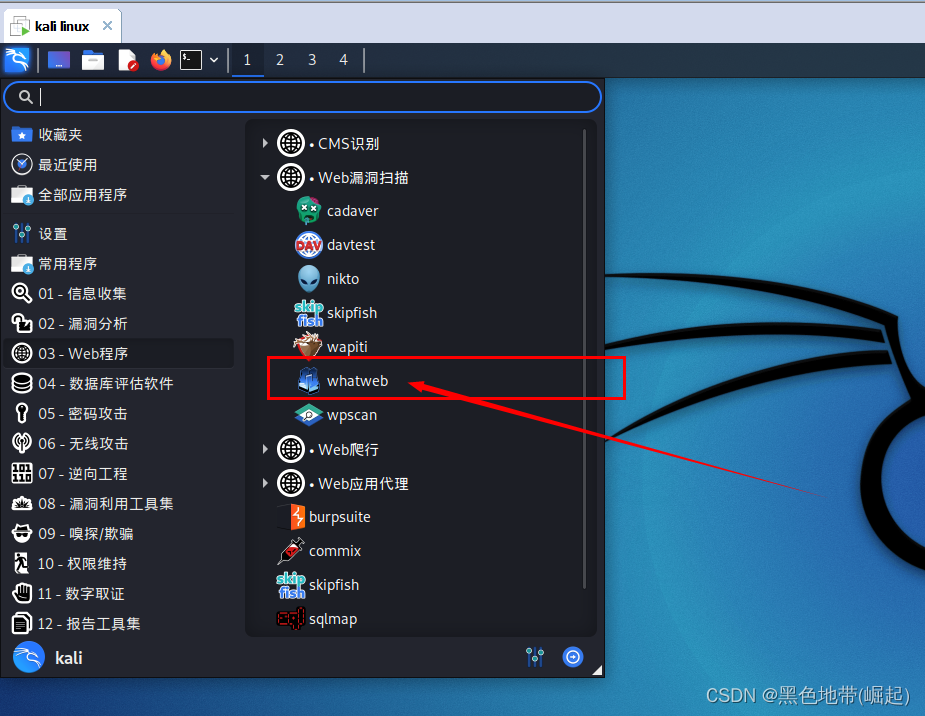
二、whatweb
2.1、简介:
识别网站的详细信息:CMS类型、博客平台、中间件、web框架模块、网站服务器、脚本类型、JavaScript库、IP、cookie等,还标识版本号,电子邮件地址,账户ID,Web框架模块,SQL错误等。
可以隐秘、快速、彻底或缓慢扫描。
支持攻击级别来控制速度和可靠性之间的权衡。
2.2、下载:
kali自带的工具
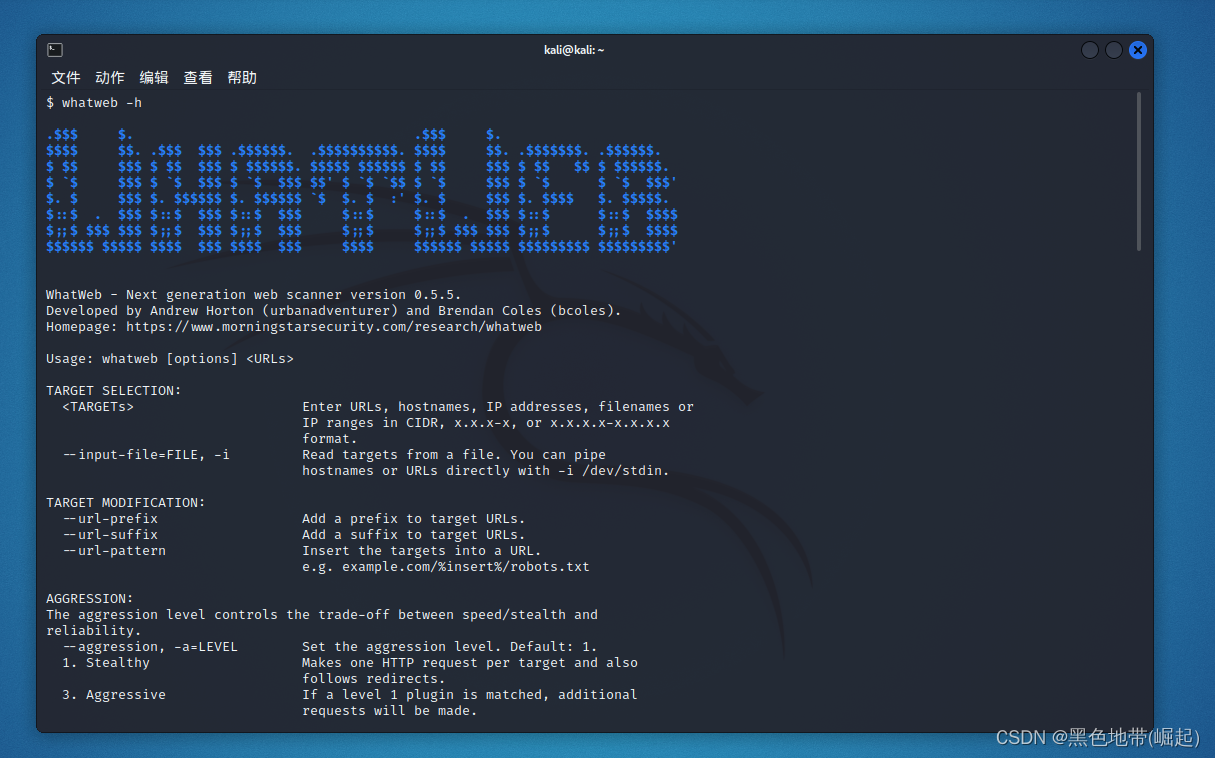
2.3、使用方法:
whatweb [options] <URLs>
whatweb + 各种选项 + 网址
2.4、示例用法:
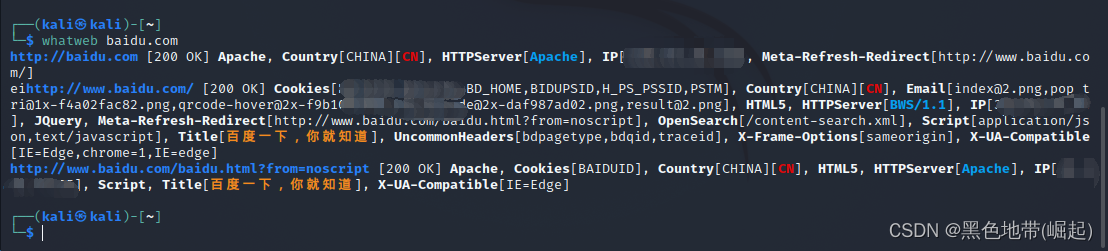
识别网站
whatweb baidu.com
扫描reddit.com slashdot.org带有详细的插件描述。
whatweb -v reddit.com slashdot.org
wired.com的积极扫描检测到WordPress的确切版本。
whatweb -a 3 www.wired.com
快速扫描本地网络并抑制错误。
whatweb --no-errors 192.168.0.0/24
扫描HTTPS网站的本地网络
whatweb --no-errors --url-prefix https:// 192.168.0.0/24
扫描Alexa Top 1000中的跨域政策
whatweb -i plugin-development/alexa-top-100.txt \
--url-suffix /crossdomain.xml -p crossdomain_xml
2.5、命令选项
2.5.1、目标选择:
<TARGETs>
输入URL,主机名,IP地址,文件名或 IP范围在CIDR,X.X.X-X或X.x.x.x.x-x.x.x.x.x.x 格式
--input-file=FILE, -i从文件中读取目标。你可以管道 直接使用-i /dev /stdin直接使用主机名或URL。
2.5.2、目标修改:
--url-prefix Add a prefix to target URLs.
--url-suffix Add a suffix to target URLs.
--url-pattern Insert the targets into a URL.
e.g. example.com/%insert%/robots.txt
2.5.3、侵略:
The aggression level controls the trade-off between speed/stealth and
reliability.
--aggression, -a=LEVEL Set the aggression level. Default: 1.
1. Stealthy Makes one HTTP request per target and also
follows redirects.
3. Aggressive If a level 1 plugin is matched, additional
requests will be made.
4. Heavy Makes a lot of HTTP requests per target. URLs
from all plugins are attempted.
2.5.4、HTTP选项:
--user-agent, -U=AGENT Identify as AGENT instead of WhatWeb/0.5.5.
--header, -H Add an HTTP header. eg "Foo:Bar". Specifying a
default header will replace it. Specifying an
empty value, e.g. "User-Agent:" will remove it.
--follow-redirect=WHEN Control when to follow redirects. WHEN may be
`never', `http-only', `meta-only', `same-site',
or `always'. Default: always.
--max-redirects=NUM Maximum number of redirects. Default: 10.
2.5.5、验证:
--user, -u=<user:password> HTTP basic authentication.
--cookie, -c=COOKIES Use cookies, e.g. 'name=value; name2=value2'.
--cookie-jar=FILE Read cookies from a file.PROXY:
--proxy <hostname[:port]> Set proxy hostname and port.
Default: 8080.
--proxy-user <username:password> Set proxy user and password.
2.5.6、插件:
--list-plugins, -l List all plugins.
--info-plugins, -I=[SEARCH] List all plugins with detailed information.
Optionally search with keywords in a comma
delimited list.
--search-plugins=STRING Search plugins for a keyword.
--plugins, -p=LIST Select plugins. LIST is a comma delimited set
of selected plugins. Default is all.
Each element can be a directory, file or plugin
name and can optionally have a modifier, +/-.
Examples: +/tmp/moo.rb,+/tmp/foo.rb
title,md5,+./plugins-disabled/
./plugins-disabled,-md5
-p + is a shortcut for -p +plugins-disabled.
--grep, -g=STRING|REGEXP Search for STRING or a Regular Expression. Shows
only the results that match.
Examples: --grep "hello"
--grep "/he[l]*o/"
--custom-plugin=DEFINITION Define a custom plugin named Custom-Plugin,
Examples: ":text=>'powered by abc'"
":version=>/powered[ ]?by ab[0-9]/"
":ghdb=>'intitle:abc \"powered by abc\"'"
":md5=>'8666257030b94d3bdb46e05945f60b42'"
"{:text=>'powered by abc'}"
--dorks=PLUGIN List Google dorks for the selected plugin.
2.5.7、输出:
--verbose, -v Verbose output includes plugin descriptions.
Use twice for debugging.
--colour,--color=WHEN control whether colour is used. WHEN may be
`never', `always', or `auto'.
--quiet, -q Do not display brief logging to STDOUT.
--no-errors Suppress error messages.LOGGING:
--log-brief=FILE Log brief, one-line output.
--log-verbose=FILE Log verbose output.
--log-errors=FILE Log errors.
--log-xml=FILE Log XML format.
--log-json=FILE Log JSON format.
--log-sql=FILE Log SQL INSERT statements.
--log-sql-create=FILE Create SQL database tables.
--log-json-verbose=FILE Log JSON Verbose format.
--log-magictree=FILE Log MagicTree XML format.
--log-object=FILE Log Ruby object inspection format.
--log-mongo-database Name of the MongoDB database.
--log-mongo-collection Name of the MongoDB collection.
Default: whatweb.
--log-mongo-host MongoDB hostname or IP address.
Default: 0.0.0.0.
--log-mongo-username MongoDB username. Default: nil.
--log-mongo-password MongoDB password. Default: nil.
--log-elastic-index Name of the index to store results. Default: whatweb
--log-elastic-host Host:port of the elastic http interface. Default: 127.0.0.1:9200
2.5.8、性能与稳定性:
--max-threads, -t Number of simultaneous threads. Default: 25.
--open-timeout Time in seconds. Default: 15.
--read-timeout Time in seconds. Default: 30.
--wait=SECONDS Wait SECONDS between connections.
This is useful when using a single thread.
2.5.9、帮助和杂项:
--short-help Short usage help.
--help, -h Complete usage help.
--debug Raise errors in plugins.
--version Display version information.


 1668
1668


 被折叠的 条评论
为什么被折叠?
被折叠的 条评论
为什么被折叠?
 到【灌水乐园】发言


