


一、UHD与GNU Radio
1、安装UHD依赖库及UHD
总结自:USRP Hardware Driver and USRP Manual: Building and Installing UHD from source 以及 Building and Installing the USRP Open-Source Toolchain (UHD and GNU Radio) on Linux - Ettus Knowledge Base
先安装依赖库:
sudo apt-get -y install autoconf automake build-essential ccache cmake cpufrequtils doxygen ethtool fort77 g++ gir1.2-gtk-3.0 git gobject-introspection gpsd gpsd-clients inetutils-tools libasound2-dev libboost-all-dev libcomedi-dev libcppunit-dev libfftw3-bin libfftw3-dev libfftw3-doc libfontconfig1-dev libgmp-dev libgps-dev libgsl-dev liblog4cpp5-dev libncurses5 libncurses5-dev libpulse-dev libqt5opengl5-dev libqwt-qt5-dev libsdl1.2-dev libtool libudev-dev libusb-1.0-0 libusb-1.0-0-dev libusb-dev libxi-dev libxrender-dev libzmq3-dev libzmq5 ncurses-bin python3-cheetah python3-click python3-click-plugins python3-click-threading python3-dev python3-docutils python3-gi python3-gi-cairo python3-gps python3-lxml python3-mako python3-numpy python3-numpy-dbg python3-opengl python3-pyqt5 python3-requests python3-scipy python3-setuptools python3-six python3-sphinx python3-yaml python3-zmq python3-ruamel.yaml swig wget
======================== BUG ========================
如果安装依赖过程中出现一下错误:
The following packages have unmet dependencies: libasound2-dev : Depends: libasound2 (= 1.2.2-2.1ubuntu2.4
可以执行以下命令解决:
sudo dpkg -P --force-depends libasound2 && sudo apt-get -f install
参考链接:
Bug #264534 “broken package: libasound2-dev” : Bugs : alsa-lib package : UbuntuOn a fully updated Hardy system, I cannot install libasound2-dev. apt-get reports the following:-----------------------------------------------$ apt-get install libasound2-devSome packages could not be installed. This may mean that you have requested an impossible situation or if you are using the unstable distribution that some required packages have not yet been created or been moved out of Incoming.Since you only requested a single operation it is extremely likely that the package ...
https://bugs.launchpad.net/ubuntu/+source/alsa-lib/+bug/264534
======================== END ========================
然后下载源代码:
git clone https://github.com/EttusResearch/uhd.git
或者在https://github.com/EttusResearch/UHD/tags里找到想要的版本下载后解压。
以下命令:
cd uhd
cd host
mkdir build
cd build
# 如果想设置UHD的安装位置,则可使用-DCMAKE_INSTALL_PREFIX参数,如:cmake -DCMAKE_INSTALL_PREFIX=/opt/uhd ../ 默认的安装位置为/usr/local/lib
cmake ../
make
make test # This step is optional
sudo make install
之后确认是否定义环境变量LD_LIBRARY_PATH,看该环境变量是否定义了包含安装了UHD的文件夹(若在上述步骤中使用cmake的默认参数,则此处默认为/usr/local/lib),并将该变量添加到.bashrc文件的后面:
#注意替换{your-prefix}为你的UHD的安装路径
export LD_LIBRARY_PATH={your-prefix}/lib:$LD_LIBRARY_PATH
例如:export LD_LIBRARY_PATH=/usr/local/lib:$LD_LIBRARY_PATH
然后是下载 UHD FPGA 镜像文件,当连接USRP时用来烧录
sudo uhd_images_downloader
卸载UHD的方法:
在cd到uhd/host/build文件中输入以下指令即可
sudo make uninstall
此外,windows安装B210驱动可以参考 https://zhuanlan.zhihu.com/p/616174707
2、安装GNU Radio3.9.3
首先是安装依赖:
总结自:UbuntuInstall - GNU Radio
(不同版本的Ubuntu所需的依赖不尽相同,其他版本的可查看上述链接):
GNU Radio3.8需要以下依赖
sudo apt install git cmake g++ libboost-all-dev libgmp-dev swig python3-numpy \
python3-mako python3-sphinx python3-lxml doxygen libfftw3-dev \
libsdl1.2-dev libgsl-dev libqwt-qt5-dev libqt5opengl5-dev python3-pyqt5 \
liblog4cpp5-dev libzmq3-dev python3-yaml python3-click python3-click-plugins \
python3-zmq python3-scipy
GNU Radio3.9 除了以上依赖外还需要安装以下依赖:
sudo apt install python3-matplotlib libsndfile1-dev
然后必须先安装 volk 再安装 GNURadio,命令如下,顺序执行一般不会有问题:
cd
git clone --recursive https://github.com/gnuradio/volk.git
cd volk
mkdir build
cd build
cmake -DCMAKE_BUILD_TYPE=Release -DPYTHON_EXECUTABLE=/usr/bin/python3 ../
make
make test
sudo make install
接下来开始下载gnuradio的源码进行编译安装:
总结自:InstallingGR - GNU Radio
依次输入以下指令:
git clone https://github.com/gnuradio/gnuradio.git
cd gnuradio
git checkout maint-3.9
git submodule update --init --recursive
mkdir build
cd build
# 如果想设置GNU Radio的安装位置,则可使用-DCMAKE_INSTALL_PREFIX参数,默认的安装位置为/usr/local
cmake -DCMAKE_BUILD_TYPE=Release -DPYTHON_EXECUTABLE=/usr/bin/python3 ../
# 可在终端输入proc指令查询线程数,并替换下面命令中的n,如果直接-j,则只使用单线程
make -jn
sudo make install
sudo ldconfig
======================== BUG ========================
如果安装依赖过程中出现一下错误:
CMake Error at CMakeLists.txt:344 (find_package):By not providing "Findpybind11.cmake" in CMAKE_MODULE_PATH this project hasasked CMake to find a package configuration file provided by "pybind11",but CMake did not find one.Could not find a package configuration file provided by "pybind11" with anyof the following names:pybind11Config.cmakepybind11-config.cmakeAdd the installation prefix of "pybind11" to CMAKE_PREFIX_PATH or set"pybind11_DIR" to a directory containing one of the above files. If"pybind11" provides a separate development package or SDK, be sure it hasbeen installed.
可以执行以下命令解决:
sudo apt install pybind11-dev
======================= END ========================
与安装UHD类似,这里还需要在.bashrc文件中添加PYTHONPATH环境变量:
#注意替换{your-prefix}为你的UHD的安装路径
export PYTHONPATH={your-prefix}/lib/{Py-version}/dist-packages:{your-prefix}/lib/{Py-version}/site-packages:$PYTHONPATH
例如:export PYTHONPATH=/usr/local/lib/python3/dist-packages:/usr/local/lib/python3/site-packages:$PYTHONPATH
添加完之后还需要执行一次 sudo ldconfig就可以啦~
在命令行中执行以下指令就可以启动gnuradio的gui界面啦~
gnuradio-companion
初始界面如下:
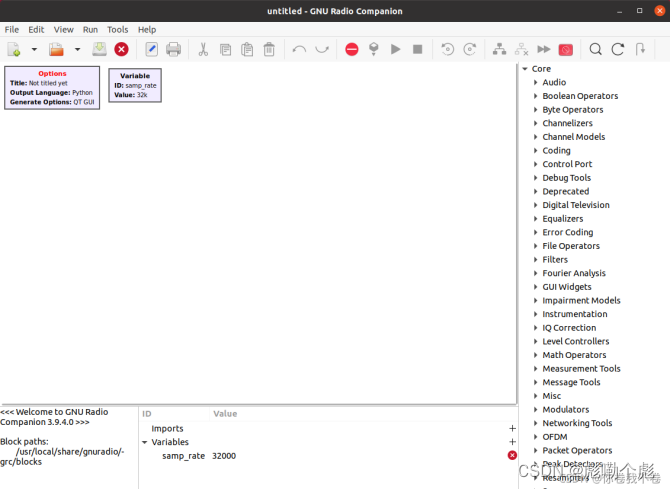
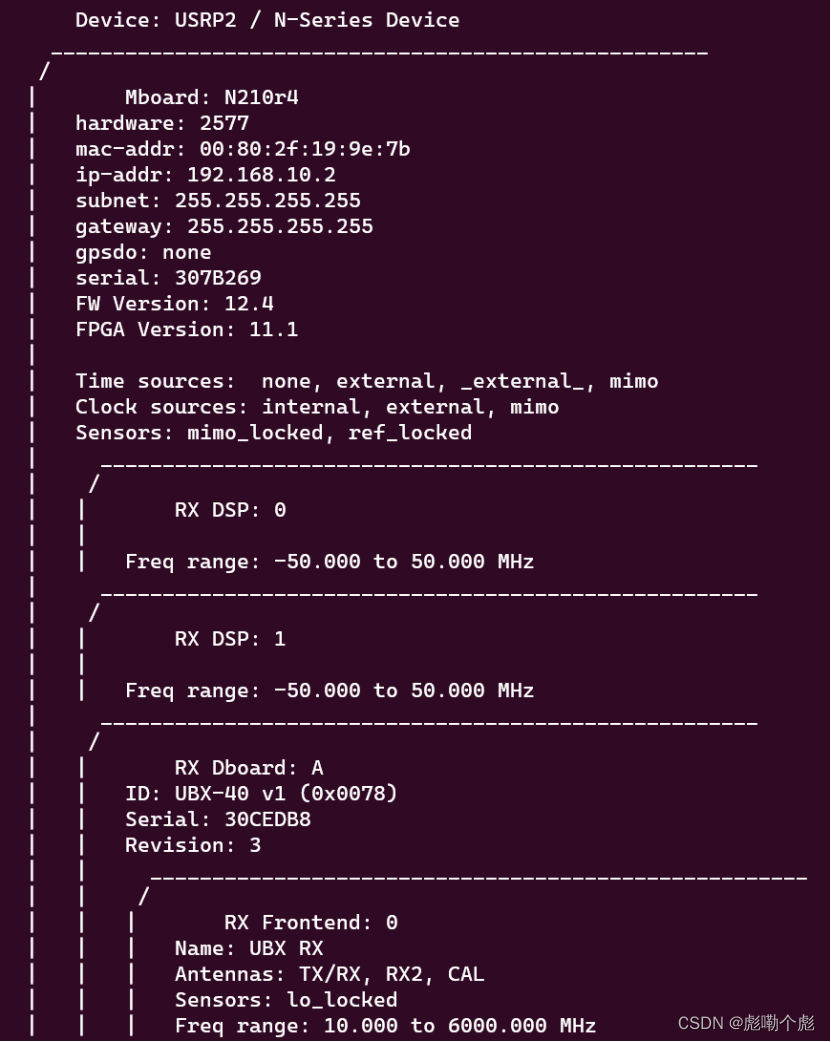
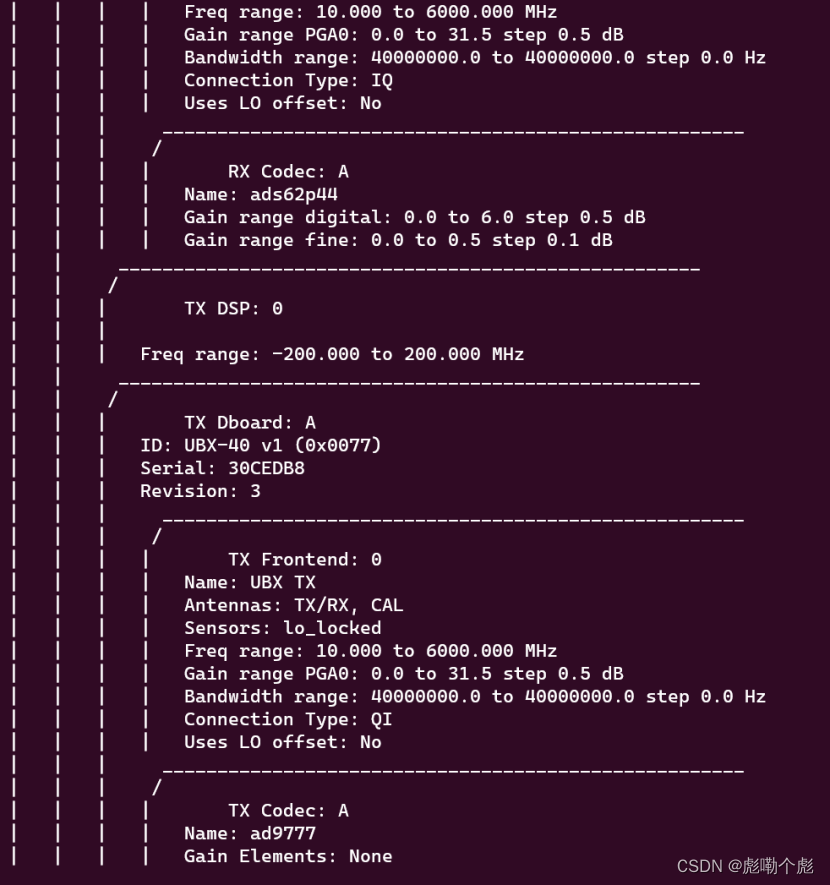
uhd_usrp_probe
二、iEEE802安装
本文介绍的内容来自SRIF 2013中的一篇论文:An IEEE 802.11a/g/p OFDM Receiver for GNU Radio。正如题目所示,本论文实现了一个符合802.11a/g/p规范的接收机,当然作者也做了发射机。
SRIF '13: Proceedings of the second workshop on Software radio implementation forum 2013
Second Workshop of Software Radio Implementation Forum (SRIF 2013) - ACM SIGCOMM 2013


802.11大家都非常熟悉了,具体内容可以参见:
IEEE 802.11, The Working Group Setting the Standards for Wireless LANs
(一)、实验硬件软件
硬件---HackRF One或者LimeSDR都可以,拉杆天线或者专门的2.4G/5G/5.8G天线,具体信息参见:
https://item.taobao.com/item.htm?spm=a230r.1.14.231.380979baTZfPmA&id=526187854860&ns=1&abbucket=20#detail
https://item.taobao.com/item.htm?spm=a230r.1.14.27.22b977ffORpxg7&id=555064600966&ns=1&abbucket=8#detail
软件---Ubuntu运行支持HackRF、Limesdr的环境,gr-foo和gr-ieee802-11模块。
(二)、编译安装
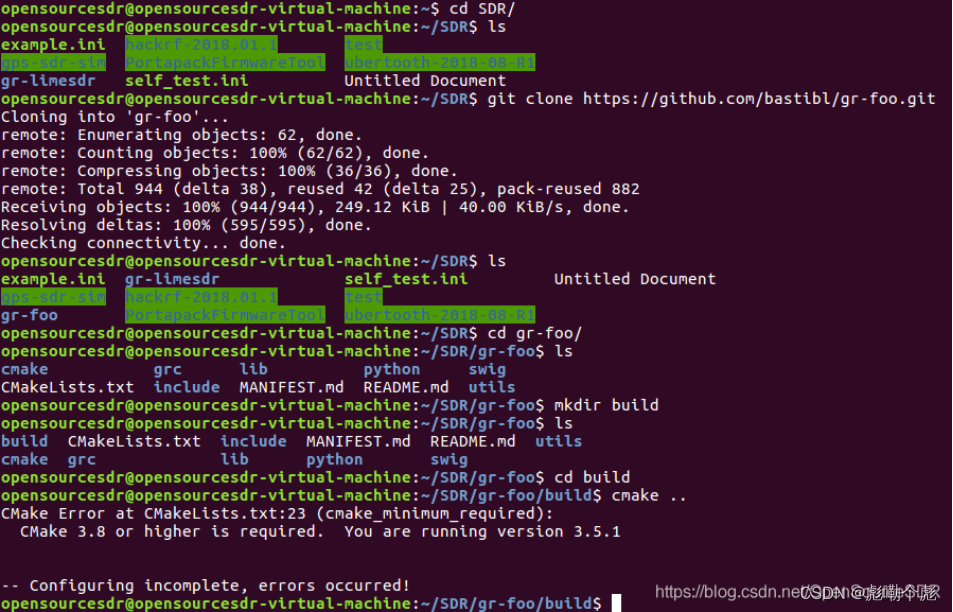
1、gr-foo安装
如果你用git clone下载最新的gr-foo,可能会由于你电脑中的cmake版本低,导致出现cmake编译不通过的问题。
(1)更新cmake
我之前的cmake是apt-get install的,版本是3.5.1,版本有点老了,然而gr-foo需要至少是3.8的版本。
参照Installing | CMake,更新方法如下:
从Download | CMake下载你需要的cmake源码,这里我下载的是3.17版本的。
./bootstrap
make
sudo make install
注意:当你执行./bootstrap的时候,可能会碰到提示信息,例如<Could Not find OpenSSL>OpenSSL之类的。你就根据提示信息,关闭openssl的选项就行了。具体操作例如
./bootstrap -- -DCMAKE_USE_OPENSSL=OFF

执行完./bootstrap -- -DCMAKE_USE_OPENSSL=OFF之后,

执行完make之后
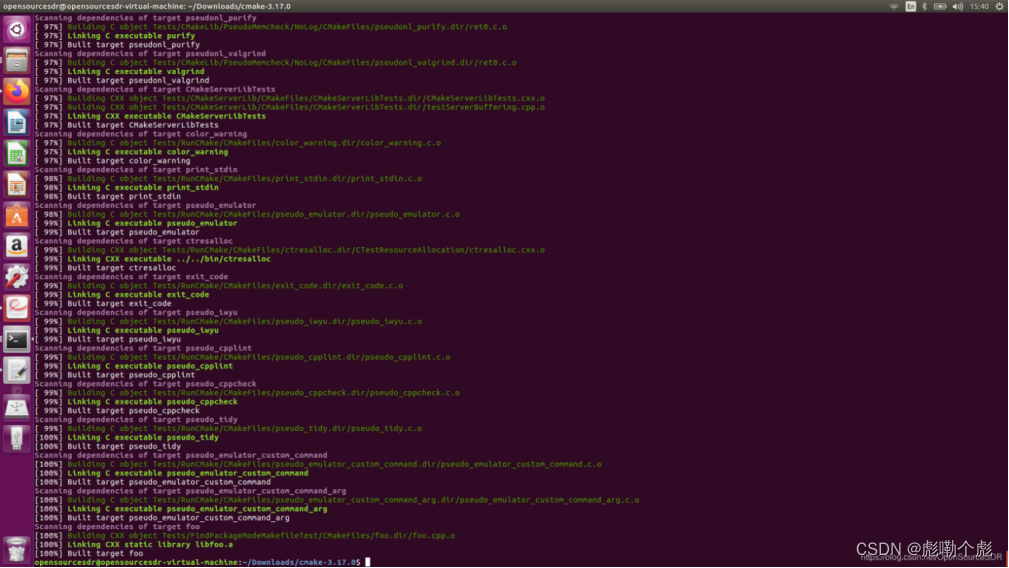
执行完sudo make install之后,
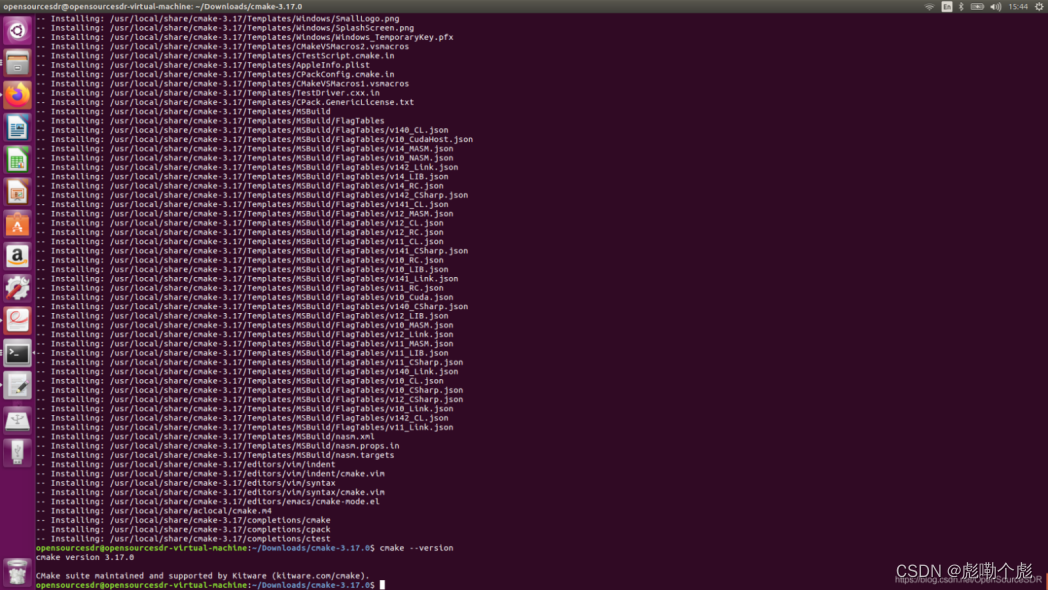
更新完cmake之后,你再执行cmake --version,就会发现,你的cmake版本已经更新完成了。
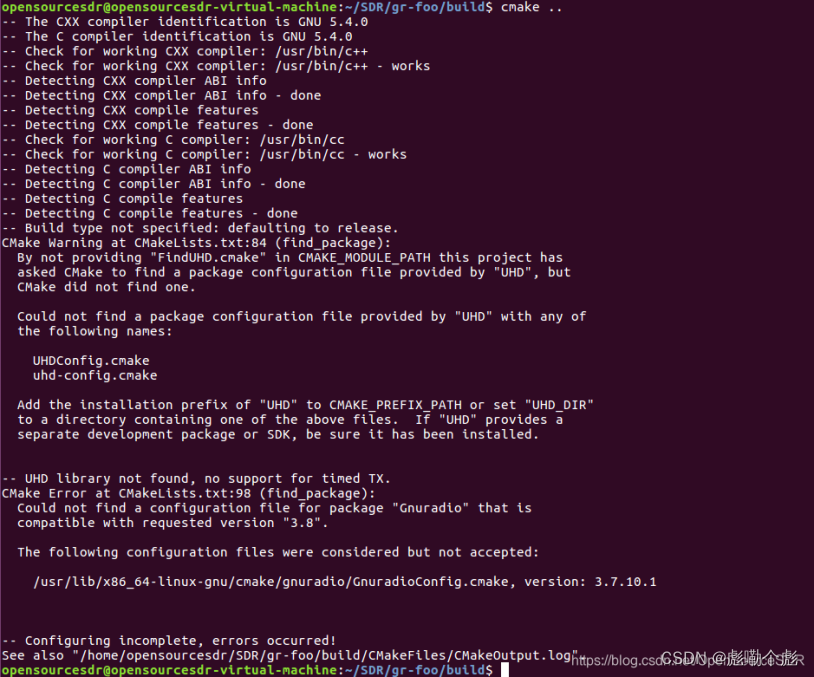
(2)gr-foo安装
因为gr-foo针对gnuradio的不同版本(如gnuradio3.7,gnuradio3.8)实现了相应的版本。由于我Ubuntu中的gnuradio版本是3.7的,如果用最新版本的gr-foo,会提示如下<Could not find a configuration file for package “Gnuradio” that is compatible with requested version “3.8”>信息。
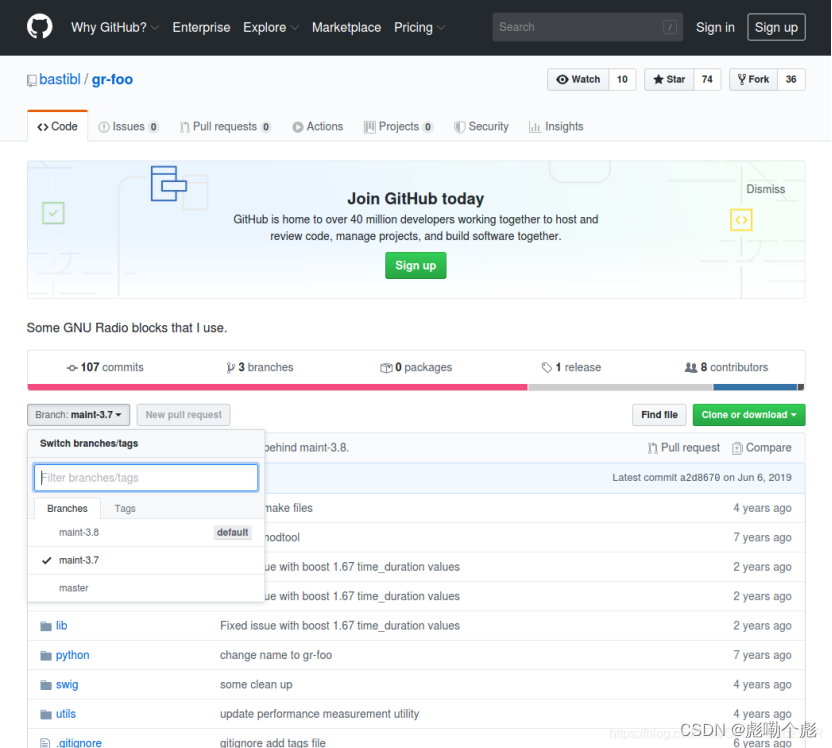
关于如何下载github上指定版本代码的方法,请参见:git选择源代码版本的三种方法_cc13949459188的博客-CSDN博客_git 选择版本
这里我们使用第一种方法,到gr-foo的github主页GitHub - bastibl/gr-foo: Some GNU Radio blocks that I use.,在Branch这里,我们选择3.7的版本,然后点击“Clone or download”进行下载,下载解压后的文件夹名字是gr-foo-maint-3.7
依次执行以下编译安装命令:
cd gr-foo-maint-3.7
mkdir build
cd build
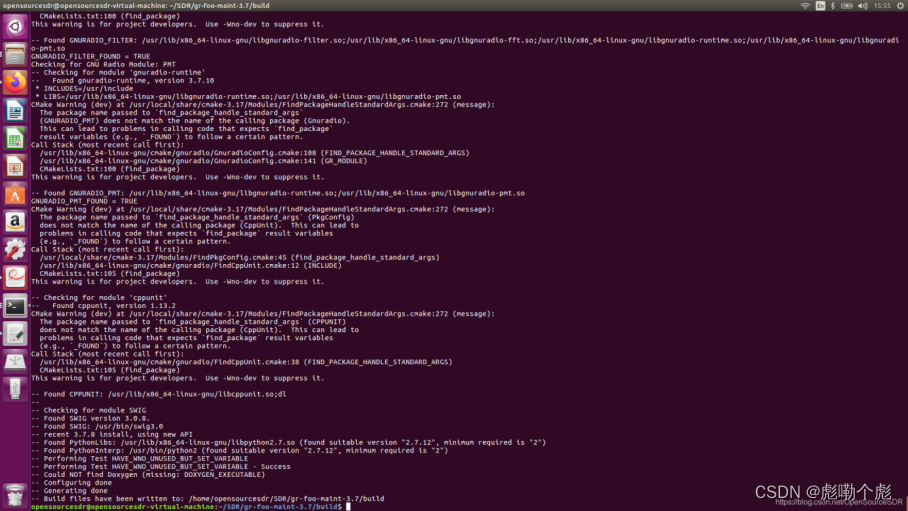
cmake ..
make
sudo make install
sudo ldconfig
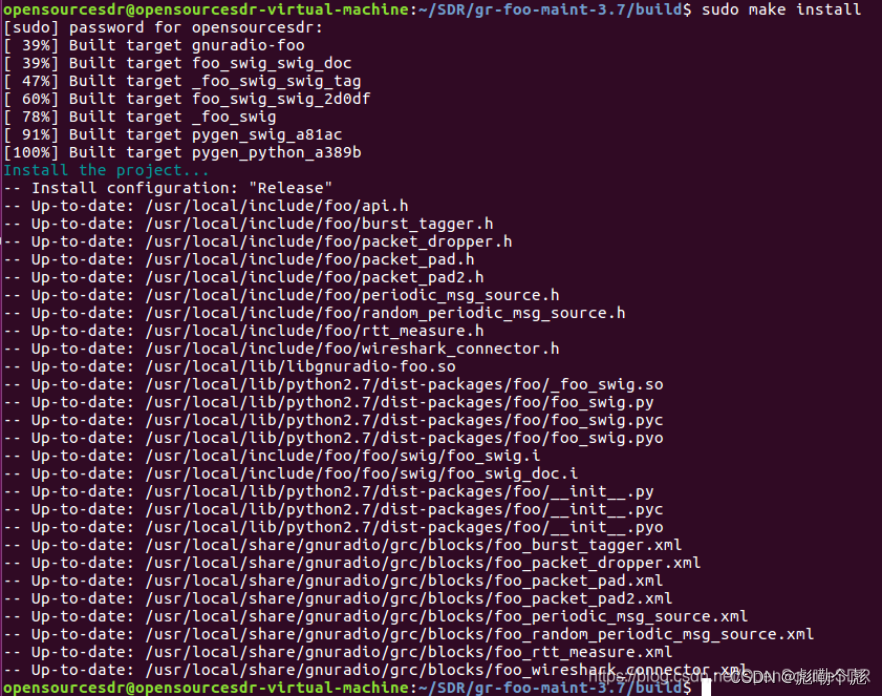
【注意】:这里的foo他默认安装到了/usr/lical/lib/python2.7/dist-packages/foo文件夹中,后边会提到,这可能会导致GRC Python找不到这个foo,导致出现ImportError信息。解决办法请看本文后边。
正确安装完之后,你的GRC中会出现这个foo模块。

2、gr-ieee802-11安装
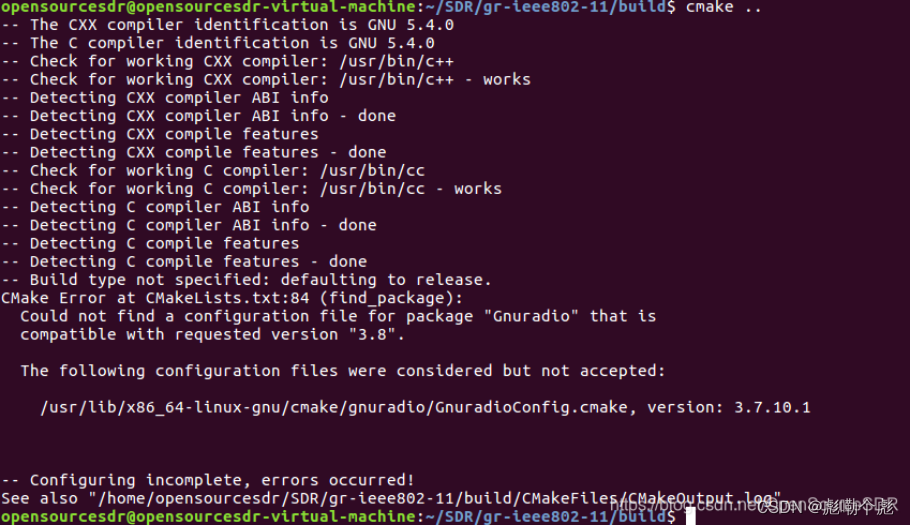
在编译安装gr-ieee802-11的时候,同样需要注意选择3.7版本的。否则,如果直接git最新的3.8版本,如果你电脑的gnuradio版本是3.7的话,也会出现以下的<Could not find a configuration file for package “Gnuradio” that is compatible with requested version “3.8”>信息。
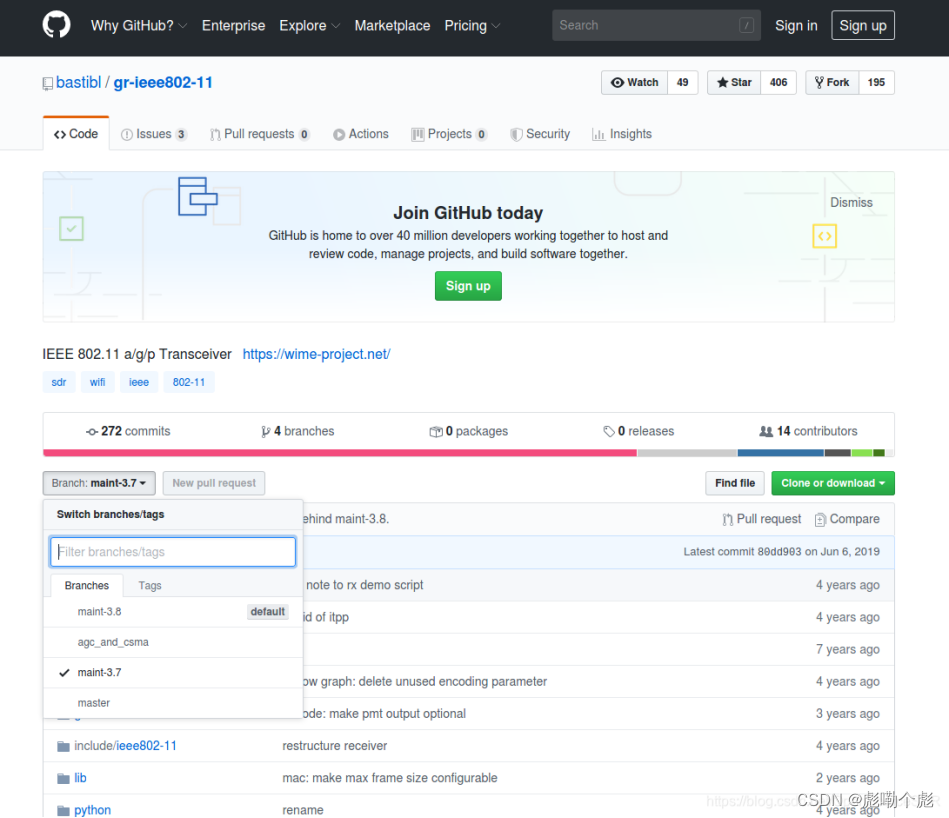
同样,到gr-ieee802-11的github主页GitHub - bastibl/gr-ieee802-11: IEEE 802.11 a/g/p Transceiver,在Branch这里,我们选择3.7的版本,然后点击“Clone or download”进行下载,
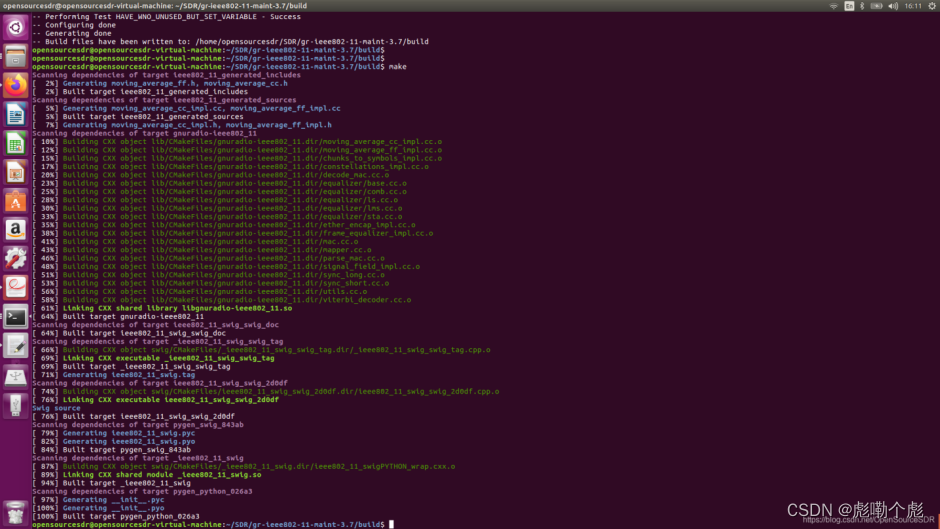
依次执行以下编译安装命令:
cd gr-ieee802-11-maint-3.7
mkdir build
cd build
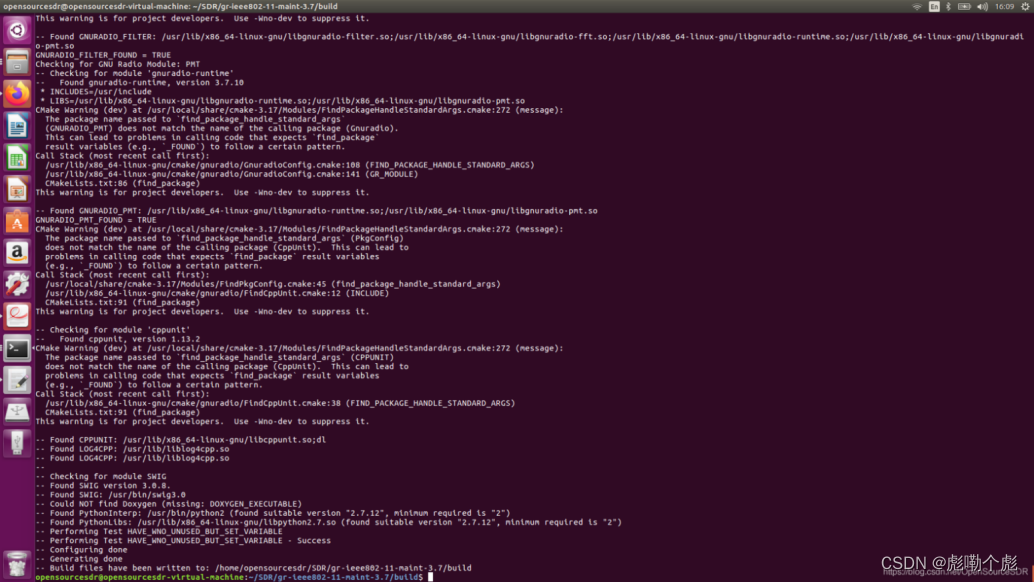
cmake ..
make
sudo make install
sudo ldconfig

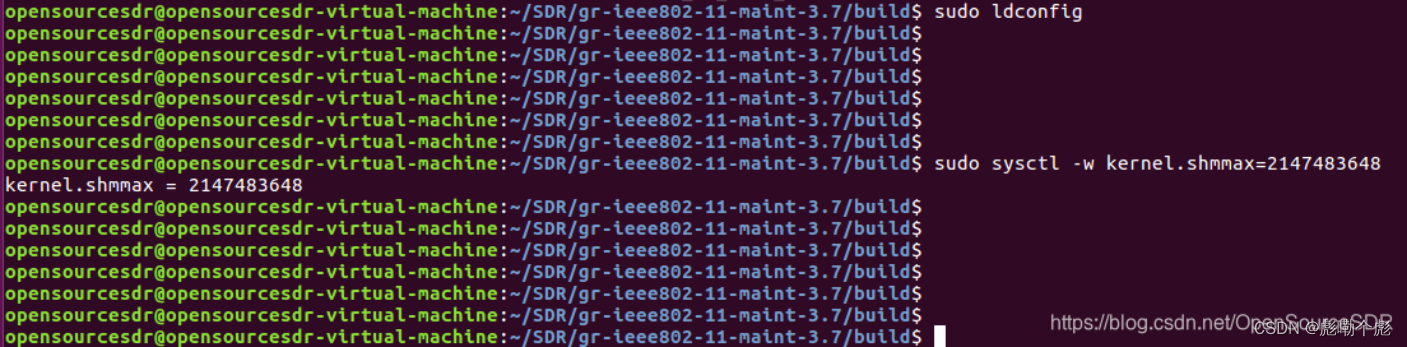
3、调整最大共享内存
由于transmitter使用Tagged Stream模块,因此它在处理之前必须将完整的frame存储在缓冲区中。由于ubuntu默认的缓冲区空间太小,应用如下命令进行设置:
sudo sysctl -w kernel.shmmax=2147483648
4、编译和运行wifi_phy_hier.grc
这是运行本项目其他grc文件的前置步骤。但是,我在第二个电脑上重新按照本博客的方法来安装后,没有碰到这个问题,所以,暂时先留在这里吧。
【注意】如果不先运行本程序,其它grc(例如gr-ieee802-11-maint-3.7/examples/wifi_rx.grc)会出现missing block。
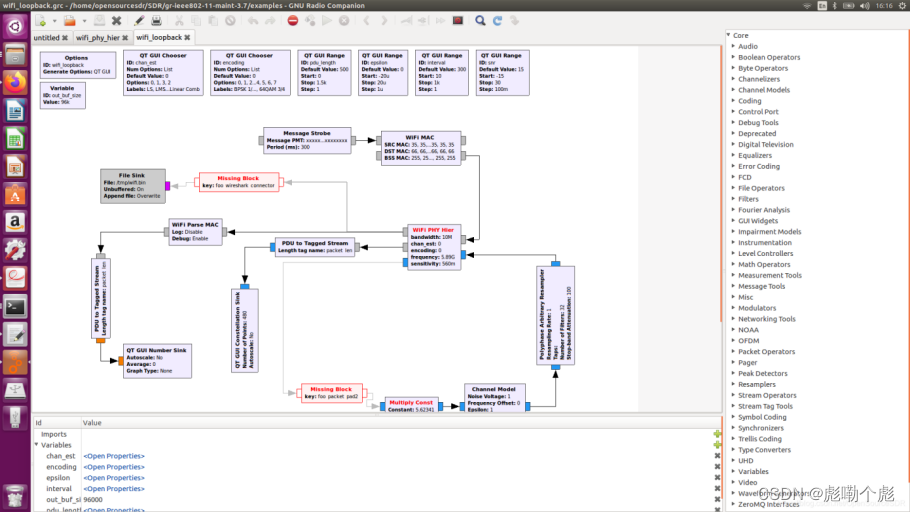
OFDM PHY:物理层被封装在一个分层块中,以便在GNU Radio Companion中获得更清晰的收发器结构。
用GNU Radio Companion打开/examples/wifi_phy_hier.grc 点击build进行创建,该模块将会安装加载到GRC中。
5、可能碰到的问题及解决方法
我在第二个电脑上重新按照本博客的方法来安装后,没有碰到以下两个问题,所以,暂时先留在这里吧,大家根据自己的实际情况来看,如果你安装完了gr-ieee802-11之后,运行不会碰到以下两个问题,那么就可以暂时忽略不用看这部分。
(1)import foo ImportError No module named foo
这是由于我按照上述cmake make make install的时候,把foo安装到了/usr/local/lib/python2.7/dist-packages/foo中,导致这时候Python找不到foo,因为Python默认的是从/usr/lib中来寻找的。所以,通过将/usr/local/lib/python2.7/dist-packages/foo复制到/usr/lib来解决。
解决方法:
sudo cp -r /usr/local/lib/python2.7/dist-packages/foo /usr/lib
(2)ImportError:libgnuradio-foo.so: cannot open shared object file: No such file or directory
根据提示信息,定位到是可能找不到libgnuradio-foo.so,从电脑这种查找要一下这个libgnuradio-foo.so的位置,得知它是在/usr/local/lib/文件夹中,把它复制到/usr/lib文件夹中。

解决方法:
sudo cp /usr/local/lib/libgnuradio-foo.so /usr/lib
(3)Xterm executable is missing
暂时可以忽略不管他。

(三)、测试例子
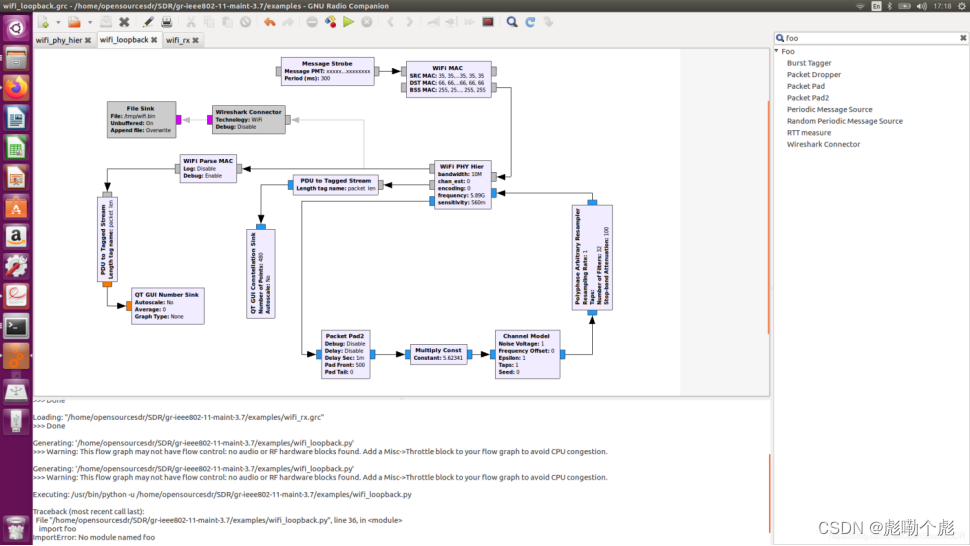
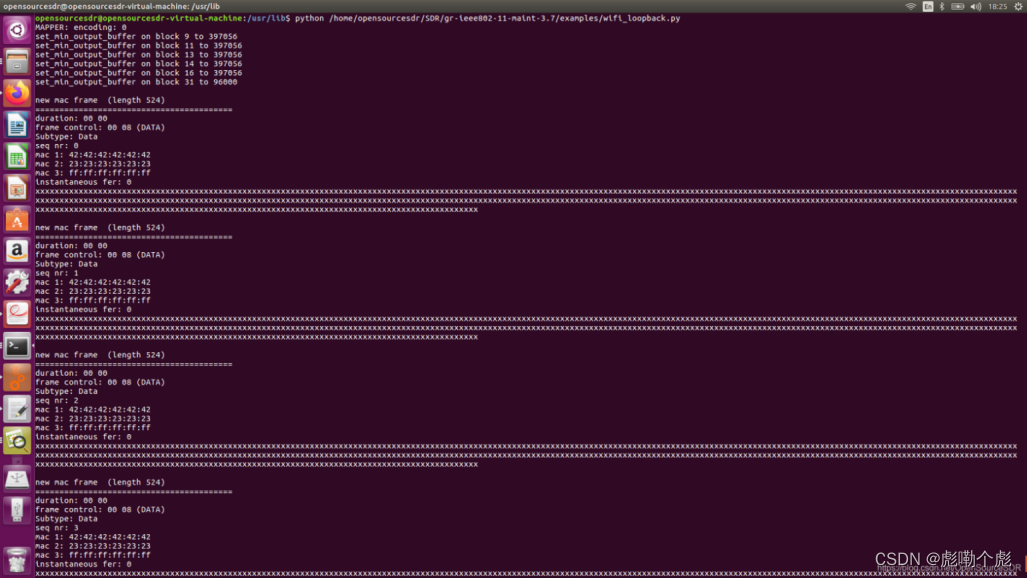
1、wifi_loopback.grc
在已打开的GRC(在打开的终端中,输入gnuradio-companion来打开GRC,)中运行wifi_loopback.grc,依次点击build和运行按钮后,你会看到类似的结果。

2、wifi_rx.grc
打开wifi_rx.grc,该文件的作者用的是USRP,这里由于我们使用的是HackRF或者LimeSDR,所以需要将UHD Source修改为osmocom source或者LimeSuite Source(Rx)模块。
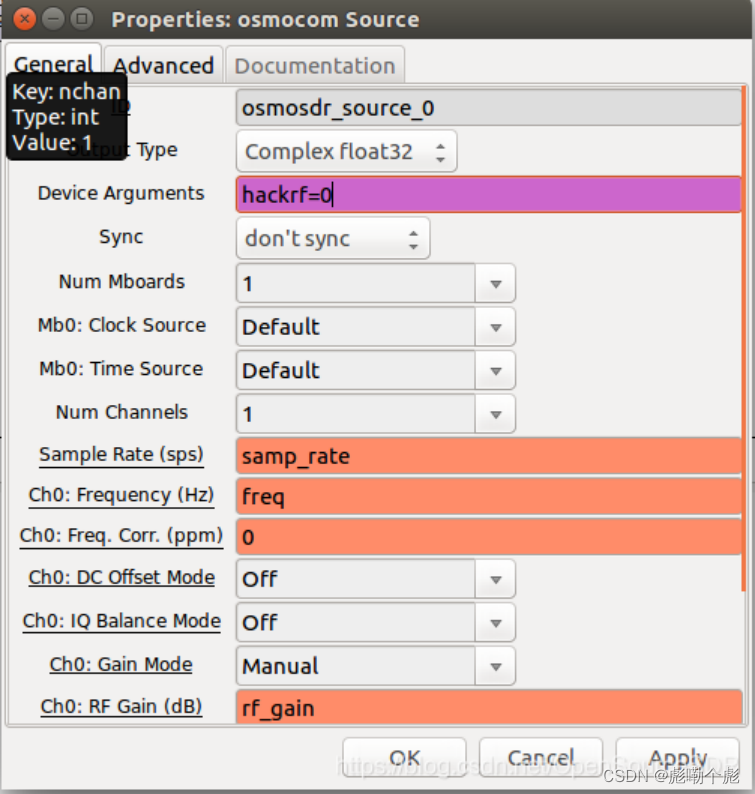
我这个最近新安装的ubuntu电脑,用hackrf的时候,碰到一个小插曲问题,就是osmocom source模块中的device如果默认什么都不填写的话,会碰到如下问题:
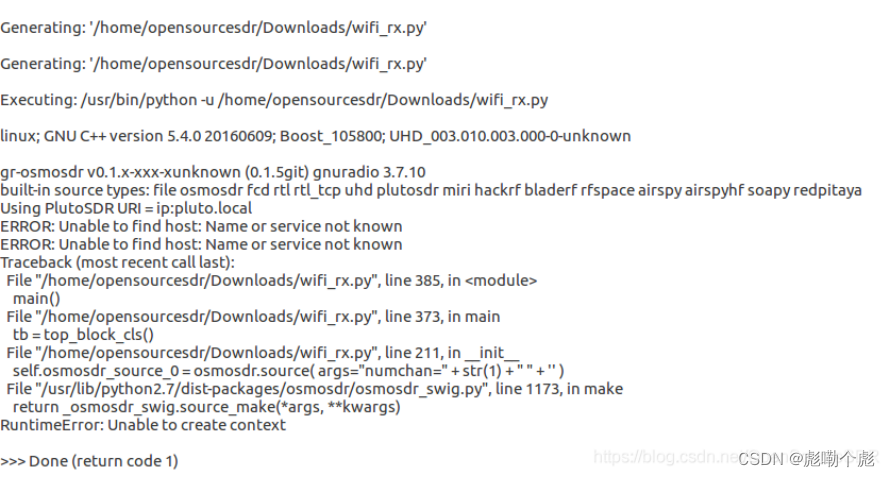
解决方法:在osmocom source模块的Device Arguments栏中,输入:hackrf=0,这是根据osmocom source模块的documentation选项卡中提示的来确定的。【也请大家各自验证一下是否会存在此问题。我记得之前我用osmocom source模块是不会碰到此类问题的。】
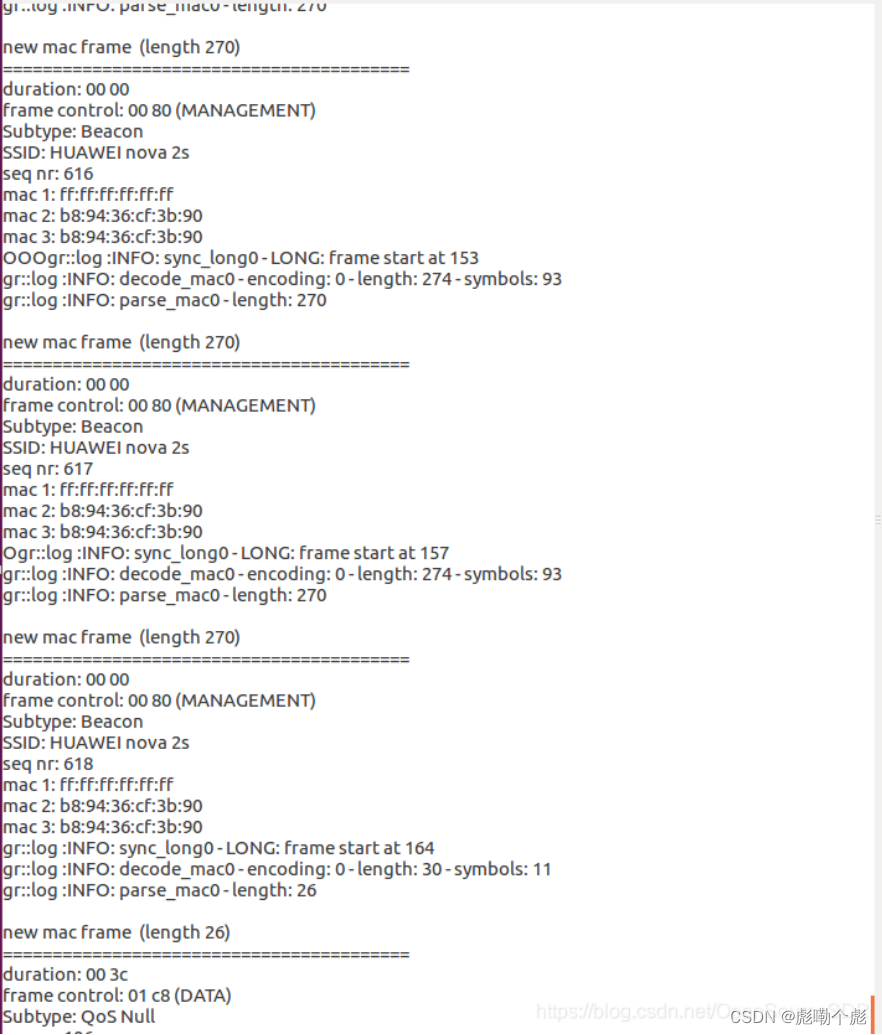
我的手机热点名字是:HUAWEI nova 2s,其MAC地址是b8:94:36:cf:3b:90,以下是我手机的截图和捕获到的数据包的截图。
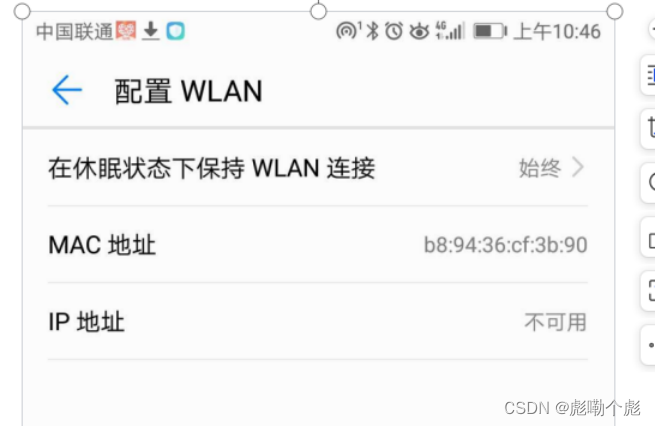
可以看到捕获到的数据包中,热点的SSID名称和MAC地址与我手机的信息是一致的。
(四)、有用的链接
Second Workshop of Software Radio Implementation Forum (SRIF 2013) - ACM SIGCOMM 2013
GitHub - bastibl/gr-ieee802-11: IEEE 802.11 a/g/p Transceiver
三、WIFI接收实验
接收前对Ubuntu的操作:
本机以太网设置如下
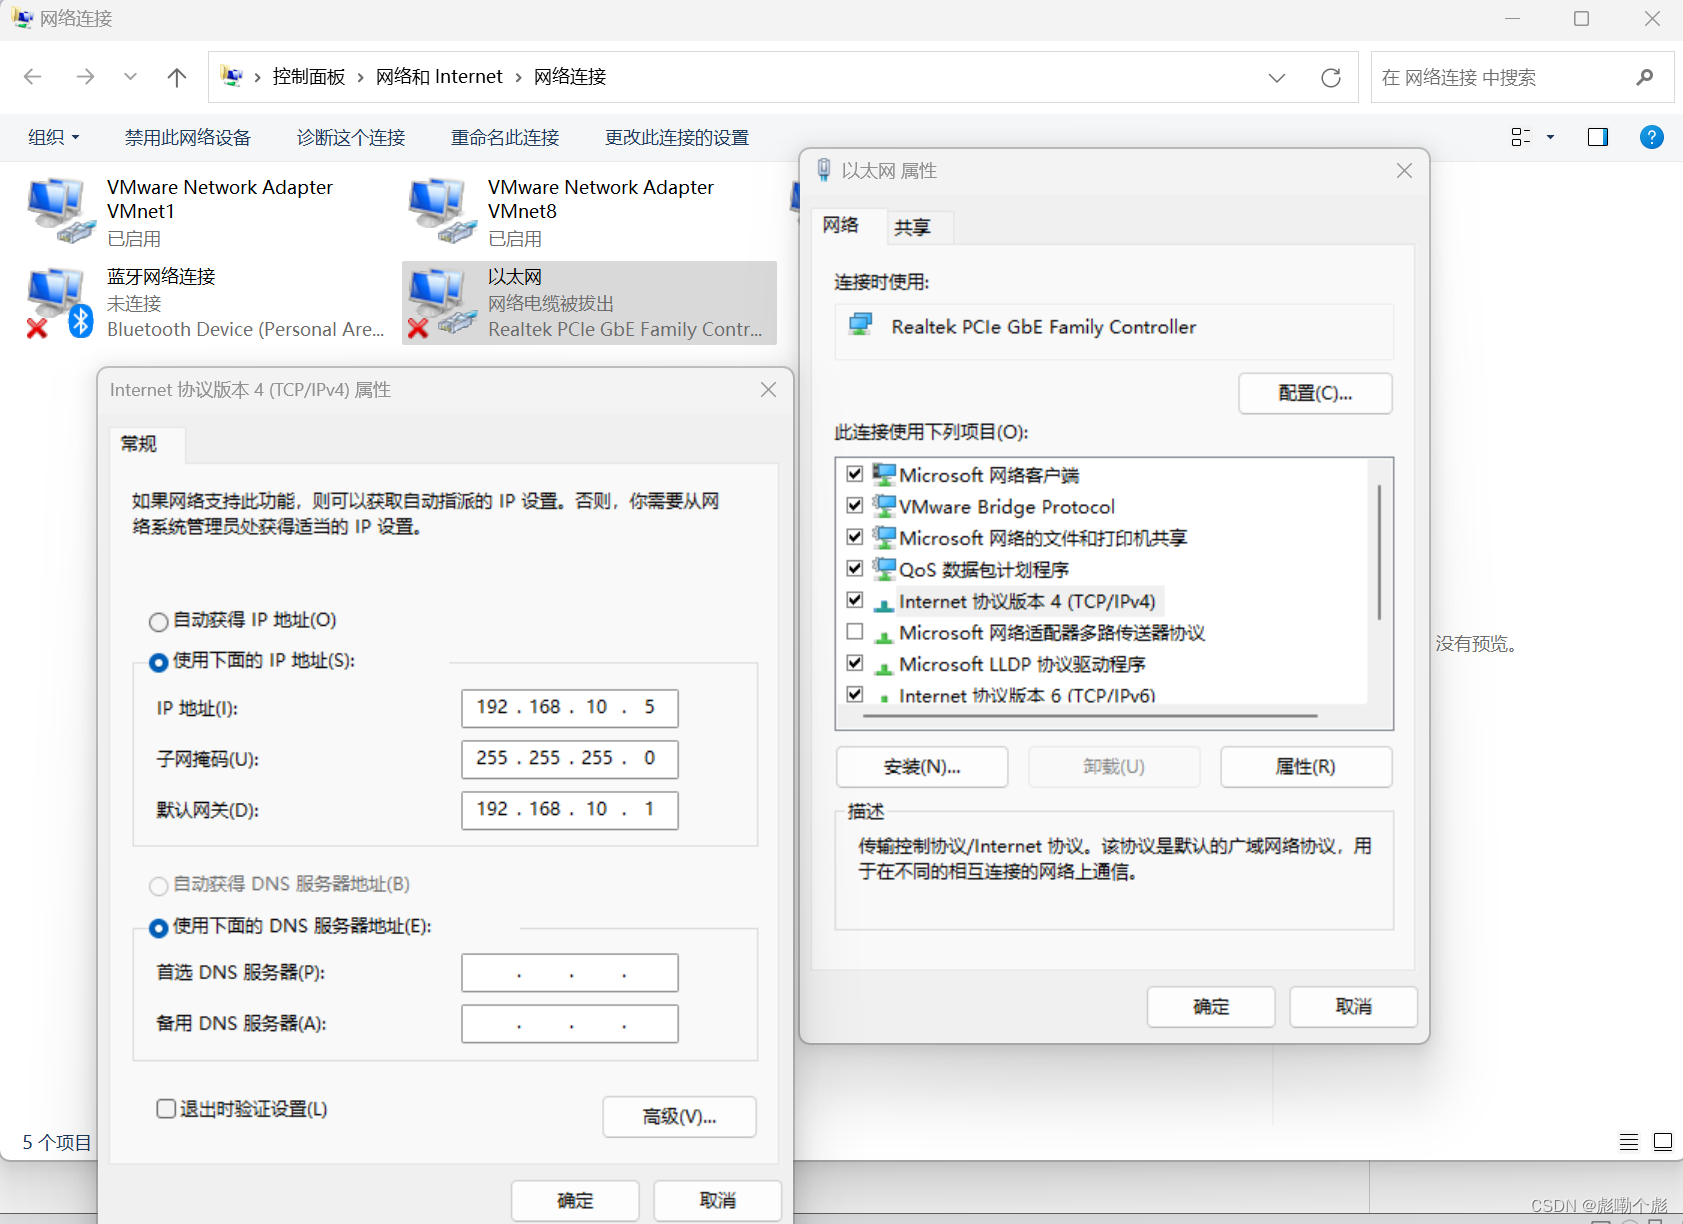
1、设置里更改网络连接模式为桥接模式 2、网络设置IPV4为Manual,并填写地址。


在网络调通的基础上,查找实验设备:
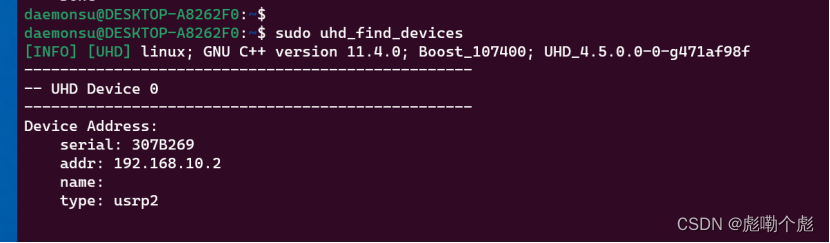
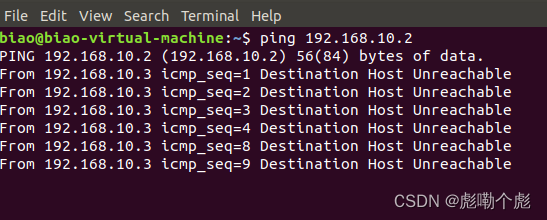
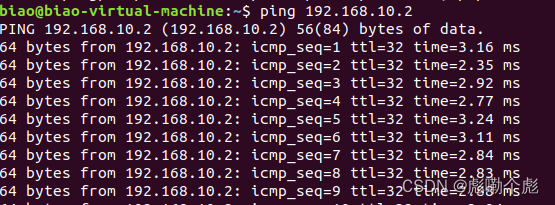
USRP N210的IP是固定的,可以输入ping 192.168.10.2查看是否有设备的回复:
无回复:
有回复:
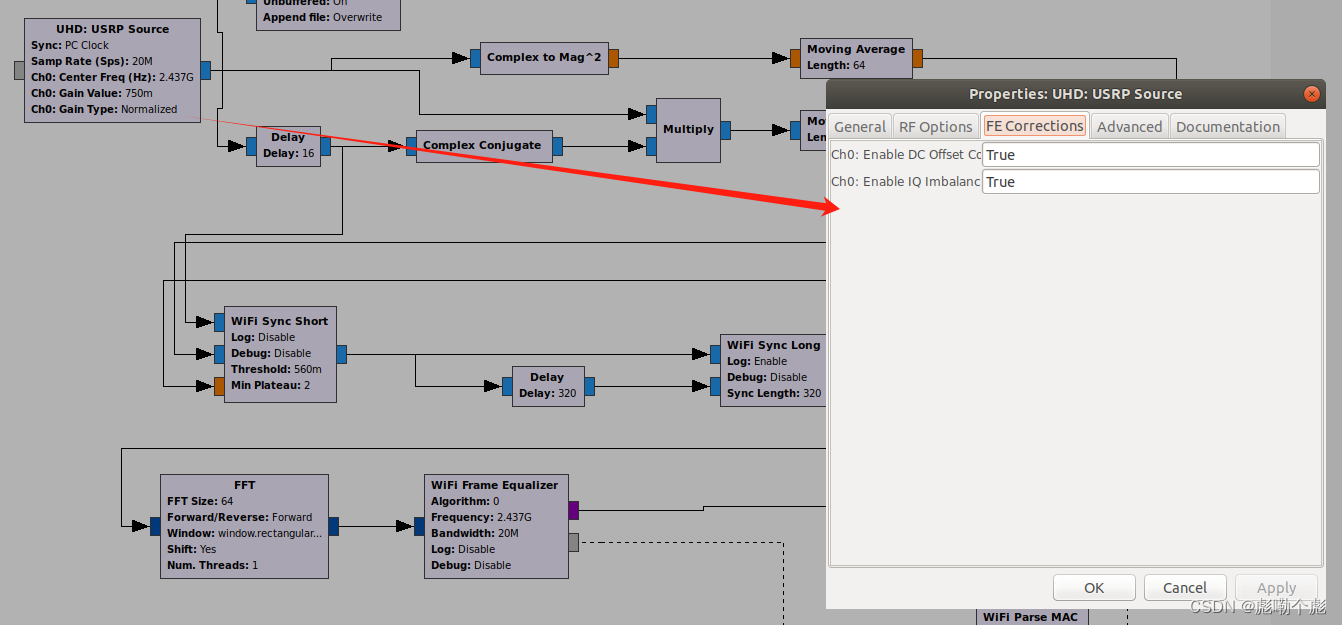
修改相关设备的地址与sync链接方式,有原来的pps修改为pc clock,参数设置为True

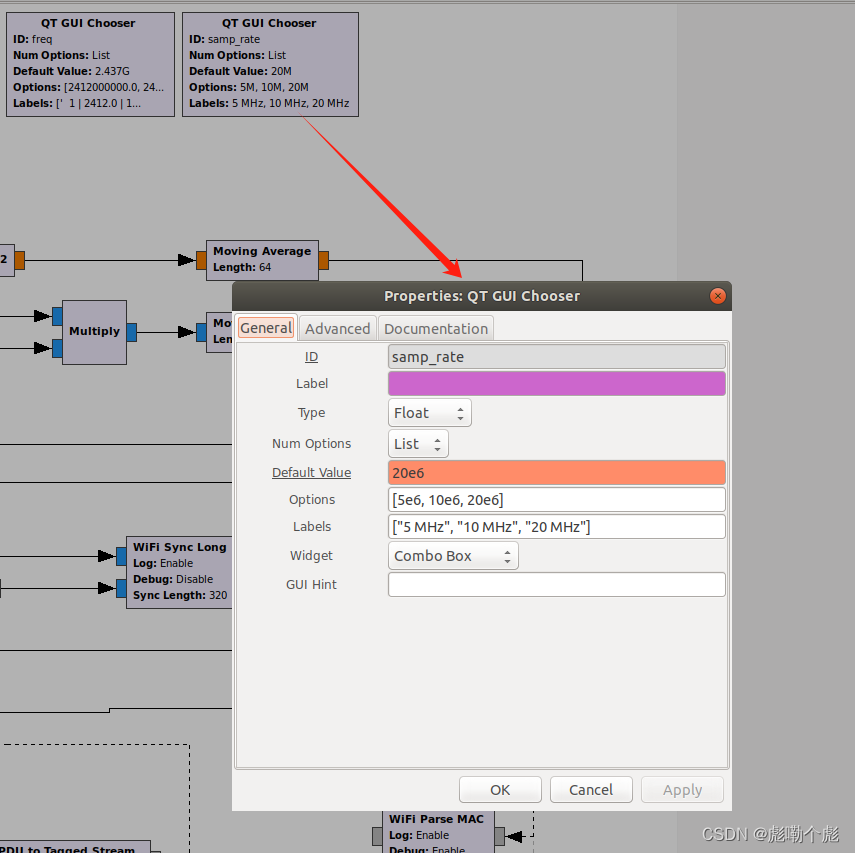
修改模块的采样频率20M
执行相应的流程文件可以得到接收的信号

可参考:


 9628
9628


 被折叠的 条评论
为什么被折叠?
被折叠的 条评论
为什么被折叠?
 到【灌水乐园】发言


