


最近公司要弄一个这样的离线地图,要求在图上打点画线之类的。折腾了几天,学习了三种方式:
1.拿到各省市区的经纬度json,通过echarts来制作,再套一个卫星图的地图背景
2.下载地图瓦片,再通过百度/高德的离线api来实现
3.同样是地图瓦片,通过openlayers来实现

主要说一下2,3两种方式。
地图瓦片
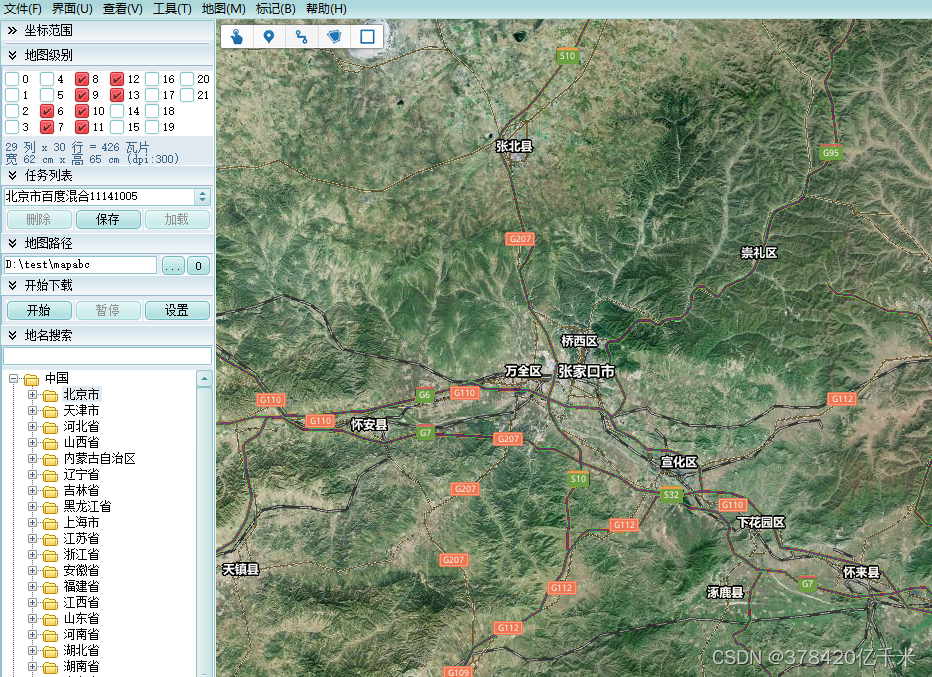
1.首先是要下载地图瓦片,选择地图勾选上层级,选择区域。(网上的地图下载器也是很多,随便找一个就行)
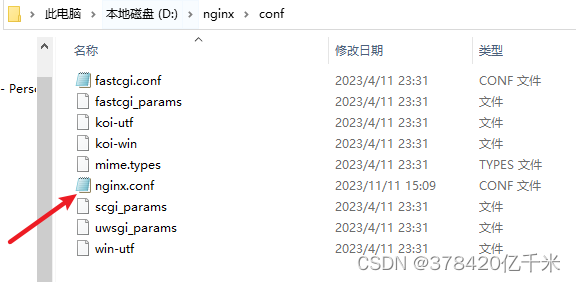
2.nginx做地图代理,找到文件conf并在location中去配置瓦片的地址
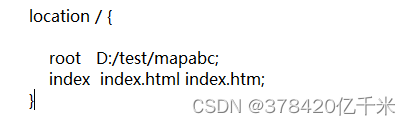
如果缺少权限的话,需要在conf的第一行加上user root;
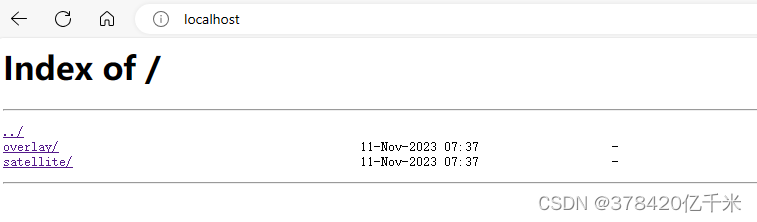
双击nginx.exe启动,访问localhost:端口(nginx.conf中的端口)。
百度离线
1.下载百度离线文件,配置代理地址,并在index.html中引入。
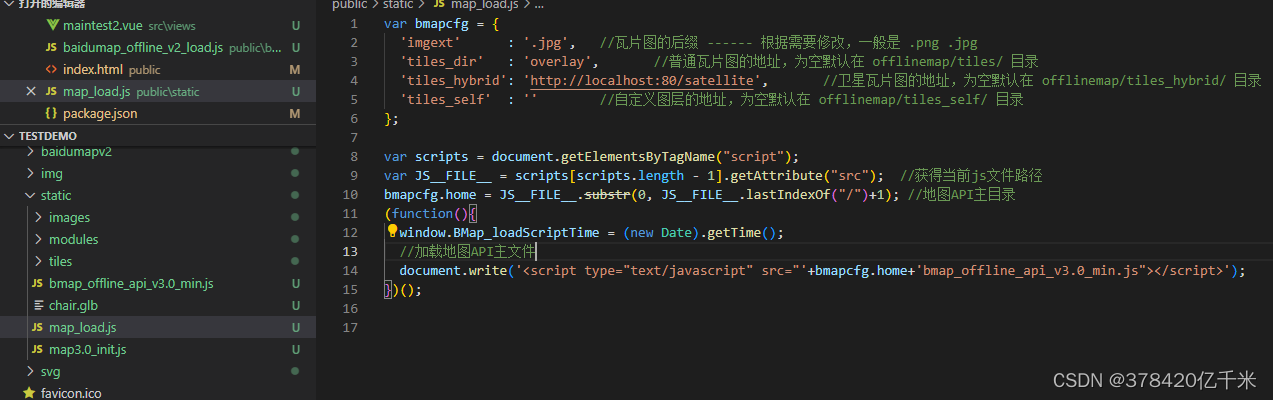

2.代码如下
<template>
	<div class="hello">
		<div id="container"></div>
	</div>
  </template>

  <script>
  export default {
	name: "HelloWorld",
	mounted() {
	  this.builmap();
	},
	methods: {
	  builmap() {
		let map = new window.BMap.Map("container", { minZoom: 5, maxZoom: 17 });
		let point = new window.BMap.Point(109.23024, 34.65505);
  			map.centerAndZoom(point, 12);
			  map.setMapType(BMAP_HYBRID_MAP);
  			map.enableScrollWheelZoom(true);
		map.addEventListener("click", function(e) {
		  console.log(e.point.lng + "," + e.point.lat);
		});
	  }
	}
  };
  </script>
  <style scoped lang="less">
  #container {
	width: 1980px;
	height: 600px;
	background-color: #162369;
  }
  </style>
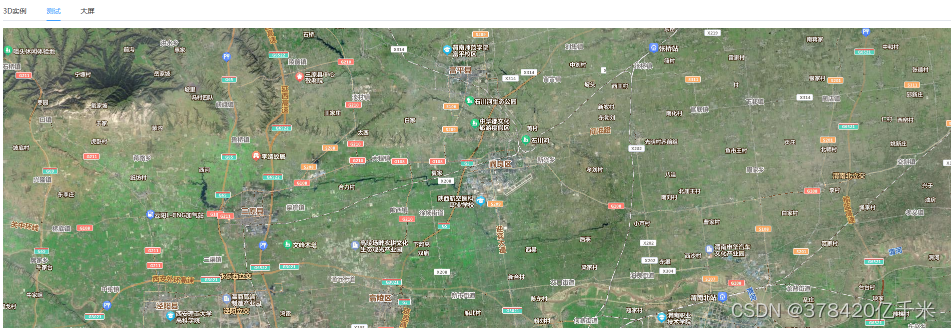
实现效果:
关于更多百度离线,可以看看这篇文章百度离线
openlayers实现
文档地址
1.安装openlayers
npm install ol --save
2.需要注意的是不同版本ol导入和使用的方式可能有所不同(代码如下)
<template>
	<div id="map" >
    </div>
  </template>
  <script>
  import 'ol/ol.css'
  import TileLayer from 'ol/layer/Tile'
  import XYZ from 'ol/source/XYZ'
  import { Style, Icon, Fill, Text ,Stroke} from "ol/style";
  import { Point } from "ol/geom";
  import { Feature, Map, View } from 'ol'
  import { fromLonLat ,transform,toLonLat } from 'ol/proj'
  import VectorSource from 'ol/source/Vector'
  import VectorLayer from 'ol/layer/Vector'

  export default {
	data() {
	  return {
  		map: null,
        pointLayer: null,
		mapView: {
		  center: fromLonLat([110.23024, 36.65505]), // 地图中心点
		  zoom: 10, // 初始缩放级别
          minZoom: 6, // 最小缩放级别
          constrainResolution:true,
		  maxZoom: 13 // 最大缩放级别
            },
		// 瓦片引入地址 nginx
  		mapUrl: `http://localhost:80/overlay/{z}/{x}/{y}.png`,
		mapUrl2: `http://localhost:80/satellite/{z}/{x}/{y}.jpg`
	  }
	},
      mounted() {
  		this.initMap()
        this.addPoints()
	},
	methods: {
	  // 初始化地图
	  initMap() {
		const tileLayer = new TileLayer({
		  source: new XYZ({
			url: this.mapUrl
		  })
		})
  			const tileLayer2 = new TileLayer({
				visible: true,
		  source: new XYZ({
			url: this.mapUrl2
		  })
		})
		this.map = null
		this.map = new Map({
		  layers: [tileLayer2,tileLayer],
              view: new View(this.mapView),
              target: 'map',// 将地图注入到 dom 元素中
		      projection:'EPSG:4326'
		})

  		},
		  addPoints(coordinate=[110.23024, 36.65505]) {
            // 设置图层
            this.pointLayer = new VectorLayer({
                source: new VectorSource(),
            });
            // 添加图层
            this.map.addLayer(this.pointLayer);
            // 创建feature
            const feature = new Feature({
                geometry: new Point(fromLonLat(coordinate)),
            });
            feature.setStyle(this.getIcon(coordinate));
            this.pointLayer.getSource().addFeatures([feature]);
        },
		  getIcon(coordinate) {
            var styleIcon = new Style({
                // 设置图片效果
                image: new Icon({
                    src: require("@/assets/vip.png"),
                    anchor: [1, 1],
                }),
                text: new Text({
                    // 添加文字描述
                    text: "一个点位1054",
                    font: "20px font-size", // 设置字体大小
                    fill: new Fill({
                        // 设置字体颜色
                        color: "#fff",
                    }),
                    offsetY: 10, // 设置文字偏移量
                }),
            });
            return styleIcon;
        },
	}
  }
  </script>
  <style scoped lang="less">
  #map {
	width:1980px;
    height:800px;
  }
  </style>
3.实现效果


 2572
2572


 被折叠的 条评论
为什么被折叠?
被折叠的 条评论
为什么被折叠?
 到【灌水乐园】发言


