


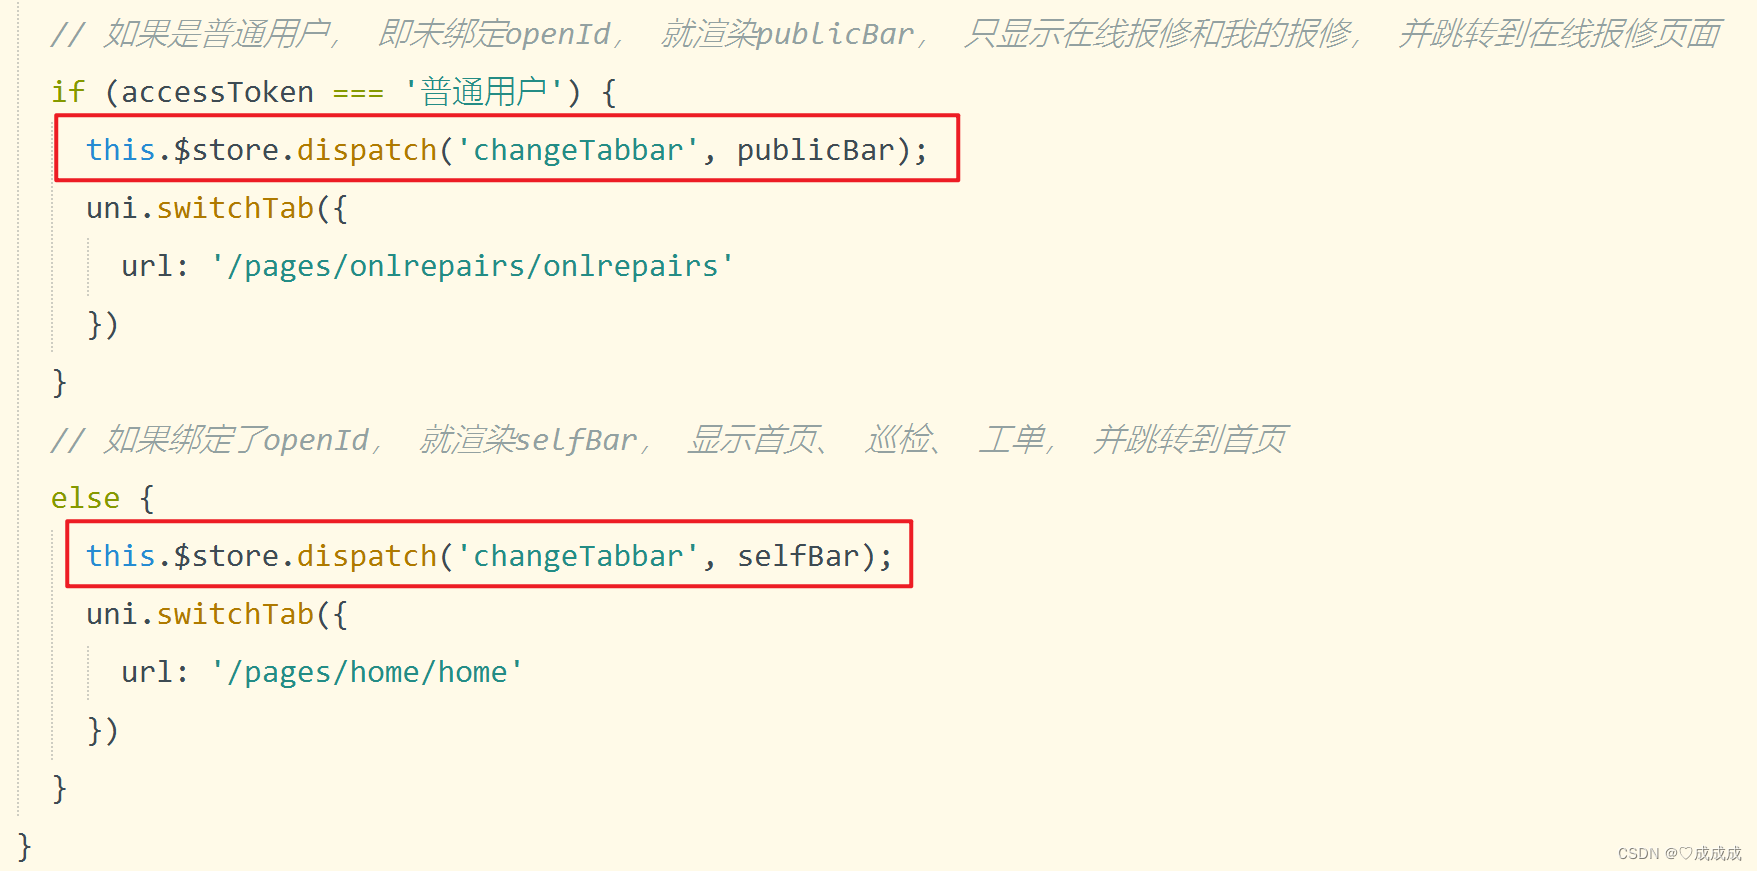
比如绑定openId展示的tabbar为:首页、巡检、工单

未绑定openId展示的tabbar为:在线报修、我的报修
![]()
首页配置pages.json中的tabbar:
这里只用配置pagePath就可以了~
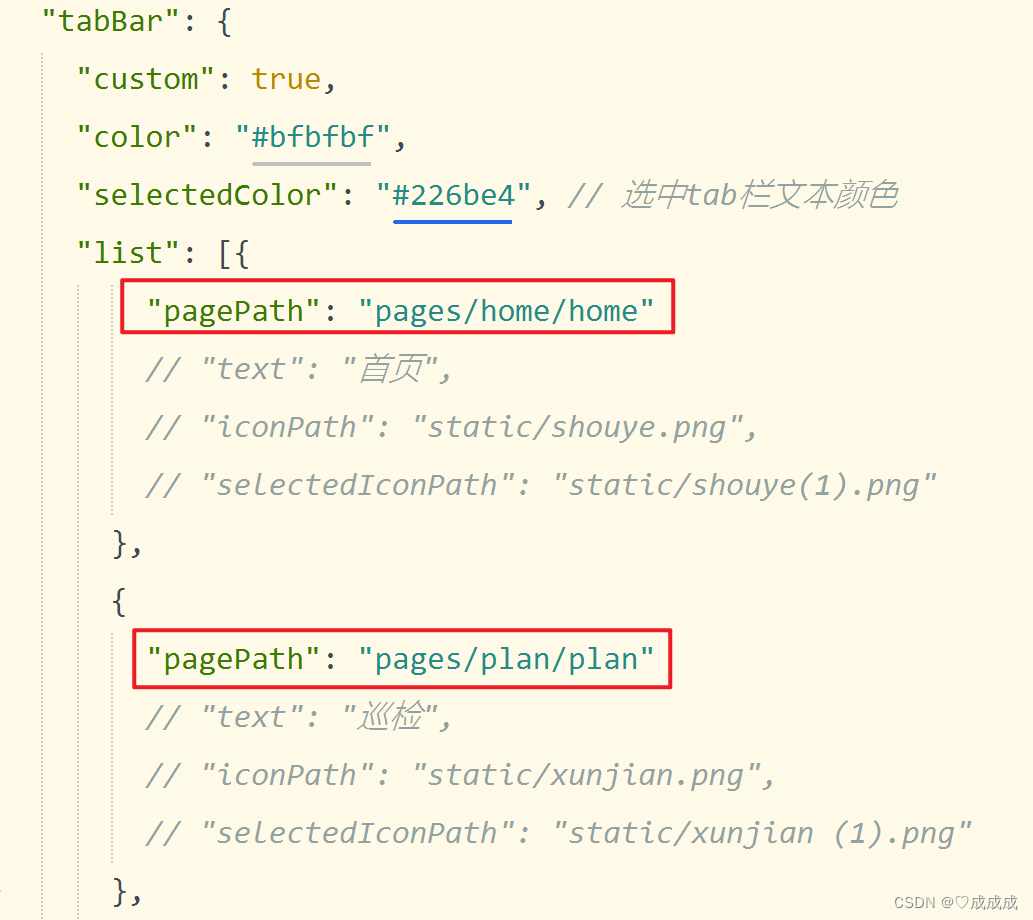
具体代码如下:
"tabBar": {
"custom": true,
"color": "#bfbfbf",
"selectedColor": "#226be4", // 选中tab栏文本颜色
"list": [{
"pagePath": "pages/home/home"
// "text": "首页",
// "iconPath": "static/shouye.png",
// "selectedIconPath": "static/shouye(1).png"
},
{
"pagePath": "pages/plan/plan"
// "text": "巡检",
// "iconPath": "static/xunjian.png",
// "selectedIconPath": "static/xunjian (1).png"
},
{
"pagePath": "pages/tickets/tickets"
// "text": "工单",
// "iconPath": "static/tickets.png",
// "selectedIconPath": "static/tickets(1).png"
},
{
"pagePath": "pages/onlrepairs/onlrepairs"
// "text": "在线报修",
// "iconPath": "static/onlrepair.png",
// "selectedIconPath": "static/onlrepair(1).png"
},
{
"pagePath": "pages/my/my"
// "text": "我的报修",
// "iconPath": "static/baoxiu.png",
// "selectedIconPath": "static/baoxiu (1).png"
}
]
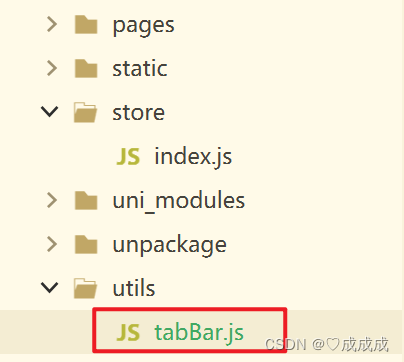
}创建一个自定义的tabbar文件:
具体代码如下:
注意:pagePath的最前面要 加 /
// 未绑定openId展示的页面
const publicBar = [{
"pagePath": "/pages/onlrepairs/onlrepairs",
"text": "在线报修",
"iconPath": "/static/onlrepair.png",
"selectedIconPath": "/static/onlrepair(1).png"
},
{
"pagePath": "/pages/my/my",
"text": "我的报修",
"iconPath": "/static/baoxiu.png",
"selectedIconPath": "/static/baoxiu (1).png"
}
]
// 绑定openId展示的页面
const selfBar = [{
"pagePath": "/pages/home/home",
"text": "首页",
"iconPath": "/static/shouye.png",
"selectedIconPath": "/static/shouye(1).png"
},
{
"pagePath": "/pages/plan/plan",
"text": "巡检",
"iconPath": "/static/xunjian.png",
"selectedIconPath": "/static/xunjian (1).png"
},
{
"pagePath": "/pages/tickets/tickets",
"text": "工单",
"iconPath": "/static/tickets.png",
"selectedIconPath": "/static/tickets(1).png"
}
]
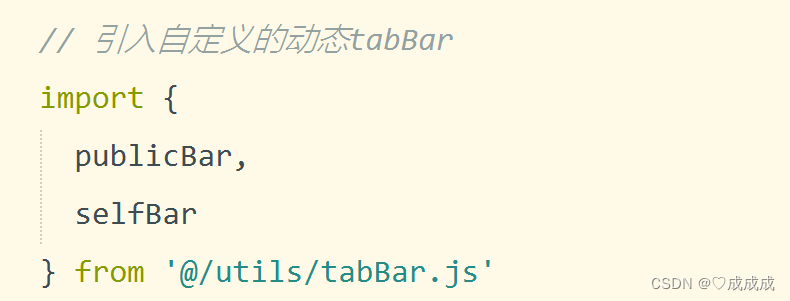
export {
publicBar,
selfBar
}创建index.js文件配置vuex :
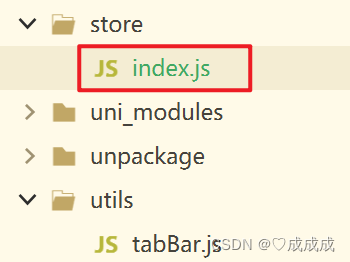
具体代码如下:
import Vue from 'vue'
import Vuex from 'vuex'
Vue.use(Vuex)

const store = new Vuex.Store({
	state: {
		dynamicTabbar: [] // 动态tabbar
	},
	getters: {},
	actions: {
		changeTabbar({commit}, payload) {
			commit('updateTabbar', payload)
		}
	},
	mutations: {
		updateTabbar(state, payload) {
			state.dynamicTabbar = payload
		}
	}
})

export default store
Vuex简易了解:
- state: 统一定义公共数据(类似于data(){return {a:1, b:2,xxxxxx}})
- mutations : 使用它来修改数据(类似于methods)更改state中的数据必须使用mutations来进行更改
- getters: 类似于computed(计算属性,对现有的状态进行计算得到新的数据-------派生 )
- actions: 发起异步请求
- modules: 模块拆分
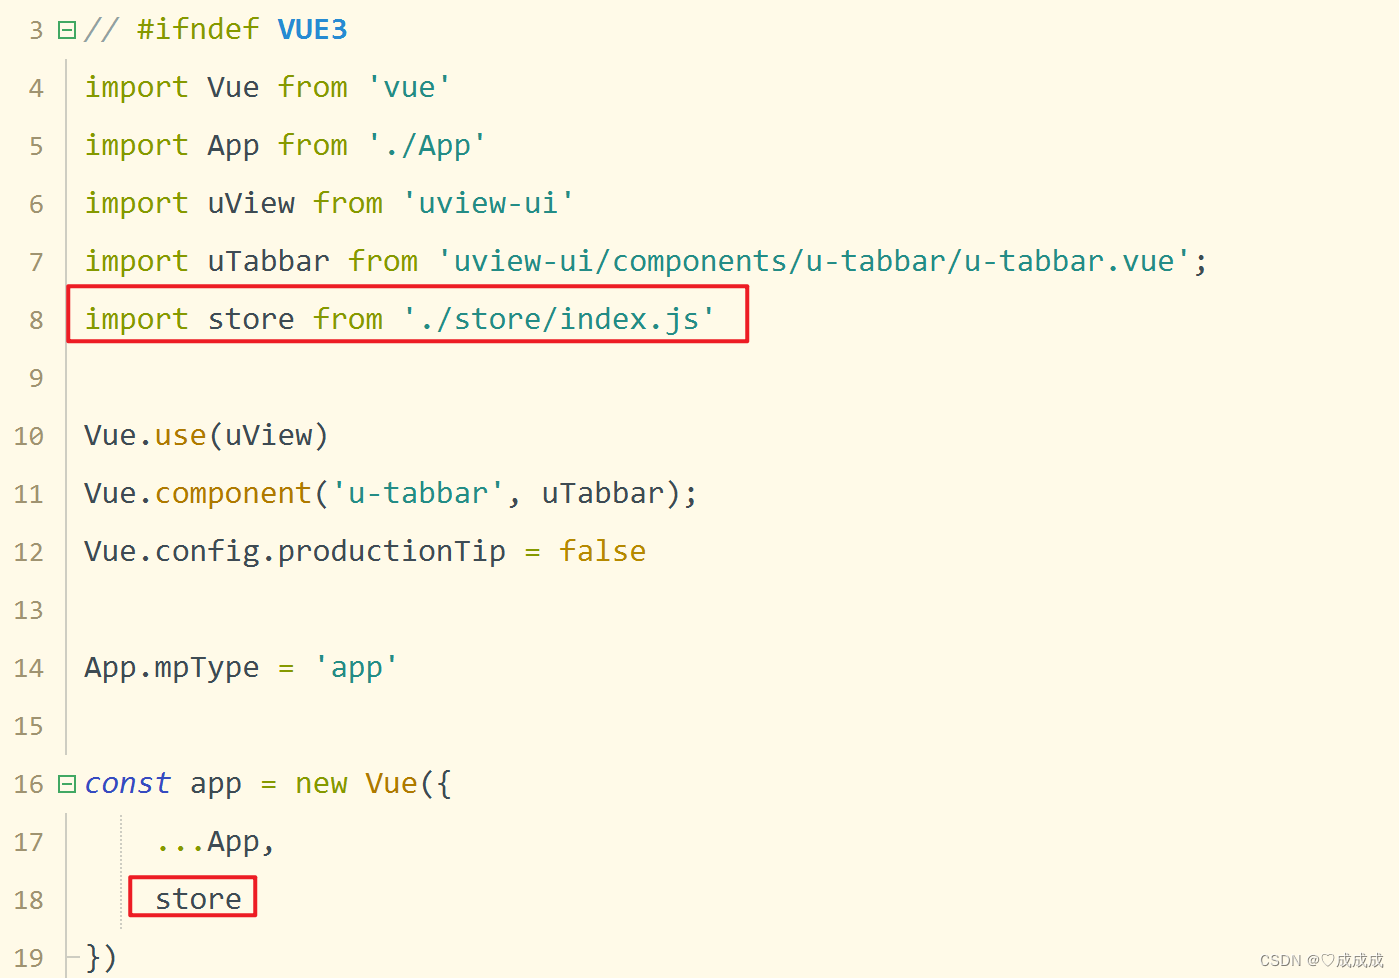
在main.js中引入并挂载store:
在Login页面引入自定义tabbar页面并判断:
最后在每个页面使用动态的tabbar:

具体代码如下:
 <!-- 动态渲染tabBar -->
    <u-tabbar v-model="current" :list="tabBarList" :active-color="activeColor" :inactive-color="inactiveColor"
      :border-top="borderTop" />

  data() {
      return {
         title: '首页',
         tabBarList: this.$store.state.dynamicTabbar,
         current: 0,
         borderTop: true,
         inactiveColor: '#909399',
         activeColor: '#5098FF',
      }
  }


 4708
4708


 被折叠的 条评论
为什么被折叠?
被折叠的 条评论
为什么被折叠?
 到【灌水乐园】发言


