使用Spring Boot实现图片上传和展示

使用Spring Boot实现图片上传和展示

本文将介绍如何使用Spring Boot框架搭建后端服务,实现接收前端上传的图片并保存到resources/images目录下。同时,我们还将展示如何在前端编写一个HTML页面,实现上传图片和从resources/images目录下获取图片并展示的功能。

后端实现

使用Spring Boot来快速搭建后端服务,以下是实现步骤:

  1. 创建Spring Boot项目并导入相关依赖。
  2. 创建一个Controller类,定义一个POST请求接口用于接收上传的图片,并将其保存到resources/images目录下。代码示例:
@RestController
public class ImageUploadController {

    @Value("${upload.path}")
    private String uploadPath;

    @PostMapping("/upload")
    public String uploadImage(@RequestParam("file") MultipartFile file) {
        try {
            // 获取文件名
            String fileName = file.getOriginalFilename();
            // 指定保存路径
            String filePath = uploadPath + "/" + fileName;
            // 保存文件到本地
            file.transferTo(new File(filePath));
            return "上传成功";
        } catch (IOException e) {
            e.printStackTrace();
            return "上传失败";
        }
    }
}

在上述代码中,我们使用@Value注解注入了文件保存路径uploadPath,该路径配置在application.propertiesapplication.yml文件中。

  1. 启动Spring Boot应用,后端服务即可接收并保存上传的图片。

前端实现

在前端,我们将使用HTML和JavaScript来实现图片上传和展示功能。以下是一个示例HTML页面的代码:

<!DOCTYPE html>
<html>
<head>
    <title>图片上传与展示</title>
</head>
<body>
    <h2>上传图片</h2>
    <input type="file" id="imageInput">
    <button onclick="uploadImage()">上传图片</button>
    
    <h2>展示图片</h2>
    <div id="imageContainer"></div>

    <script>
        function uploadImage() {
            var fileInput = document.getElementById('imageInput');
            var file = fileInput.files[0];
            
            var formData = new FormData();
            formData.append('file', file);
            
            fetch('/upload', {
                method: 'POST',
                body: formData
            })
            .then(response => response.text())
            .then(result => {
                if (result === '上传成功') {
                    showImage(file.name);
                } else {
                    console.log('上传失败');
                }
            })
            .catch(error => console.error('Error:', error));
        }
        
        function showImage(fileName) {
            var imageContainer = document.getElementById('imageContainer');
            var imgElement = document.createElement('img');
            imgElement.src = 'resources/images/' + fileName;
            imageContainer.appendChild(imgElement);
        }
    </script>
</body>
</html>

在上述代码中,我们创建了一个简单的HTML页面,包含一个文件选择框和一个上传按钮。当用户选择图片文件并点击上传按钮时,通过JavaScript代码将选中的图片文件发送到后端的/upload接口。上传成功后,调用showImage函数,在页面上展示上传的图片。

请确保将该HTML文件放置在与resources目录同级的目录下。
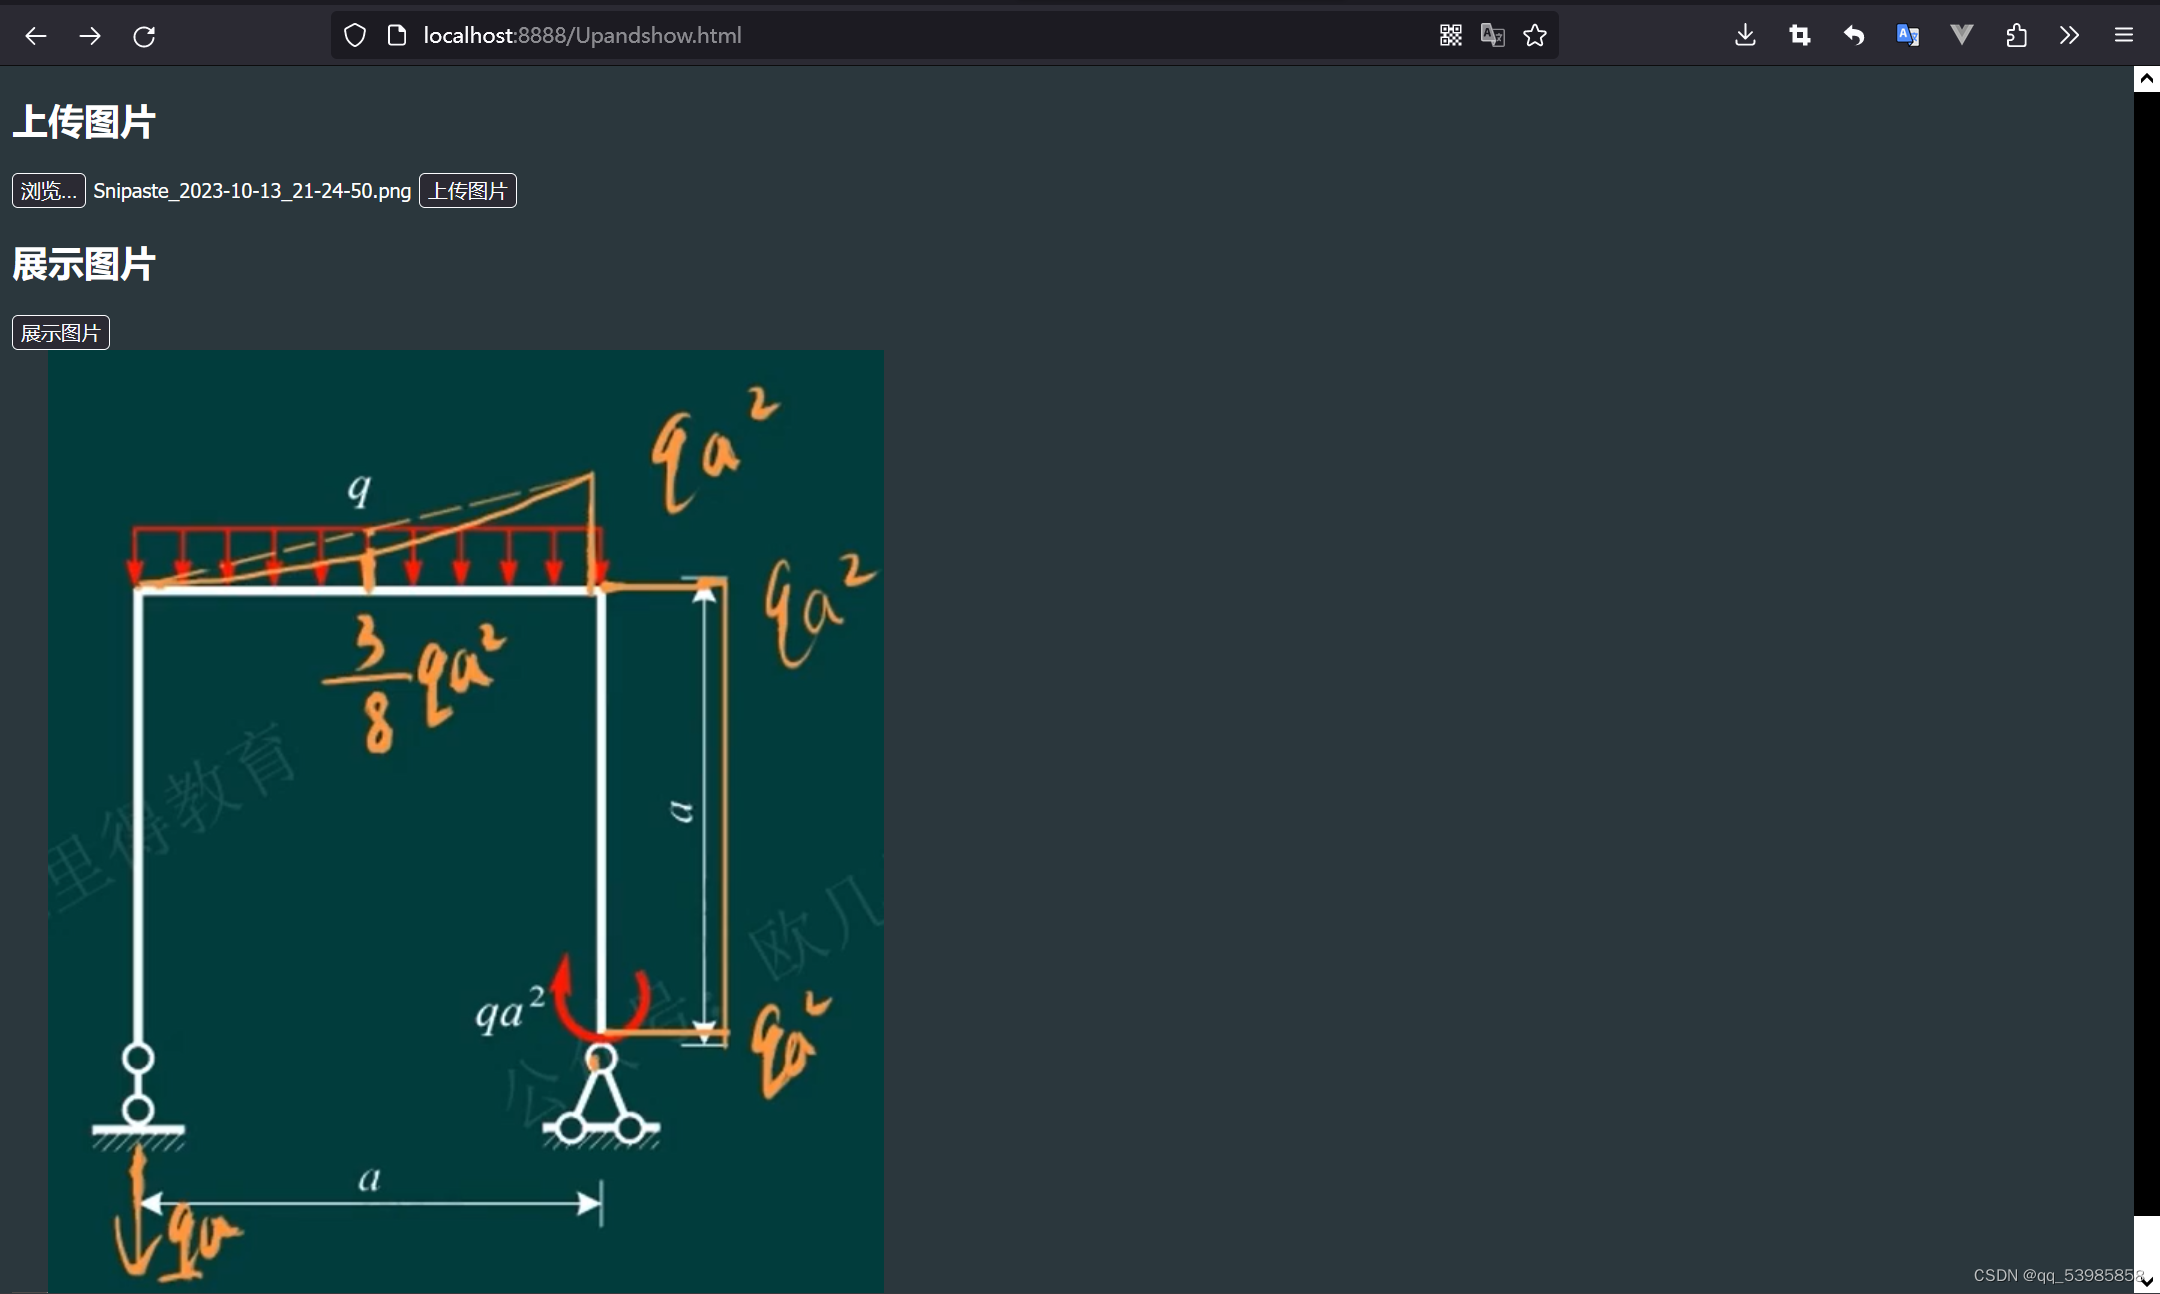
效果展示

在这里插入图片描述

  • 29
    点赞
  • 28
    收藏
    觉得还不错? 一键收藏
  • 0
    评论
实现 Spring Boot 后端和 Vue.js 前端的图片上传功能可以分为以下几个步骤: 1. 创建 Spring Boot 后端接收图片的 API。可以使用 Spring Boot 的 `@PostMapping` 注解和 `@RequestParam` 注解来接收上传的图片文件,然后将文件保存到服务器的本地磁盘或者云存储中,返回保存成功的图片路径。 示例代码: ```java @PostMapping("/uploadImage") public String uploadImage(@RequestParam("file") MultipartFile file) throws IOException { // 保存文件 String fileName = file.getOriginalFilename(); String filePath = "/path/to/image/directory/" + fileName; File dest = new File(filePath); file.transferTo(dest); // 返回保存成功的图片路径 return filePath; } ``` 2. 创建 Vue.js 前端上传图片的组件,并在组件中使用 `axios` 库发送请求到后端接口上传图片文件。 示例代码: ```vue <template> <div> <input type="file" ref="fileInput" @change="handleFileChange"> <button @click="uploadImage">上传图片</button> </div> </template> <script> import axios from 'axios'; export default { data() { return { file: null, imageUrl: '' } }, methods: { handleFileChange(event) { this.file = event.target.files[0]; }, uploadImage() { let formData = new FormData(); formData.append('file', this.file); axios.post('/api/uploadImage', formData, { headers: { 'Content-Type': 'multipart/form-data' } }).then(response => { this.imageUrl = response.data; console.log('Image uploaded successfully: ' + this.imageUrl); }).catch(error => { console.log('Error uploading image: ' + error); }); } } } </script> ``` 其中 `handleFileChange` 方法会在用户选择要上传的图片文件时被触发,将选中的文件保存到组件的 `file` 属性中。`uploadImage` 方法会创建一个 `FormData` 对象,将组件的 `file` 属性添加到其中,然后使用 `axios` 发送 POST 请求到后端接口上传图片文件,并将上传成功后返回的图片路径保存到组件的 `imageUrl` 属性中。 3. 在 Vue.js 前端页面中显示上传成功的图片。 示例代码: ```vue <template> <div> <input type="file" ref="fileInput" @change="handleFileChange"> <button @click="uploadImage">上传图片</button> <img :src="imageUrl"> </div> </template> <script> import axios from 'axios'; export default { data() { return { file: null, imageUrl: '' } }, methods: { handleFileChange(event) { this.file = event.target.files[0]; }, uploadImage() { let formData = new FormData(); formData.append('file', this.file); axios.post('/api/uploadImage', formData, { headers: { 'Content-Type': 'multipart/form-data' } }).then(response => { this.imageUrl = response.data; console.log('Image uploaded successfully: ' + this.imageUrl); }).catch(error => { console.log('Error uploading image: ' + error); }); } } } </script> ``` 其中 `<img :src="imageUrl">` 标签用来显示上传成功的图片,其 `src` 属性绑定到组件的 `imageUrl` 属性,当 `imageUrl` 属性更新时,图片会自动刷新。

“相关推荐”对你有帮助么?

  • 非常没帮助
  • 没帮助
  • 一般
  • 有帮助
  • 非常有帮助
提交
评论
添加红包

请填写红包祝福语或标题

红包个数最小为10个

红包金额最低5元

当前余额3.43前往充值 >
需支付:10.00
成就一亿技术人!
领取后你会自动成为博主和红包主的粉丝 规则
hope_wisdom
发出的红包
实付
使用余额支付
点击重新获取
扫码支付
钱包余额 0

抵扣说明:

1.余额是钱包充值的虚拟货币,按照1:1的比例进行支付金额的抵扣。
2.余额无法直接购买下载,可以购买VIP、付费专栏及课程。

余额充值