


apk的更新下载安装
1.打包
2.在服务器中准备好数据,包括:更新的安装包和更新json文件
3.清单文件配置权限
由于此处我们使用的Tomcat服务器,故而更新安装包的下载地址为http格式的而不是https格式的,故而需要在AndroidManifest.xml文件下的application标签增加属性,以允许明文流量
android:usesCleartextTraffic=“true”
4.访问服务器代码检查更新
此处将访问到的JSON数据解析后封装为UpdateInfo类,类中的属性包括:更新后的apk描述、apk版本号、apk版本名称、apk下载地址
private void initData() {
//创建okhttpClient类的对象
OkHttpClient okHttpClient = new OkHttpClient();
//传递要连接的URL
Request url = new Request.Builder().url(Constant.WEB_SITE + Constant.UPDATE_INFO).build();
//使用okhttpClient类的对象调用newCall()方法获取到Call类的对象
Call call = okHttpClient.newCall(url);
//用Call类的对象调用enqueue()方法开启异步线程访问网络
call.enqueue(new Callback() {
//访问失败
@Override
public void onFailure(@NonNull Call call, @NonNull IOException e) {
//封装信息发送到主线程
Message msg = Message.obtain();
msg.what = MSG_NOT_OK;
handler.sendMessage(msg);
Log.d(“tag”, e.getMessage());
}
        //访问成功
        @Override
        public void onResponse(@NonNull Call call, @NonNull Response response) throws IOException {
            //获取服务器返回的json数据并转化为字符串
            String json = response.body().string();
            //解析json字符串数据
            UpdateInfo data = JsonUtils.getData(json);
            //封装信息发送到主线程
            Message msg = Message.obtain();
            msg.what = MSG_OK;
            msg.obj = data;
            handler.sendMessage(msg);
            Log.d("tag", "服务器访问成功" + data.toString());

        }
    });
}
5.
Handler
此处使用Handler类来处理子线程访问服务器后需要做出的反应:即需不需要更新
需要,则弹出对话框供用户选择
不需要,则直接跳转到另一个界面
private final Handler handler = new Handler(new Handler.Callback() {
//处理子线程传递过来的信息
@Override
public boolean handleMessage(@NonNull Message msg) {
//判断服务器是否访问成功
switch (msg.what) {
case MSG_NOT_OK: {
//访问失败
Log.d(“tag”, “服务器数据请求失败”);
Toast.makeText(SplashActivity.this, “服务器错误或网络错误”, Toast.LENGTH_SHORT).show();
break;
}
case MSG_OK: {
//访问成功
//更新UI
updateData = (UpdateInfo) msg.obj;
Log.d(“tag”, updateData.getDescription());
//判断版本是否更新
if (checkVersion()) {
//更新
//弹出更新对话框
showUpdateDialog();
}
} else {
//不更新
//直接跳转到主界面
                     Intent intent = new Intent(getApplicationContext(),MainActivity.class);
                     startActivity(intent);
                     finish();
                    }
                }
                break;
            }
        }
        return true;
    }
});
6.更新对话框
是,则创建AutoUpdater类的对象并调用DownloadAPK()方法进行下载(注意,此处的AutoUpdtater类为我们自己封装的类,在下面会仔细介绍),关闭对话框
否,关闭对话框,直接跳转到另一个界面
//弹出更新对话框
private void showUpdateDialog() {
    AlertDialog.Builder builder = new AlertDialog.Builder(this);
    builder.setTitle("最新版本:" + updateData.getVersionCode());
    builder.setMessage(updateData.getDescription());
    builder.setPositiveButton("马上更新", new DialogInterface.OnClickListener() {
        @Override
        public void onClick(DialogInterface dialog, int which) {
            //下载apk
            /*FileManager.downUpdateAPK(getApplicationContext(),updateData.downloadUrl,"手机安全卫士app" + SplashActivity.updateData.getVersionName());*/
            AutoUpdater autoUpdater = new AutoUpdater(getApplicationContext());
            autoUpdater.DownloadApk();
            alertDialog.dismiss();//关闭对话框
        }
    });
    builder.setNegativeButton("以后再说", new DialogInterface.OnClickListener() {
        @Override
        public void onClick(DialogInterface dialog, int which) {
            alertDialog.dismiss();//关闭对话框
            //跳转到主界面
            Intent intent = new Intent(getApplicationContext(), MainActivity.class);
            startActivity(intent);
            //关闭此界面
            finish();
        }
    });
    alertDialog = builder.create();
    alertDialog.show();
}
7.获取本地版本号
//获取本地版本号
private int getVersionCode() {
PackageInfo packageInfo = null;
try {
packageInfo = getPackageManager().getPackageInfo(getPackageName(), 0);
return packageInfo.versionCode;
} catch (PackageManager.NameNotFoundException e) {
throw new RuntimeException(e);
}
}
8.判断版本是否更新:
把从服务器上访问的数据中的版本号与获取到的本地版本号进行对比,若大于则需要更新
//判断版本是否更新
private boolean checkVersion() {
return updateData.getVersionCode() > getVersionCode();
}
9.JSON数据解析工具类(主要用于解析从服务器访问到的更新Json文件):
package com.example.mobiilesafeguard.utils;
import com.example.mobiilesafeguard.bean.UpdateInfo;
import com.google.gson.Gson;
import com.google.gson.reflect.TypeToken;
import java.lang.reflect.Type;
//解析从服务器中获取的json数据
public class JsonUtils {
public static UpdateInfo getData(String json){
    Gson gson = new Gson();
    Type type = new TypeToken<UpdateInfo>() {
    }.getType();
    UpdateInfo updateInfo = gson.fromJson(json, type);
    return updateInfo;
}
}
10.使用DownloadManager到服务器上下载apk文件并自动安装
AutoUpdtater类
此处我们将下载APK,安装APK等一系列操作封装为一个类AutoUpdtater。
package com.example.mobiilesafeguard.utils;
import android.annotation.SuppressLint;
import android.app.DownloadManager;
import android.content.Context;
import android.content.Intent;
import android.content.SharedPreferences;
import android.database.Cursor;
import android.net.Uri;
import android.os.Build;
import android.os.Environment;
import android.text.TextUtils;
import android.util.Log;
import androidx.core.content.FileProvider;
import com.example.mobiilesafeguard.activity.SplashActivity;
import java.io.File;
//将检查更新,下载apk,安装apk等操作封装成了一个类
public class AutoUpdater {
// 下载安装包的网络路径
private String apkUri = SplashActivity.updateData.downloadUrl;
// 保存APK的文件名
private static final String saveFileName = "/mobileSafeGuard-release.apk";
// 下载线程
private Thread downLoadThread;

// 应用程序Context
private Context mContext;


public static DownloadManager downloadManager;


public AutoUpdater(Context context) {
    mContext = context;
}


//下载安装包
public void DownloadApk() {
    downLoadThread = new Thread(DownApkWork);
    downLoadThread.start();
}

//下载线程任务
private final Runnable DownApkWork = new Runnable() {
    @Override
    public void run() {
        //获取更新安装包的下载地址
        Uri uri = Uri.parse(apkUri);
        // 创建下载任务
        DownloadManager.Request request = new DownloadManager.Request(uri);
        //设置通知栏标题
        request.setVisibleInDownloadsUi(true);
        request.setNotificationVisibility(DownloadManager.Request.VISIBILITY_VISIBLE_NOTIFY_COMPLETED);
        request.setTitle("手机安全卫士"+SplashActivity.updateData.getVersionName());
        request.setDescription("正在下载更新...");
        request.setMimeType("application/vnd.android.package-archive");
        //设置文件存放目录
        // 设置下载路径和下载的apk名称
        request.setDestinationInExternalPublicDir(Environment.DIRECTORY_DOWNLOADS, saveFileName);
        Log.d("tag", Environment.DIRECTORY_DOWNLOADS + saveFileName);
        //获取系统服务
        downloadManager = (DownloadManager) mContext.getSystemService(Context.DOWNLOAD_SERVICE);
        // 将下载任务加入下载队列,并返回下载的id值
        long downloadId = downloadManager.enqueue(request);
        //将下载id存储到SharedPreferences中
        SharedPreferences sharedPreferences = mContext.getSharedPreferences("com.example.mobiilesafeguard.utils.AutoUpdater", Context.MODE_PRIVATE);
        SharedPreferences.Editor edit = sharedPreferences.edit();
        edit.putLong("downloadId", downloadId);
        edit.apply();
    }
};

/**
 * 安装APK内容
 */
//跳转安装 apk 需要适配不同的安卓版本,
// Android 7.0 以上需要 “content://” 的路径
// Android 6.0-7.0 需要老式的 “file://” 的路径,
public void installAPK() {
    //获取内存中存储的下载id
    SharedPreferences sharedPreferences = mContext.getSharedPreferences("com.example.mobiilesafeguard.utils.AutoUpdater", Context.MODE_PRIVATE);
    long downloadId = sharedPreferences.getLong("downloadId", -1L);

    //根据id查找apk的下载uri路径以安装
    Uri downloadUri = getDownloadUri(downloadId);
    //根据id查找apk的下载file://开头路径以安装
    File downloadFile = getDownloadFile(mContext, downloadId);
    try {
        if (!downloadFile.exists()) {
            Log.d("tag", "downloadFile路径:" + downloadFile.getAbsolutePath());
            Log.d("tag", "安装包不存在");
            return;
        }

        Log.d("tag", "正在安装");
        Intent intent = new Intent(Intent.ACTION_VIEW);
        intent.addFlags(Intent.FLAG_ACTIVITY_NEW_TASK);//安装完成后打开新版本
        intent.addFlags(Intent.FLAG_GRANT_READ_URI_PERMISSION); // 给目标应用一个临时授权
        if (Build.VERSION.SDK_INT > Build.VERSION_CODES.N) {
            //如果SDK版本>24,即:Build.VERSION.SDK_INT > 24,使用FileProvider兼容安装apk

            Uri uri = FileProvider.getUriForFile(mContext, mContext.getPackageName() + ".fileprovider", downloadFile);
            intent.setDataAndType(downloadUri, "application/vnd.android.package-archive");
        } else {
            intent.setDataAndType(Uri.fromFile(downloadFile), "application/vnd.android.package-archive");
        }
        mContext.startActivity(intent);
/*
android.os.Process.killProcess(android.os.Process.myPid());//安装完之后会提示”完成” “打开”。
*/
    } catch (Exception e) {
        e.printStackTrace();
    }
}

//获取下载安装包的保存地址
public static Uri getDownloadUri(long downloadId) {
    return downloadManager.getUriForDownloadedFile(downloadId);
}

//根据下载id获取到 “file://” 的路径
private static File getDownloadFile(Context context, long downloadId) {
    File targetApkFile = null;
    DownloadManager downloader = (DownloadManager) context.getSystemService(Context.DOWNLOAD_SERVICE);

    if (downloadId != -1L) {
        DownloadManager.Query query = new DownloadManager.Query();
        query.setFilterById(downloadId);
        query.setFilterByStatus(DownloadManager.STATUS_SUCCESSFUL);

        Cursor cur = downloader.query(query);
        if (cur != null) {
            if (cur.moveToFirst()) {
                @SuppressLint("Range") String uriString = cur.getString(cur.getColumnIndex(DownloadManager.COLUMN_LOCAL_URI));

                if (!TextUtils.isEmpty(uriString)) {
                    targetApkFile = new File(Uri.parse(uriString).getPath());
                }
            }

            cur.close();
        }
    }

    return targetApkFile;
}
}
注意:
(1)在安装apk时,需要注意适配不同的安卓版本,否则可能导致安装失败
Android 7.0 以上需要 “content://” 的路径
Android 6.0-7.0 需要老式的 “file://” 的路径
(2)在Android7.0以后,对权限有了更加严格的控制,故而在访问设备的内部文件时也需要更多的权限,而我们在安装AKP时需要访问到设备中的一些内部文件,因而需要在清单文件中采用FileProvider来对需要访问的文件进行暴露,否则将无法访问到。FileProvider其实是内容提供者的一个子类,可以对让一些文件进行临时暴露,以被我们访问。示例代码如下:
    <provider
        android:name="androidx.core.content.FileProvider"
        android:authorities="com.example.mobiilesafeguard.fileprovider"
        android:exported="false"
        android:grantUriPermissions="true">

        <!-- 元数据 -->
        <meta-data
            android:name="android.support.FILE_PROVIDER_PATHS"
            android:resource="@xml/file_paths" />
    </provider>
其中 file_paths文件是需要我们自定义的,我们需要在res文件夹下创建一个xml类型的文件夹,来存放此文件,此文件中定义了我们需要暴露(访问)的文件路径,示例代码如下:
<?xml version="1.0" encoding="utf-8"?></path>
package com.example.mobiilesafeguard.BroadcastReceiver;
import android.app.DownloadManager;
import android.content.BroadcastReceiver;
import android.content.Context;
import android.content.Intent;
import android.util.Log;
import android.widget.Toast;
import com.example.mobiilesafeguard.utils.AutoUpdater;
//监听app是否下载成功的广播接收者
public class APKInstallReceiver extends BroadcastReceiver {
//DownloadManager下载完成后会自动发送一个包含ACTION_DOWNLOAD_COMPLETE动作的广播
@Override
public void onReceive(Context context, Intent intent) {
    if(intent.getAction().equals(DownloadManager.ACTION_DOWNLOAD_COMPLETE)){
        //下载完成
        Toast.makeText(context, "下载完成!", Toast.LENGTH_SHORT).show();
        Log.d("tag","下载完成-------");
        //开始安装
        AutoUpdater autoUpdater = new AutoUpdater(context);
        autoUpdater.installAPK();
    }
}
}
(2)在清单文件中静态注册广播接收者:
签名文件问题:(必看)
到此处还没有结束,还记得之前讲的debug版本和release版本吗?如果你是直接使用Android Studio运行到模拟器上的,那么完成上述操作后你一定可以下载成功,但不一定不能安装成功(除非把原来的apk卸载了,再去安装你下载下来的那个安装包)。这是为什么呢?
这正是因为apk的版本问题,其实我们上面的安装操作都是交由系统去处理的,而系统又是怎么知道我们现在安装的这个apk是我们之前软件的新版安装包,而不是别的软件的呢?原因是,在进行apk安装时,系统会主要检查几个东西:软件的包名是否与之前的一致、软件的版本号、软件的签名证书。 我们直接从Android Studio运行到模拟器上的应用是debug版本的,并没有像之前打包发布release版本的apk一样给它一个正式的签名证书,而是由系统自动生成一个测试的签名证书(此证书默认在C盘路径下的.Android文件夹中)如我的电脑上的路径:
图片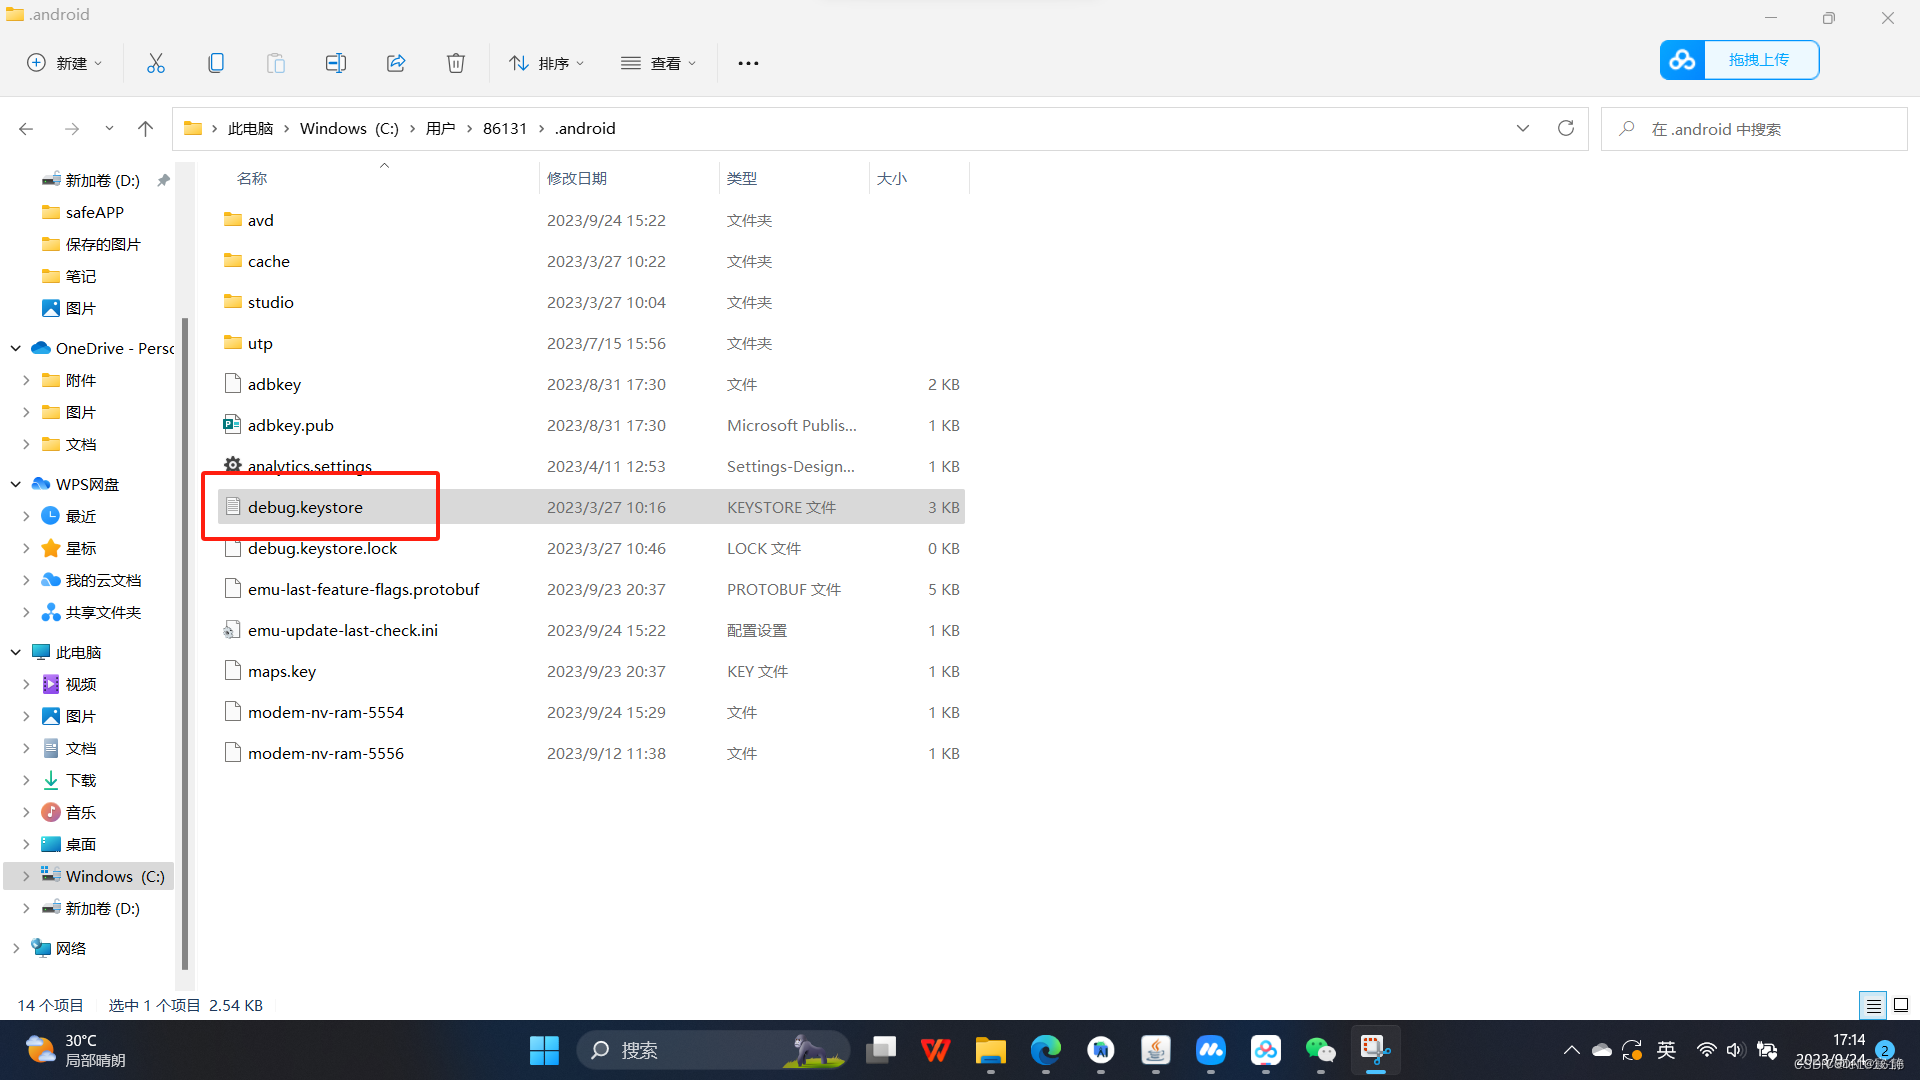
故而若在下载完安装包后直接安装,会提示当前软件包与现有软件包冲突(即签名证书不一致的问题)。
要解决这个问题,只需要在当前应用的build.gradle文件下为你发布的debug版本apk也设置与之前release版本一样的签名证书就可以了。具体示例代码如下:
android {
namespace ‘com.example.mobiilesafeguard’
compileSdk 33
//签名配置
signingConfigs {
release {
{
//签名文件路径,我是放到项目中了
storeFile file { “D:\AndroidStudioCode\MyApplication1\mobileSafeGuard\mobileSafeGuard.jks” }
//签名密码
storePassword “123456”
//别名
keyAlias “mobileSafeGuard”
//别名密码
keyPassword “xxxxxx”
}
}
    defaultConfig {
        applicationId "com.example.mobiilesafeguard"
        minSdk 24
        targetSdk 33
        versionCode 1
        versionName "1.0"

        testInstrumentationRunner "androidx.test.runner.AndroidJUnitRunner"
    }

    buildTypes {
        release {
            signingConfig signingConfigs.release
            minifyEnabled false
            proguardFiles getDefaultProguardFile('proguard-android-optimize.txt'), 'proguard-rules.pro'
            android.applicationVariants.all { variant ->
                variant.outputs.all {
                    outputFileName = "mobileSafeGuard-release.apk"
                }
            }
        }
        //调试签名:使用正式签名
        debug {
            signingConfig signingConfigs.release
            proguardFiles getDefaultProguardFile('proguard-android.txt'), 'proguard-rules.pro'
        }


    }
    compileOptions {
        sourceCompatibility JavaVersion.VERSION_1_8
        targetCompatibility JavaVersion.VERSION_1_8
    }
}


 4832
4832


 被折叠的 条评论
为什么被折叠?
被折叠的 条评论
为什么被折叠?
 到【灌水乐园】发言


