


1.安装nvidia-docker
2.拉取镜像,运行容器 --name 容器名称(自定义)-p 端口映射 -v 磁盘目录映射 --gpus all 确保容器内可以使用gpu
docker pull continuumio/miniconda3

docker run -id --name lihao -p 18888:8888 -v /diska/lihao:/data --gpus all continuumio/miniconda3 /bin/bash
3.进入容器
docker exec -it CONTAINER ID /bin/bash3.安装jupyter
pip install jupyter4.生成jupyter notebook的配置文件
jupyter-notebook --generate-config5.修改配置文件
apt-get update
apt-get install vim
vim ~/.jupyter/jupyter_notebook_config.py
6.文件内添加:
# 允许通过任意绑定服务器的ip访问
c.NotebookApp.ip = '*'
 # 用于访问的端口
c.NotebookApp.port = 8888  #注意这里与前面开出的容器端口要一致
 # 不自动打开浏览器
c.NotebookApp.open_browser = False
 #允许远程访问
c.NotebookApp.allow_remote_access = True
 # 登录密码获得的乱序秘钥复制到‘’内
c.NotebookApp.password = u''
7.启动jupyter
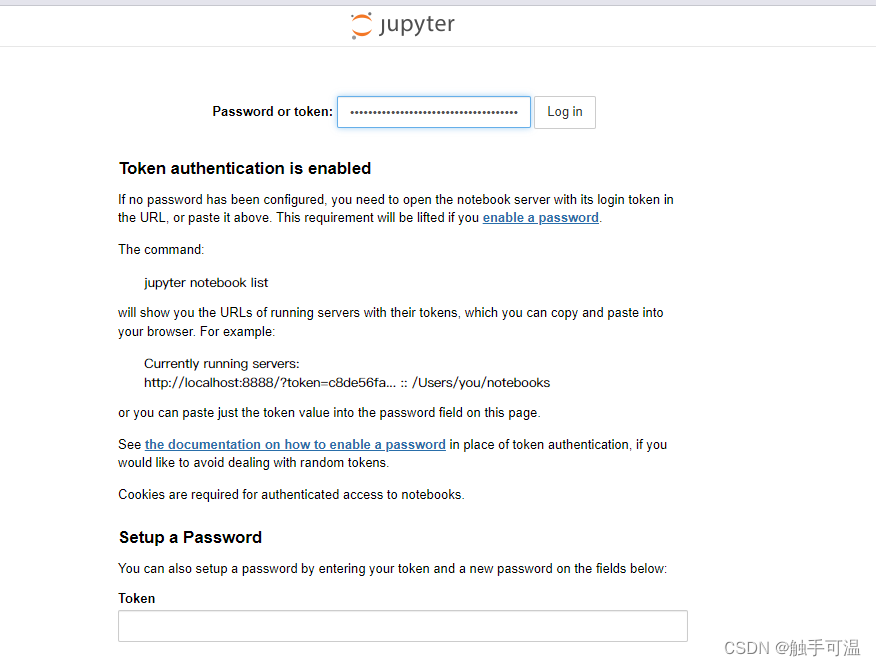
jupyter notebook -ip 0.0.0.0 --allow-root --port 8888远程设备连接服务器 ip 地址 加上设置的端口号 18888 。我这里是192.168.1.2:18888
复制token后的值到jupyter password


大功告成了!


 1371
1371


 被折叠的 条评论
为什么被折叠?
被折叠的 条评论
为什么被折叠?
 到【灌水乐园】发言


