


原文链接
上一篇【Next.js 入门教程系列】05-数据库
上传文件
选择云平台
- Amazon S3
- Google Cloud
- Microsoft Azure
- Cloudinary
Cloudinary 安装与配置
前往Cloudinary注册账号,注册好之后使用 npm i next-cloudinary 安装。
在 .env 文件中添加以下内容
# Environment variables declared in this file are automatically made available to Prisma.
# See the documentation for more detail: https://pris.ly/d/prisma-schema#accessing-environment-variables-from-the-schema

# Prisma supports the native connection string format for PostgreSQL, MySQL, SQLite, SQL Server, MongoDB and CockroachDB.
# See the documentation for all the connection string options: https://pris.ly/d/connection-strings

DATABASE_URL="mysql://root:@localhost:3306/nextapp"
# 添加下面这行,并修改为你的 Cloud Name
NEXT_PUBLIC_CLOUDINARY_CLOUD_NAME="<Your Cloud Name>"
上传文件
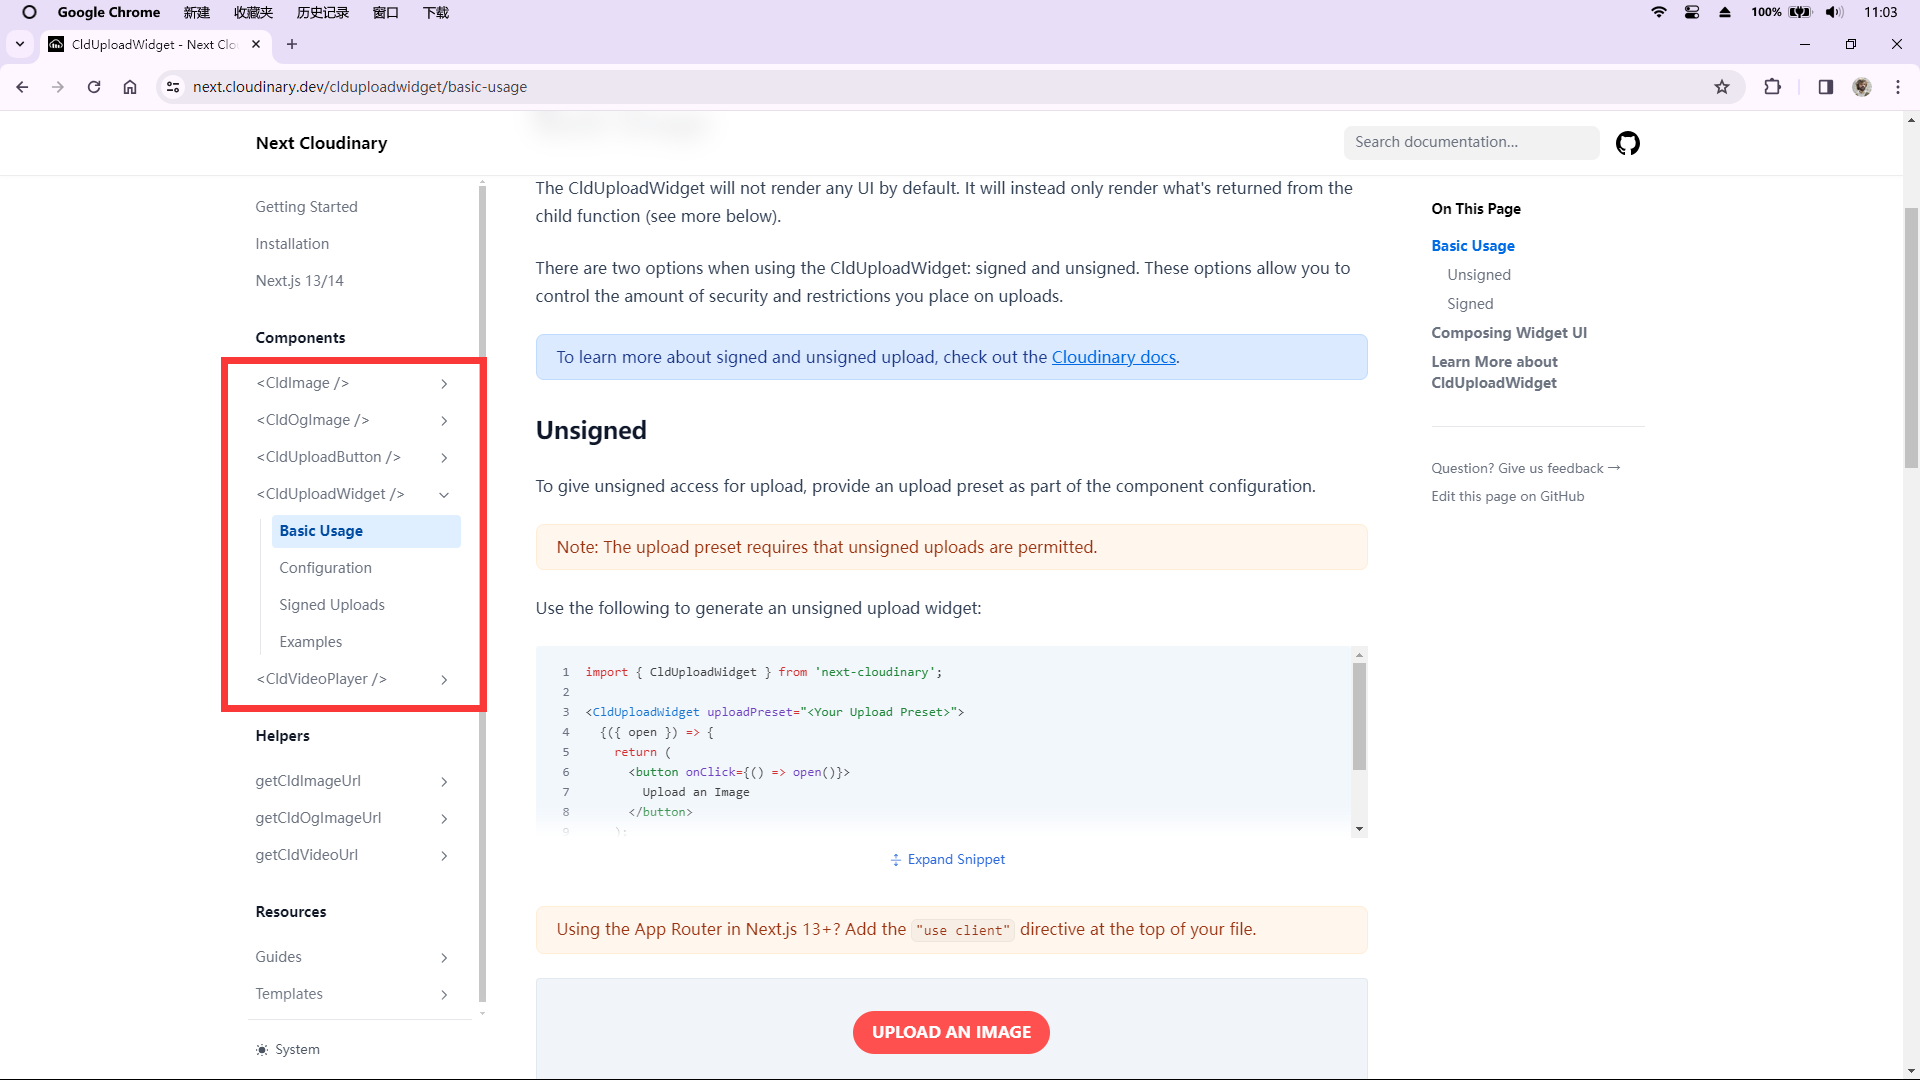
Cloudinary 内置了几个上传组件供我们使用,在Cloudinary Widgets有详细的介绍
创建 /upload/page.tsx 并添加以下内容
"use client";
import React from "react";
import { CldUploadWidget } from "next-cloudinary";

const UploadPage = () => {
  return (
    // 这里的 preset 换成你自己的 preset
    <CldUploadWidget uploadPreset="">
      {({ open }) => (
        <button className="btn btn-secondary" onClick={() => open()}>
          Upload
        </button>
      )}
    </CldUploadWidget>
  );
};
export default UploadPage;
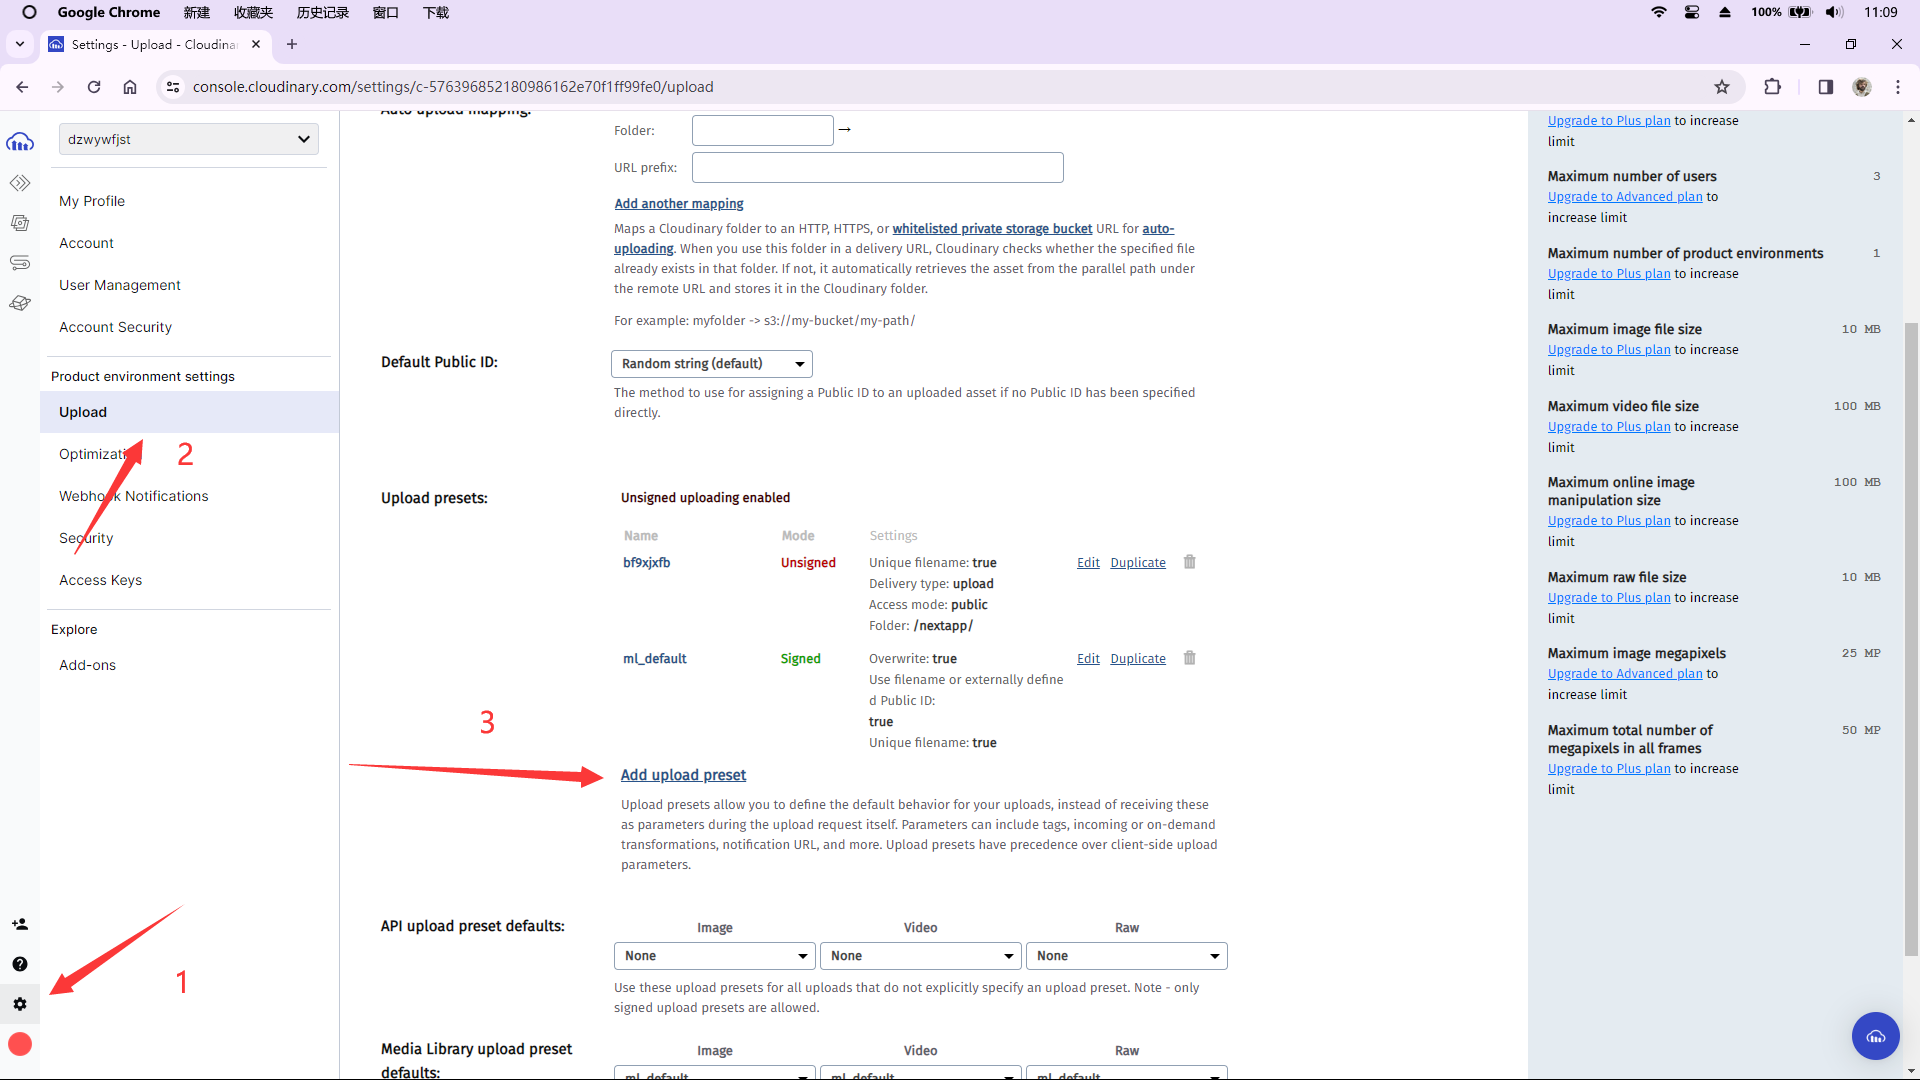
其中的 preset 需要我们在 Cloudinary 的 settings/upload 中添加,设置好后,复制名字到 uploadPreset="" 即可
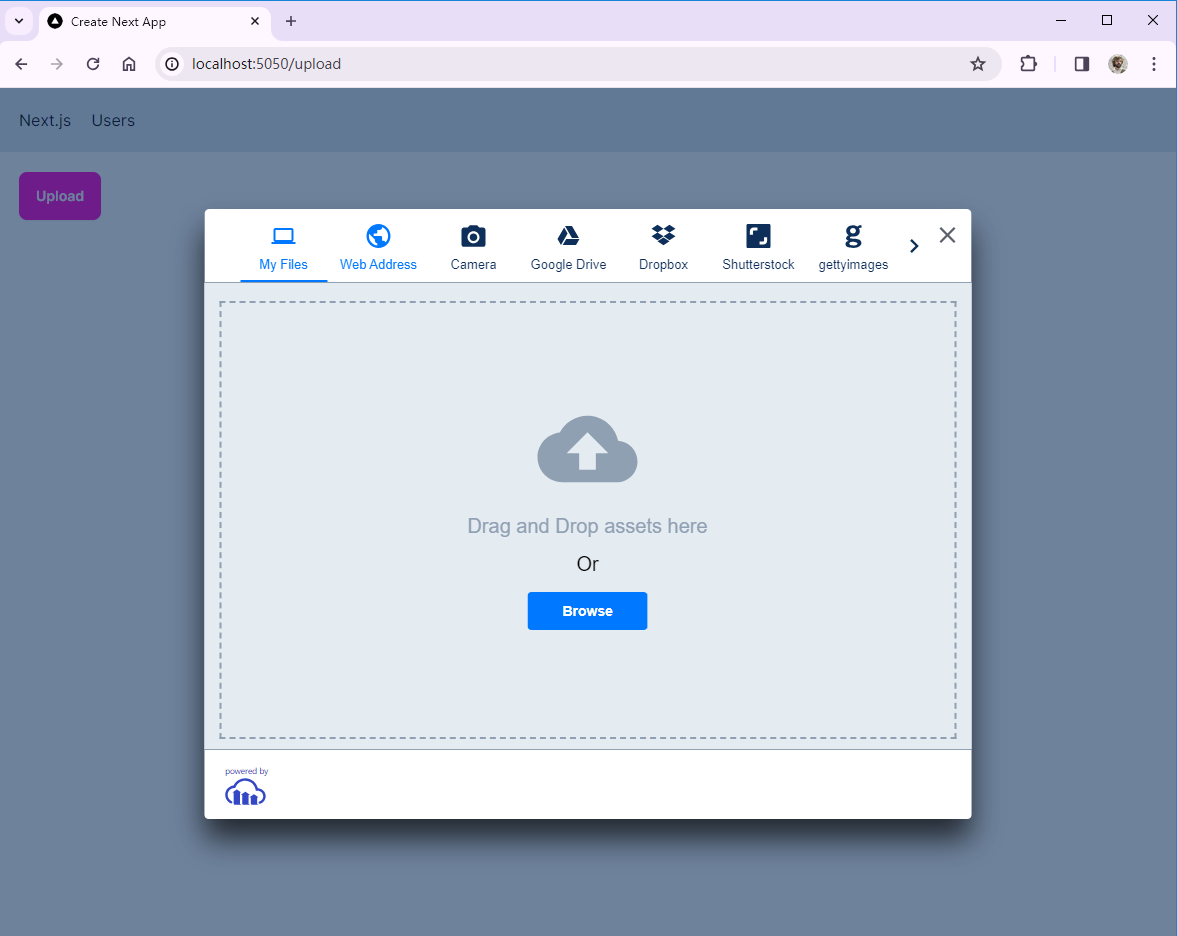
最终显示效果如下
在Cloudinary Library可以查看上传上去的文件
展示上传的文件
可以调用 CldImage 组件来显示上传上去的文件。直接使用图片的 publicID 即可
"use client";
import React, { useState } from "react";
// import CldImage 用于展示图片
import { CldUploadWidget, CldImage } from "next-cloudinary";

interface CloudinrayResult {
  public_id: string;
}

const UploadPage = () => {
  const [publicId, setPublicId] = useState("");
  return (
    <>
      {publicId && (
        // 若图片Id不为空则渲染图片
        <CldImage src={publicId} width={270} height={180} alt={"a picture"} />
      )}
      <CldUploadWidget
        uploadPreset="bf9xjxfb"
        onUpload={(result, widget) => {
          if (result.event !== "success") return;
          //   成功上传后修改图片Id
          const info = result.info as CloudinrayResult;
          setPublicId(info.public_id);
        }}
      >
        {({ open }) => (
          <button className="btn btn-secondary" onClick={() => open()}>
            Upload
          </button>
        )}
      </CldUploadWidget>
    </>
  );
};
export default UploadPage;
自定义上传组件
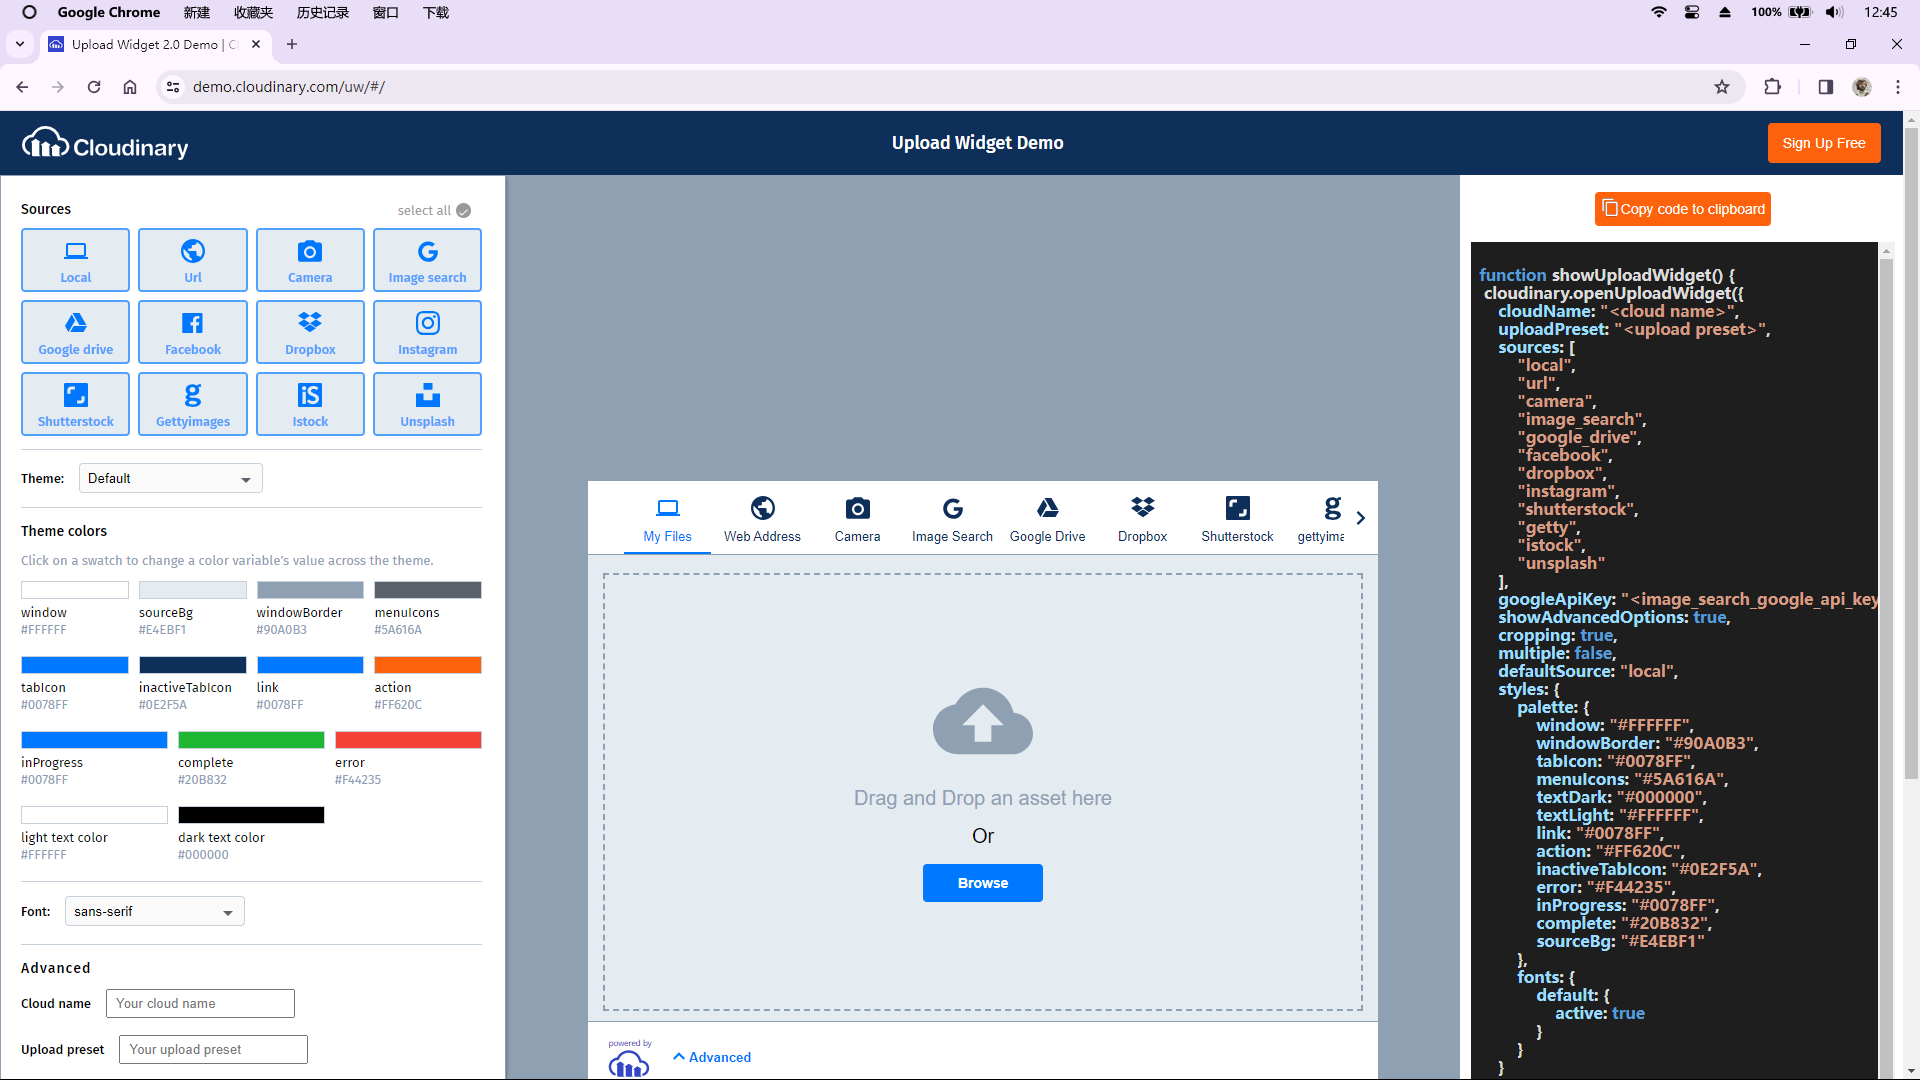
在Cloudinary Demo可以自定义上传组件,包括颜色,文件来源,是否支持多文件等等
你也可以直接在调用时添加参数:
<CldUploadWidget
  uploadPreset="bf9xjxfb"
  // 直接在这里设置
  options={{
    sources: ["local"],
  }}
  onUpload={(result, widget) => {
    if (result.event !== "success") return;
    const info = result.info as CloudinrayResult;
    setPublicId(info.public_id);
  }}
></CldUploadWidget>下一篇讲身份验证


 被折叠的 条评论
为什么被折叠?
被折叠的 条评论
为什么被折叠?
 到【灌水乐园】发言


