项目前的demo(Security+RestTemplate+MyBatis+Swagger)

把基础mapper映射包写好后,写个小demo,写一个访问接口,一个rest接口,mapper直接引包就行.

swagger

@Configuration
@EnableSwagger2
public class SwaggerConfig extends BaseSwaggerConfig {

    @Override
    public SwaggerProperties swaggerProperties() {
        return SwaggerProperties.builder()
                .apiBasePackage("com.****.controller")
                .title("测试系统")
                .description(">>>>")
                .contactName("lisa")
                .version("1.0")
                .enableSecurity(true)
                .build();
    }

    @Bean
    public BeanPostProcessor springfoxHandlerProviderBeanPostProcessor() {
        return generateBeanPostProcessor();
    }

}
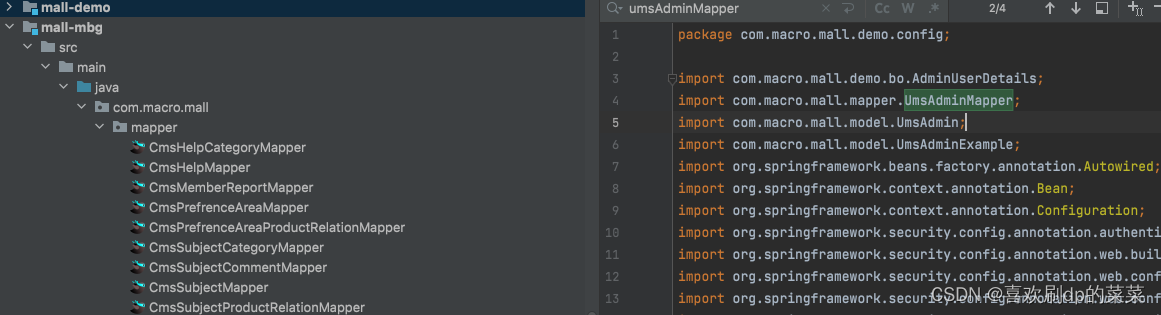
Security,这里拿到用户自动映射的对象,对对象进行安全校验
@Configuration
@EnableWebSecurity
public class SecurityConfig extends WebSecurityConfigurerAdapter {
    @Autowired
    private UmsAdminMapper umsAdminMapper;

    @Override
    protected void configure(HttpSecurity http) throws Exception {
        http.authorizeRequests()//配置权限
//                .antMatchers("/").access("hasRole('TEST')")//该路径需要TEST角色
//                .antMatchers("/brand/list").hasAuthority("TEST")//该路径需要TEST权限
                .antMatchers("/**").permitAll()
                .and()//启用基于http的认证
                .httpBasic()
                .realmName("/")
                .and()//配置登录页面
                .formLogin()
                .loginPage("/login")
                .failureUrl("/login?error=true")
                .and()//配置退出路径
                .logout()
                .logoutSuccessUrl("/")
//                .and()//记住密码功能
//                .rememberMe()
//                .tokenValiditySeconds(60*60*24)
//                .key("rememberMeKey")
                .and()//关闭跨域伪造
                .csrf()
                .disable()
                .headers()//去除X-Frame-Options
                .frameOptions()
                .disable();
    }

    @Override
    protected void configure(AuthenticationManagerBuilder auth) throws Exception {
        auth.userDetailsService(userDetailsService()).passwordEncoder(new BCryptPasswordEncoder());
    }

    @Bean
    public UserDetailsService userDetailsService() {
        //获取登录用户信息
        return new UserDetailsService() {
            @Override
            public UserDetails loadUserByUsername(String username) throws UsernameNotFoundException {
                UmsAdminExample example = new UmsAdminExample();
                example.createCriteria().andUsernameEqualTo(username);
                List<UmsAdmin> umsAdminList = umsAdminMapper.selectByExample(example);
                if (umsAdminList != null && umsAdminList.size() > 0) {
                    return new AdminUserDetails(umsAdminList.get(0));
                }
                throw new UsernameNotFoundException("用户名或密码错误");
            }
        };
    }
}

RestTemplate

@Configuration
public class RestTemplateConfig {
    @Bean
    public RestTemplate restTemplate(){
        return new RestTemplate();
    }
}

MyBatisConfig,这里就加一下配置,指引mapper的路径就行

@Configuration
@MapperScan("com.macro.mall.mapper")
public class MyBatisConfig {
}

tips:不同文件夹下的项目为什么能够直接导入,以公司域名颠倒后跟不同下级包,这些包在不同文件夹在可以互相调用.需要在根目录的pom.xml下写清所有的模块,写好后idea才能识别出来对应的文件夹为模块,对应的文件夹也变蓝

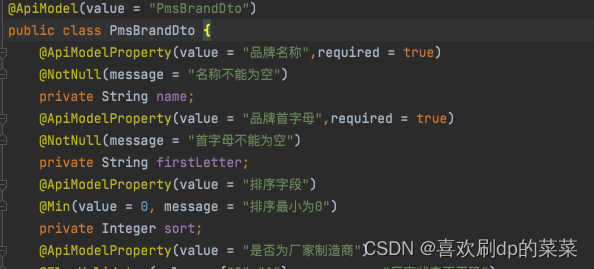
dto写个数据映射类 ,对字段进行注释以及限制

  • 18
    点赞
  • 25
    收藏
    觉得还不错? 一键收藏
  • 0
    评论
好的,以下是一个使用Vue.js、JavaScript、SwaggerMyBatis的Spring Boot项目的基本结构: 1. 创建Spring Boot项目 首先,使用Spring Initializr创建一个基本的Spring Boot项目。在创建项目时,需要勾选Web、MySQL和MyBatis依赖。 2. 配置数据库 在application.properties文件中配置数据库连接信息,如下所示: ``` spring.datasource.url=jdbc:mysql://localhost:3306/mydb spring.datasource.username=root spring.datasource.password=password spring.datasource.driver-class-name=com.mysql.jdbc.Driver ``` 3. 配置MyBatisMyBatis中,需要配置Mapper接口和映射文件。创建Mapper接口,如下所示: ```java @Mapper public interface UserMapper { List<User> getAllUsers(); User getUserById(int id); void addUser(User user); void updateUser(User user); void deleteUser(int id); } ``` 然后,在resources目录下创建mybatis-config.xml文件,并配置映射文件和Mapper接口,如下所示: ```xml <?xml version="1.0" encoding="UTF-8" ?> <!DOCTYPE configuration PUBLIC "-//mybatis.org//DTD Config 3.0//EN" "http://mybatis.org/dtd/mybatis-3-config.dtd"> <configuration> <mappers> <mapper resource="com/example/demo/mapper/UserMapper.xml"/> </mappers> </configuration> ``` 4. 创建实体类 创建一个实体类,如下所示: ```java public class User { private int id; private String name; private int age; // 省略getter和setter方法 } ``` 5. 创建Controller 创建一个Controller类,使用@RestController注解,如下所示: ```java @RestController public class UserController { @Autowired private UserMapper userMapper; @GetMapping("/users") public List<User> getAllUsers() { return userMapper.getAllUsers(); } @GetMapping("/users/{id}") public User getUserById(@PathVariable int id) { return userMapper.getUserById(id); } @PostMapping("/users") public void addUser(@RequestBody User user) { userMapper.addUser(user); } @PutMapping("/users/{id}") public void updateUser(@PathVariable int id, @RequestBody User user) { user.setId(id); userMapper.updateUser(user); } @DeleteMapping("/users/{id}") public void deleteUser(@PathVariable int id) { userMapper.deleteUser(id); } } ``` 6. 创建端页面 使用Vue.js创建端页面,如下所示: ```html <template> <div> <h1>用户管理</h1> <table> <thead> <tr> <th>ID</th> <th>姓名</th> <th>年龄</th> <th>操作</th> </tr> </thead> <tbody> <tr v-for="user in users" :key="user.id"> <td>{{ user.id }}</td> <td>{{ user.name }}</td> <td>{{ user.age }}</td> <td> <button @click="editUser(user)">编辑</button> <button @click="deleteUser(user)">删除</button> </td> </tr> </tbody> </table> <div> <h2 v-if="isAdd">添加用户</h2> <h2 v-else>编辑用户</h2> <form @submit.prevent="submitUser"> <div> <label>姓名:</label> <input type="text" v-model="user.name" required /> </div> <div> <label>年龄:</label> <input type="text" v-model="user.age" required /> </div> <button type="submit">{{ isAdd ? '添加' : '保存' }}</button> <button type="button" @click="cancelEditUser">取消</button> </form> </div> <button @click="addUser">添加用户</button> </div> </template> <script> export default { data() { return { users: [], user: { id: null, name: '', age: '', }, isAdd: true, }; }, mounted() { this.loadUsers(); }, methods: { loadUsers() { fetch('/users') .then((res) => res.json()) .then((data) => { this.users = data; }); }, addUser() { this.isAdd = true; this.user = { id: null, name: '', age: '', }; }, editUser(user) { this.isAdd = false; this.user = Object.assign({}, user); }, cancelEditUser() { this.isAdd = true; this.user = { id: null, name: '', age: '', }; }, submitUser() { if (this.isAdd) { fetch('/users', { method: 'POST', headers: { 'Content-Type': 'application/json', }, body: JSON.stringify(this.user), }) .then(() => { this.loadUsers(); this.cancelEditUser(); }); } else { fetch(`/users/${this.user.id}`, { method: 'PUT', headers: { 'Content-Type': 'application/json', }, body: JSON.stringify(this.user), }) .then(() => { this.loadUsers(); this.cancelEditUser(); }); } }, deleteUser(user) { fetch(`/users/${user.id}`, { method: 'DELETE', }) .then(() => { this.loadUsers(); }); }, }, }; </script> ``` 7. 集成Swagger 在pom.xml文件中添加Swagger依赖: ```xml <dependency> <groupId>io.springfox</groupId> <artifactId>springfox-swagger2</artifactId> <version>2.9.2</version> </dependency> <dependency> <groupId>io.springfox</groupId> <artifactId>springfox-swagger-ui</artifactId> <version>2.9.2</version> </dependency> ``` 在SwaggerConfig类中配置Swagger: ```java @Configuration @EnableSwagger2 public class SwaggerConfig { @Bean public Docket api() { return new Docket(DocumentationType.SWAGGER_2) .select() .apis(RequestHandlerSelectors.any()) .paths(PathSelectors.any()) .build() .apiInfo(apiInfo()); } private ApiInfo apiInfo() { return new ApiInfoBuilder() .title("用户管理API文档") .description("用户管理API文档") .version("1.0") .build(); } } ``` 然后,在Controller中添加Swagger注解,如下所示: ```java @RestController @Api(tags = {"用户管理"}) public class UserController { @Autowired private UserMapper userMapper; @GetMapping("/users") @ApiOperation(value = "获取所有用户", notes = "") public List<User> getAllUsers() { return userMapper.getAllUsers(); } @GetMapping("/users/{id}") @ApiOperation(value = "根据ID获取用户", notes = "") public User getUserById(@PathVariable int id) { return userMapper.getUserById(id); } @PostMapping("/users") @ApiOperation(value = "添加用户", notes = "") public void addUser(@RequestBody User user) { userMapper.addUser(user); } @PutMapping("/users/{id}") @ApiOperation(value = "更新用户", notes = "") public void updateUser(@PathVariable int id, @RequestBody User user) { user.setId(id); userMapper.updateUser(user); } @DeleteMapping("/users/{id}") @ApiOperation(value = "删除用户", notes = "") public void deleteUser(@PathVariable int id) { userMapper.deleteUser(id); } } ``` 8. 运行项目 使用mvn spring-boot:run命令运行项目,然后访问http://localhost:8080/swagger-ui.html查看API文档,访问http://localhost:8080/index.html查看端页面。 以上就是一个使用Vue.js、JavaScript、SwaggerMyBatis的Spring Boot项目的基本结构。由于时间和篇幅的限制,这只是一个简单的示例,实际项目中还需要进行更多的开发和优化。

“相关推荐”对你有帮助么?

  • 非常没帮助
  • 没帮助
  • 一般
  • 有帮助
  • 非常有帮助
提交
评论
添加红包

请填写红包祝福语或标题

红包个数最小为10个

红包金额最低5元

当前余额3.43前往充值 >
需支付:10.00
成就一亿技术人!
领取后你会自动成为博主和红包主的粉丝 规则
hope_wisdom
发出的红包
实付
使用余额支付
点击重新获取
扫码支付
钱包余额 0

抵扣说明:

1.余额是钱包充值的虚拟货币,按照1:1的比例进行支付金额的抵扣。
2.余额无法直接购买下载,可以购买VIP、付费专栏及课程。

余额充值