使用Dockerfile构建hexo博客镜像,并部署

  • 基于centos7.9父镜像构建hexo:1.0镜像:

    cat << eof > Dockerfile
    # 根镜像
    FROM centos:7.9.2009
    MAINTAINER qv123<qv1095322098@163.com>
    # 设置工作目录
    WORKDIR /usr/src/app
    # 暴露端口号
    EXPOSE 4000
    # 作者注释
    MAINTAINER qv123<qv1095322098@163.com>
    # 安装nodejs,npm,git
    RUN yum -y update && \
        yum -y install epel-release && \
        yum -y install nodejs npm git && node -v && npm -v
    # 1.配置node.js的npm镜像源为淘宝
    RUN npm config set registry https://registry.npm.taobao.org
    ​
    # 安装hexo博客
    # 2.启动hexo服务,--save参数市将可以将安装的模块信息自动添加到项目的package.json文件中的dependencies字段中。
    # 3.下载博客hexo,初始化博客生成blog目录并打开
    RUN npm install -g hexo-cli && hexo init blog && cd blog \
     && npm install hexo-server --save \
     && npm install
    # 复制
    # 挂载
    # 4.安装博客插件 
    RUN cd blog && npm install hexo-deployer-git --save \
     && npm install hexo-renderer-pug --save \
     && npm install hexo-renderer-stylus --save \
     && npm install hexo-migrator-rss --save \
     && npm install hexo-asset-image --save \
     && npm install hexo-wordcount --save \
     && npm install hexo-generator-sitemap --save \
     && npm install hexo-generator-baidu-sitemap --save \
     && npm install hexo-helper-live2d --save
    # 5.安装音乐播放器
    RUN cd blog && npm install hexo-tag-aplayer --save
    # 6.更换主题
    RUN cd blog && git clone -b master https://gitee.com/immyw/hexo-theme-butterfly.git themes/butterfly \
     && sed -i "s/^theme:.*/theme: butterfly/g" _config.yml
    # 容器启动时启动hexo服务
    CMD cd blog && hexo clean && hexo g && hexo server
    eof
  • 构建镜像:

    docker build -f ./Dockerfile -t my_hexo:1.0 .
  • 创建容器:

    docker run -id --name=my_hexo -p 4000:4000 my_hexo:1.0
  • 复制容器中的blog到宿主机

    docker run -id --name=my_hexo -p 4000:4000 my_hexo:1.0
  • 删除容器:

    docker stop my_hexo;docker rm my_hexo
  • 创建容器,带目录挂载

    docker run -id --name=my_hexo -p 4000:4000 -v $PWD/blog:/usr/src/app/blog my_hexo:1.0
  • 跟踪容器日志:

    docker log -f my_hexo
    ...
    INFO  Start processing
    INFO  Hexo is running at http://localhost:4000/ . Press Ctrl+C to stop.
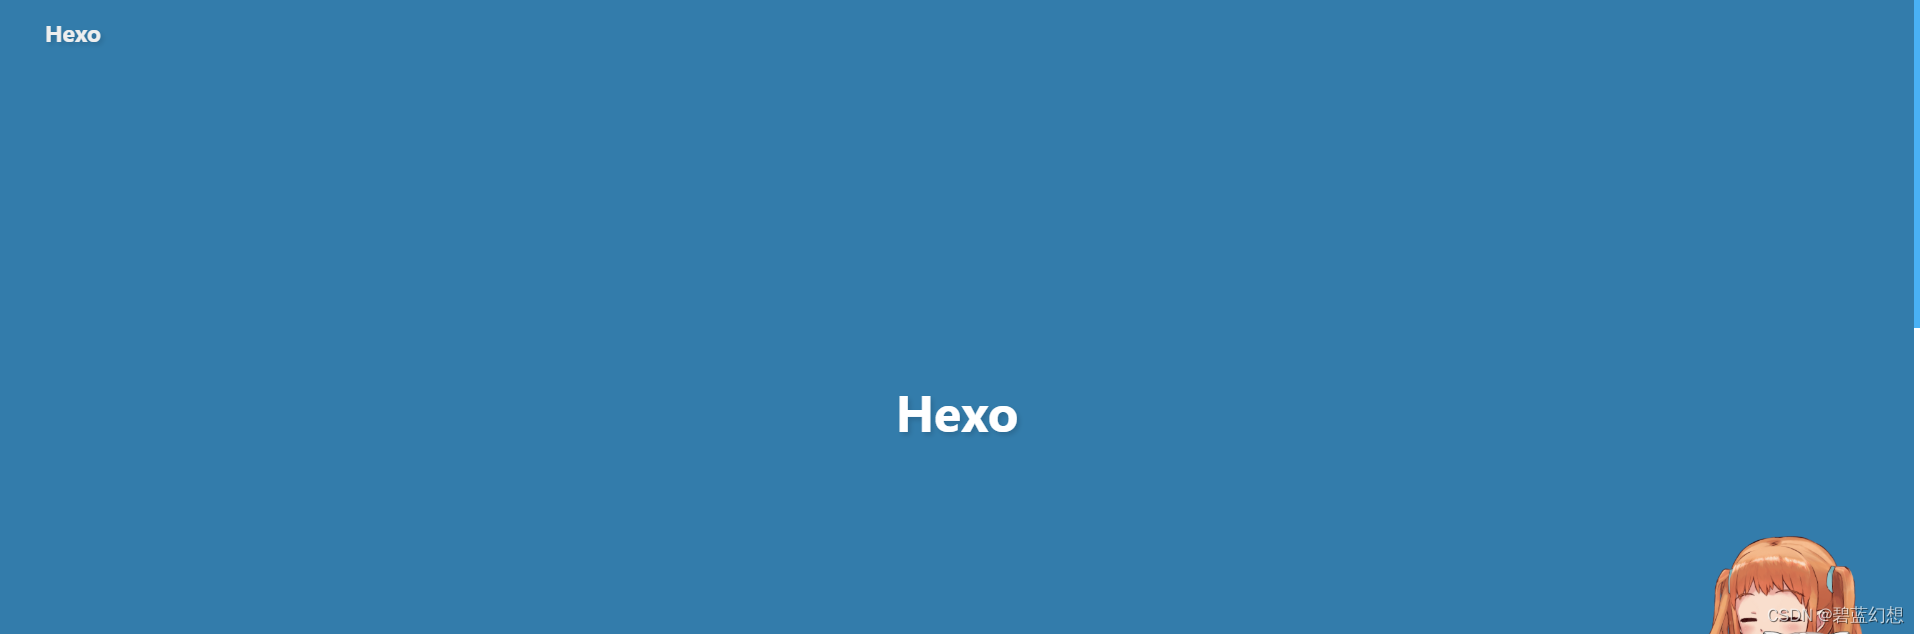
  • 如果发现日志中显示http地址,就可以通过浏览器访问

    http://192.168.174.21:4000/

  • 0
    点赞
  • 0
    收藏
    觉得还不错? 一键收藏
  • 0
    评论
使用Hexo搭建博客并将其部署到Gitee的过程中,你需要进行一些修改以确保正确的部署。 首先,你需要在_config.yml文件中找到deploy配置部分。在这里,你需要对deploy进行如下修改: ``` deploy: - type: git repo: https://gitee.com/你的用户名/你的仓库名.git branch: master ``` 将上述代码中的"你的用户名"替换为你在Gitee上的用户名,并将"你的仓库名"替换为你的博客仓库在Gitee上的名称。 接下来,你需要将你的博客同时部署到GitHub,以便在无法访问Gitee时,仍可通过GitHub访问你的博客。在_config.yml文件的deploy配置中,添加以下代码: ``` - type: git repo: https://github.com/你的用户名/你的仓库名.git branch: master ``` 同样,将上述代码中的"你的用户名"替换为你在GitHub上的用户名,并将"你的仓库名"替换为你的博客仓库在GitHub上的名称。 完成以上修改后,保存并关闭_config.yml文件。接下来,你可以通过运行命令`hexo deploy`将你的博客部署到Gitee和GitHub。 请注意,部署到Gitee相对于GitHub可能会稍微麻烦一些,因为你需要手动去Gitee的网站上更新一次才能看到更新效果。这是因为Gitee是国内版的GitHub,速度相对较快,但在部署时需要手动同步。<span class="em">1</span><span class="em">2</span> #### 引用[.reference_title] - *1* [搭建hexo博客——Gitee篇](https://blog.csdn.net/qq_939317133/article/details/124046319)[target="_blank" data-report-click={"spm":"1018.2226.3001.9630","extra":{"utm_source":"vip_chatgpt_common_search_pc_result","utm_medium":"distribute.pc_search_result.none-task-cask-2~all~insert_cask~default-1-null.142^v92^chatsearchT0_1"}}] [.reference_item style="max-width: 50%"] - *2* [hexo博客同时部署gitee和github,搭建镜像站](https://blog.csdn.net/liegu0317/article/details/123058346)[target="_blank" data-report-click={"spm":"1018.2226.3001.9630","extra":{"utm_source":"vip_chatgpt_common_search_pc_result","utm_medium":"distribute.pc_search_result.none-task-cask-2~all~insert_cask~default-1-null.142^v92^chatsearchT0_1"}}] [.reference_item style="max-width: 50%"] [ .reference_list ]

“相关推荐”对你有帮助么?

  • 非常没帮助
  • 没帮助
  • 一般
  • 有帮助
  • 非常有帮助
提交
评论
添加红包

请填写红包祝福语或标题

红包个数最小为10个

红包金额最低5元

当前余额3.43前往充值 >
需支付:10.00
成就一亿技术人!
领取后你会自动成为博主和红包主的粉丝 规则
hope_wisdom
发出的红包
实付
使用余额支付
点击重新获取
扫码支付
钱包余额 0

抵扣说明:

1.余额是钱包充值的虚拟货币,按照1:1的比例进行支付金额的抵扣。
2.余额无法直接购买下载,可以购买VIP、付费专栏及课程。

余额充值