


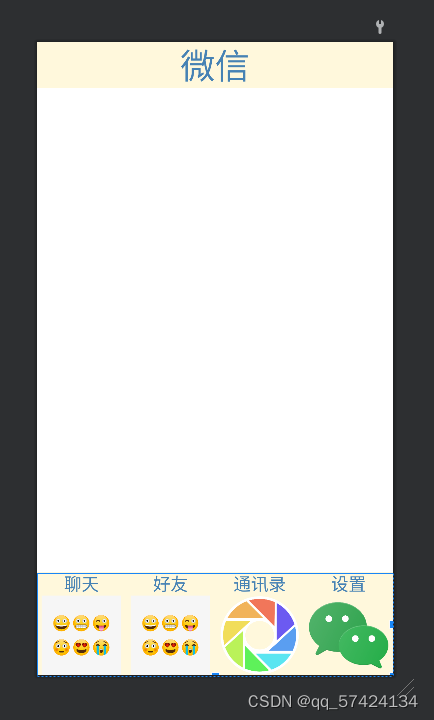
内容:请根据课程实操实现APP门户界面框架设计,至少包含4个tab页
框架设计需使用fragment,activity
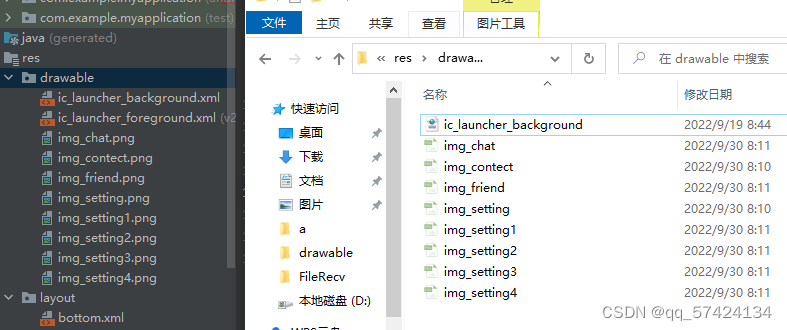
1. 提前准备图片
需要提前准备8张png格式的图片,存放到drawable文件夹中。
文件夹打开方式:app--->res--->右击drawable--->Open In--->explorer,如下图所示:
2.top设计
在layout中新建top.xml,步骤如下所示
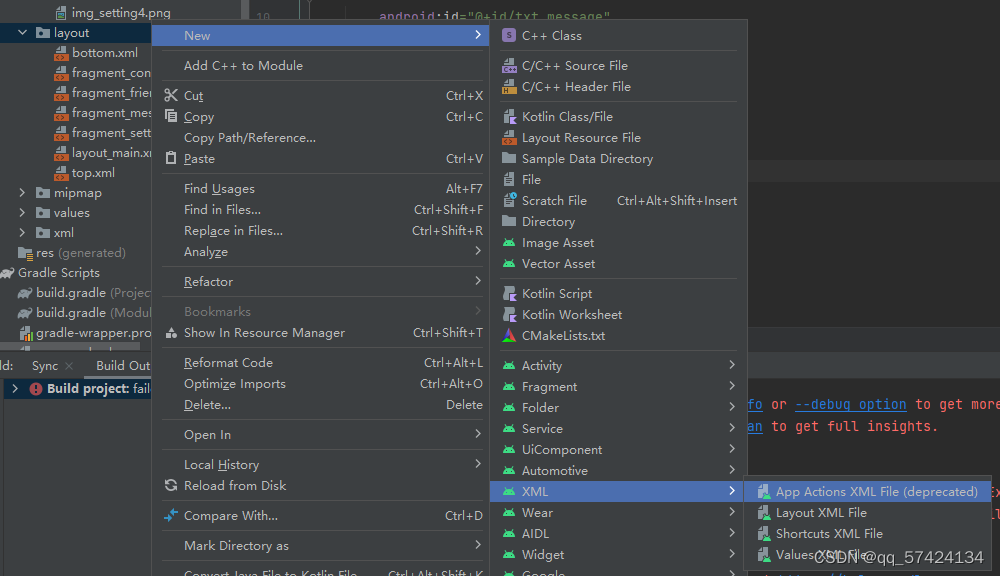
在Palette中找到textView控件,将其拖入LinearLayout,然后完善code,如图
代码如下:
<?xml version="1.0" encoding="utf-8"?>
<LinearLayout xmlns:android="http://schemas.android.com/apk/res/android"
android:layout_width="match_parent"
android:layout_height="match_parent">
<TextView
android:id="@+id/textView"
android:textSize="40sp"
android:layout_width="wrap_content"
android:layout_height="wrap_content"
android:background="#FFF8DC"
android:layout_weight="1"
android:gravity="center"
android:textColor="#4682B4"
android:text="微信" />
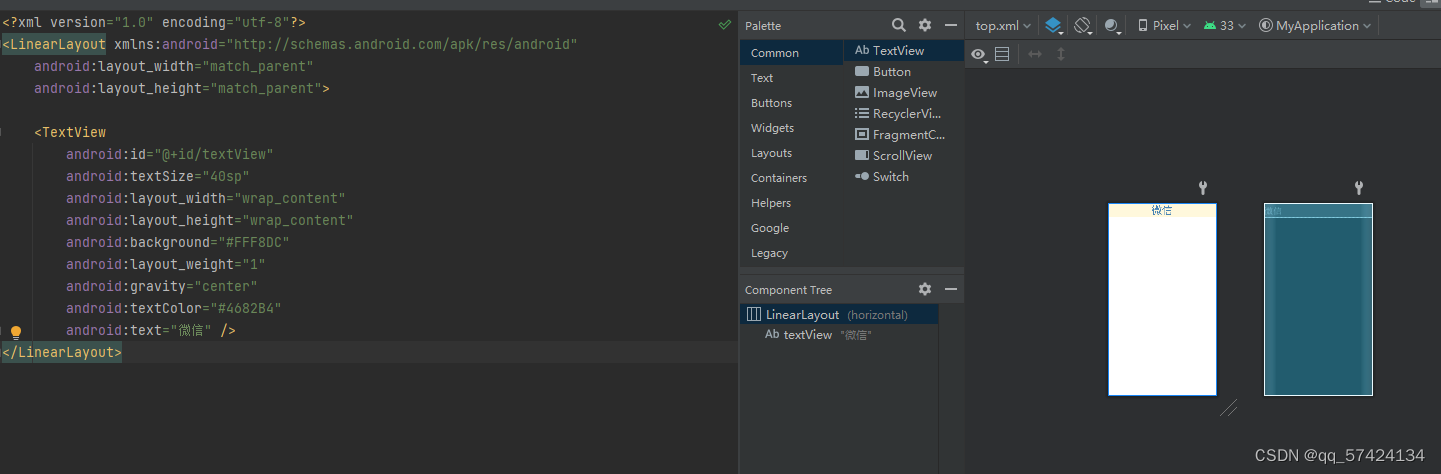
</LinearLayout>3.bottom设计
在layout中新建button.xml,如图
在Palette中找到LinearLayout(vertical)添加到LinearLayout(horizontal)中
在Palette中找到textView和ImageView控件,将其拖入LinearLayout下面 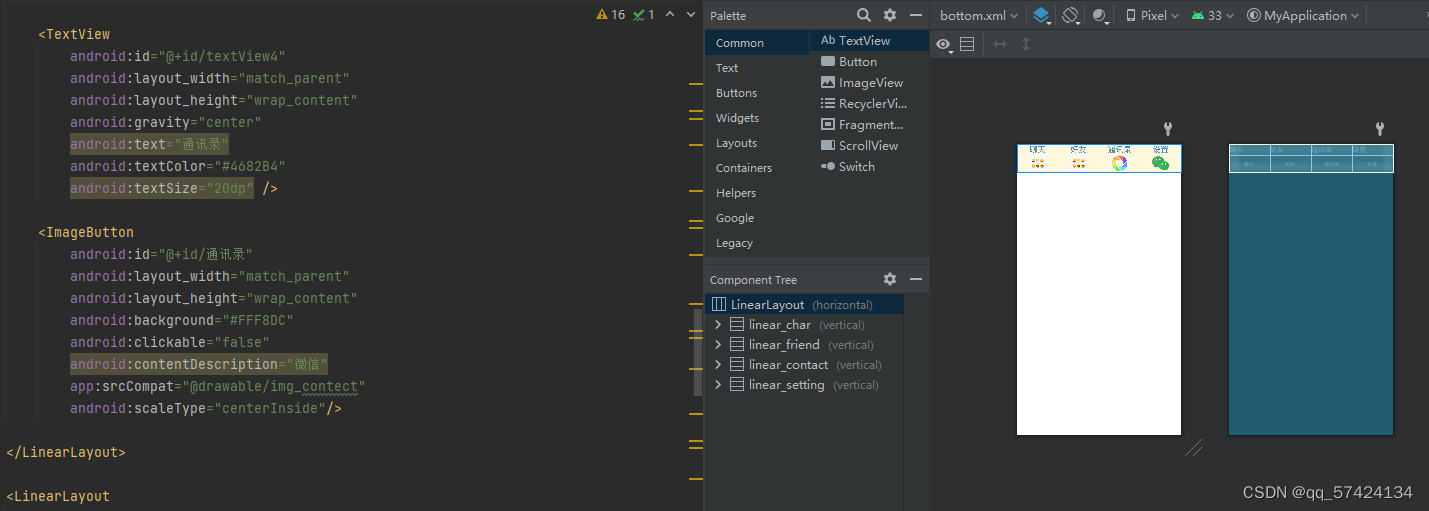
代码如下:
<?xml version="1.0" encoding="utf-8"?>
<LinearLayout xmlns:android="http://schemas.android.com/apk/res/android"
    xmlns:app="http://schemas.android.com/apk/res-auto"
    android:layout_width="match_parent"
    android:layout_height="70dp"
    android:background="#FFF8DC"
    android:orientation="horizontal"
    android:baselineAligned="false">

    <LinearLayout
        android:id="@+id/linear_char"
        android:layout_width="match_parent"
        android:layout_height="wrap_content"
        android:layout_weight="1"
        android:orientation="vertical"
        android:onClick="onClick">

        <TextView
            android:id="@+id/textView6"
            android:layout_width="match_parent"
            android:layout_height="wrap_content"
            android:gravity="center"
            android:text="聊天"
            android:textColor="#4682B4"
            android:textSize="20dp" />

        <ImageButton
            android:id="@+id/聊天"
            android:layout_width="match_parent"
            android:layout_height="wrap_content"
            android:background="#FFF8DC"
            android:contentDescription="微信"
            android:clickable="false"
            app:srcCompat="@drawable/img_chat"
            android:scaleType="centerInside"/>

    </LinearLayout>

    <LinearLayout
        android:id="@+id/linear_friend"
        android:layout_width="match_parent"
        android:layout_height="match_parent"
        android:layout_weight="1"
        android:onClick="onClick"
        android:orientation="vertical">

        <TextView
            android:id="@+id/textView3"
            android:layout_width="match_parent"
            android:layout_height="wrap_content"
            android:gravity="center"
            android:text="好友"
            android:textColor="#4682B4"
            android:textSize="20dp" />

        <ImageButton
            android:id="@+id/朋友"
            android:layout_width="match_parent"
            android:layout_height="wrap_content"
            android:background="#FFF8DC"
            android:contentDescription="微信"
            android:clickable="false"
            app:srcCompat="@drawable/img_friend"
            android:scaleType="centerInside"/>

    </LinearLayout>

    <LinearLayout
        android:id="@+id/linear_contact"
        android:layout_width="match_parent"
        android:layout_height="match_parent"
        android:layout_weight="1"
        android:orientation="vertical"
        android:onClick="onClick">

        <TextView
            android:id="@+id/textView4"
            android:layout_width="match_parent"
            android:layout_height="wrap_content"
            android:gravity="center"
            android:text="通讯录"
            android:textColor="#4682B4"
            android:textSize="20dp" />

        <ImageButton
            android:id="@+id/通讯录"
            android:layout_width="match_parent"
            android:layout_height="wrap_content"
            android:background="#FFF8DC"
            android:clickable="false"
            android:contentDescription="微信"
            app:srcCompat="@drawable/img_contect"
            android:scaleType="centerInside"/>

    </LinearLayout>

    <LinearLayout
        android:id="@+id/linear_setting"
        android:layout_width="match_parent"
        android:layout_height="match_parent"
        android:layout_weight="1"
        android:orientation="vertical"
        android:onClick="onClick">

        <TextView
            android:id="@+id/textView5"
            android:layout_width="match_parent"
            android:layout_height="wrap_content"
            android:gravity="center"
            android:text="设置"
            android:textColor="#4682B4"
            android:textSize="20dp" />

        <ImageButton
            android:id="@+id/设置"
            android:layout_width="match_parent"
            android:layout_height="wrap_content"
            android:background="#FFF8DC"
            android:clickable="false"
            android:contentDescription="微信"
            app:srcCompat="@drawable/img_setting"
            android:scaleType="centerInside"/>

    </LinearLayout>
</LinearLayout>
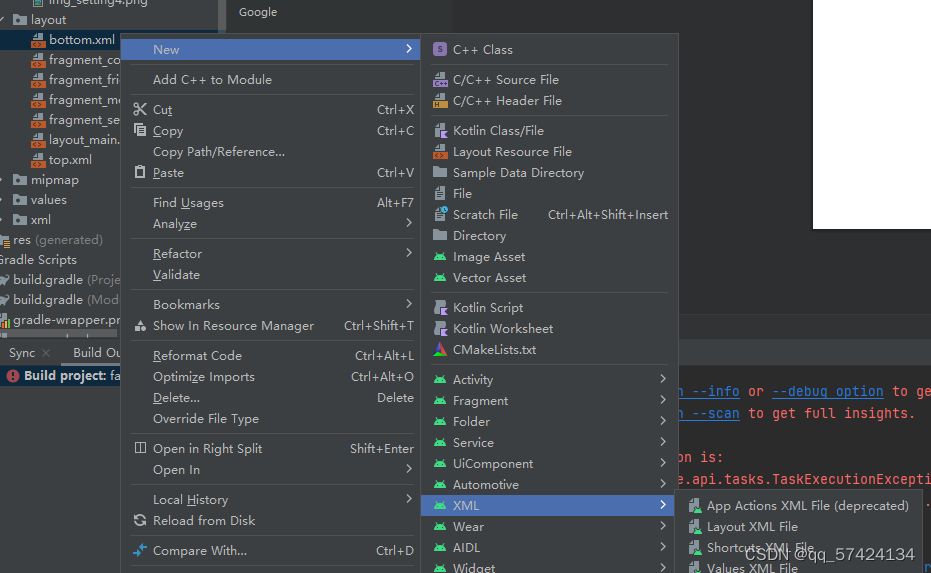
4.Layout_Main.xml
在layout中新建Layout_Main.xml
在Palette中找到include和FrameLayout控件添加到LinearLayout中,第一个include引入top.xml,第二个include引入bottom.xm,如图
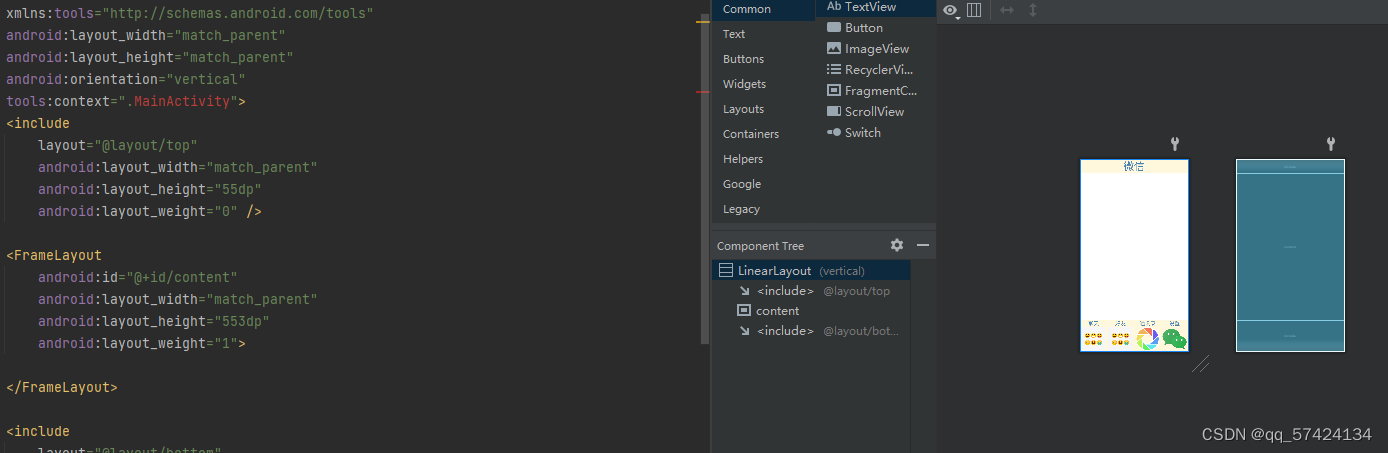
代码如下:
<?xml version="1.0" encoding="utf-8"?>
<LinearLayout xmlns:android="http://schemas.android.com/apk/res/android"
    xmlns:app="http://schemas.android.com/apk/res-auto"
    xmlns:tools="http://schemas.android.com/tools"
    android:layout_width="match_parent"
    android:layout_height="match_parent"
    android:orientation="vertical"
    tools:context=".MainActivity">
    <include
        layout="@layout/top"
        android:layout_width="match_parent"
        android:layout_height="55dp"
        android:layout_weight="0" />

    <FrameLayout
        android:id="@+id/content"
        android:layout_width="match_parent"
        android:layout_height="553dp"
        android:layout_weight="1">

    </FrameLayout>

    <include
        layout="@layout/bottom"
        android:layout_width="match_parent"
        android:layout_height="119dp"
        android:layout_weight="0" />

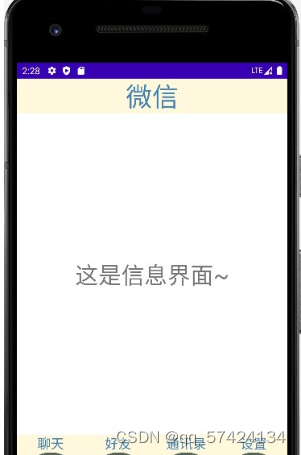
</LinearLayout>5.新建四个fragment:将fragment与对应的layout文件相关联
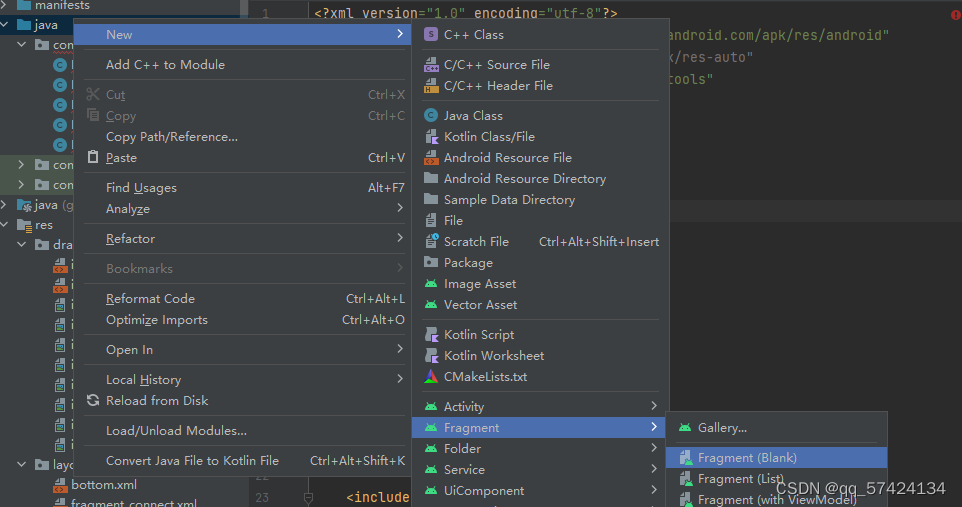
一个一个创建后,如图

代码都是类似的只需稍作更改即可
其中一个代码如下:
<?xml version="1.0" encoding="utf-8"?>
<FrameLayout xmlns:android="http://schemas.android.com/apk/res/android"
    xmlns:tools="http://schemas.android.com/tools"
    android:layout_width="match_parent"
    android:layout_height="match_parent"
    tools:context=".Fragment_message">

    <!-- TODO: Update blank fragment layout -->
    <TextView
        android:id="@+id/txt_message"
        android:layout_width="match_parent"
        android:layout_height="match_parent"
        android:text="这是信息界面~"
        android:textSize="35sp"
        android:gravity="center"/>

</FrameLayout>
6.完善相应的四个fragment.xml
步骤与top.xml、bottom.xml步骤类似,首先找到textView控件,然后拖入FrameLayout下面,最后配置code
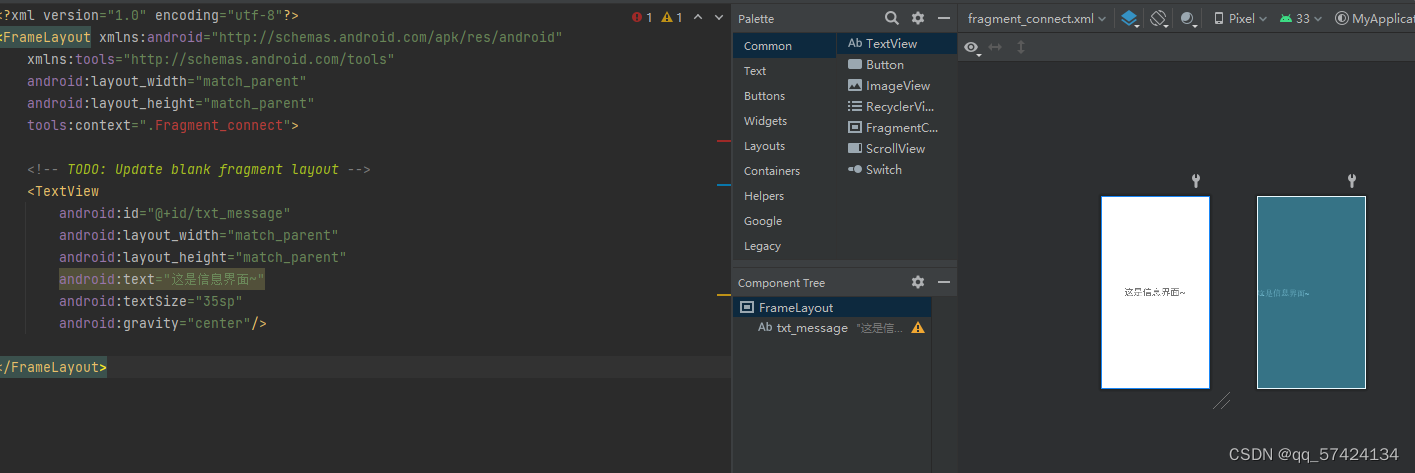
代码如下:
<?xml version="1.0" encoding="utf-8"?>
<FrameLayout xmlns:android="http://schemas.android.com/apk/res/android"
    xmlns:tools="http://schemas.android.com/tools"
    android:layout_width="match_parent"
    android:layout_height="match_parent"
    tools:context=".Fragment_connect">

    <!-- TODO: Update blank fragment layout -->
    <TextView
        android:id="@+id/txt_message"
        android:layout_width="match_parent"
        android:layout_height="match_parent"
        android:text="这是信息界面~"
        android:textSize="35sp"
        android:gravity="center"/>

</FrameLayout>
7.编写MainActivity文件的Java代码
代码分为好几个板块
分别为加载,响应,事件,控制tab转换,以及用户点击
public class MainActivity extends AppCompatActivity implements View.OnClickListener {
        private final Fragment fragment_message = new Fragment_message();
        private final Fragment fragment_friend = new Fragment_friend();
        private final Fragment fragment_connect = new Fragment_connect();
        private final Fragment fragment_setting = new Fragment_setting();

        @Override
        protected void onCreate(Bundle savedInstanceState) {
                super.onCreate(savedInstanceState);
                setContentView(R.layout.activity_main);


                linearLayout1 = findViewById(R.id.Linearlayout_weixin);
                linearLayout2 = findViewById(R.id.Linearlayout_friend);
                linearLayout3 = findViewById(R.id.Linearlayout_find);
                linearLayout4 = findViewById(R.id.Linearlayout_setting);

                linearLayout1.setOnClickListener(this);
                linearLayout2.setOnClickListener(this);
                linearLayout3.setOnClickListener(this);
                linearLayout4.setOnClickListener(this);
                initFragment();
                ShowFragment(0);

        }

        //Fragment初始化函数
        private void initFragment() {
                fm = getSupportFragmentManager();
                //增加方法
                transaction = fm.beginTransaction()
                        .add(R.id.content, fragment_message)
                        .add(R.id.content, fragment_friend)
                        .add(R.id.content, fragment_connect)
                        .add(R.id.content, fragment_setting);
                //开启事务
                transaction.commit();
        }

        //隐藏所有tab
        private void hidefragment(@NonNull FragmentTransaction transaction) {

                transaction.hide(fragment_message);
                transaction.hide(fragment_friend);
                transaction.hide(fragment_connect);
                transaction.hide(fragment_setting);
                transaction.commit();
        }

        //重写onClick方法
        //用户点击哪个tab,就设置i值
        public void onClick(@NonNull View v) {
                resetimg();
                switch (v.getId()) {
                        case R.id.linear_char:
                                setSelect(1);
                                break;
                        case R.id.linear_friend:
                                setSelect(2);
                                break;
                        case R.id.linear_contact:
                                setSelect(3);
                                break;
                        case R.id.linear_setting:
                                setSelect(4);
                                break;
                        default:
                                break;
                }
        }

        private void ShowFragment(int i) {
                FragmentTransaction transaction = fragmentManager.beginTransaction();
                hideFragment(transaction);
                switch (i) {
                        case 0:
                                transaction.show(fragment_message);
                                break;
                        case 1:
                                transaction.show(fragment_friend);
                                break;
                        case 2:
                                transaction.show(fragment_connect);
                                break;
                        case 3:
                                transaction.show(fragment_setting);
                                break;
                        default:
                                break;
                }
                transaction.commit();
        }
}
实验心得:实验可能并不是很难,但对于刚上手的我来说,还是遇到了不少的问题,中途报错不断,几次都失去了耐心,但最后还是坚持了下来,一个一个的去查找解决报错的方法,最后终于把问题都解决了,只要有耐心有恒心,无论遇到什么难题也一定可以攻破的,相信有了这次的经验,以后遇到类似的问题,也会多了几分从容,学无止境,希望下一次实验能够更加顺利,不断的去提升自己的能力。
仓库地址:https://gitee.com/wsh2022/sheng-hui-wang


 448
448


 被折叠的 条评论
为什么被折叠?
被折叠的 条评论
为什么被折叠?
 到【灌水乐园】发言


