


微应用 vue2项目搭建
第一步、在主应用examples目录下创建一个vue2的项目,创建流程正常创建vue2项目无异,在这里不做过多描述;
不知道examples文件从哪来的可点击查看主应用搭建流程。
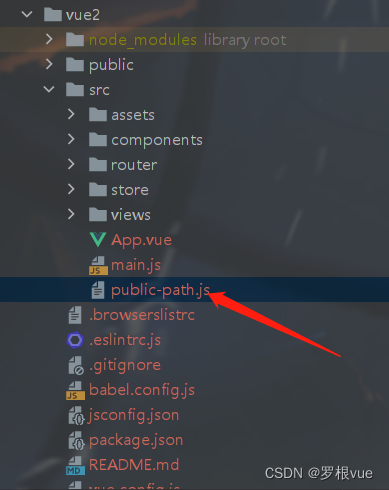
第二步、在新创建的vue项目的src文件中创建名为public-path.js 的js文件,如图所示:
public-path.js文件代码如下:
if (window.__POWERED_BY_QIANKUN__) {
 // eslint-disable-next-line  no-undef
  __webpack_public_path__ = window.__INJECTED_PUBLIC_PATH_BY_QIANKUN__;
}
第三步、入口文件 main.js 文件代码修改如下:
import './public-path';
import Vue from 'vue'
import App from './App.vue'
import VueRouter from 'vue-router';
import routes from './router'
import store from './store'

Vue.config.productionTip = false

let router = null;
let instance = null;
function render(props = {}) {
  const { container } = props;
  router = new VueRouter({
    base: window.__POWERED_BY_QIANKUN__ ? '/app-vue2' : '/',
    mode: 'history',
    routes: routes.options.routes,
  });

  instance = new Vue({
    router,
    store,
    render: (h) => h(App),
  }).$mount(container ? container.querySelector('#app') : '#app');
}
// 独立运行时
if (!window.__POWERED_BY_QIANKUN__) {
  render();
}
export async function bootstrap() {
  console.log('[vue] vue app bootstraped');
}
export async function mount(props) {
  console.log('[vue] props from main framework', props);
  render(props);
}
export async function unmount() {
  instance.$destroy();
  instance.$el.innerHTML = '';
  instance = null;
  router = null;
}
第四步、打包配置文件(vue.config.js)代码修改成:
const { name } = require('./package');
module.exports = {
  devServer: {
    port: 7000, // 启动项目时的端口号
    headers: {
      'Access-Control-Allow-Origin': '*',
    },
  },
  configureWebpack: {
    output: {
      library: `${name}-[name]`,
      libraryTarget: 'umd', // 把微应用打包成 umd 库格式
      chunkLoadingGlobal: `webpackJsonp_${name}`,
    },
  },
};


 3221
3221


 被折叠的 条评论
为什么被折叠?
被折叠的 条评论
为什么被折叠?
 到【灌水乐园】发言


