


Spring Boot 整合Freemarker(基础)
1.添加依赖
<!--freemarker-->
<dependency>
<groupId>org.springframework.boot</groupId>
<artifactId>spring-boot-starter-freemarker</artifactId>
</dependency>
2.添加配置文件
#freemarker
freemarker:
#模板后缀
suffix: .ftl
#文档类型
content-type: text/html
#页面编码
charset: UTF-8
#页面缓存 关闭
cache: false
#模板加载路径
# template-load-path: classpath:/templates/
3.编写测试类
@Controller
public class TestController {
@RequestMapping("/freemarker")
public String index(Map<String,Object>map) {
map.put("name","ls");
return "freemarker";
}
4.在resources目录下,建立templates目录,创建以freemarker开头 .ftl结尾的文件
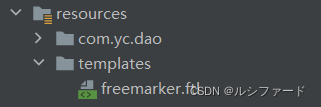
5.在freemarker.ftl文件中写入简单freemarker语句
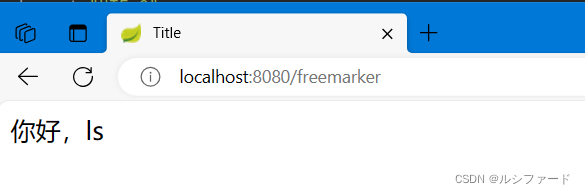
你好,${name}
6.成功
7.freemarker结合页面语法,语法需要自己去了解
Spring Boot 整合Thymeleaf(基础)
1.导入依赖
<!--Thymeleaf-->
<dependency>
<groupId>org.springframework.boot</groupId>
<artifactId>spring-boot-starter-thymeleaf</artifactId>
</dependency>
2.添加配置文件
#Thymeleaf
thymeleaf:
#后缀
suffix: .html
mode: HTML5
#页面编码
charset: UTF-8
#页面缓存 关闭
cache: false
#模板加载路径
# template-load-path: classpath:/templates/
3.编写测试类
@RequestMapping("/thymeleaf")
public String list(Model model){
model.addAttribute("hello","hello thymeleaf");
return "thymeleaf";
}
4.在resources目录下,建立templates目录,创建以thymeleaf开头 .html结尾的文件
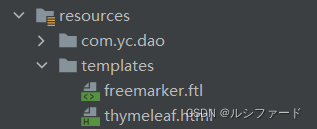
5.在thymeleaf.html中写freemarker简单语句
6.成功

7.thymeleaf结合页面语法,需要自己去了解


 237
237


 被折叠的 条评论
为什么被折叠?
被折叠的 条评论
为什么被折叠?
 到【灌水乐园】发言


