Netty 网络编程HTTP:
我们这里的一个hello就直接使用的http协议的了 毕竟我们做web开发的主要就前后端进行一个打交道嘛!
简介
首先还是做一个netty的简介吧:
Netty 是一个异步的、基于事件驱动的网络应用框架,用于快速开发可维护、高性能的网络服务器和客户端
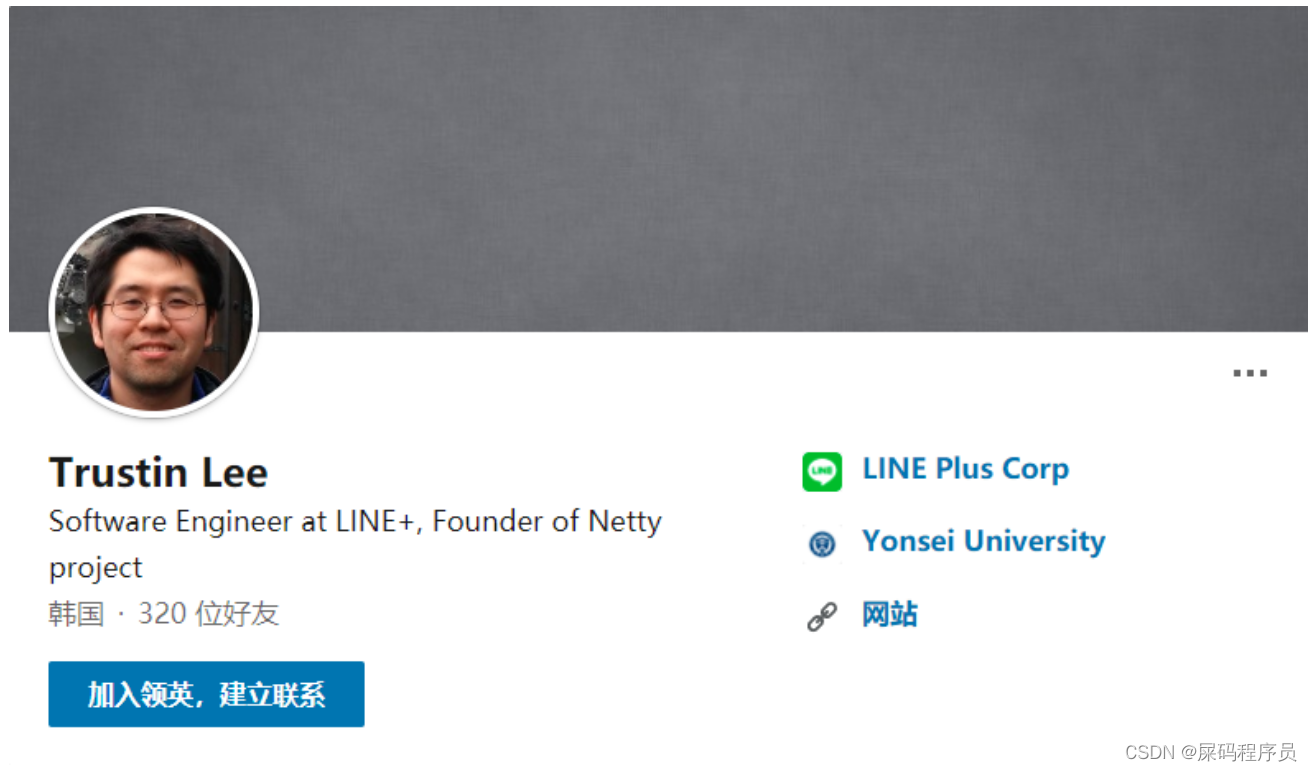
Netty 的作者
他还是另一个著名网络应用框架 Mina 的重要贡献者
阿里的 Mina框架
Netty 的地位
Netty 在 Java 网络应用框架中的地位就好比:Spring 框架在 JavaEE 开发中的地位
以下的框架都使用了 Netty,因为它们有网络通信需求!
- Cassandra - nosql 数据库
- Spark - 大数据分布式计算框架
- Hadoop - 大数据分布式存储框架
- RocketMQ - ali 开源的消息队列
- ElasticSearch - 搜索引擎
- gRPC - rpc 框架
- Dubbo - rpc 框架
- Spring 5.x - flux api 完全抛弃了 tomcat ,使用 netty 作为服务器端
- Zookeeper - 分布式协调框架
1.4 Netty 的优势
- Netty vs NIO,工作量大,bug 多
- 需要自己构建协议
- 解决 TCP 传输问题,如粘包、半包
- epoll 空轮询导致 CPU 100%
- 对 API 进行增强,使之更易用,如 FastThreadLocal => ThreadLocal,ByteBuf => ByteBuffer
- Netty vs 其它网络应用框架
- Mina 由 apache 维护,将来 3.x 版本可能会有较大重构,破坏 API 向下兼容性,Netty 的开发迭代更迅速,API 更简洁、文档更优秀
- 久经考验,16年,Netty 版本
- 2.x 2004
- 3.x 2008
- 4.x 2013
- 5.x 已废弃(没有明显的性能提升,维护成本高)
HelloWorld:
导入依赖:
  <dependency>
            <groupId>io.netty</groupId>
            <artifactId>netty-all</artifactId>
            <version>4.1.85.Final</version>
        </dependency>

        <dependency>
            <groupId>org.springframework.boot</groupId>
            <artifactId>spring-boot-starter-web</artifactId>
        </dependency>

        <dependency>
            <groupId>com.alibaba.fastjson2</groupId>
            <artifactId>fastjson2</artifactId>
            <version>2.0.24</version>
        </dependency>

        <dependency>
            <groupId>org.springframework.boot</groupId>
            <artifactId>spring-boot-devtools</artifactId>
            <scope>runtime</scope>
            <optional>true</optional>
        </dependency>
        <dependency>
            <groupId>org.projectlombok</groupId>
            <artifactId>lombok</artifactId>
            <optional>true</optional>
        </dependency>
服务端:
package com.xc.im.xc;

import com.xc.im.xc.handler.WebSocketHandler;
import io.netty.bootstrap.Bootstrap;
import io.netty.bootstrap.ServerBootstrap;
import io.netty.channel.ChannelInboundHandlerAdapter;
import io.netty.channel.ChannelInitializer;
import io.netty.channel.ChannelPipeline;
import io.netty.channel.nio.NioEventLoopGroup;
import io.netty.channel.socket.SocketChannel;
import io.netty.channel.socket.nio.NioServerSocketChannel;
import io.netty.handler.codec.http.HttpObjectAggregator;
import io.netty.handler.codec.http.HttpServerCodec;
import io.netty.handler.codec.http.websocketx.WebSocketServerProtocolHandler;
import io.netty.handler.stream.ChunkedWriteHandler;

public class IMServer {
    public static void start(){
        NioEventLoopGroup boss = new NioEventLoopGroup();  // 创建 一个 boos 的线程池 也就是select
        NioEventLoopGroup worker = new NioEventLoopGroup(); // worker  负责处理channel

        ServerBootstrap bootstrap = new ServerBootstrap();
        bootstrap.channel(NioServerSocketChannel.class)
                .group(boss,worker)
                //初始化
                .childHandler(new ChannelInitializer<SocketChannel>() {
                    @Override
                    protected void initChannel(SocketChannel socketChannel) throws Exception {
                        ChannelPipeline pipeline = socketChannel.pipeline();
                        pipeline.addLast(new HttpServerCodec()) //添加http 编解码
                                .addLast(new ChunkedWriteHandler()) // 对大数据流的支持
                                // 对 http 做聚合操作 会产生两个FullHttpRequest FullHttpResponse
                                .addLast(new HttpObjectAggregator(1024 * 64))
                                //websocket  支持
                                .addLast(new WebSocketServerProtocolHandler("/"))
                                //添加一个自定义的webSocket 的handler  也就是 接收到的消息就会在其中进行处理
                                .addLast(new WebSocketHandler());
                    }
                });

        //绑定端口
        bootstrap.bind(8089);
    }
}
之后创建一个发 Command 实体类
package com.xc.im.xc.entity;

import lombok.AllArgsConstructor;
import lombok.Data;
import lombok.NoArgsConstructor;
import lombok.ToString;

@Data
@AllArgsConstructor
@NoArgsConstructor
@ToString
public class Command {

    /**
     * 连接信息编码
     */
    private Integer code;

    /**
     * 昵称
     */
    private String nickName;
}
创建一个WebSocketHandler 用于处理用户建立连接后的channel
package com.xc.im.xc.handler;

import com.alibaba.fastjson2.JSON;
import com.xc.im.xc.common.CommandType;
import com.xc.im.xc.common.Utils.Result;
import com.xc.im.xc.entity.Command;
import io.netty.channel.ChannelHandlerContext;
import io.netty.channel.SimpleChannelInboundHandler;
import io.netty.handler.codec.http.websocketx.TextWebSocketFrame;

public class WebSocketHandler extends SimpleChannelInboundHandler<TextWebSocketFrame> {

    @Override
    protected void channelRead0(ChannelHandlerContext ctx, TextWebSocketFrame frame) throws Exception {

        try{
            Command command = JSON.parseObject(frame.text(), Command.class); //进行反序列化
            switch (CommandType.match(command.getCode())){
                //建立连接 的消息就交给  ConnectionHandler 进行处理
                case CONNECTION -> ConnectionHandler.execute(ctx, command);

                default -> ctx.channel().writeAndFlush(Result.fail("不支持的code")); //否则就直接返回
            }
        }catch (Exception e){
            ctx.channel().writeAndFlush(Result.fail(e.getMessage()));
        }

    }
}
还有一个处理用户注册登录的channel 的handler ConnectionHandler
package com.xc.im.xc.handler;

import com.alibaba.fastjson2.JSON;
import com.xc.im.xc.IMServer;
import com.xc.im.xc.common.Utils.Result;
import com.xc.im.xc.entity.Command;
import io.netty.channel.ChannelHandlerContext;
import io.netty.handler.codec.http.websocketx.TextWebSocketFrame;

public class ConnectionHandler {
    public static void execute(ChannelHandlerContext ctx, Command command){

        if(IMServer.USERS.containsKey(command.getNickName())){
            ctx.channel().writeAndFlush(Result.fail("该用户已上线,请跟换昵称后再试"));
            ctx.channel().disconnect(); //断开连接
            return;
        }

        IMServer.USERS.put(command.getNickName(), ctx.channel()); //将用户存入map中  每个用户对应的频道等
        ctx.channel().writeAndFlush(Result.success("与服务端连接建立成功"));
//        返回在线的用户
        ctx.channel().writeAndFlush(Result.success(JSON.toJSONString(IMServer.USERS.keySet())));
    }
}
之后还有一个返回结果集:
package com.xc.im.xc.common.Utils;

import com.alibaba.fastjson2.JSON;
import io.netty.handler.codec.http.websocketx.TextWebSocketFrame;
import lombok.AllArgsConstructor;
import lombok.Data;
import lombok.NoArgsConstructor;
import lombok.ToString;

import java.time.LocalDateTime;

@Data
@AllArgsConstructor
@NoArgsConstructor
@ToString
public class Result {
    private String name;

    private LocalDateTime time;

    private String message;

    public static TextWebSocketFrame fail(String message){
        return new TextWebSocketFrame(JSON.toJSONString(new Result("系统消息",LocalDateTime.now(),message)));
    }

    public static TextWebSocketFrame success(String message){
        return new TextWebSocketFrame(JSON.toJSONString(new Result("系统消息",LocalDateTime.now(),message)));
    }

    public static TextWebSocketFrame success(String user, String message){
        return new TextWebSocketFrame(JSON.toJSONString(new Result(user,LocalDateTime.now(),message)));
    }


}
CommandType 用户发送消息的类型:
package com.xc.im.xc.common;

import lombok.AllArgsConstructor;
import lombok.Getter;
import lombok.NoArgsConstructor;

@Getter
@AllArgsConstructor
@NoArgsConstructor
public enum CommandType {

    /**
     * 建立连接
     */
    CONNECTION(10001),

    /**
     * 聊天指令
     */
    CHAT(10002),

    ERROR(-1),

    ;

    private Integer code;

    public static CommandType match(Integer code){
        /**
         * 进行判断 看传递回来的code 是够包含在这个 CommandType 中类型中
         */
        for (CommandType value : CommandType.values()) {
//            如果在就 返回
            if (value.getCode().equals(code)){
                return value;
            }
        }
//        否则就返回 -1
        return ERROR;
    }
}
最后还有一个启动类:
package com.xc.im.xc;

public class XcMApplication {
    public static void main(String[] args) {
        //启动
        IMServer.start();
    }
}
客户端:
客户端自然就是vue了
                // 打开一个websocket
                this.websocket = new WebSocket('ws://localhost:8089');
                // 建立连接
                this.websocket.onopen = (evt) => {
                    this.state = this.websocket.readyState === 1;
                    this.websocket.send(JSON.stringify({
                        "code": "10001",
                        "nickname": this.name
                    }))
                    //加入群聊
                    this.joinGroup()
                    // 发送数据
                    // websocket.send("发送数据");
                    // console.log("websocket发送数据中",evt);
                };

                // 客户端接收服务端返回的数据
                this.websocket.onmessage = evt => {
                    this.messageList.push(JSON.parse(evt.data))
                    console.log("websocket返回的数据:", evt.data);
                    // console.log("websocket返回的数据:", JSON.parse(evt));
                };
                // 发生错误时
                this.websocket.onerror = evt => {
                    console.log("websocket错误:", evt);
                };
                // 关闭连接
                this.websocket.onclose = evt => {
                    console.log("websocket关闭:", evt);
                };
笔记和源码
最后还有一个福利哦也就是学习netty 的笔记 学习netty 自然少不了要学习nio 其中还有些nio的笔记 和一些联系实例
最后呢还要介绍一点在B站上学习的一个IM 仿微信实战 只需要一小时:
仿微信IM实战业务功能介绍
在这个地址有我学习时的代码 以及nio和netty 的笔记都放在gitee上了

有需要可以自取:https://gitee.com/dachang-rolling-dog/netty.git


 2365
2365

 被折叠的 条评论
为什么被折叠?


