


在pc端进行逐字手写的功能。用户可以在一个 inputCanvas 上书写单个字,然后在特定时间后将这个字添加到 outputCanvas 上,形成一个逐字的手写效果。用户还可以保存整幅图像或者撤销上一个添加的字。
<template>
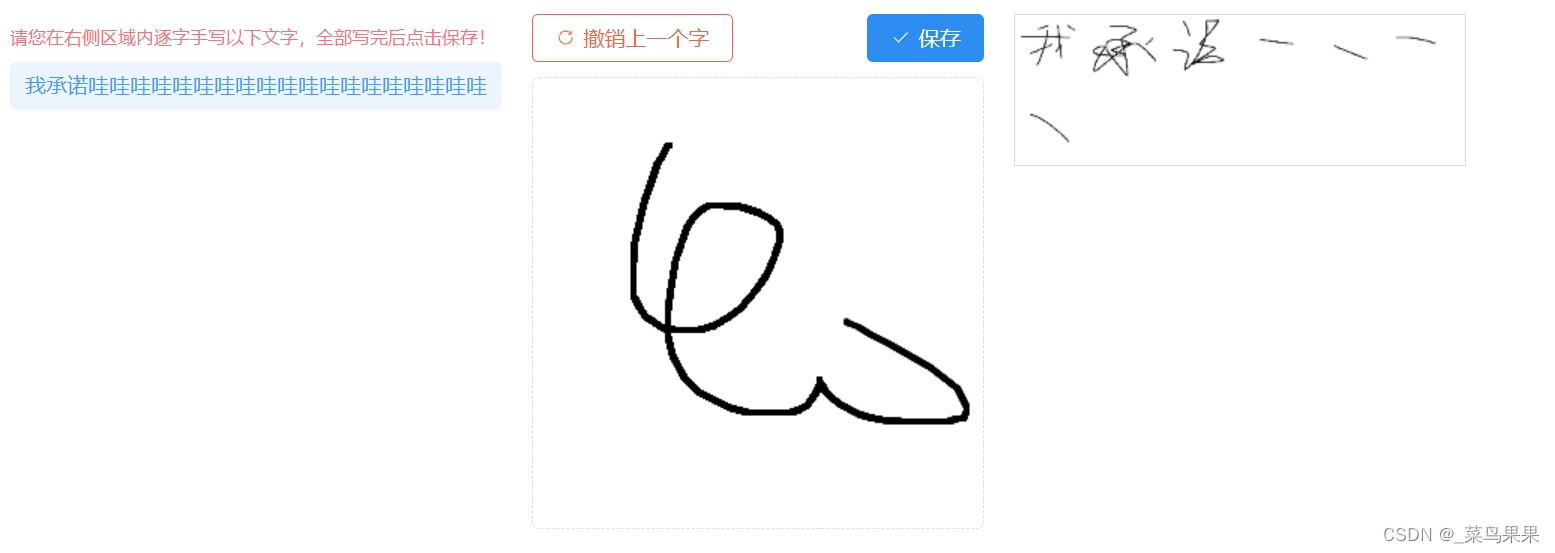
<div class="container" v-if="!disabled">
<div class="tipCn">
<div>请您在右侧区域内逐字手写以下文字,全部写完后点击保存!</div>
<div>{{ ruleForm.sqcn }}</div>
</div>
<div style="margin: 0px 20px">
<span class="dialog-footer">
<el-button @click="undoChar" type="danger" :icon="RefreshRight">撤销上一个字</el-button>
<el-button @click="saveImage" type="primary" :icon="Check">保存</el-button>
</span>
<canvas
ref="inputCanvas"
class="input-canvas"
:width="canvasWidth"
:height="canvasHeight"
@mousedown="startDrawing"
@mousemove="draw"
@mouseup="stopDrawing"
@mouseleave="stopDrawing"
></canvas>
</div>
<canvas ref="outputCanvas" class="output-canvas" :width="outputWidth" :height="outputHeight"></canvas>
</div>
<img class="Signature" v-else :src="resultImg" alt="commitment Image" />
</template>
<script setup>
import { ref, onMounted, nextTick, watch } from "vue";
import { ElMessage, ElMessageBox } from "element-plus";
import fileService from "@/api/sys/fileService.js";
import { Check, RefreshRight } from "@element-plus/icons-vue";
import knsService from "@/api/sys/kns/knsService";
const canvasWidth = 300;
const canvasHeight = 300;
const isDrawing = ref(false);
const startX = ref(0);
const startY = ref(0);
const charObjects = ref([]);
const timer = ref(null);
const delay = 1000; // 1秒延迟
let outputWidth = 300;
let outputHeight = ref(50);
let resultImg = ref("");
let context = null;
let outputContext = null;
const inputCanvas = ref(null);
const outputCanvas = ref(null);
let ruleForm = ref({});
const emit = defineEmits(["update:modelValue"]);
const props = defineProps({
modelValue: {
type: [Number, String],
default: ""
},
disabled: {
type: Boolean,
default: false
}
});
// 当输入框内容变化时触发更新父组件的 value
watch(
resultImg,
(newValue) => {
emit("update:modelValue", newValue);
},
{ deep: true }
);
watch(
() => props.modelValue,
(newValue) => {
resultImg.value = newValue;
},
{ deep: true, immediate: true }
);
onMounted(() => {
if (!props.disabled) {
getData();
context = inputCanvas.value.getContext("2d");
outputContext = outputCanvas.value.getContext("2d");
context.strokeStyle = "#000000";
context.lineWidth = 4;
context.lineCap = "round";
context.lineJoin = "round";
outputContext.strokeStyle = "#000000";
outputContext.lineWidth = 3;
outputContext.lineCap = "round";
outputContext.lineJoin = "round";
}
});
// 获取承诺
const getData = async () => {
const res = await knsService.getSettingData();
ruleForm.value = res[0];
};
const startDrawing = (e) => {
if (timer.value) {
clearTimeout(timer.value);
timer.value = null;
}
isDrawing.value = true;
startX.value = e.offsetX;
startY.value = e.offsetY;
context.beginPath();
context.moveTo(startX.value, startY.value);
};
const draw = (e) => {
if (!isDrawing.value) return;
context.lineTo(e.offsetX, e.offsetY);
context.stroke();
};
const stopDrawing = () => {
if (isDrawing.value) {
isDrawing.value = false;
context.closePath();
timer.value = setTimeout(addChar, delay);
}
};
const addChar = () => {
const canvas = inputCanvas.value;
const dataUrl = canvas.toDataURL("image/png");
charObjects.value.push(dataUrl);
clearCanvas();
redrawOutputCanvas();
};
const clearCanvas = () => {
const canvas = inputCanvas.value;
context.clearRect(0, 0, canvas.width, canvas.height);
};
const undoChar = () => {
if (charObjects.value.length > 0) {
charObjects.value.pop();
redrawOutputCanvas();
if (charObjects.value.length === 0) {
outputHeight.value = 50; // 如果字符对象为空,则将输出画布高度设置为 50
outputCanvas.value.height = outputHeight.value; // 更新画布高度
}
}
};
const redrawOutputCanvas = () => {
outputContext.clearRect(0, 0, outputWidth, outputHeight.value);
const charSize = 50; // 调整字符大小
const charSpacing = 50; // 调整字符间距
const maxCharsPerRow = Math.floor(outputWidth / charSize); // 每行最大字符数
const numRows = Math.ceil(charObjects.value.length / maxCharsPerRow); // 计算行数
const newOutputHeight = numRows * charSize; // 动态计算输出画布的高度
if (newOutputHeight !== outputHeight.value) {
outputHeight.value = newOutputHeight;
outputCanvas.value.height = outputHeight.value; // 更新画布高度
}
nextTick(() => {
charObjects.value.forEach((char, index) => {
const rowIndex = Math.floor(index / maxCharsPerRow); // 当前字符的行索引
const colIndex = index % maxCharsPerRow; // 当前字符的列索引
const img = new Image();
img.onload = () => {
outputContext.drawImage(img, colIndex * charSpacing, rowIndex * charSpacing, charSize, charSize); // 绘制字符图片到输出画布上
};
img.src = char;
});
});
};
const saveImage = () => {
if (charObjects.value.length === 0) {
ElMessage.error("请输入!");
return false;
}
const canvas = outputCanvas.value;
const dataUrl = canvas.toDataURL("image/png");
console.log(dataUrl, "dataUrldataUrldataUrl"); // 您可以将此图片上传或保存
// 生成带有当前日期和时间的文件名
const now = new Date();
const filename = `承诺-${now.getFullYear()}${padZero(now.getMonth() + 1)}${padZero(now.getDate())}${padZero(
now.getHours()
)}${padZero(now.getMinutes())}${padZero(now.getSeconds())}.jpg`;
const blob = dataURLtoBlob(dataUrl);
const tofile = blobToFile(blob, filename);
setTimeout(async () => {
const formData = new FormData();
formData.append("file", tofile, tofile.name);
formData.append("fileType", 9);
console.log(formData, "formDataformData");
const res2 = await fileService.uploadFile(formData);
resultImg.value = res2;
console.log(resultImg.value, "resultImg.value");
});
ElMessage.success("保存成功!");
};
const dataURLtoBlob = (dataurl) => {
const arr = dataurl.split(",");
const mime = arr[0].match(/:(.*?);/)[1];
const bstr = atob(arr[1]);
let n = bstr.length;
const u8arr = new Uint8Array(n);
while (n--) {
u8arr[n] = bstr.charCodeAt(n);
}
return new Blob([u8arr], { type: mime });
};
const blobToFile = (theBlob, fileName) => {
theBlob.lastModifiedDate = new Date();
theBlob.name = fileName;
return theBlob;
};
const padZero = (num) => {
return num < 10 ? "0" + num : num;
};
</script>
<style scoped lang="scss">
.container {
display: flex;
align-items: flex-start;
justify-content: flex-start;
.output-canvas {
border: 1px solid #ddd;
}
img {
width: 50px;
height: 50px;
margin: 1px;
}
.input-canvas {
border-radius: 5px;
border: 1px dashed #dddee1;
}
.dialog-footer {
display: flex;
justify-content: space-between;
margin-bottom: 10px;
}
.tipCn {
div:nth-child(1) {
color: #ff6f77;
font-size: 12px;
}
div:nth-child(2) {
background-color: #ecf5ff;
padding: 0px 10px;
border-radius: 4px;
color: #3c9cff;
font-size: 14px;
text-align: left;
}
}
}
.Signature {
width: 500px;
height: 150px;
margin-top: 10px;
border: 1px solid #dddee1;
}
</style>


 2555
2555

 被折叠的 条评论
为什么被折叠?
被折叠的 条评论
为什么被折叠?
 到【灌水乐园】发言


