环境Ubuntu 18.04.1版本
![](https://img-blog.csdnimg.cn/img_convert/e3674bc0f7be6c5ed094ecd5eba223d8.png)
![](https://img-blog.csdnimg.cn/img_convert/7369262c4849a510e1c6dc5c90cc69d4.png)
![](https://img-blog.csdnimg.cn/img_convert/f484f3eb4e4aa5aafc3414bdc01ba648.png)
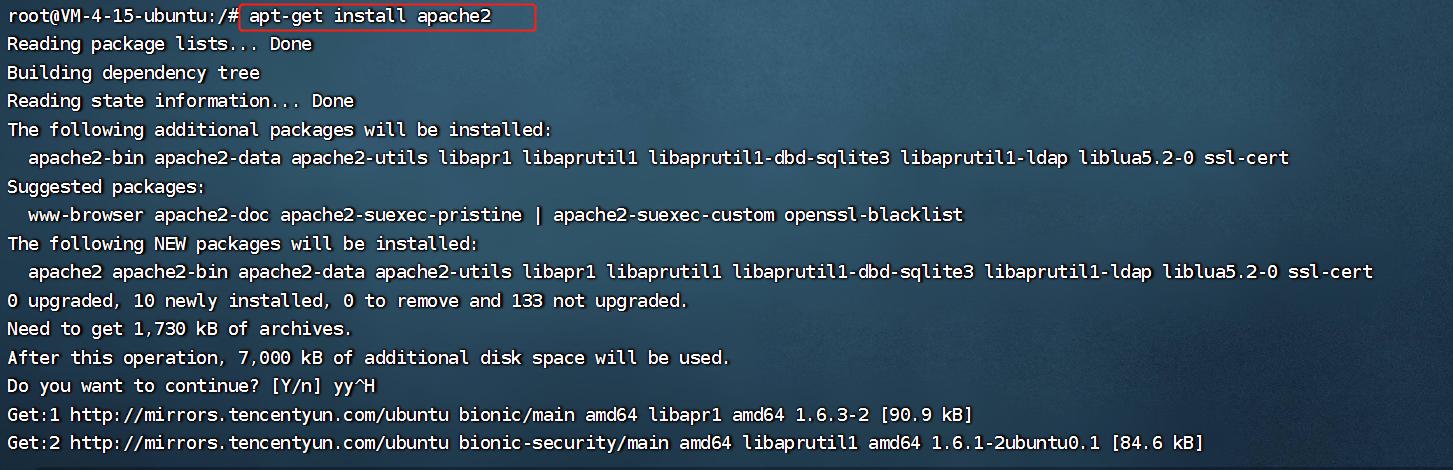
apt-get install apache2
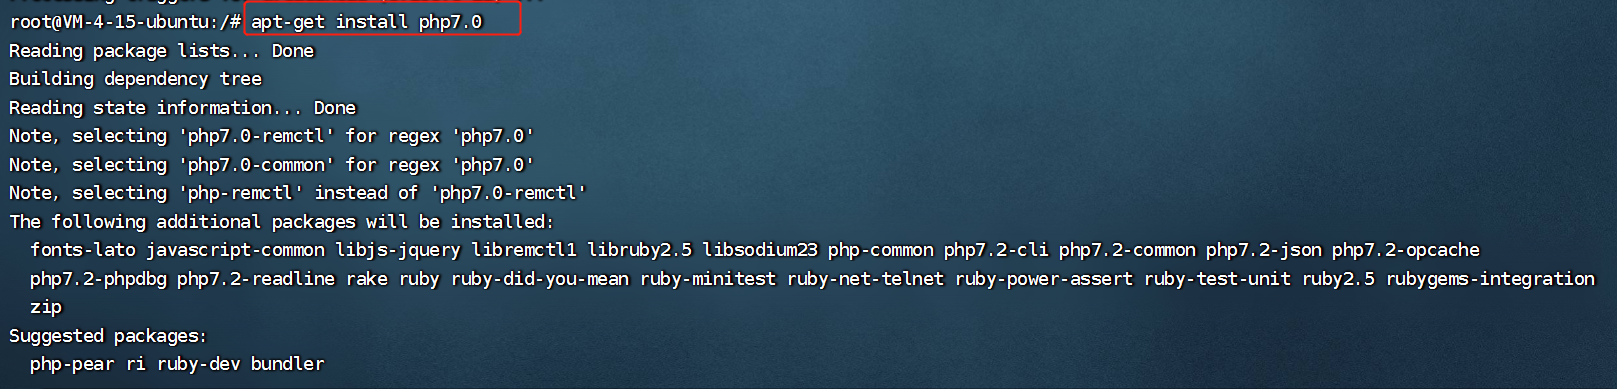
apt-get install php7.0
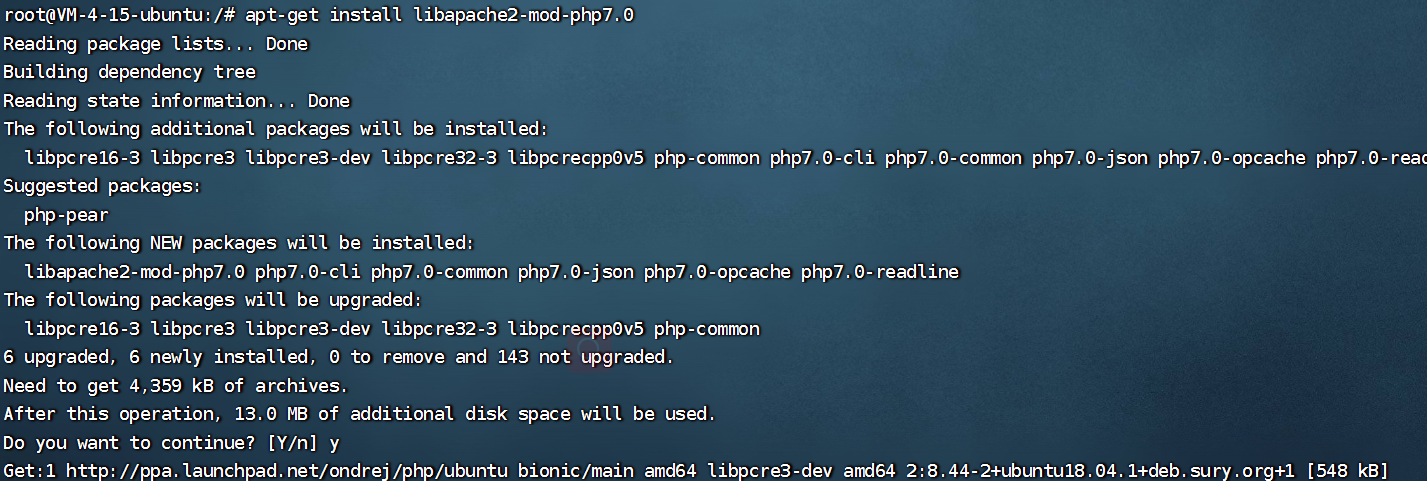
apt-get install libapache2-mod-php7.0
先运行以上三条命令,在运行第三条命令时可能会出错,可参考https://blog.csdn.net/qq_67757718/article/details/129215515进行解决。
![](https://img-blog.csdnimg.cn/img_convert/5d9219fc44c3526252872889ae29f753.png)
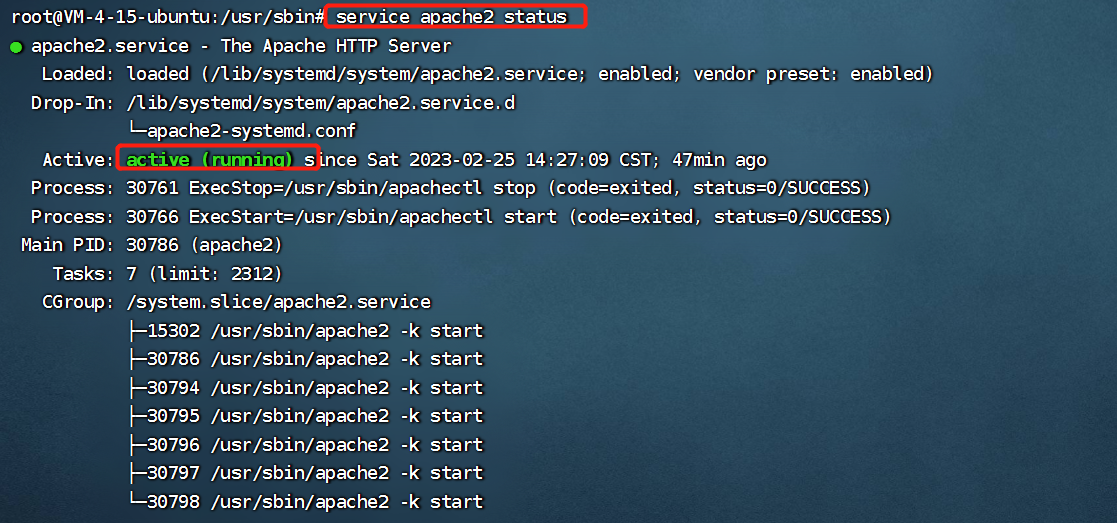
查看apache2服务状态,可以看到正在运行
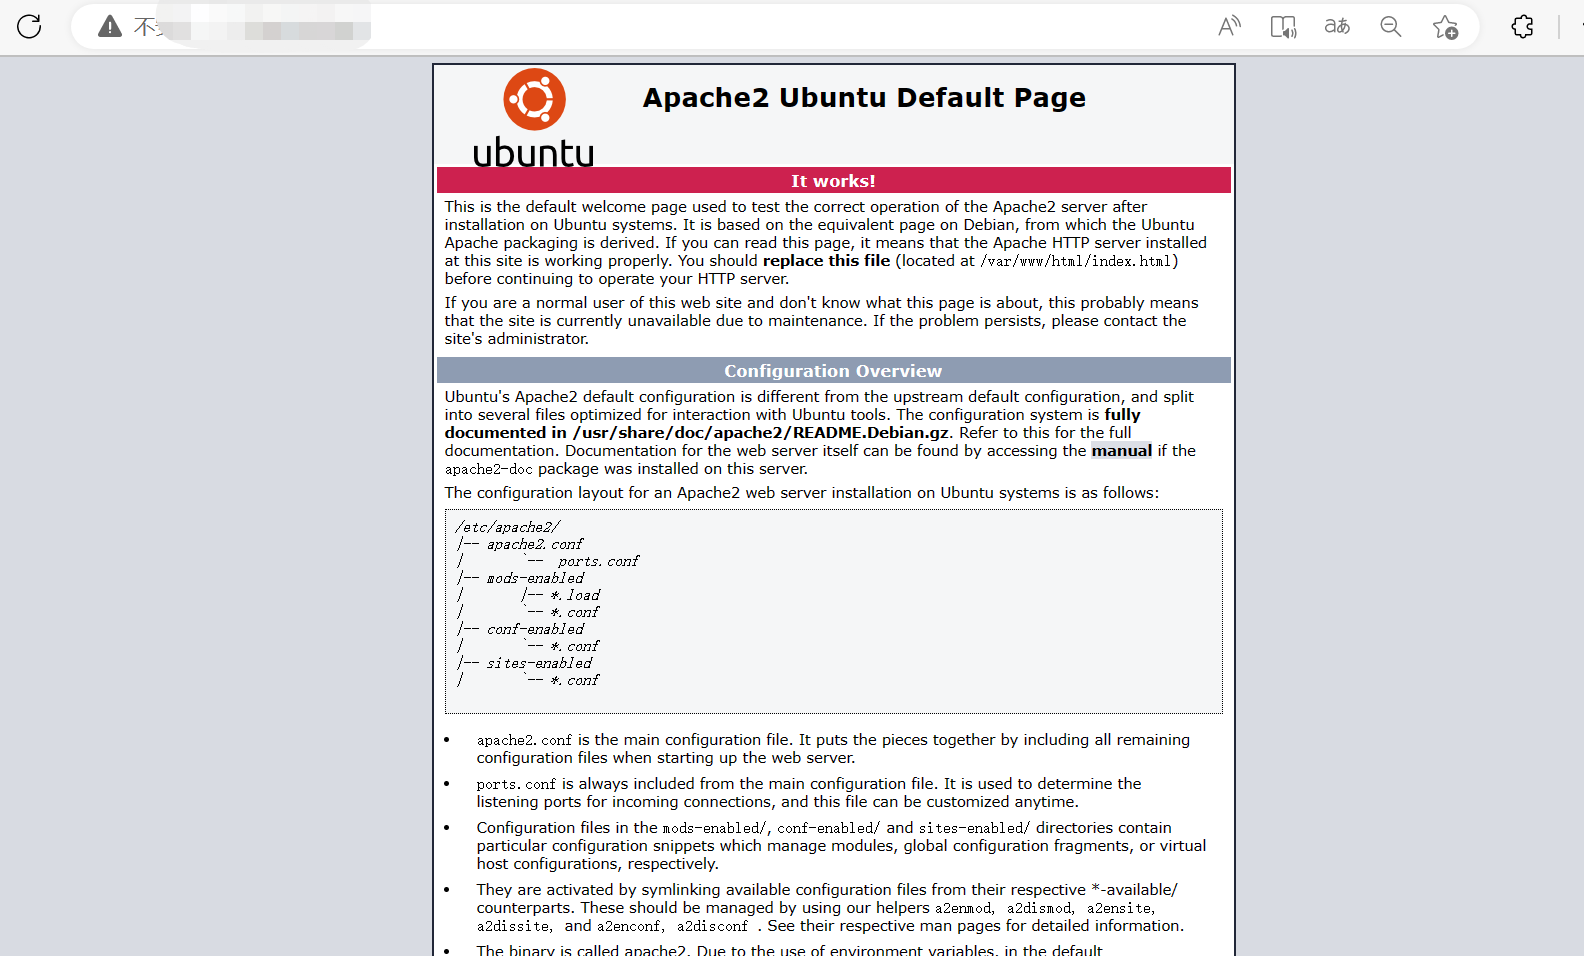
![](https://img-blog.csdnimg.cn/img_convert/bbc37eb9c77165271e9a795e0ee8d359.png)
输入本地IP即可
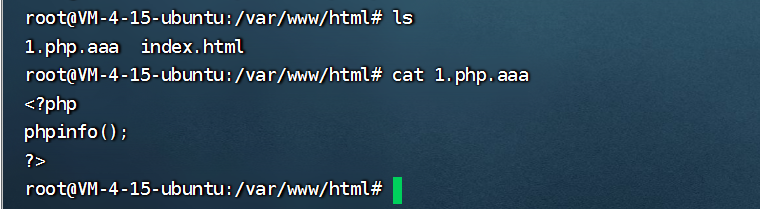
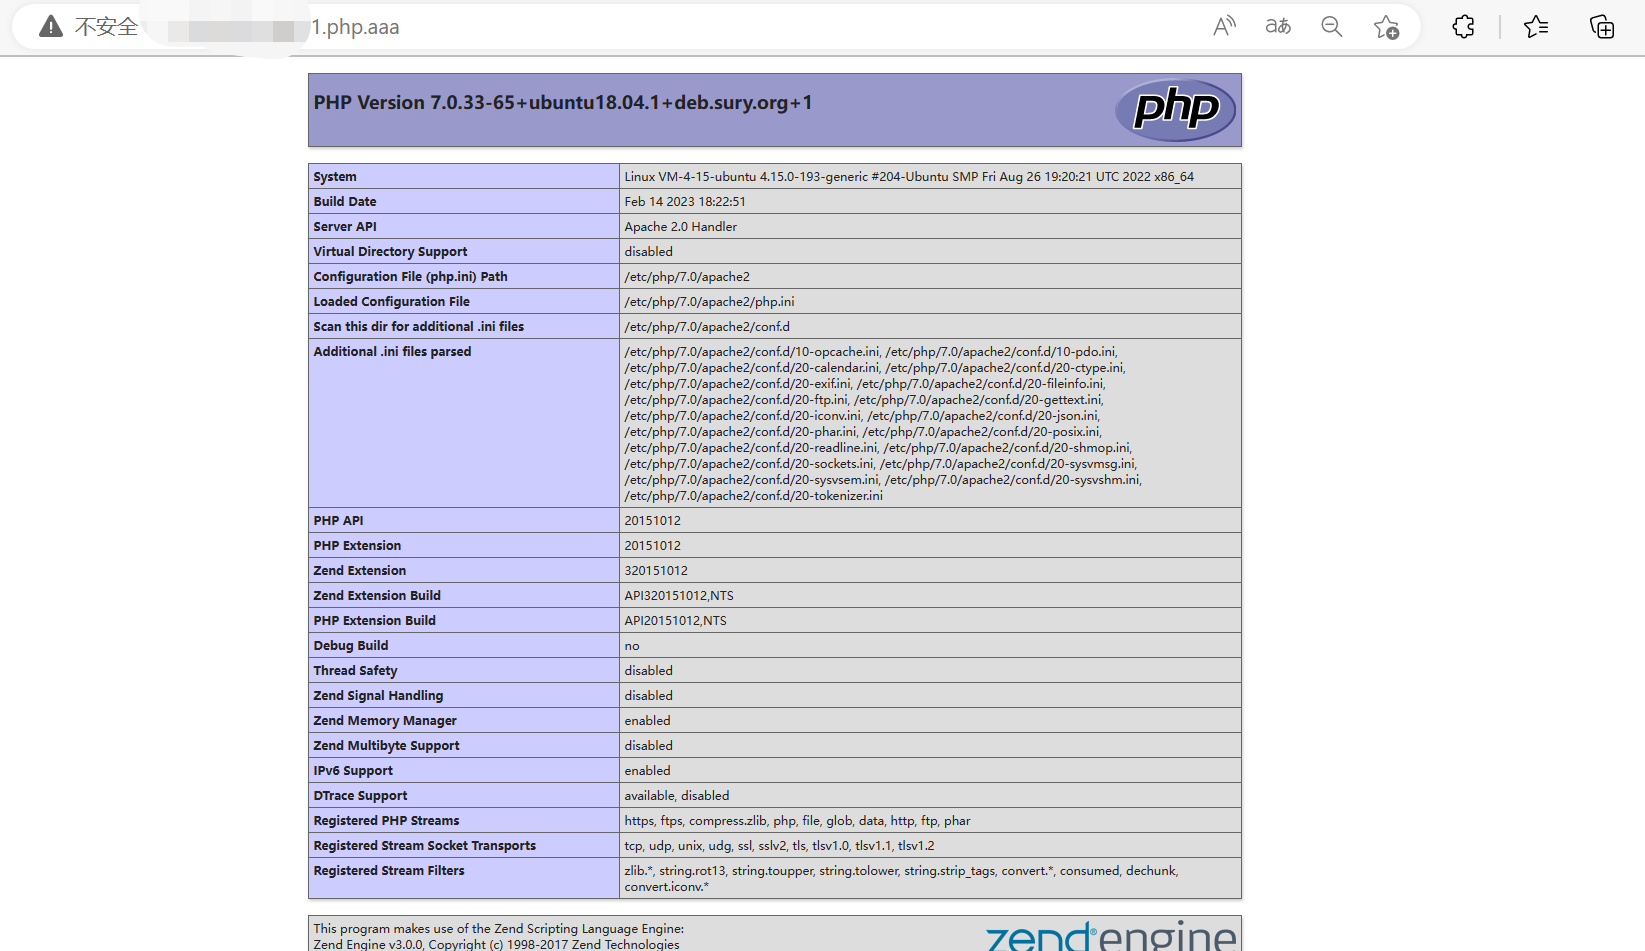
在根目录/var/www/html下写一个1.php.aaa的文件
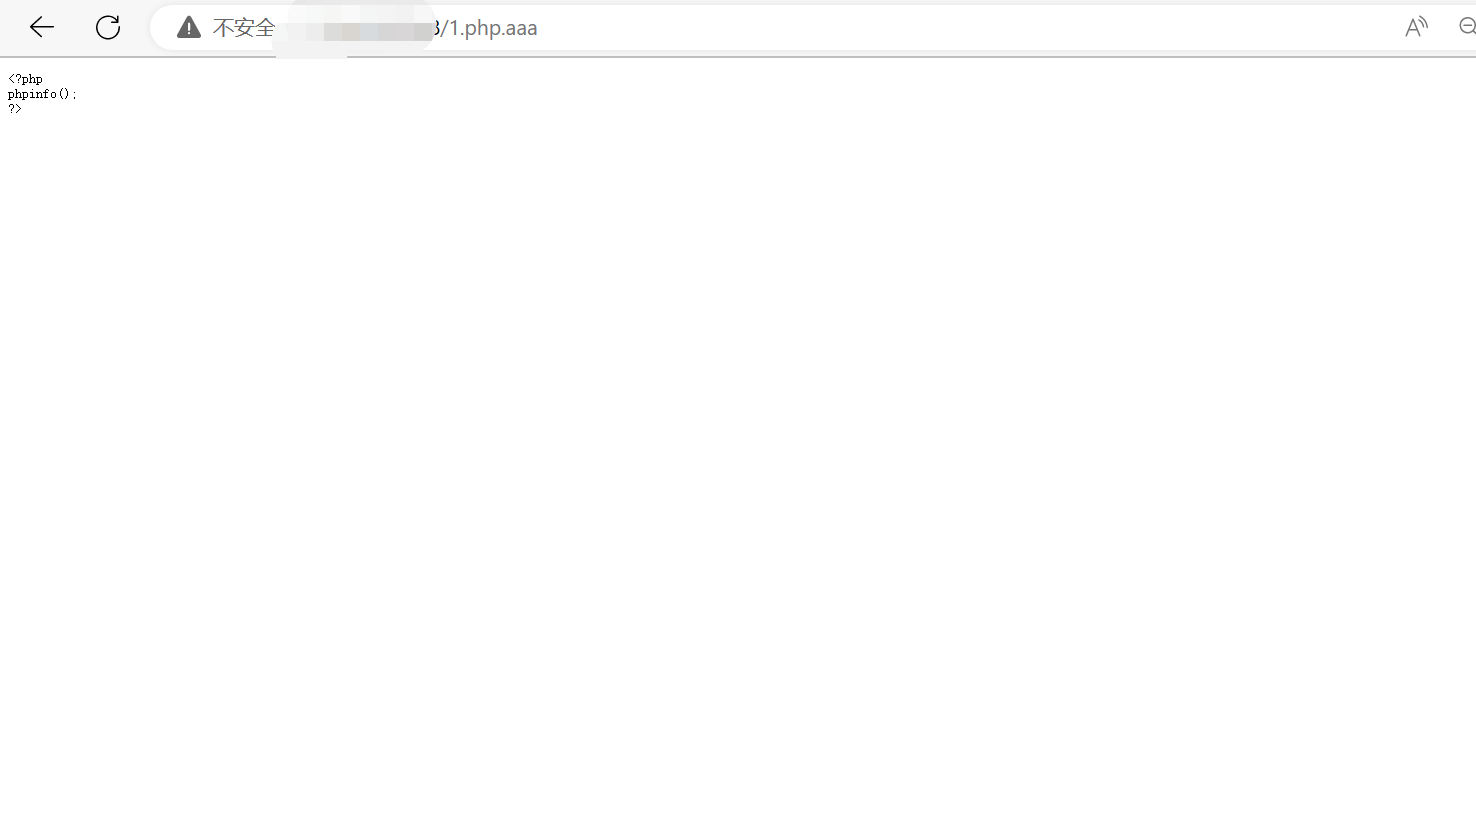
![](https://img-blog.csdnimg.cn/img_convert/d0071c3c387a5a0e8c532674d4706755.png)
在浏览器上输入,没有得到解析
![](https://img-blog.csdnimg.cn/img_convert/c92c68afa043f88ee8caea9026e0b245.png)
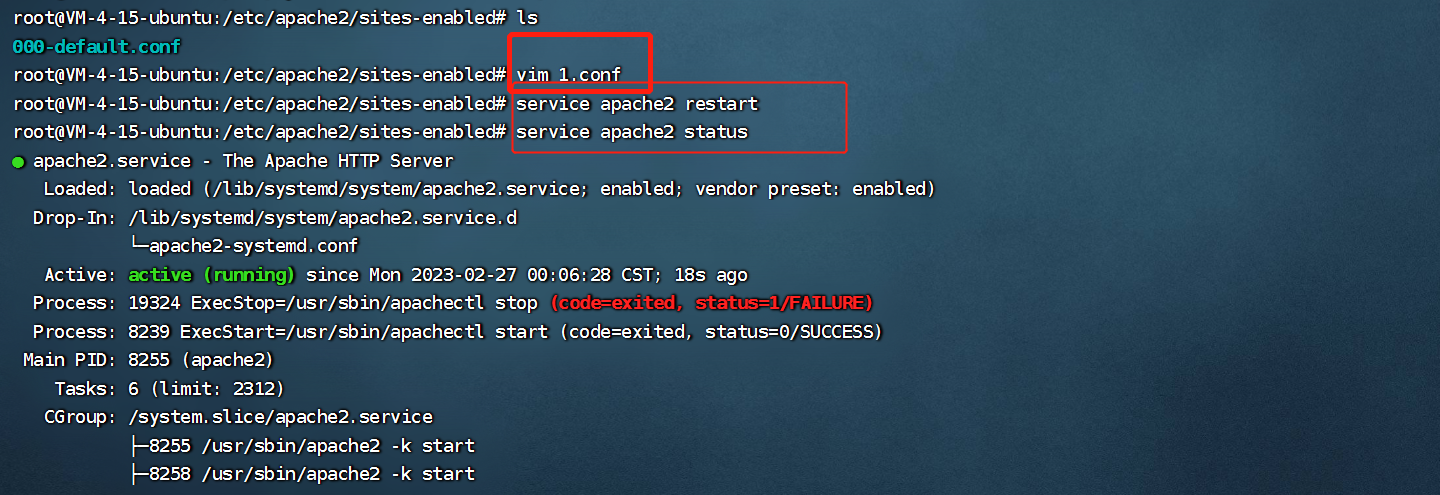
编写一个1.conf文件,输入AddHandler application/x-httpd-php .php
AddHandler application/x-httpd-php .php
重启一下apache2的服务,启动成功,查看了一下服务状态,发现有一个报错,但还是能成功解析出来
![](https://img-blog.csdnimg.cn/img_convert/15ca855e71d2a50a8e37d914a34040a9.png)
再打开一下1.php.aaa文件即可
![](https://img-blog.csdnimg.cn/img_convert/55db0a4b562939e0812dabcd11626ce1.png)