


openssl自签名证书
1、安装
yum install -y epel-release nginx
2、生成密钥,采用的是des3算法
openssl genrsa -des3 -out server.key 2048
3、根据密钥签发申请文件CSR
openssl req -new -key server.key -out server.csr
#这一步主要是去除密钥的密码,便于后续部署
openssl rsa -in server.key -out server.key
#生成自签名根证书并设置证书的有效期,crt是发给客户端的证书
openssl x509 -req -days 3650 -in server.csr -signkey server.key -out server.crt
#有的需要pem的证书,对证书做的转换
openssl x509 -in server.crt -out server.pem -outform PEM
4、秘钥文件
[root@localhost ~]# ls
anaconda-ks.cfg server.crt server.key server.csr server.pem
5、配置文件
[root@localhost ~]# vim /etc/nginx/nginx.conf
# For more information on configuration, see:
# * Official English Documentation: http://nginx.org/en/docs/
# * Official Russian Documentation: http://nginx.org/ru/docs/user nginx;
worker_processes auto;
error_log /var/log/nginx/error.log;
pid /run/nginx.pid;# Load dynamic modules. See /usr/share/doc/nginx/README.dynamic.
include /usr/share/nginx/modules/*.conf;events {
worker_connections 1024;
}http {
log_format main '$remote_addr - $remote_user [$time_local] "$request" '
'$status $body_bytes_sent "$http_referer" '
'"$http_user_agent" "$http_x_forwarded_for"';access_log /var/log/nginx/access.log main;
sendfile on;
tcp_nopush on;
tcp_nodelay on;
keepalive_timeout 65;
types_hash_max_size 4096;include /etc/nginx/mime.types;
default_type application/octet-stream;# Load modular configuration files from the /etc/nginx/conf.d directory.
# See http://nginx.org/en/docs/ngx_core_module.html#include
# for more information.
include /etc/nginx/conf.d/*.conf;# server {
# listen 80 ssl;
# listen [::]:80;
# server_name _;
# root /usr/share/nginx/html;
#
# # Load configuration files for the default server block.
# include /etc/nginx/default.d/*.conf;
#
# error_page 404 /404.html;
# location = /404.html {
# }
#
# error_page 500 502 503 504 /50x.html;
# location = /50x.html {
# }
# }
#
# Settings for a TLS enabled server.
#
server {
listen 443 ssl http2;
listen [::]:443 ssl http2;
server_name _;
root /usr/share/nginx/html;ssl_certificate "/root/server.crt"; #
ssl_certificate_key "/root/server.key"; #
ssl_session_cache shared:SSL:1m;
ssl_session_timeout 10m;
ssl_ciphers HIGH:!aNULL:!MD5;
ssl_prefer_server_ciphers on;# Load configuration files for the default server block.
include /etc/nginx/default.d/*.conf;error_page 404 /404.html;
location = /40x.html {
}error_page 500 502 503 504 /50x.html;
location = /50x.html {
}
}}
6、nginx启动
systemctl enable nginx --now
7、查看端口
netstat -ntlp | grep nginx
tcp 0 0 0.0.0.0:443 0.0.0.0:* LISTEN 2269/nginx: master
tcp 0 0 0.0.0.0:8060 0.0.0.0:* LISTEN 1479/nginx: master
tcp 0 0 0.0.0.0:9898 0.0.0.0:* LISTEN 1479/nginx: master
tcp6 0 0 :::443 :::* LISTEN 2269/nginx: master
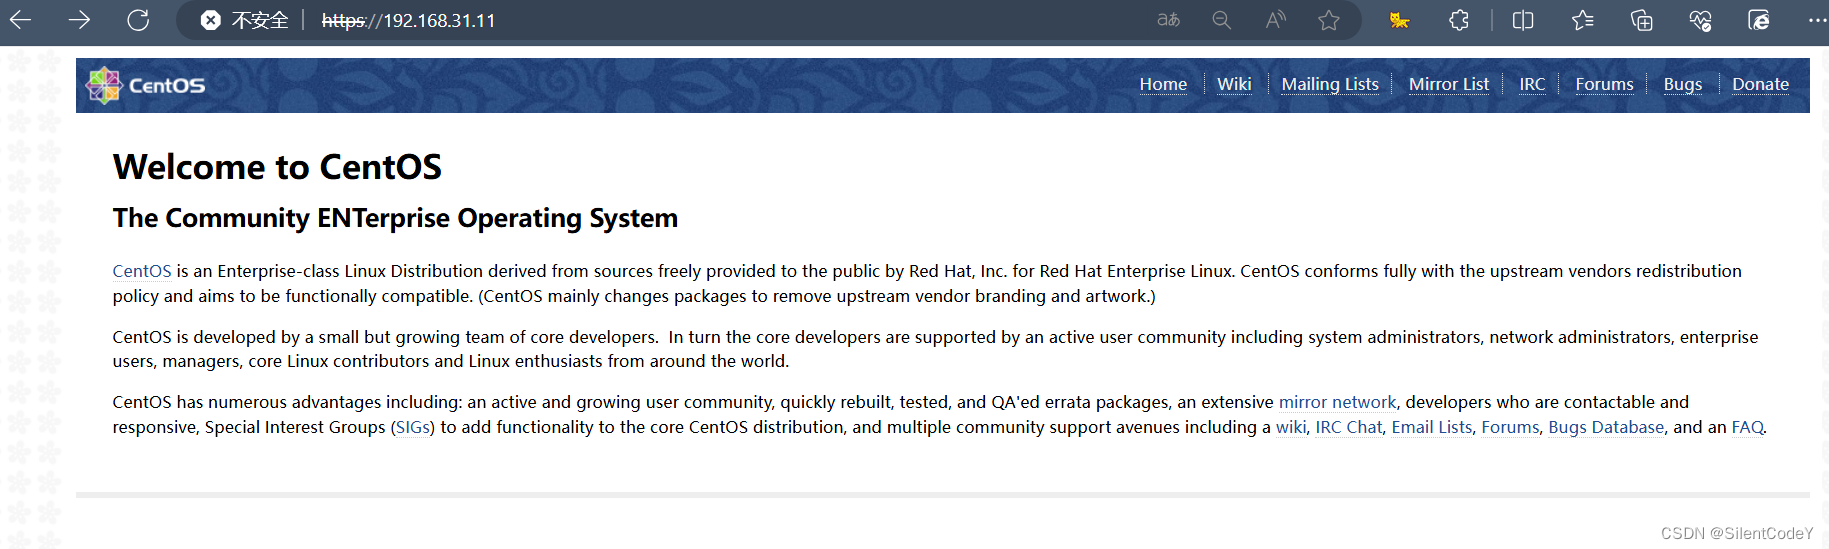
最后居然成功了,但还是比较浅,后面再深入一下


 508
508

 被折叠的 条评论
为什么被折叠?
被折叠的 条评论
为什么被折叠?
 到【灌水乐园】发言


