Spring boot + Mybatis 实现数据库的增删改查(CRUD)操作
利用 Spring boot,我们可以快速构建 Spring 框架应用。利用 Mybatis 为 Spring boot 提供的依赖,我们可以快捷地连接到 MySQL,实现 web 项目对数据库的 CRUD 操作。
一、创建项目
在 IDEA 中新建 maven 项目,并在 pom.xml 中导入 Spring boot,Mybatis 相关依赖:

<!-- 导入Spring boot父包 -->
<parent>
  <groupId>org.springframework.boot</groupId>
  <artifactId>spring-boot-starter-parent</artifactId>
  <version>3.3.2</version>
</parent>
<dependencies>
  		<!-- 导入Spring  -->
      <dependency>
          <groupId>org.springframework.boot</groupId>
          <artifactId>spring-boot-starter-web</artifactId>
      </dependency>
  		<!-- 导入Mybatis -->
      <dependency>
          <groupId>org.mybatis.spring.boot</groupId>
          <artifactId>mybatis-spring-boot-starter</artifactId>
          <version>3.0.3</version>
      </dependency>
  		<!-- 导入MySQL -->
      <dependency>
          <groupId>mysql</groupId>
          <artifactId>mysql-connector-java</artifactId>
          <version>8.0.33</version>
      </dependency>
  		<!-- lombok可以自动生成getter和setter -->
      <dependency>
          <groupId>org.projectlombok</groupId>
          <artifactId>lombok</artifactId>
          <version>1.18.32</version>
      </dependency>
  </dependencies>
在 MySQL 中新建一个示例数据库 studentsql,执行以下建表语句:
create table student(
	id int,
  name varchar(10),
	major	varchar(10) ,
	primary key (id)
)
insert into student values(1,"张三","中文");
insert into student values(2,"李四","新闻");
insert into student values(3,"王五","计算机科学与技术");
在项目目录 main/java 下新建包 com.busyforest.entity,用于存放实体类。
在 entity 包下新建实体类 Student:
package com.busyforest.entity;

import lombok.Data;

@Data
public class Student {
    private int id;
    private String name;
    private String major;
}
在项目目录 main/java 下新建包 com.busyforest.inter,用于存放接口。
在 inter 包下新建接口 StudentInterface:
package com.busyforest.inter;

import com.busyforest.entity.Student;

import java.util.List;

public interface StudentInterface {
    public List<Student> getAllStudents();
    public Student findStudentById(int id);
    public void addNewStudent(Student student);
    public void updateStudent(Student student);
    public void deleteStudentById(int id);

}
在项目目录 main/java 下新建包 com.busyforest.controller,用于存放控制类,处理 http 请求。
在 controller 包下新建控制类 StudentHandler:
package com.busyforest.controller;

import com.busyforest.entity.Student;
import com.busyforest.inter.StudentInterface;
import org.springframework.web.bind.annotation.*;

import java.util.List;

@RestController
@RequestMapping("/student")
public class StudentHandler {
  	@Autowired
    private StudentInterface studentInterface;

    // 数据库的增(create)删(delete)改(update)查(read)操作分别对应 http 请求中的 POST,DELETE,PUT,GET
    // 相应的 Mapping 注解有所不同
    @GetMapping("/getAllStudents")
    public List<Student> getAllStudents(){
        return studentInterface.getAllStudents();
    }

    // 这里请求包含的参数用 REST 风格
    @GetMapping("/findStudentById/{id}")
    public Student findStudentById(@PathVariable("id")int id){
        return studentInterface.findStudentById(id);
    }

    // 这里 add 和 update 的 student 由 Post 请求中的 JSON 解析而来,所以要加一个注解 @RequestBody
    @PostMapping("/addNewStudent")
    public void addNewStudent(@RequestBody Student student){
        studentInterface.addNewStudent(student);
    }

    @PutMapping("/updateStudent")
    public void updateStudent(@RequestBody Student student){
        studentInterface.updateStudent(student);
    }

    @DeleteMapping("/deleteStudentById/{id}")
    public void deleteStudentById(@PathVariable("id") int id){
        studentInterface.deleteStudentById(id);
    }
}
二、配置项目
在项目目录 main/resources 下新建目录 /Mapping ,用于存放配置 Mybatis 的配置文件
在 /Mapping 目录下新建配置文件 studentMap.xml :
<?xml version="1.0" encoding="UTF-8" ?>
<!DOCTYPE mapper PUBLIC "-//mybatis.org//DTD Mapper 3.0//EN" "http://mybatis.org/dtd/mybatis-3-mapper.dtd">
<mapper namespace="com.busyforest.inter.StudentInterface">
    <select id="getAllStudents" resultType="Student">
        select * from student
    </select>
    <select id="findStudentById" parameterType="int" resultType="Student">
        select * from student where id = #{id}
    </select>
    <insert id="addNewStudent" parameterType="Student">
        insert into student values (#{id},#{name},#{major})
    </insert>
    <update id="updateStudent" parameterType="Student">
        update student set name = #{name}, major = #{major} where id = #{id}
    </update>
    <delete id="deleteStudentById" parameterType="int">
        delete from student where id = #{id}
    </delete>
</mapper>
这个配置文件以 XML 的格式将 SQL 语句绑定到了相应的 java 接口方法中,同时规定了形参和返回值类型,便于框架中的转换器转换。
在项目目录 main/resources 下新建配置文件 application.yml (此处文件名为强制要求,不能更改)
# 配置 Spring,连接到数据库
spring:
  datasource:
    url: jdbc:mysql://localhost:3306/studentsql
    username: root
    password: 735568
    driver-class-name: com.mysql.cj.jdbc.Driver

# 配置 Mybatis,告诉框架配置文件的位置
mybatis:
  type-aliases-package: com.busyforest.entity
  mapper-locations: classpath:/Mapping/studentMap.xml
最后,在 com.busyforest 目录下新建主类 Main.java ,作为 Spring boot 应用的入口类:
package com.busyforest;

import org.mybatis.spring.annotation.MapperScan;
import org.springframework.boot.SpringApplication;
import org.springframework.boot.autoconfigure.SpringBootApplication;

// @SpringBootApplication 表示该类是 Springboot 应用程序入口类
// @MapperScan 是 Mybatis 的注解,用于把 com.busyforest.inter 中的实例化对象扫描到 IoC 容器中
@SpringBootApplication
@MapperScan("com.busyforest.inter")
public class Main {
    public static void main(String[] args) {
        SpringApplication.run(Main.class,args);
    }
}
运行 Main,控制台输出:

三、调试 CRUD 操作
使用 postman 发送请求,测试程序能否对数据库进行 CRUD 操作。
-
getAllStudents

-
findStudentById

-
addNewStudent
需要将请求类型设置为 POST,Body 添加 JSON 格式数据

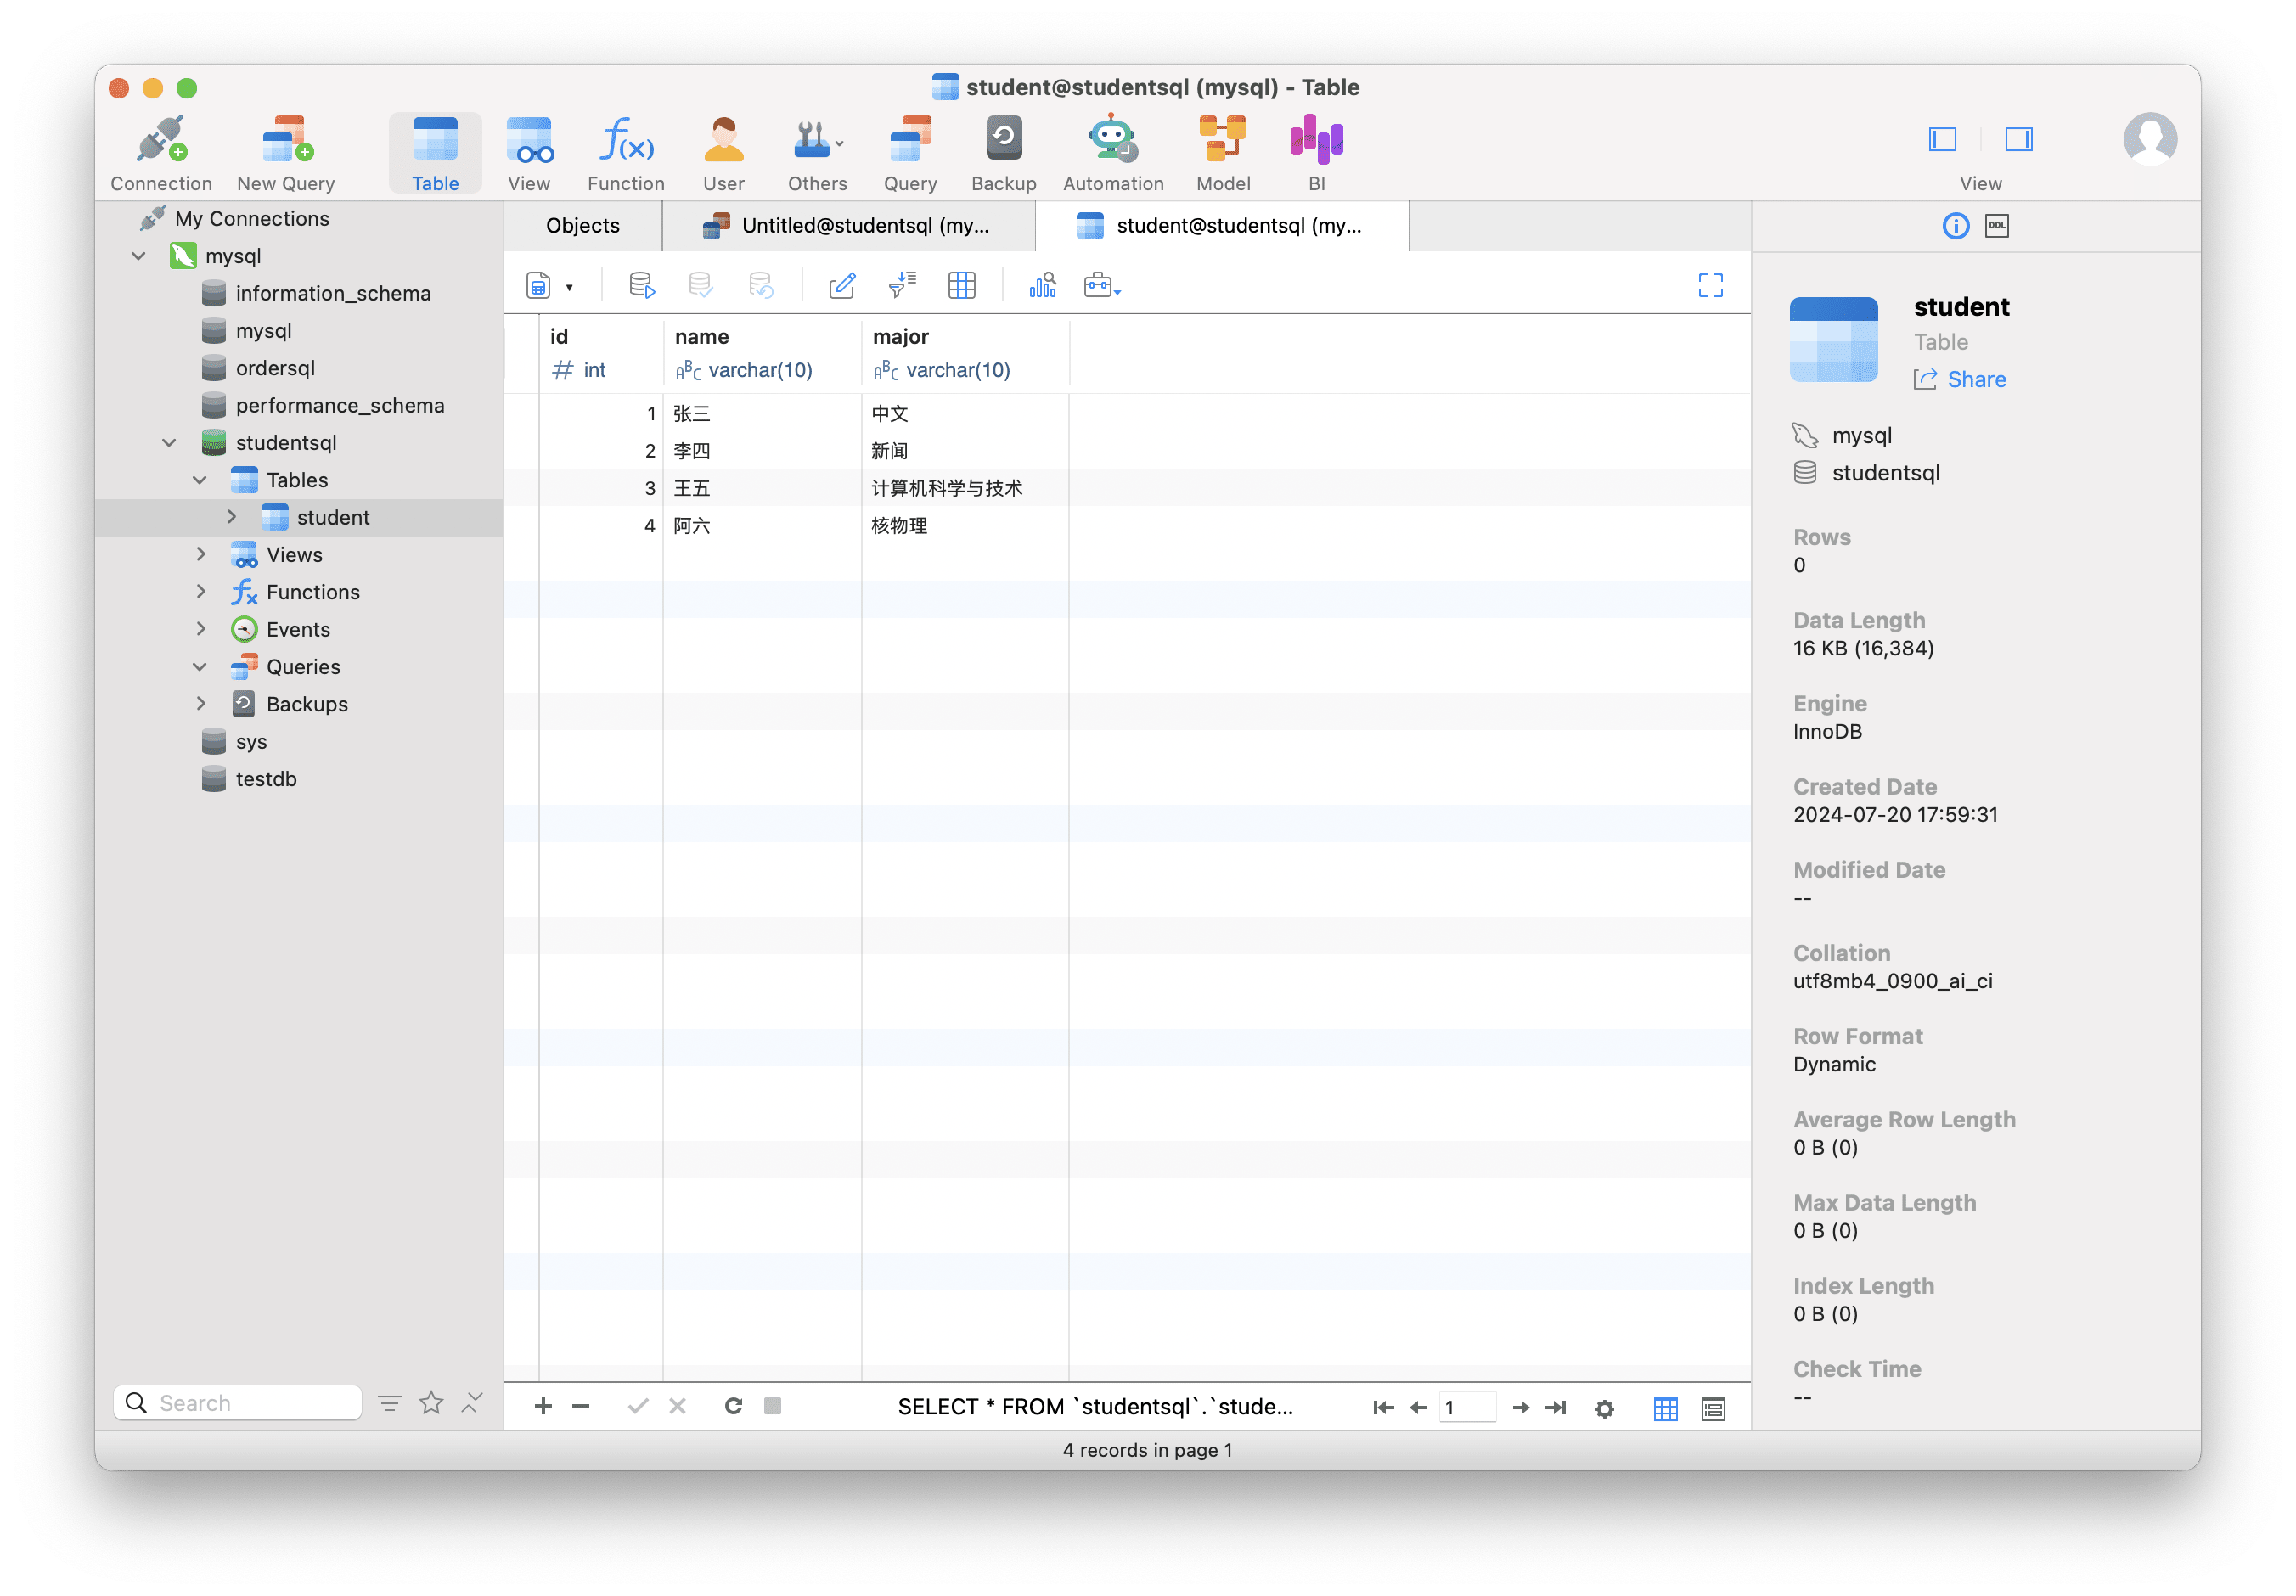
POST 请求没有返回值,但刷新数据库表可以发现已经添加成功了:

-
updateStudent
同理,把请求类型改成 PUT:

刷新数据库表,发现阿六的专业已经变成了化学:

-
deleteStudentById
这次把请求改成 DELETE,和 findStudentById 一样用 REST 风格传递参数。

刷新数据库表,阿六没了:

至此,我们通过 Spring boot + Mybatis 完成了一个简单的数据库 CRUD 操作程序。该程序接受 http 请求,然后转化为对数据库的操作,实现了基本的前后端分离。


 949
949


 被折叠的 条评论
为什么被折叠?


