


一、简介
1、什么是MVC
MVC是一种设计思想,将一个应用分成3个基本部分,分别代表着Web应用程序中的3种职责
Model(模型):用于存储数据和完成业务逻辑处理
View(视图):用于显示数据和向控制器提交数据请求
Controller(控制器):根据视图请求调用Model完成业务处理,将处理后的结果交由View进行展示
2、springMVC
2.1、什么是springMVC
SpringMVC是Spring框架提供的构建Web应用程序的全功能MVC模块。
2.2、SpringMVC工作原理
- 客户端发送请求至前端控制器DispatcherServlet。
- DispatcherServlet收到请求调用HandlerMapping处理器映射器根据请求的URL找到对应的处理器(Controller)。
- Controller调用业务逻辑后,将ModelAndView对象(封装视图和模型信息)返回给DispatcherServlet。
- DispatcherServlet将ModelAndView传给ViewReslover视图解析器。
- ViewReslover视图解析器解析后返回具体的View给DispatcherServlet
- DispatcherServlet根据View和Model渲染视图响应给客户端。
二、搭建spring MVC
这里我们使用maven搭建web项目并用注解方式运行
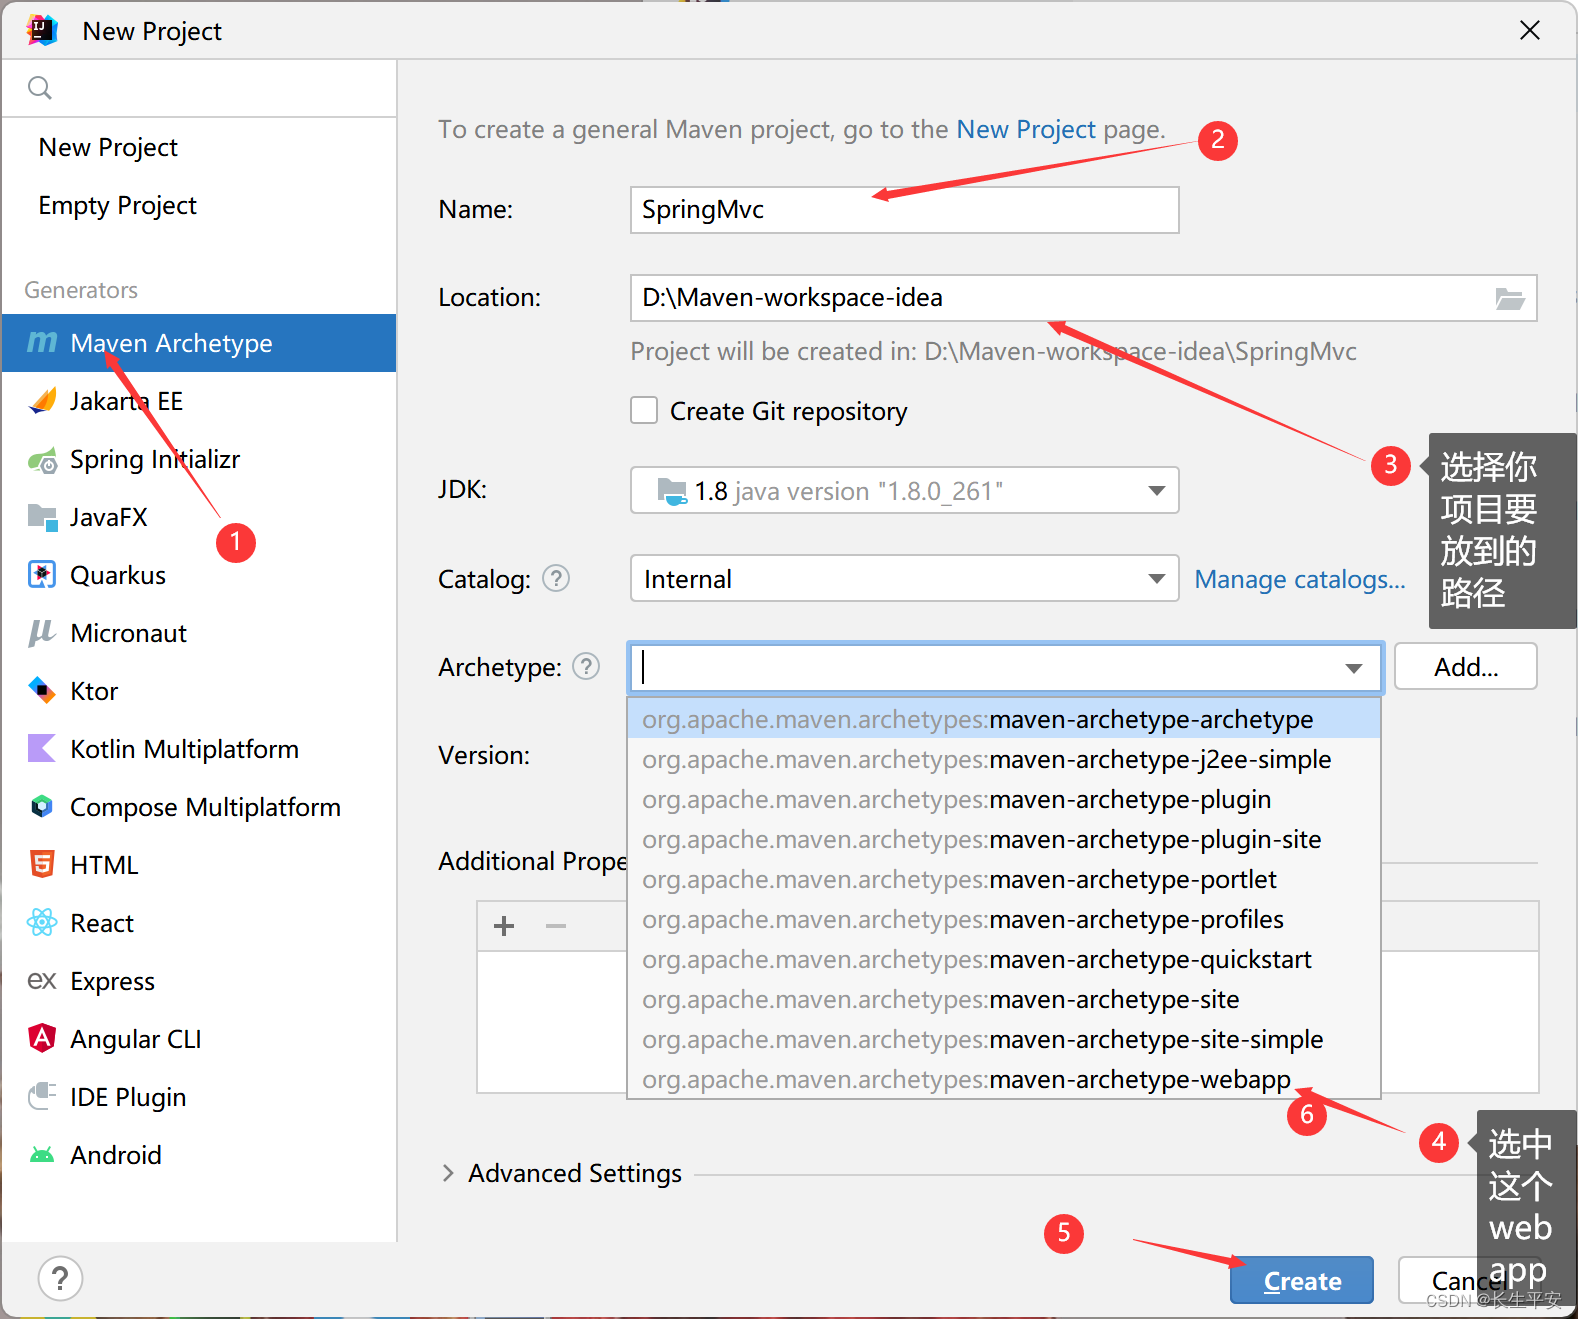
1、创建maven工程
2、导入依赖
  <dependencies>

    <dependency>
      <groupId>org.springframework</groupId>
      <artifactId>spring-webmvc</artifactId>
      <version>5.3.8</version>
    </dependency>

    <dependency>
      <groupId>javax.servlet</groupId>
      <artifactId>javax.servlet-api</artifactId>
      <version>4.0.1</version>
    </dependency>

    <dependency>
      <groupId>junit</groupId>
      <artifactId>junit</artifactId>
      <version>4.12</version>
      <scope>test</scope>
    </dependency>

  </dependencies>
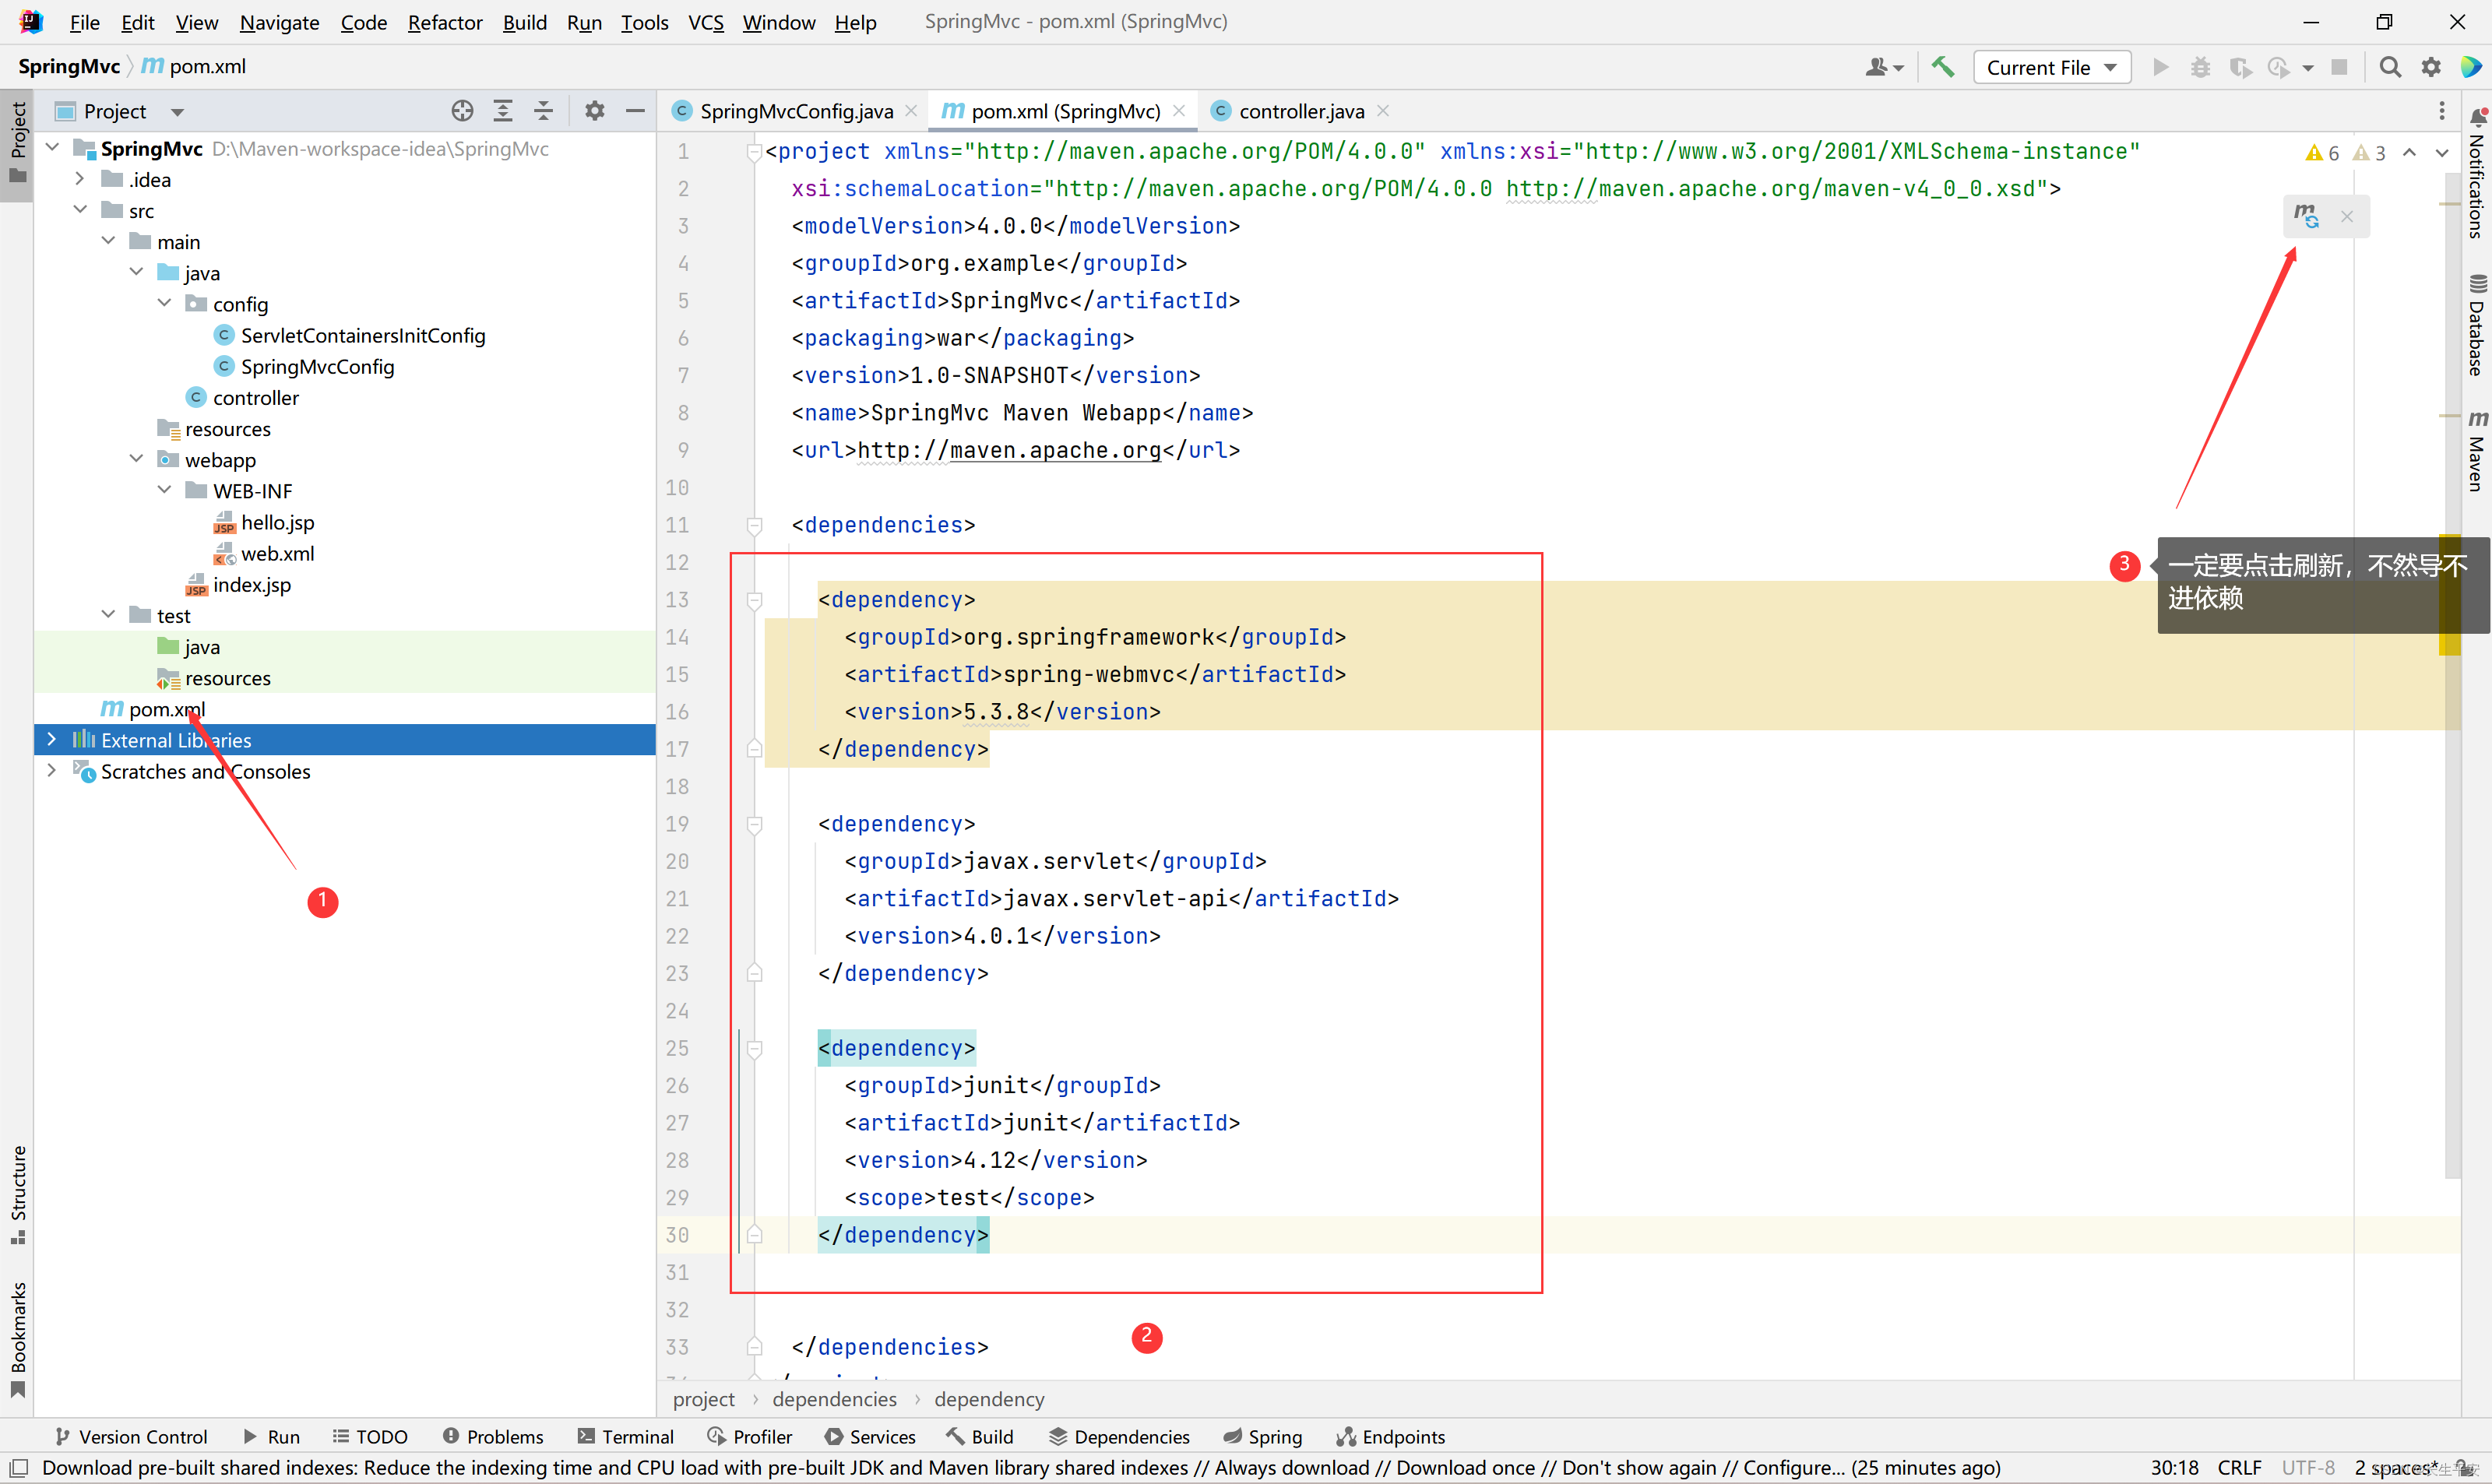
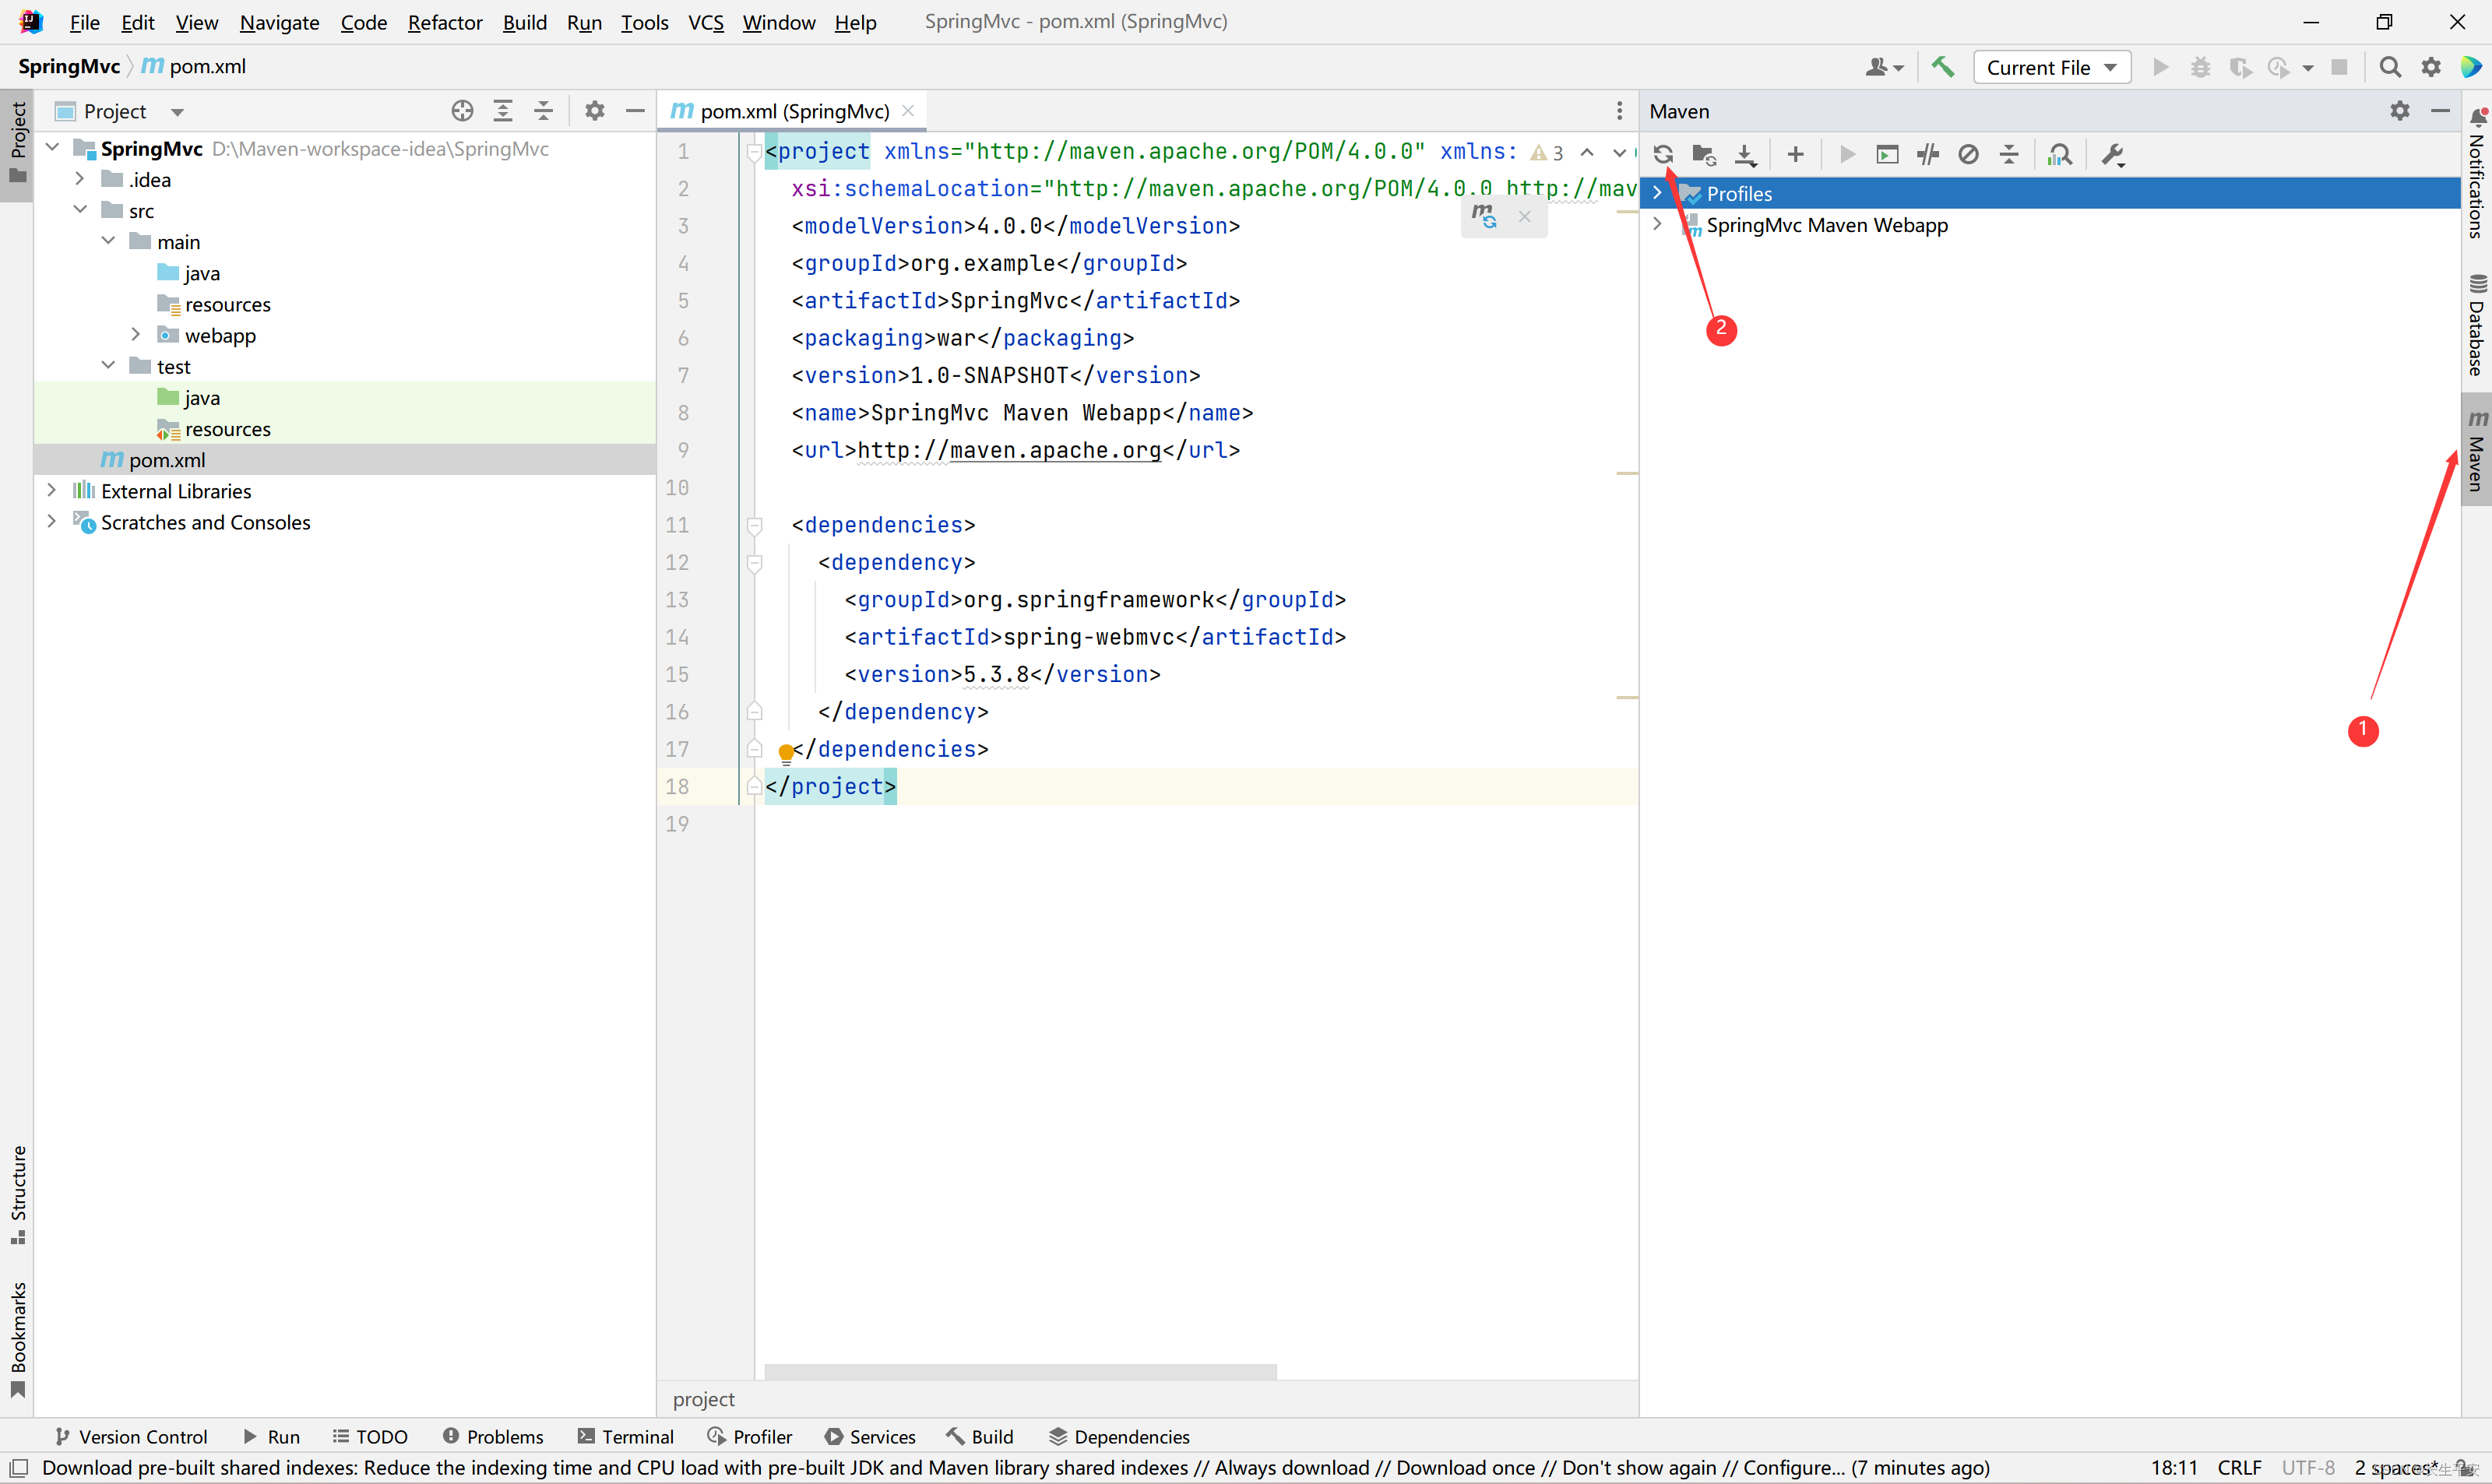
(要是找不到刷新键就看下面这张图)
3、在webapps下创建hello.jsp视图页面
<%@ page contentType="text/html;charset=UTF-8" language="java" %>
<html>
<head>
    <title>Title</title>
</head>
<body>
你好,springMVC
</body>
</html>
4、在src下的main里的Java中创建一个controller包,包里面再创一个HelloController类
package controller;

import org.springframework.stereotype.Controller;
import org.springframework.web.bind.annotation.RequestMapping;

@Controller
public class HelloController {

    @RequestMapping("/hello")
    public String hello(){
        return "hello";
    }

}
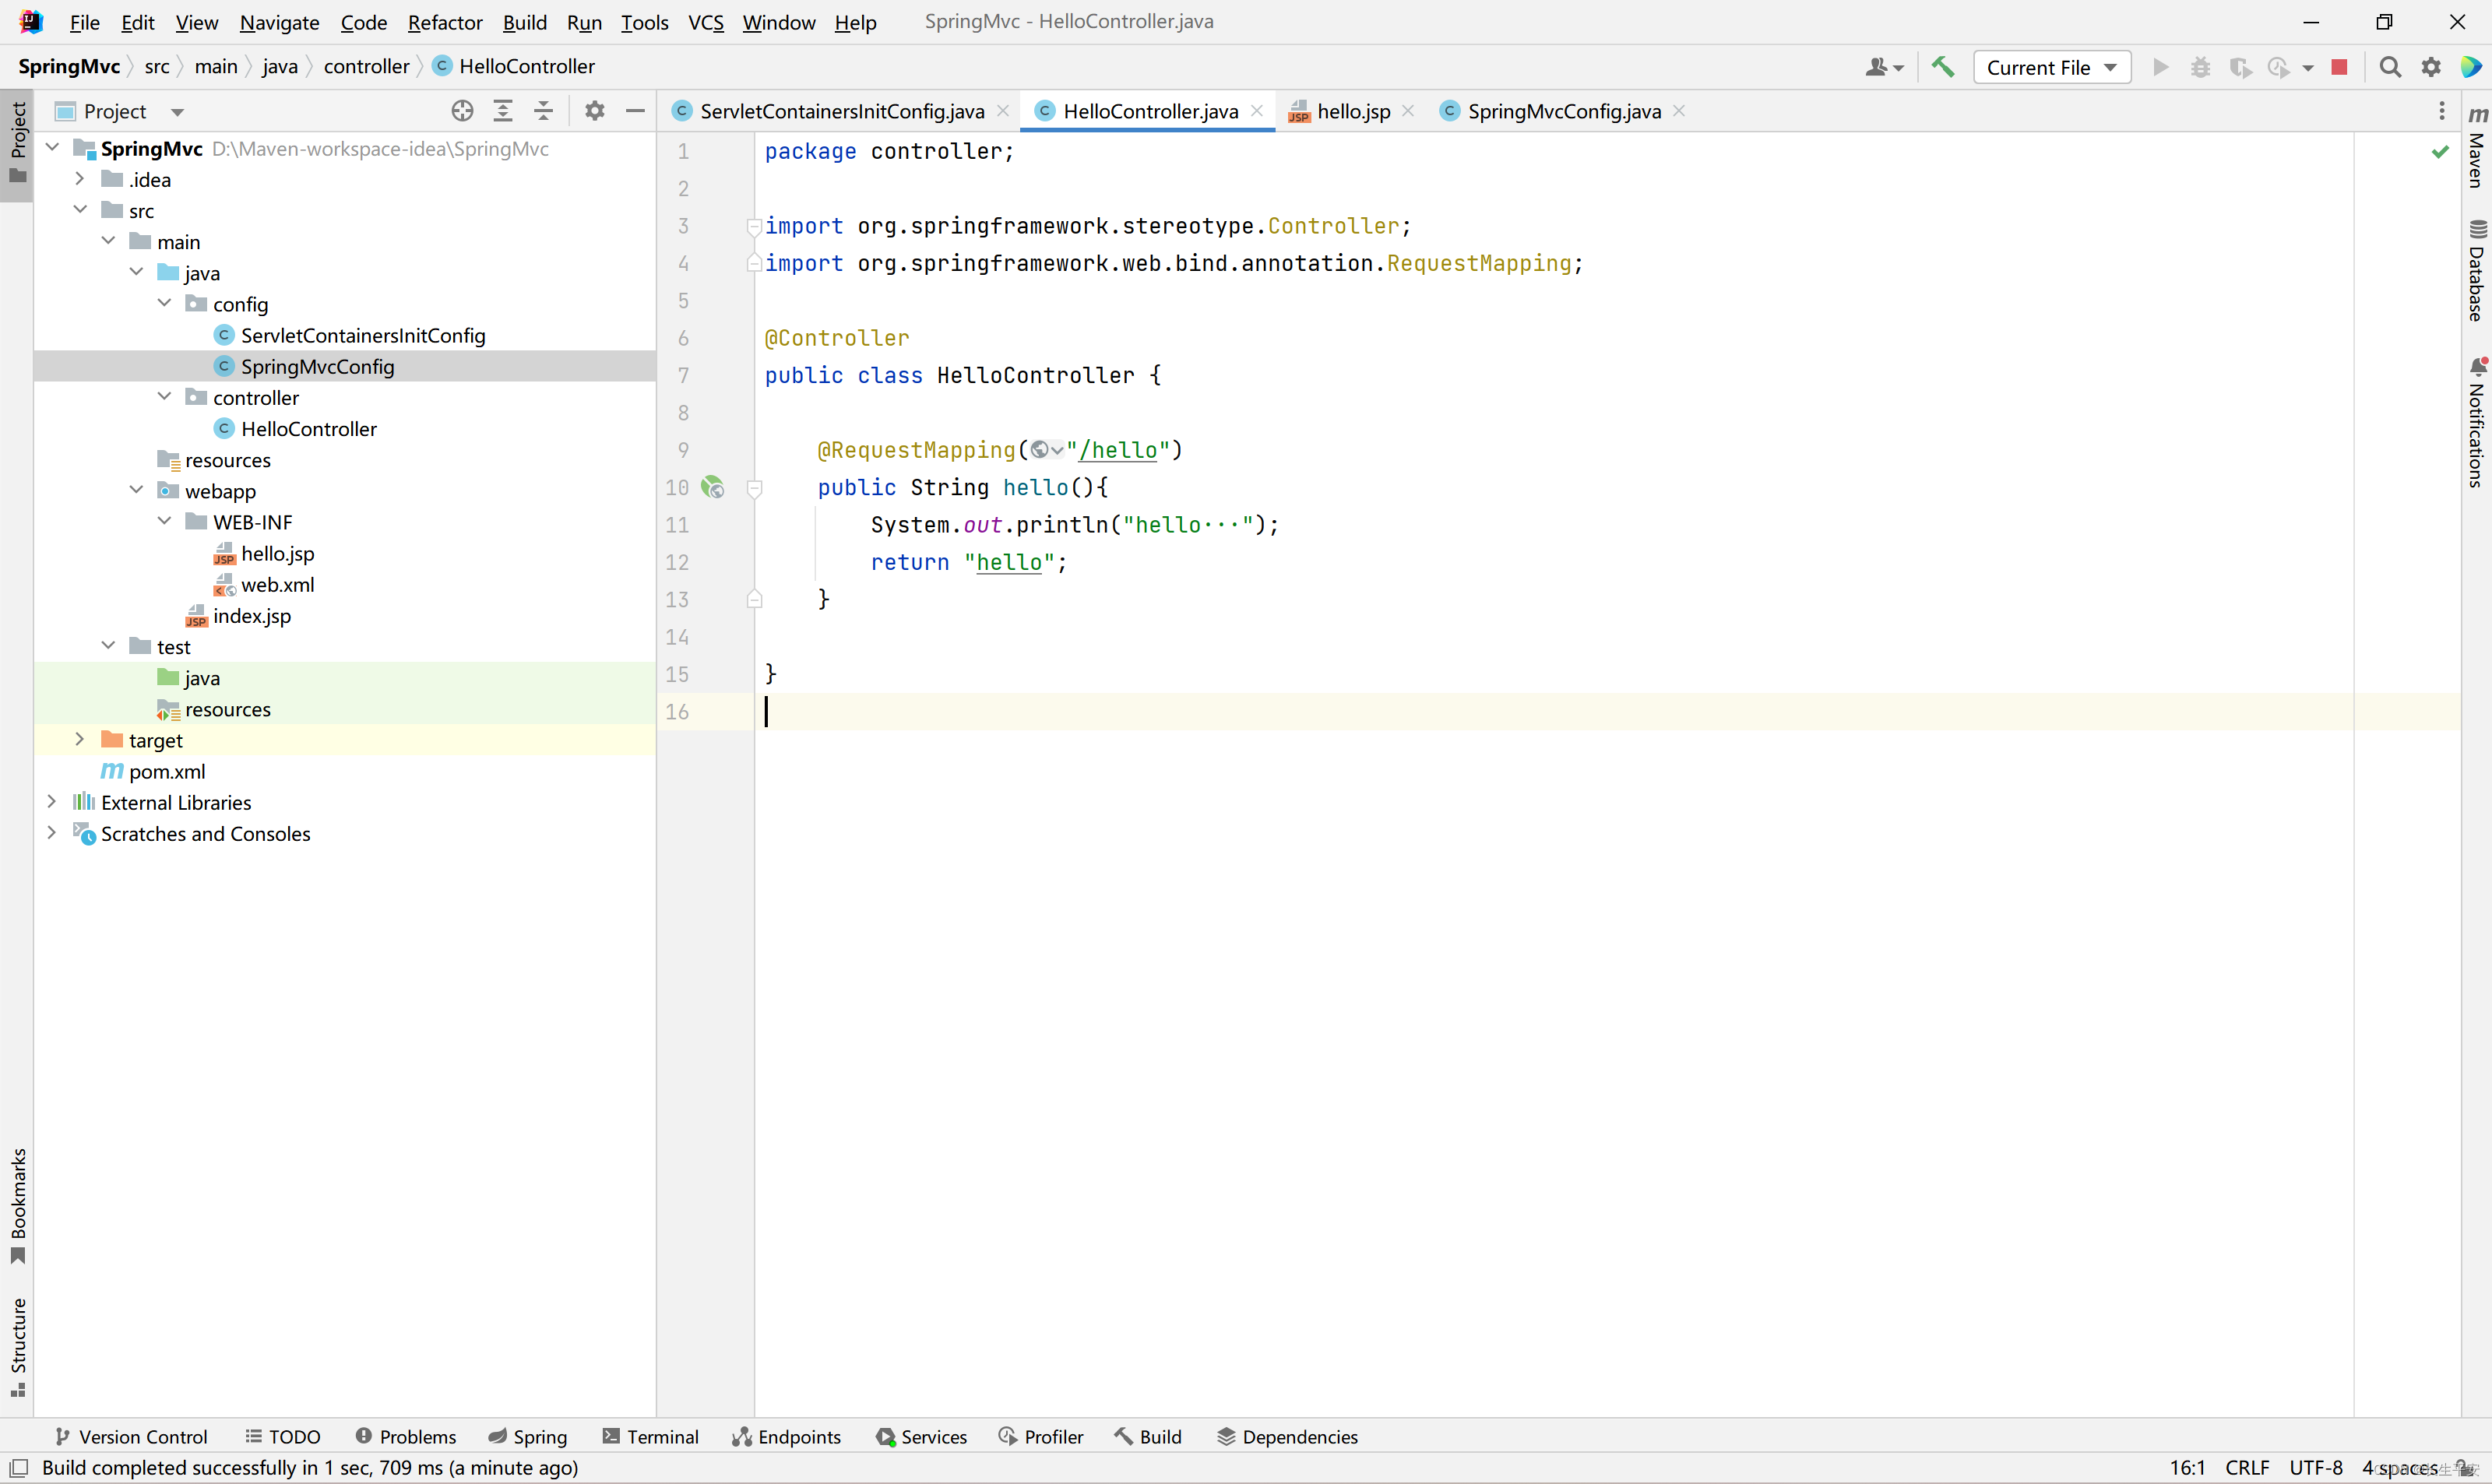
说明:
- @Controller注解标识该类为控制器
- @RequestMapping(“/hello”)注解表示用户请求访问hello方法的映射路径url
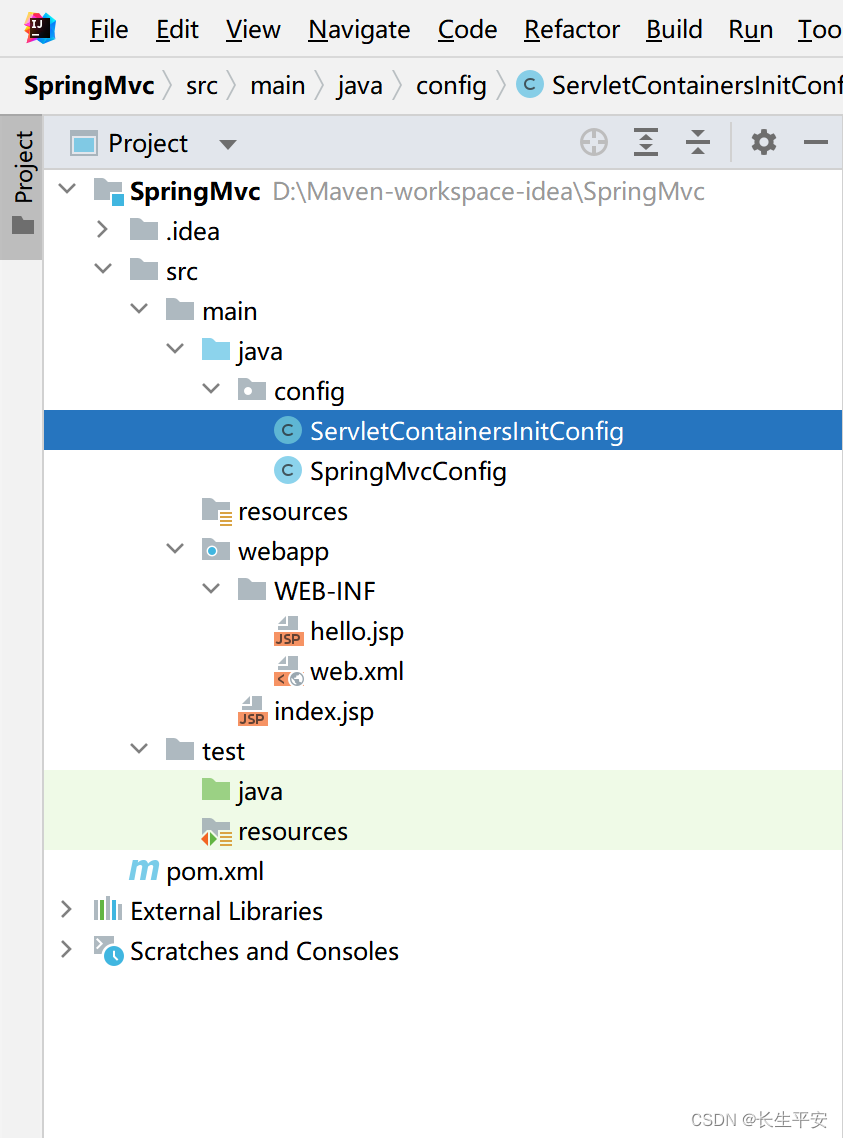
5、在src下的main里的Java中创建一个config包,包里面再创建SpringMvcConfig、ServletContainersInitConfig两个类
5.1、SpringMvcConfig里面写入
package config;

import org.springframework.context.annotation.Bean;
import org.springframework.context.annotation.ComponentScan;
import org.springframework.context.annotation.Configuration;
import org.springframework.web.servlet.view.InternalResourceViewResolver;

@Configuration
@ComponentScan("controller")
public class SpringMvcConfig {
    @Bean
    public InternalResourceViewResolver internalResourceViewResolver(){
        InternalResourceViewResolver viewResolver = new InternalResourceViewResolver();
        viewResolver.setPrefix("/WEB-INF/");
        viewResolver.setSuffix(".jsp");
        return viewResolver;
    }
}
说明:
@ComponentScan注解用于指定要扫描的包名
@Configuration注解表示这是一个配置类,它用于告诉Spring容器这个类是用来配置Bean的
@Bean下面这段话是说让视图解析器帮助我们在控制器中返回视图的时候自动加上前缀和后缀
5.2、ServletContainersInitConfig里面写入
package config;

import org.springframework.web.context.WebApplicationContext;
import org.springframework.web.context.support.AnnotationConfigWebApplicationContext;
import org.springframework.web.servlet.support.AbstractDispatcherServletInitializer;

public class ServletContainersInitConfig extends AbstractDispatcherServletInitializer {
    @Override
    protected WebApplicationContext createServletApplicationContext() {
        AnnotationConfigWebApplicationContext ctx = new AnnotationConfigWebApplicationContext();
        ctx.register(SpringMvcConfig.class);
        return ctx;
    }

    @Override
    protected String[] getServletMappings() {
        return new String[]{"/"};
    }

    protected WebApplicationContext createRootApplicationContext() {
        return null;
    }
}
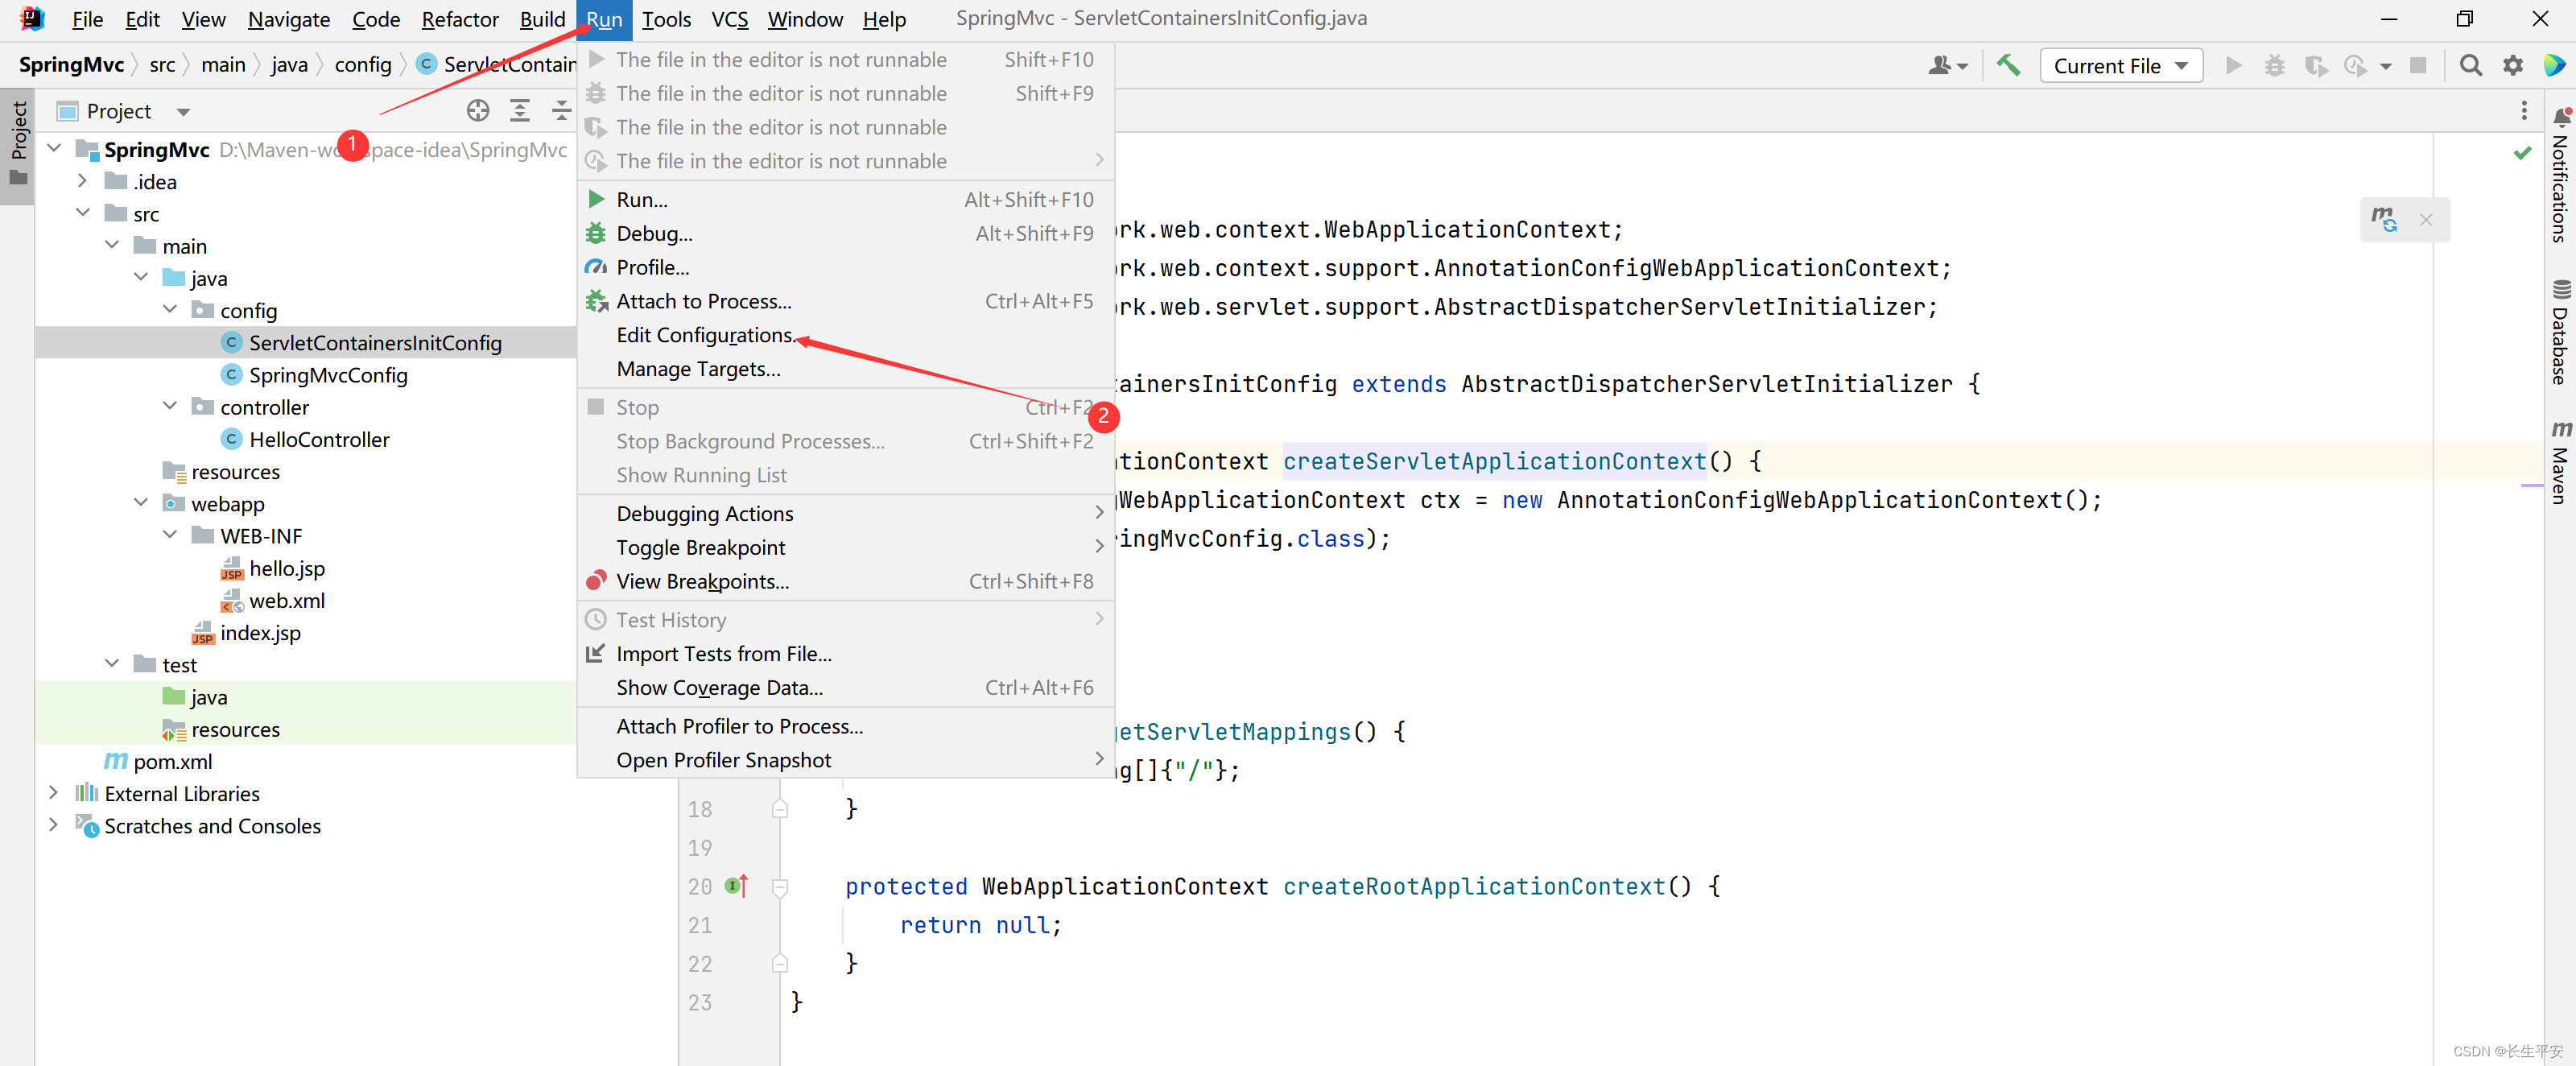
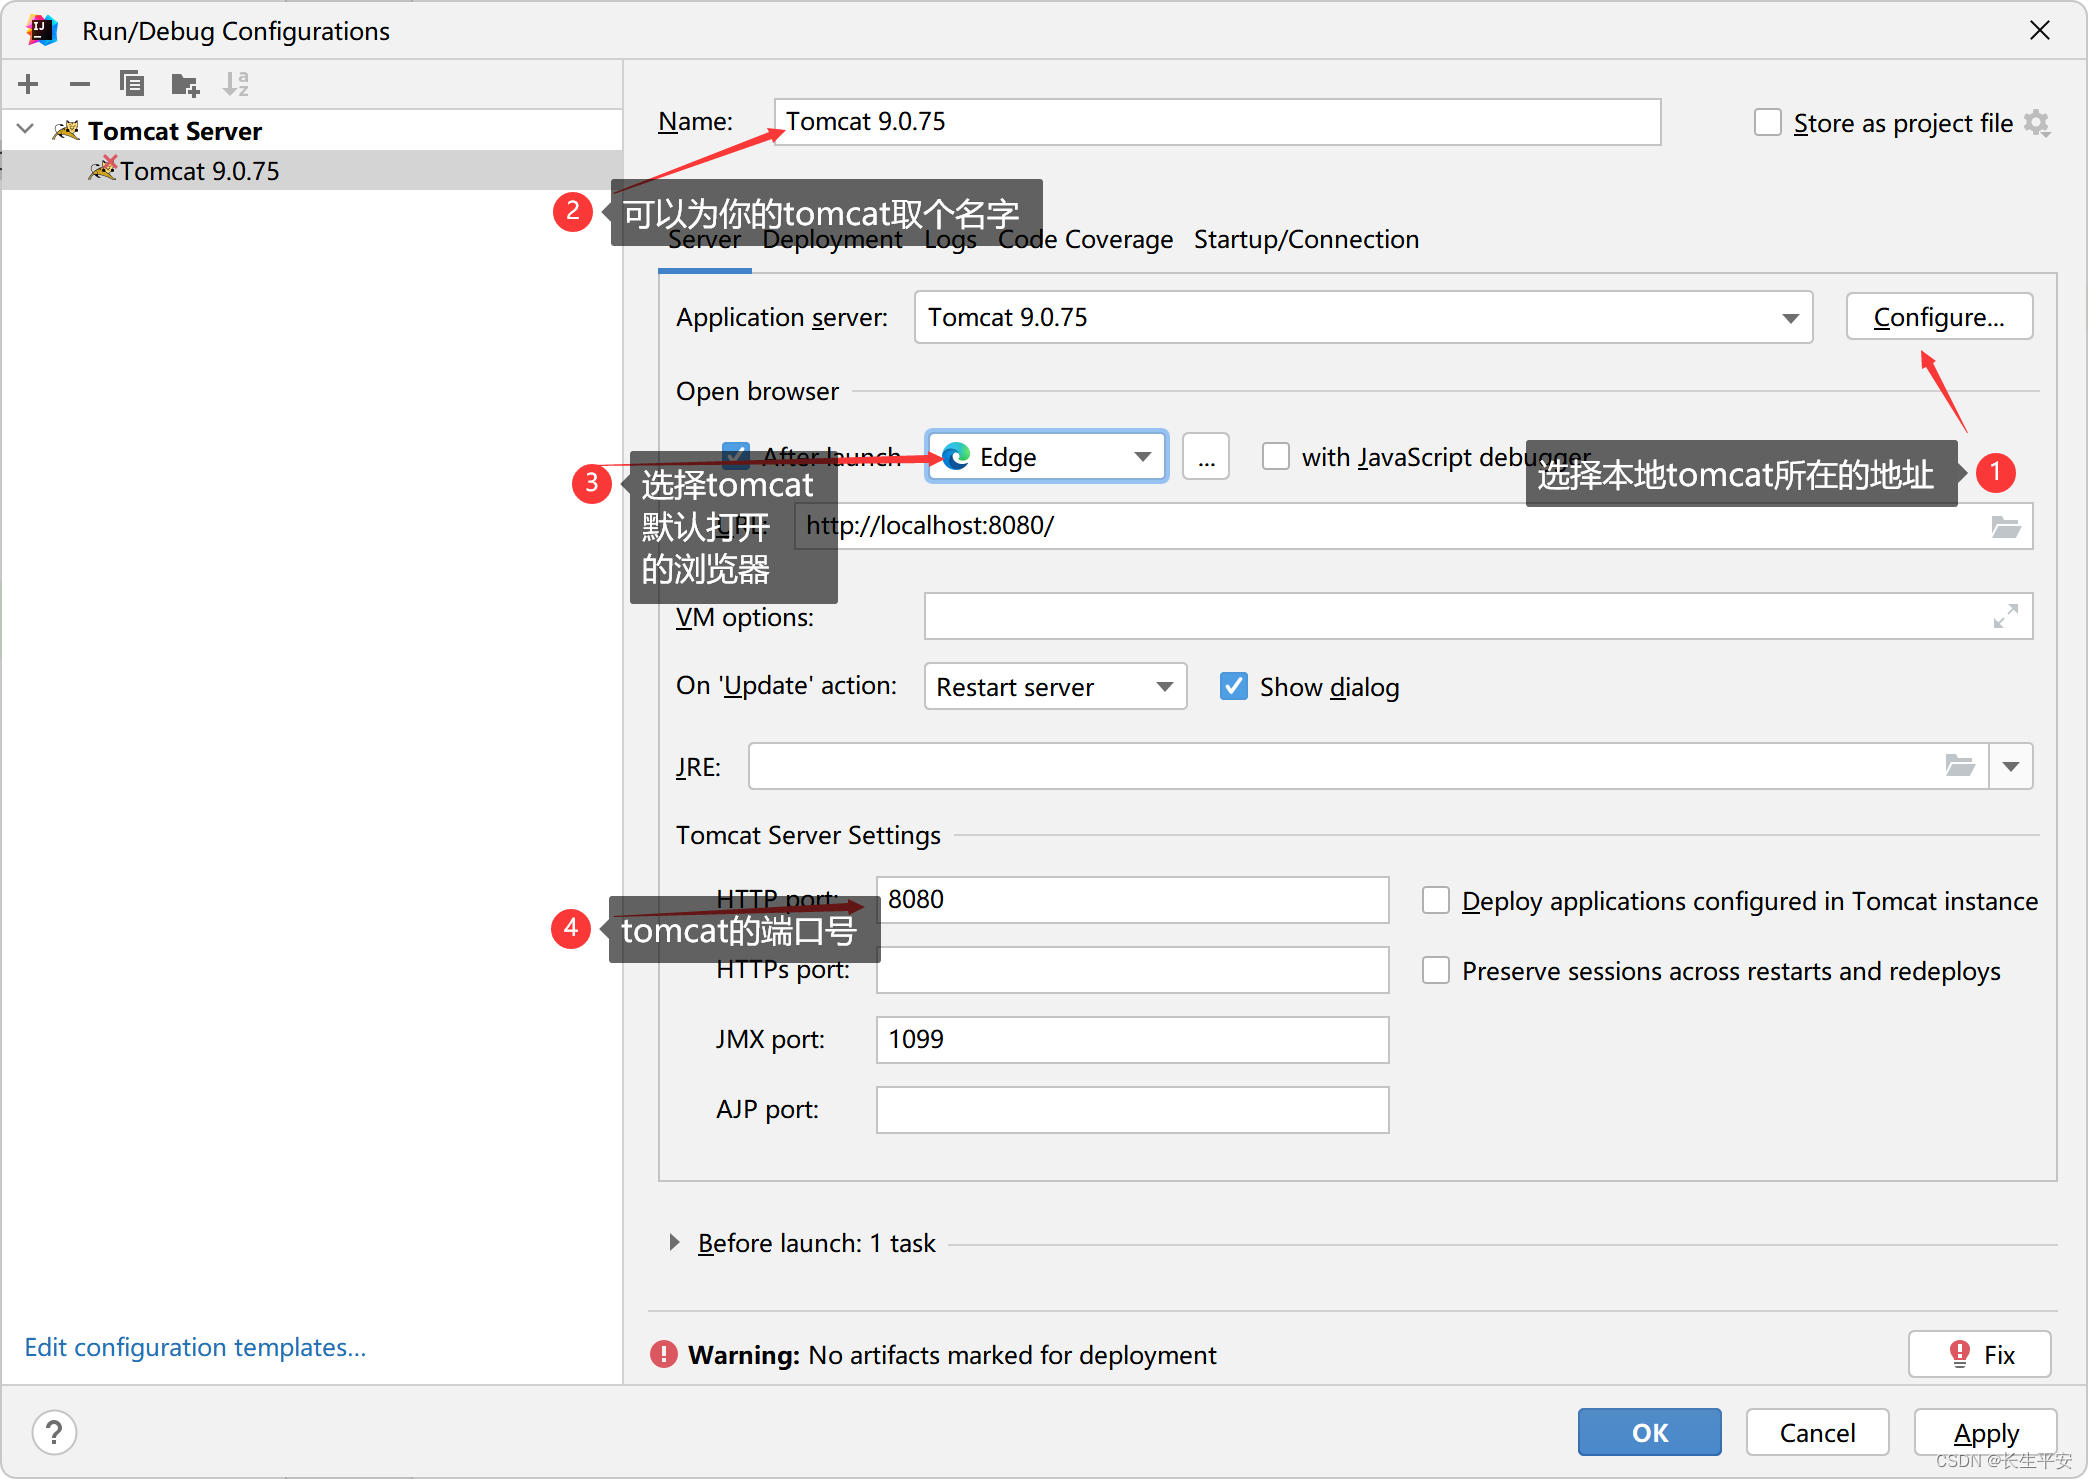
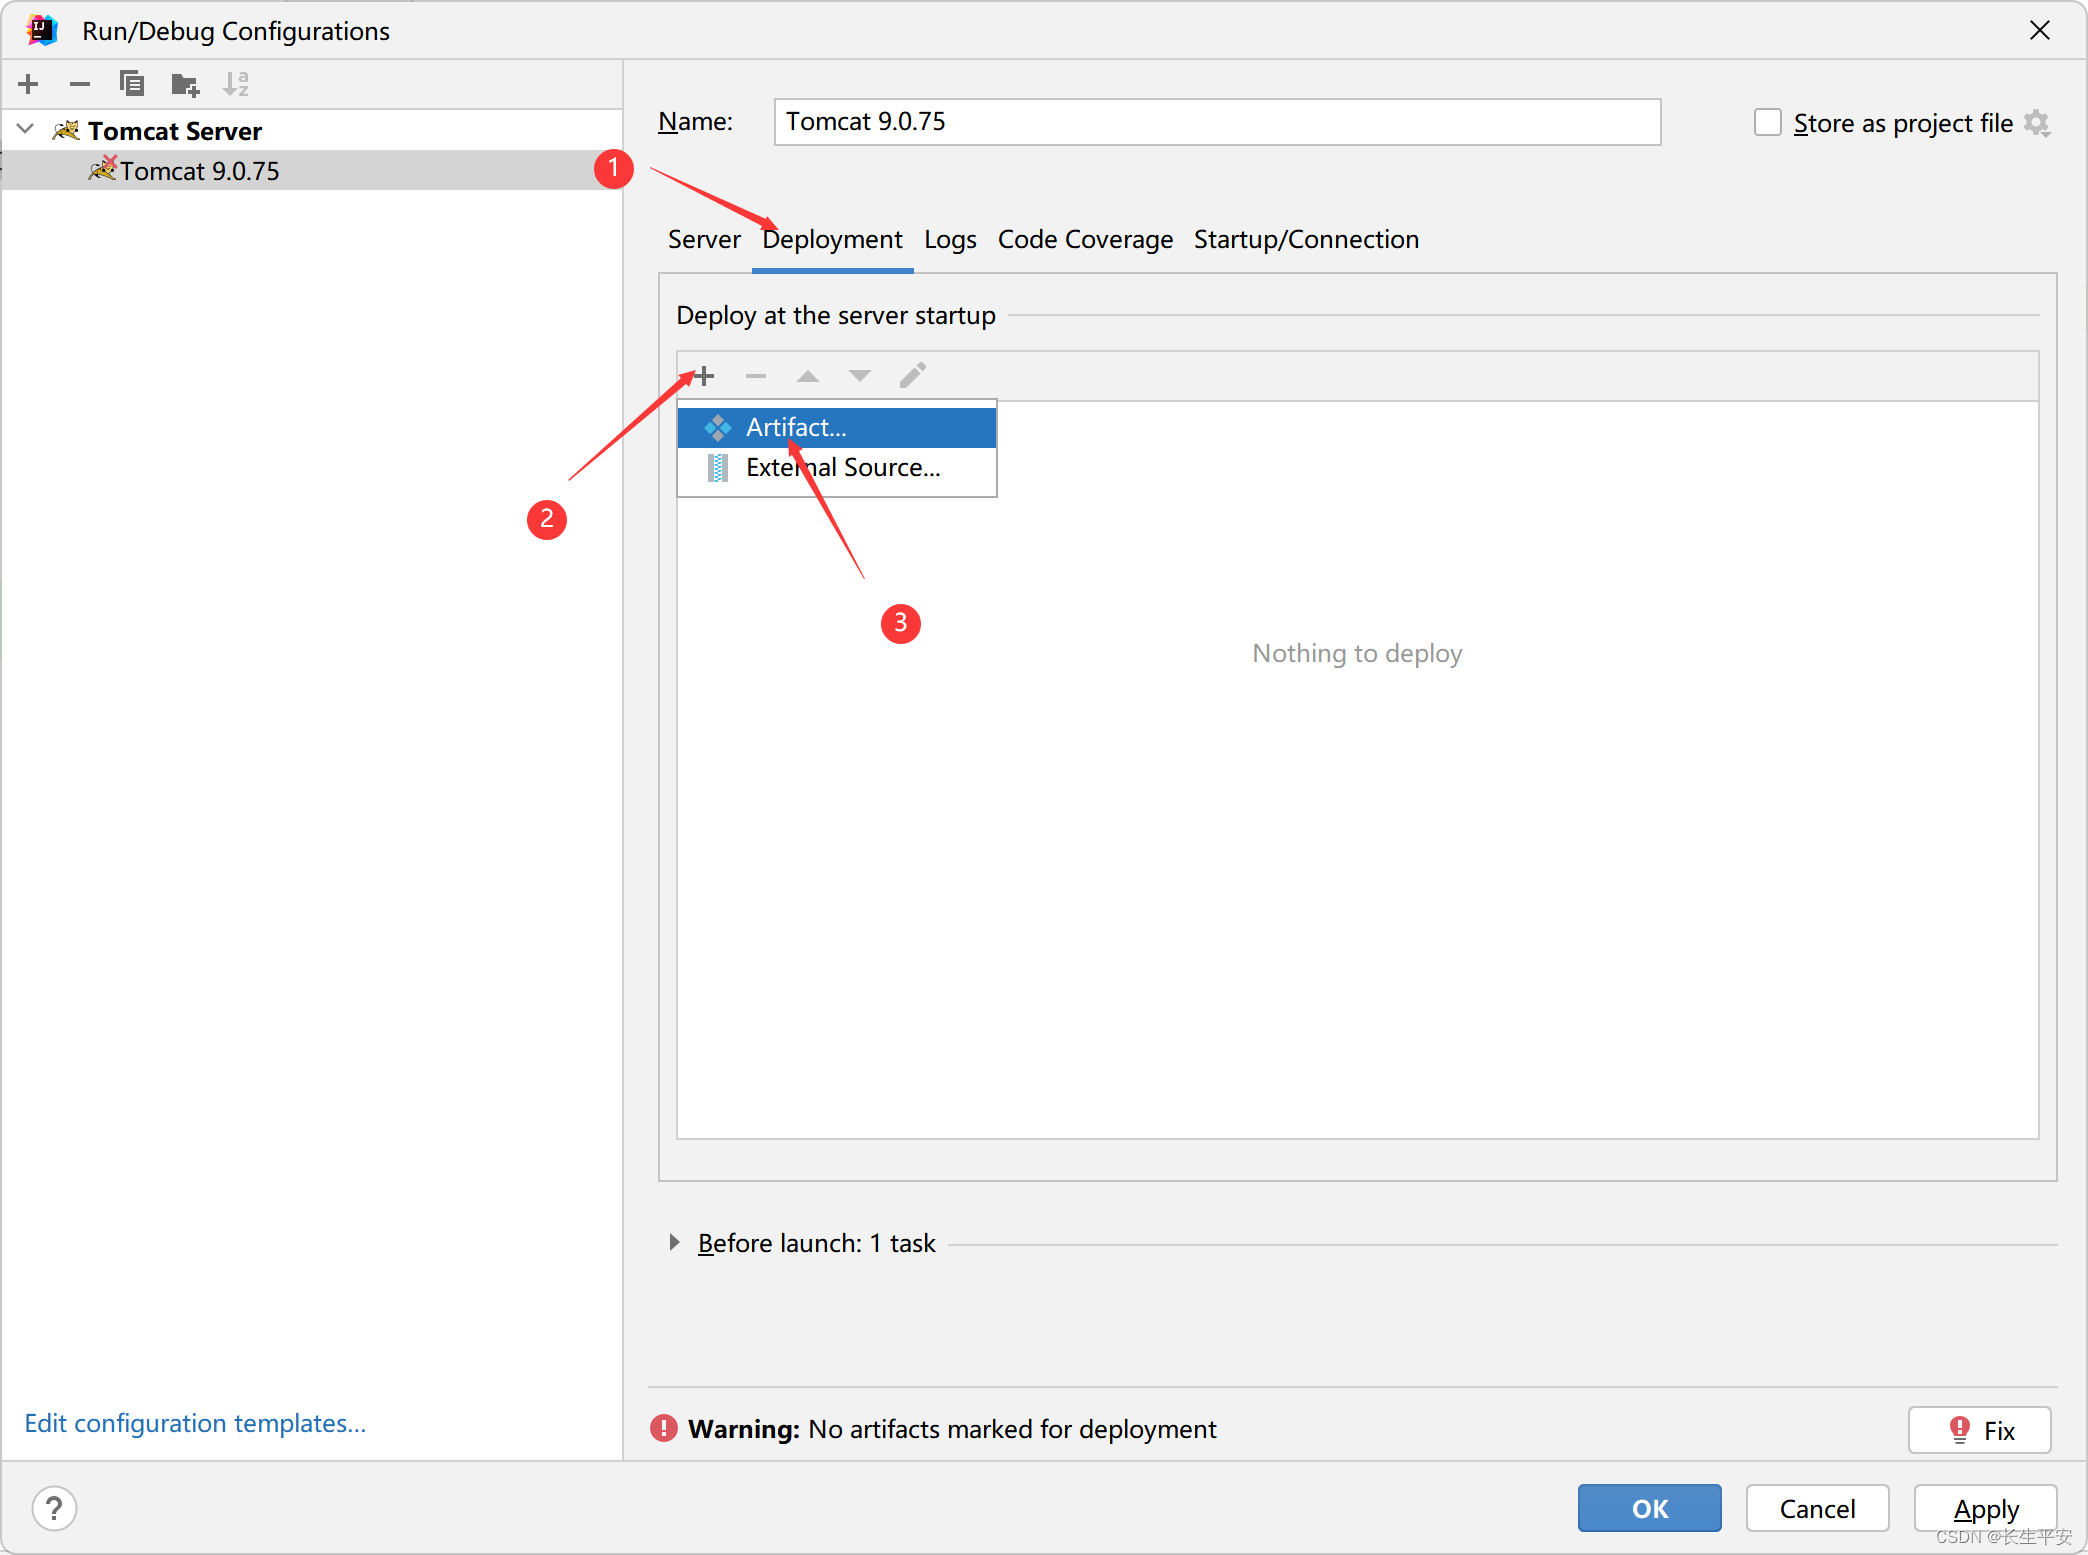
6、配置tomcat
- 选择Run—>Edit Configurations
- 选择±–>Tomcat Server—>Local

- 选择本地tomcat所在的地址
- 选择Deployment—> + —>Artifacts
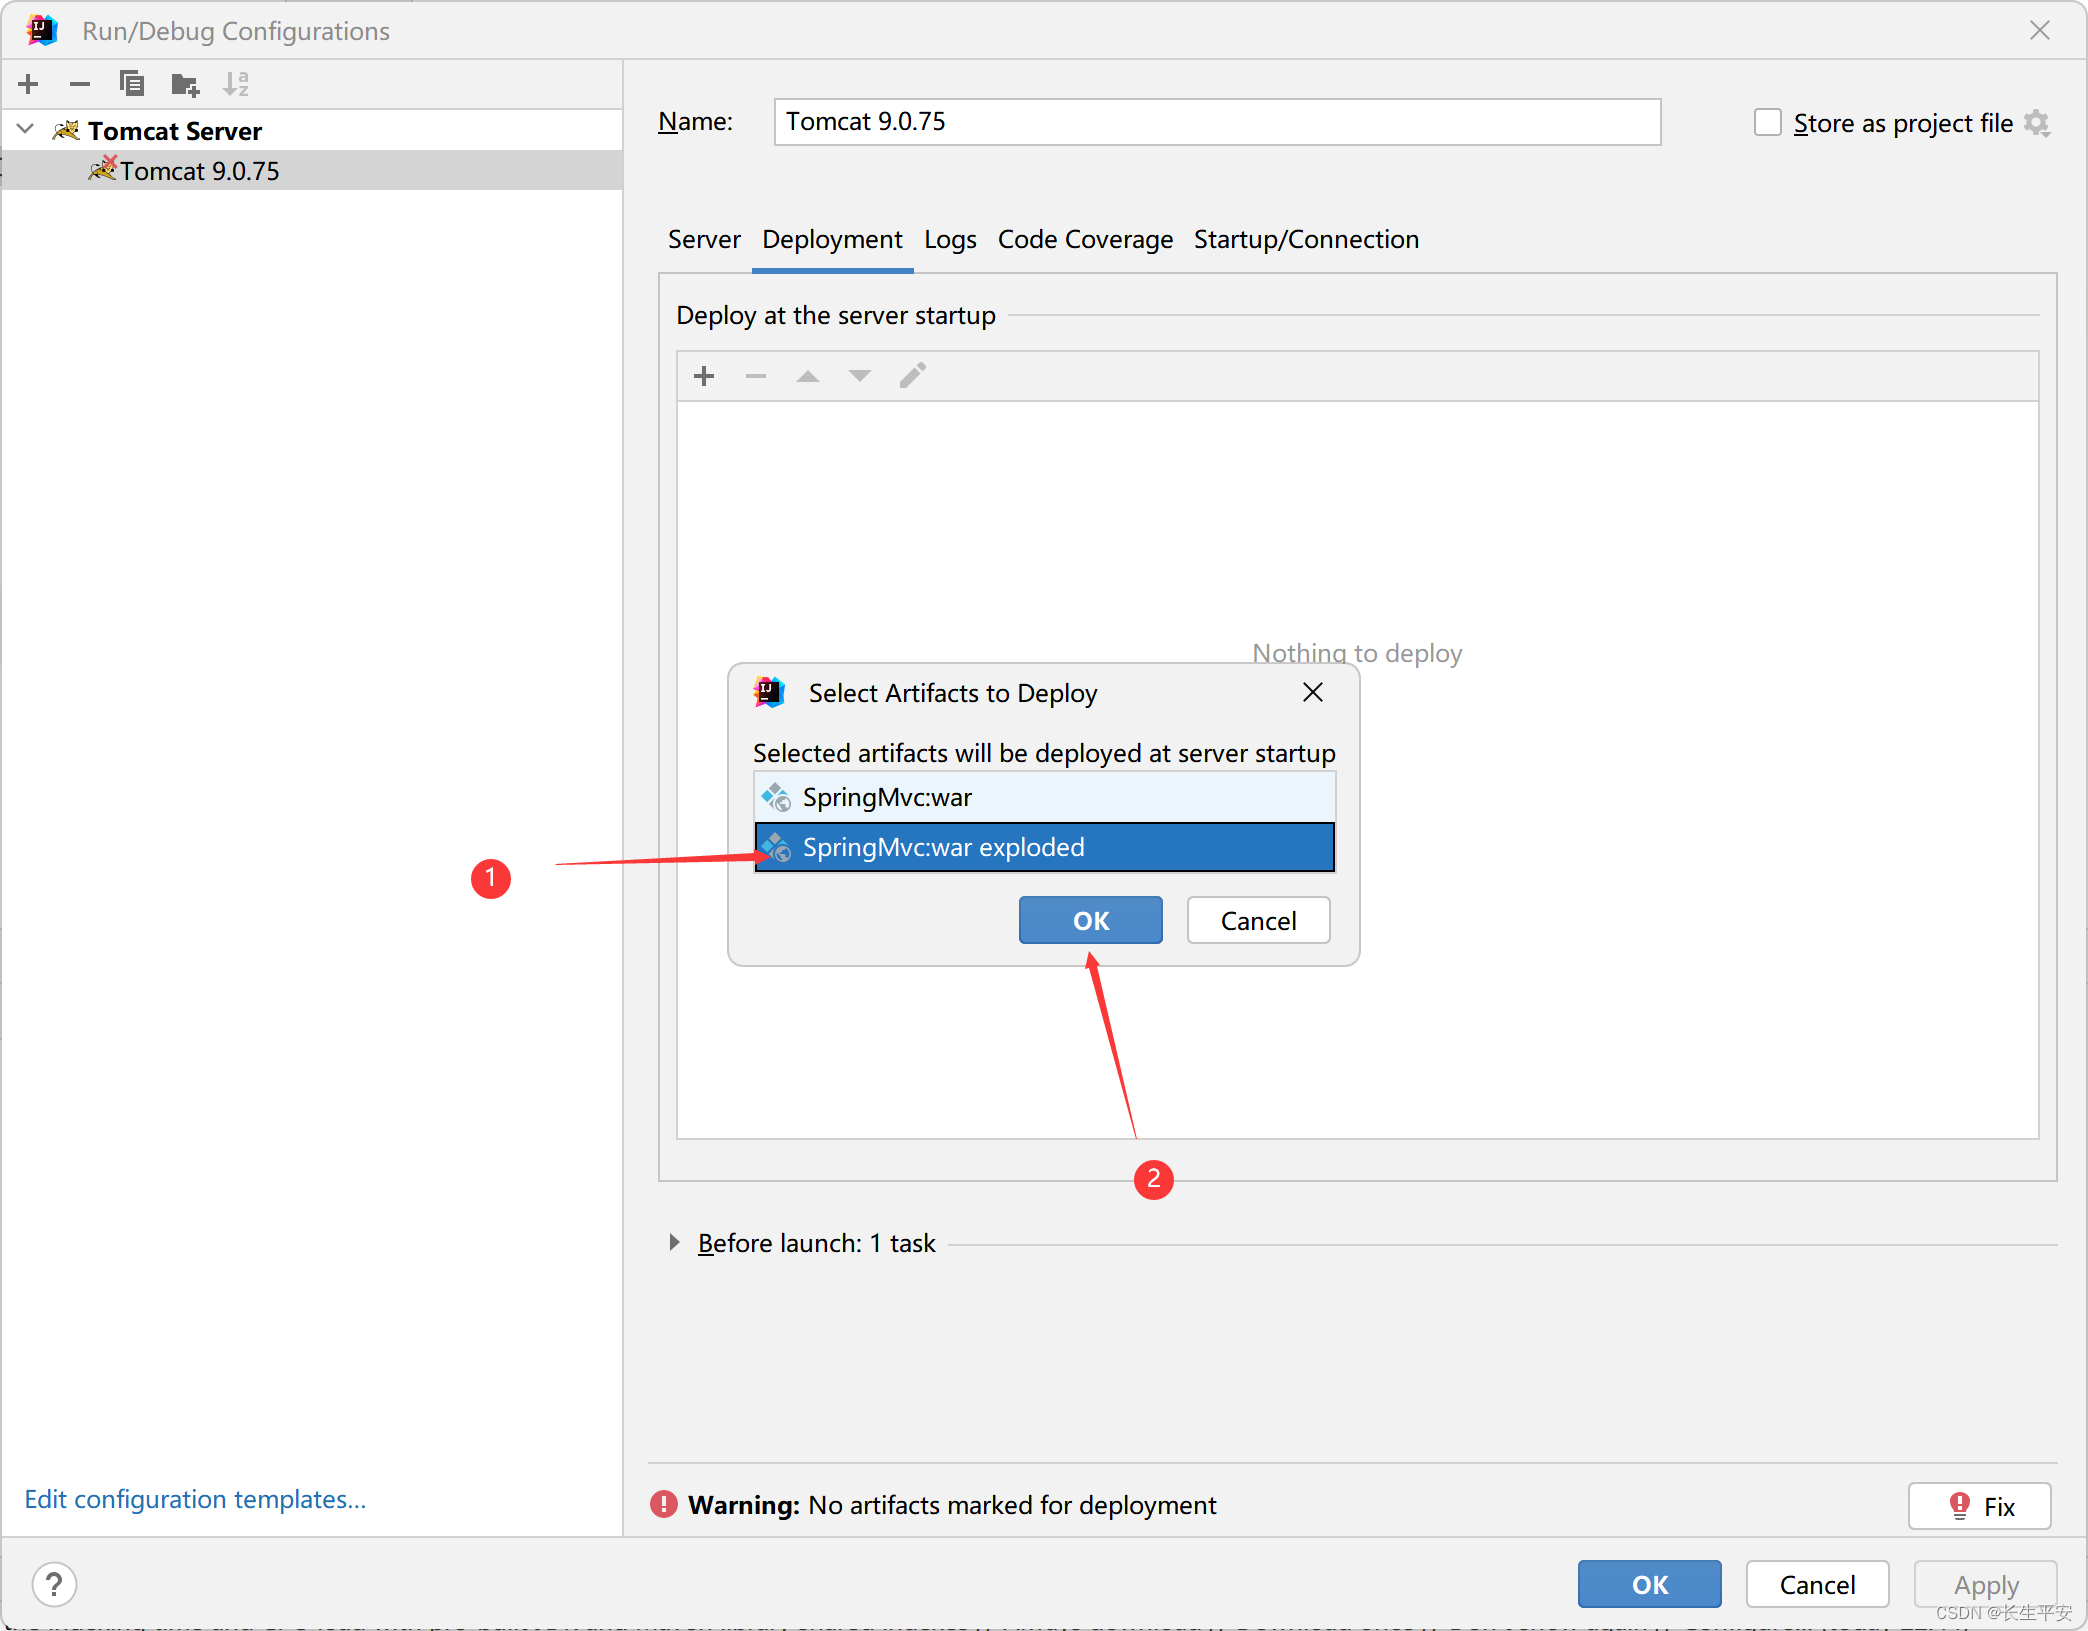
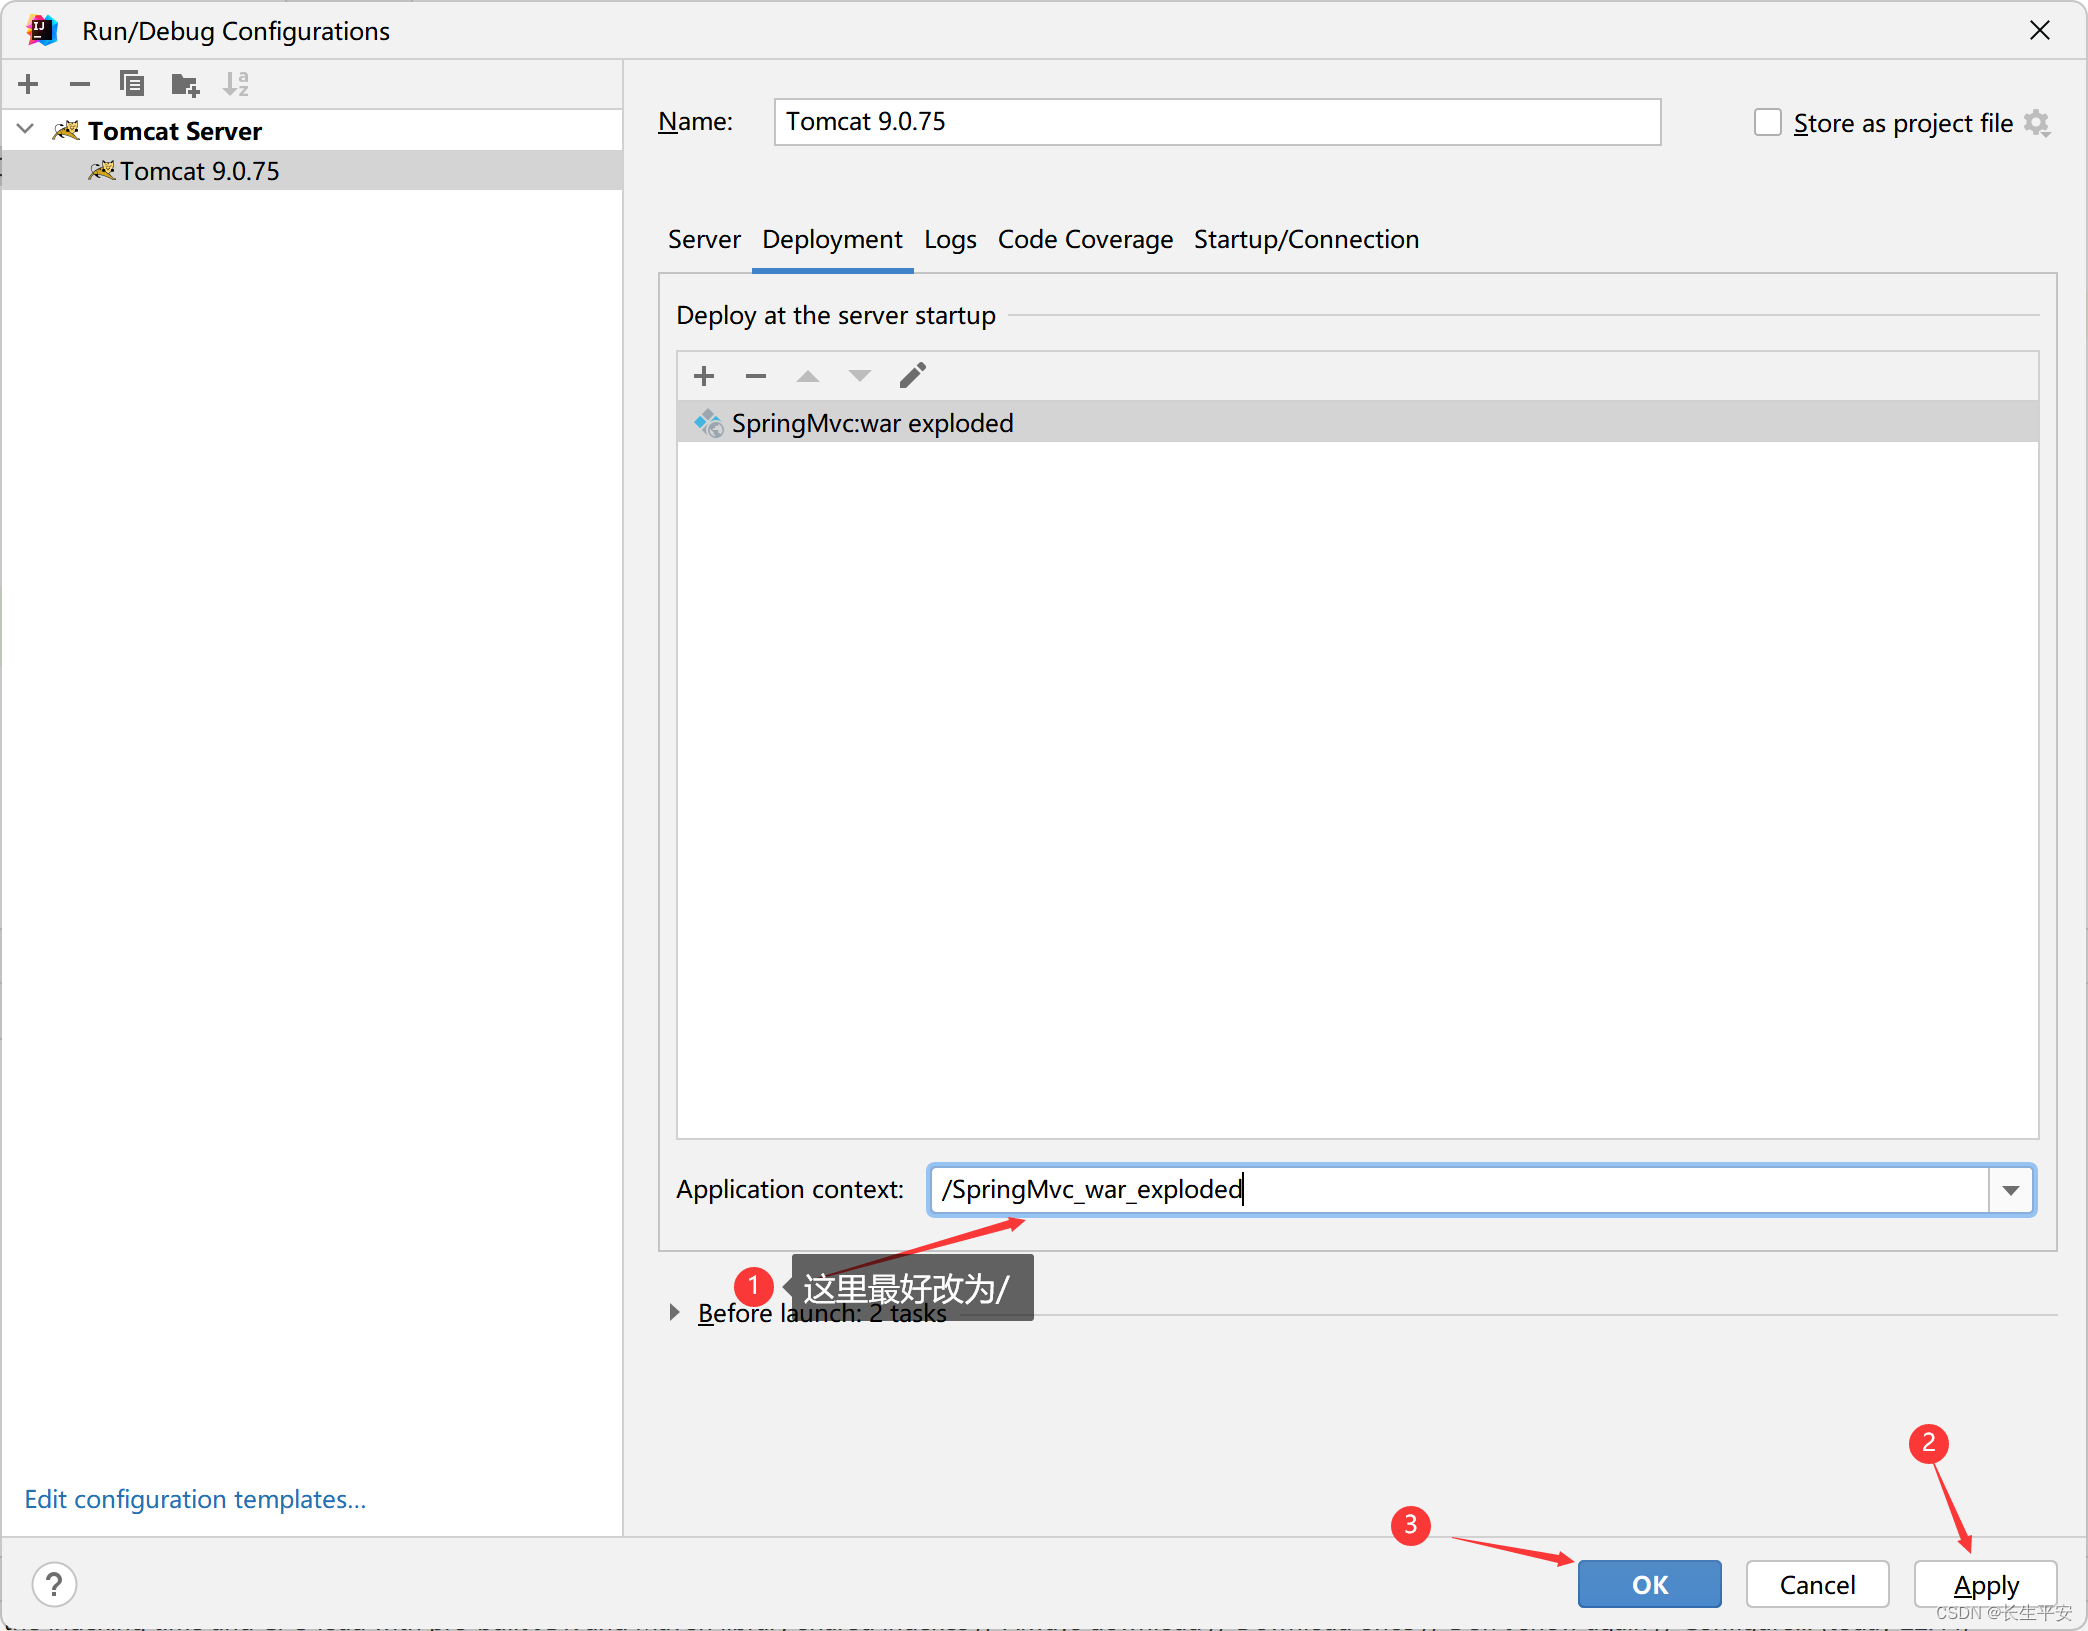
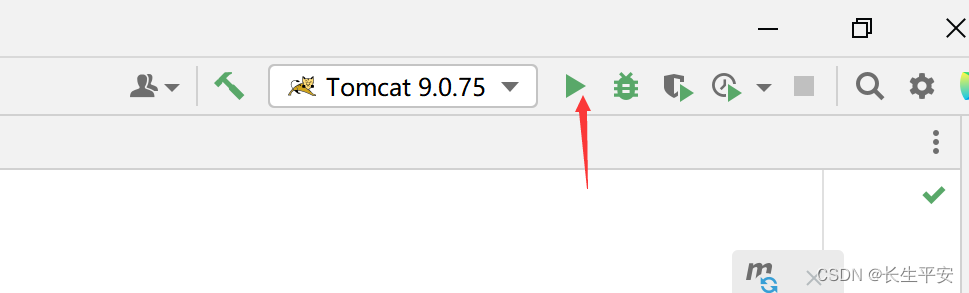
- 启动tomcat
在浏览器输入http://localhost:8080/hello发起请求测试效果截图如下:


 447
447


 被折叠的 条评论
为什么被折叠?
被折叠的 条评论
为什么被折叠?
 到【灌水乐园】发言


