


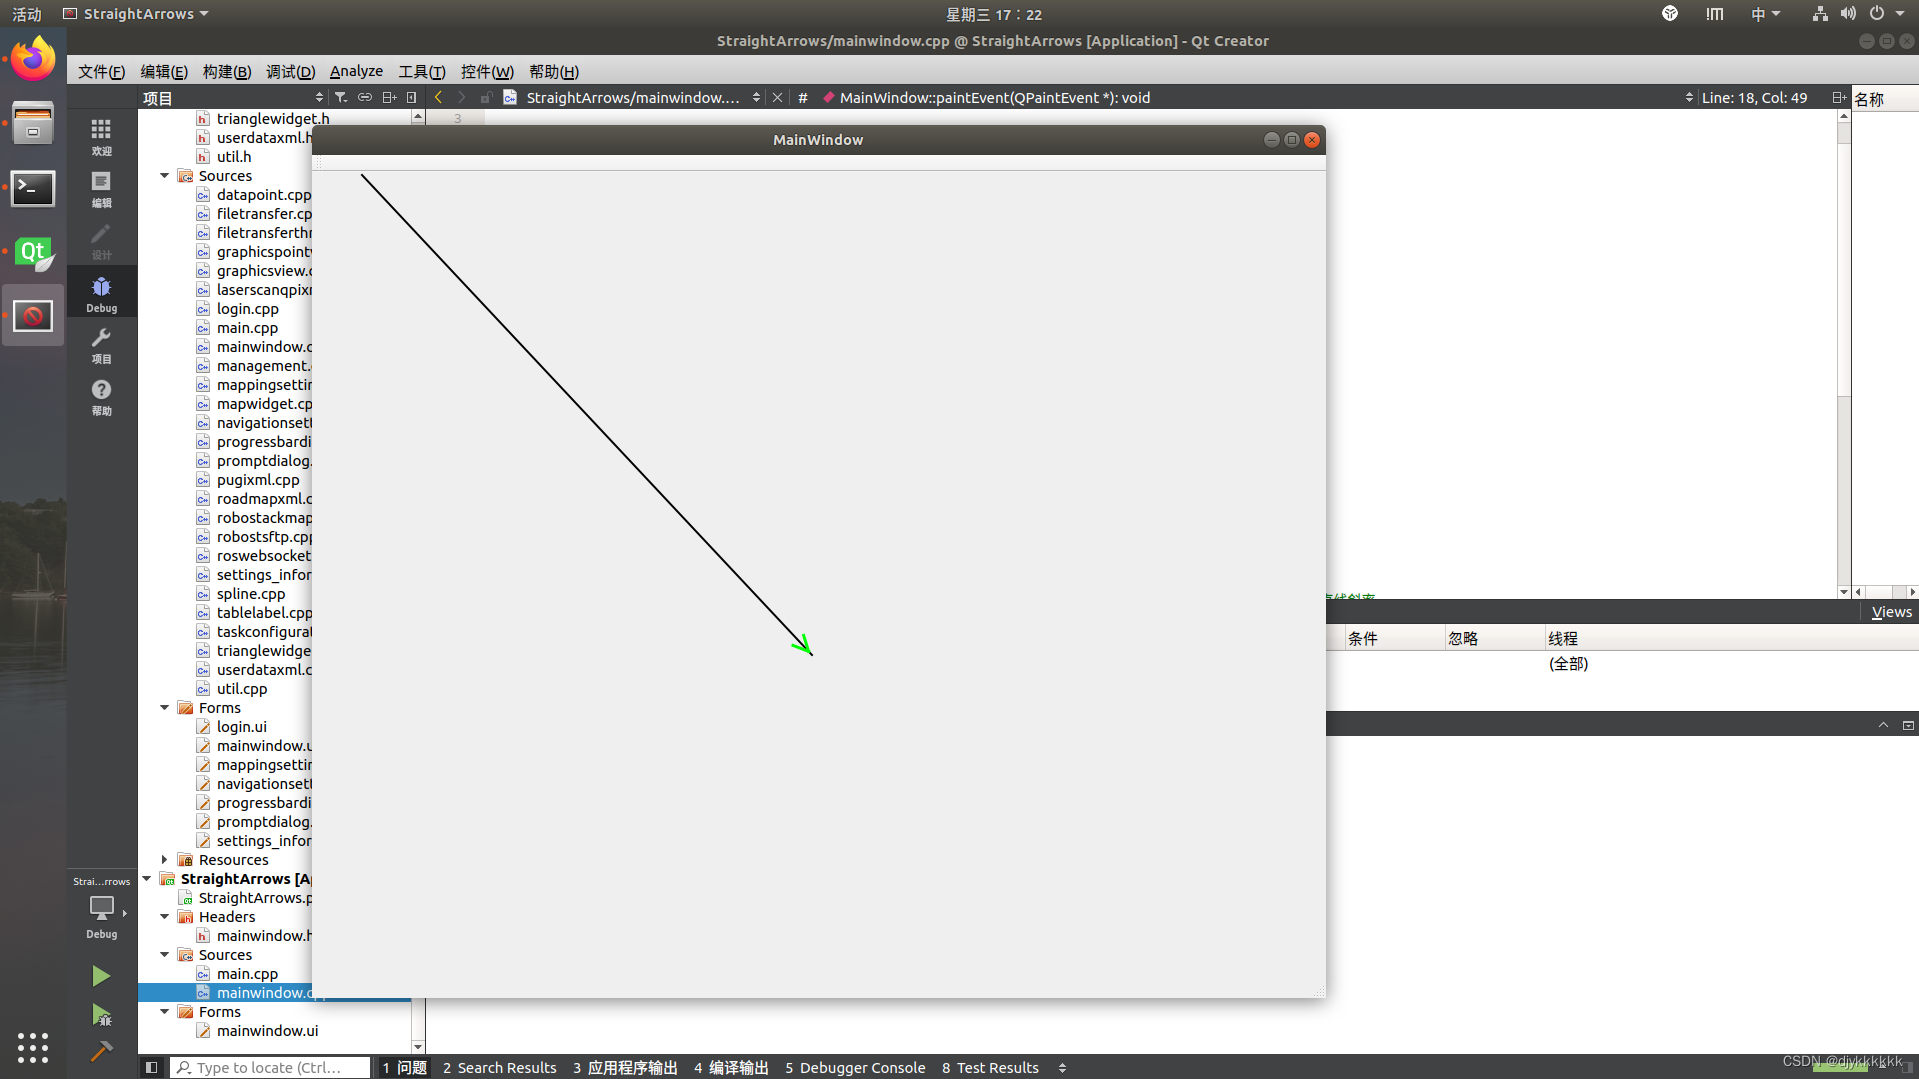
一.使用QPainter绘制
满足条件:
- 任意角度直线都可绘制箭头(直线垂直时绘制可能出错,参考 QPainterPath 计算方法)
- 所有箭头同样大小
void MainWindow::paintEvent(QPaintEvent*)
{
    QPainter painter(this);  // 创建QPainter对象,并指定绘制目标为当前的widget
    QLineF line(50,20,500,500);

    double distanceFromEnd1 = 20;
    qreal t = (line.length() - distanceFromEnd1) / line.length();
    QPointF point = line.pointAt(t);//与两端平行点

    double distanceFromEnd2 = 5;
    qreal z = (line.length() - distanceFromEnd2) / line.length();
    QPointF point_center=line.pointAt(z);//中心点

    qreal slope_line = (line.p2().y() - line.p1().y()) / (line.p2().x() - line.p1().x());  // 计算原直线斜率
    double slope = -1 / slope_line;  // 计算垂线的斜率
    double intercept = point.y() - slope * point.x();  // 计算垂线的截距
    const double m=5;//垂线上下两端距离
    double arrow1_x=(point.y()+m-intercept)/slope;
    double arrow2_x=(point.y()-m-intercept)/slope;
    QPointF arrow1(arrow1_x,slope*arrow1_x+intercept);
    QPointF arrow2(arrow2_x,slope*arrow2_x+intercept);
    painter.setRenderHint(QPainter::Antialiasing, true);  // 可选,抗锯齿设置
    painter.setPen(QPen(Qt::black, 2));  // 设置画笔颜色和宽度
    painter.drawLine(line);  // 绘制直线
    painter.setPen(QPen(Qt::green,3));
    painter.drawLine(arrow1,point_center);
    painter.drawLine(arrow2,point_center);
}
二.使用QPainterPath绘制
1.如何使用 GraphicsView 和 QGraphicsScene 绘制
创建一个类继承 GraphicsView
- graphicsView.h
#ifndef GRAPHICSVIEW_H
#define GRAPHICSVIEW_H
#include <QGraphicsView>
#include <QMouseEvent>
#include <QGraphicsLineItem>
#include <QGraphicsPathItem>
#include <QPainterPath>
#include <QDebug>
#include <QObject>
#include <QPointF>
#include <QGraphicsEllipseItem>

class GraphicsView : public QGraphicsView
{
public:
     GraphicsView(QGraphicsScene *scene, QWidget *parent = nullptr);
     void setLineData();
private:
     QGraphicsScene *scene_;
};

#endif // GRAPHICSVIEW_H
- graphicsview.cpp
#include "graphicsview.h"
GraphicsView::GraphicsView(QGraphicsScene *scene,QWidget *parent ) : QGraphicsView(parent),scene_(scene)
{
setScene(scene_);
setLineData();
}
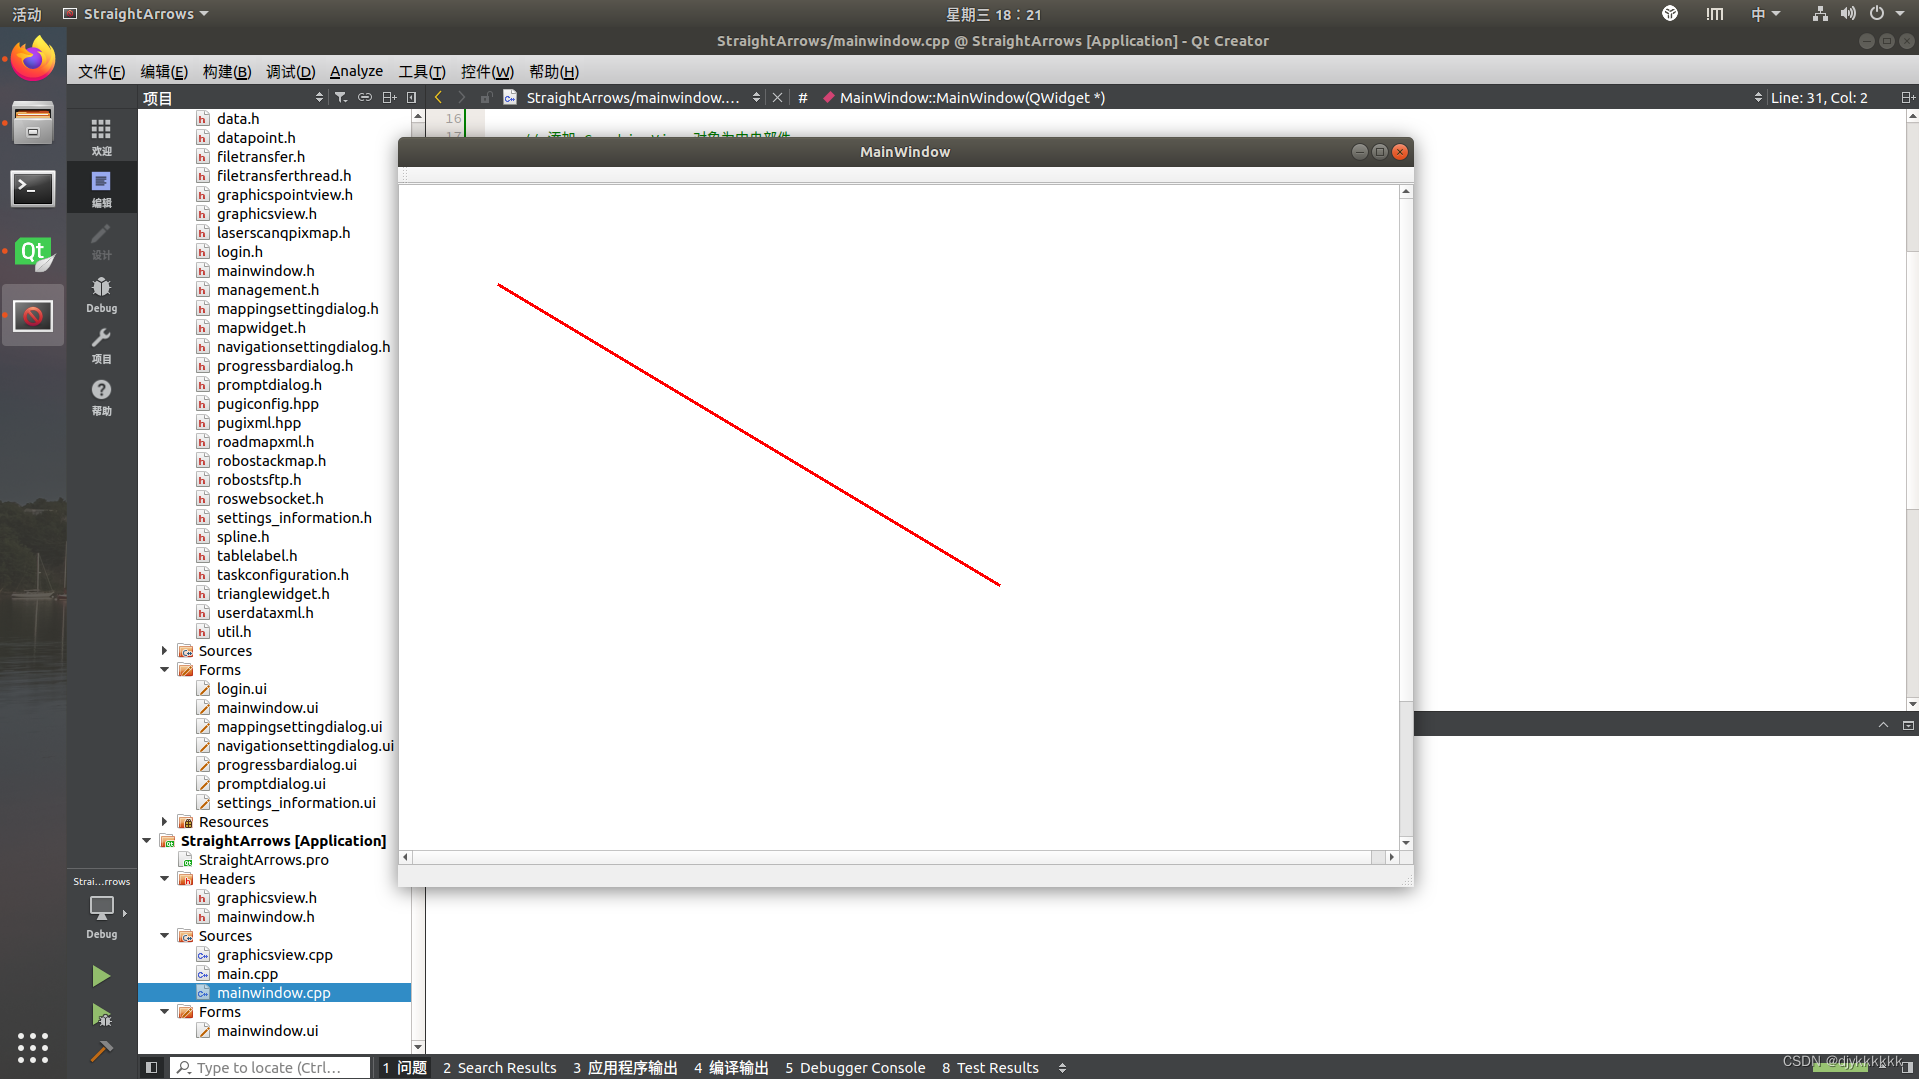
void GraphicsView::setLineData()
{
QLineF line(100,100,600,400);
QPen pen(Qt::red,3);
scene_->addLine(line,pen);
}
主函数中添加私有对象:
private:
    Ui::MainWindow *ui;
    GraphicsView *graphics_view;
    QGraphicsScene *scene;
主函数中调用:
MainWindow::MainWindow(QWidget *parent) :
    QMainWindow(parent),
    ui(new Ui::MainWindow)
{
    ui->setupUi(this);


    scene = new QGraphicsScene(this);


    // 创建 GraphicsView 对象并设置场景
    GraphicsView* graphicsView = new GraphicsView(scene, this);

    // 添加 GraphicsView 对象为中央部件
//    setCentralWidget(graphicsView);
    // 将 GraphicsView 添加到主窗口
//    setCentralWidget(graphicsView);

    setCentralWidget(graphicsView);

    // 设置场景大小为主窗口的大小
    QRectF rect(0, 0, width(), height());
    scene->setSceneRect(rect);

    // 根据视图大小调整窗口大小
    adjustSize();

}
图形显示:
2.在终点位置前绘制箭头
void GraphicsView::setLineData()
{
    QPen pen(Qt::red, 2);
    QPointF start(50, 50);
    QPointF end(50, 70);
    qreal arrowSize = 10;//箭头尺寸

    // 计算箭头方向和长度
    QLineF line(start, end);
    qreal angle = ::acos(line.dx() / line.length());箭头角度

    qreal distanceFromEnd = 5;//距离终点5处开始绘制
    QPointF arrowStart = line.pointAt(1 - distanceFromEnd / line.length());

    if (line.dy() >= 0)
        angle = 2 * M_PI - angle;
    QPointF arrowP1 = arrowStart + QPointF(sin(angle - M_PI / 3) * arrowSize,
                                    cos(angle - M_PI / 3) * arrowSize);
    QPointF arrowP2 = arrowStart + QPointF(sin(angle - M_PI + M_PI / 3) * arrowSize,
                                    cos(angle - M_PI + M_PI / 3) * arrowSize);

    // 创建路径并绘制
    QPainterPath path(start);
    path.lineTo(end);
    path.moveTo(arrowStart);
    path.lineTo(arrowP1);
    path.moveTo(arrowStart);
    path.lineTo(arrowP2);

    scene_->addPath(path, pen);
}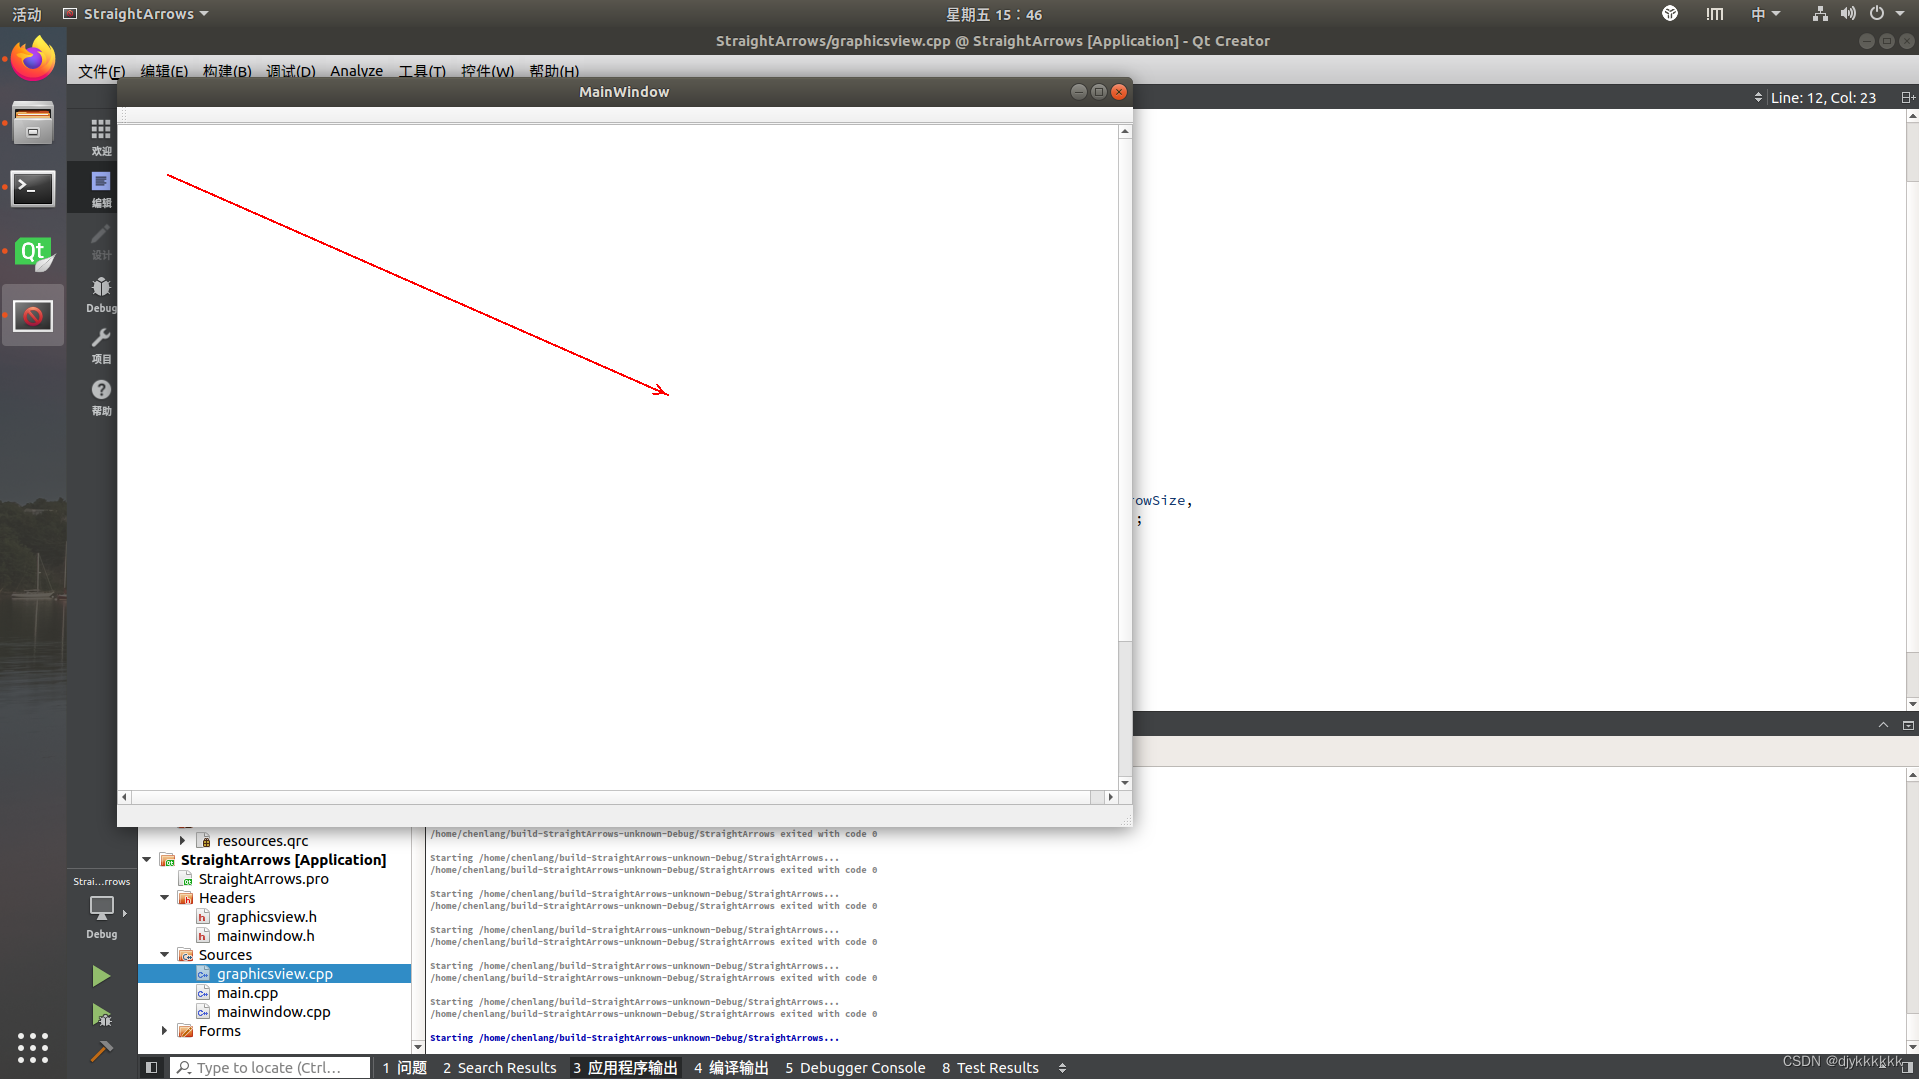
满足条件:
- 任意角度的直线都可以绘制
- 固定箭头大小
3.在起点位置后绘制箭头
需修改:
- 距离计算
- 箭头的两个端点应该是减去相应值
void GraphicsView::setLineData()
{
    QPen pen(Qt::red, 2);
    QPointF start(50, 600);
    QPointF end(50, 200);
    qreal arrowSize = 10;

    // 计算箭头方向和长度
    QLineF line(start, end);
    qreal angle = ::acos(line.dx() / line.length());

    qreal distanceFromEnd = 5;
    QPointF arrowStart = line.pointAt(distanceFromEnd / line.length());

    if (line.dy() >= 0)
        angle = 2 * M_PI - angle;
    QPointF arrowP1 = arrowStart - QPointF(sin(angle - M_PI / 3) * arrowSize,
                                    cos(angle - M_PI / 3) * arrowSize);
    QPointF arrowP2 = arrowStart - QPointF(sin(angle - M_PI + M_PI / 3) * arrowSize,
                                    cos(angle - M_PI + M_PI / 3) * arrowSize);

    // 创建路径并绘制
    QPainterPath path(start);
    path.lineTo(end);
    path.moveTo(arrowStart);
    path.lineTo(arrowP1);
    path.moveTo(arrowStart);
    path.lineTo(arrowP2);

    scene_->addPath(path, pen);

}

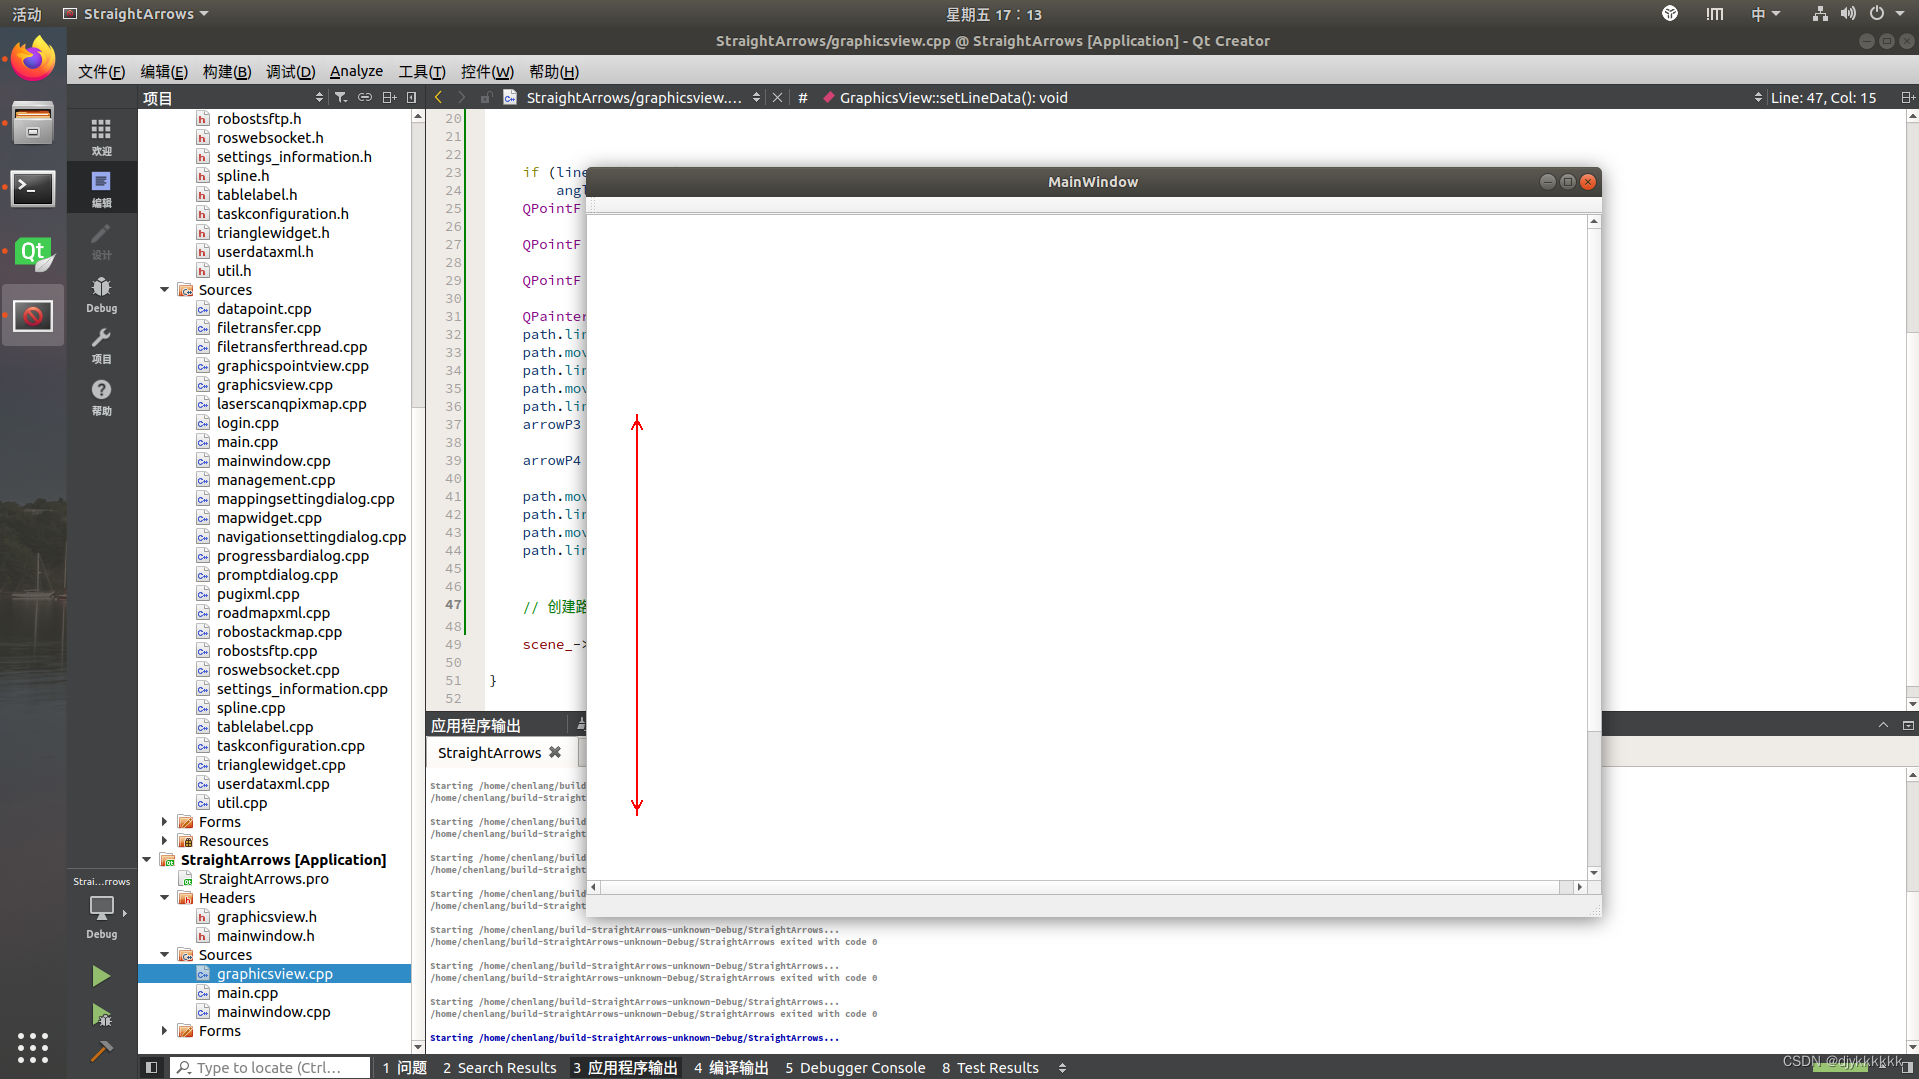
4.绘制双向箭头
void GraphicsView::setLineData()
{
    QPen pen(Qt::red, 2);
    QPointF start(50, 600);
    QPointF end(50, 200);
    QLineF line(start, end);
    qreal arrowSize = 10;//可以根据直线的长短进行箭头的限制
    // 计算箭头方向和长度
    qreal angle = ::acos(line.dx() / line.length());

    qreal distanceFromEnd = 5;
    QPointF arrowEndStart = line.pointAt(1 - distanceFromEnd / line.length()),arrowStartEnd=line.pointAt(distanceFromEnd / line.length());


    if (line.dy() >= 0)
        angle = 2 * M_PI - angle;
    QPointF arrowP1 = arrowEndStart + QPointF(sin(angle - M_PI / 3) * arrowSize,
                                    cos(angle - M_PI / 3) * arrowSize);
    QPointF arrowP2 = arrowEndStart + QPointF(sin(angle - M_PI + M_PI / 3) * arrowSize,
                                    cos(angle - M_PI + M_PI / 3) * arrowSize);
    QPointF arrowP3,arrowP4;

    QPainterPath path(start);
    path.lineTo(end);
    path.moveTo(arrowEndStart);
    path.lineTo(arrowP1);
    path.moveTo(arrowEndStart);
    path.lineTo(arrowP2);
    arrowP3 = arrowStartEnd - QPointF(sin(angle - M_PI / 3) * arrowSize,
                                          cos(angle - M_PI / 3) * arrowSize);
    arrowP4 = arrowStartEnd - QPointF(sin(angle - M_PI + M_PI / 3) * arrowSize,
                                          cos(angle - M_PI + M_PI / 3) * arrowSize);
    path.moveTo(arrowStartEnd);
    path.lineTo(arrowP3);
    path.moveTo(arrowStartEnd);
    path.lineTo(arrowP4);


    // 创建路径并绘制

    scene_->addPath(path, pen);

}


 4074
4074


 被折叠的 条评论
为什么被折叠?
被折叠的 条评论
为什么被折叠?
 到【灌水乐园】发言


