


视频和参考地址:
scentos安装mysql-5.7.13(详细)_哔哩哔哩_bilibili
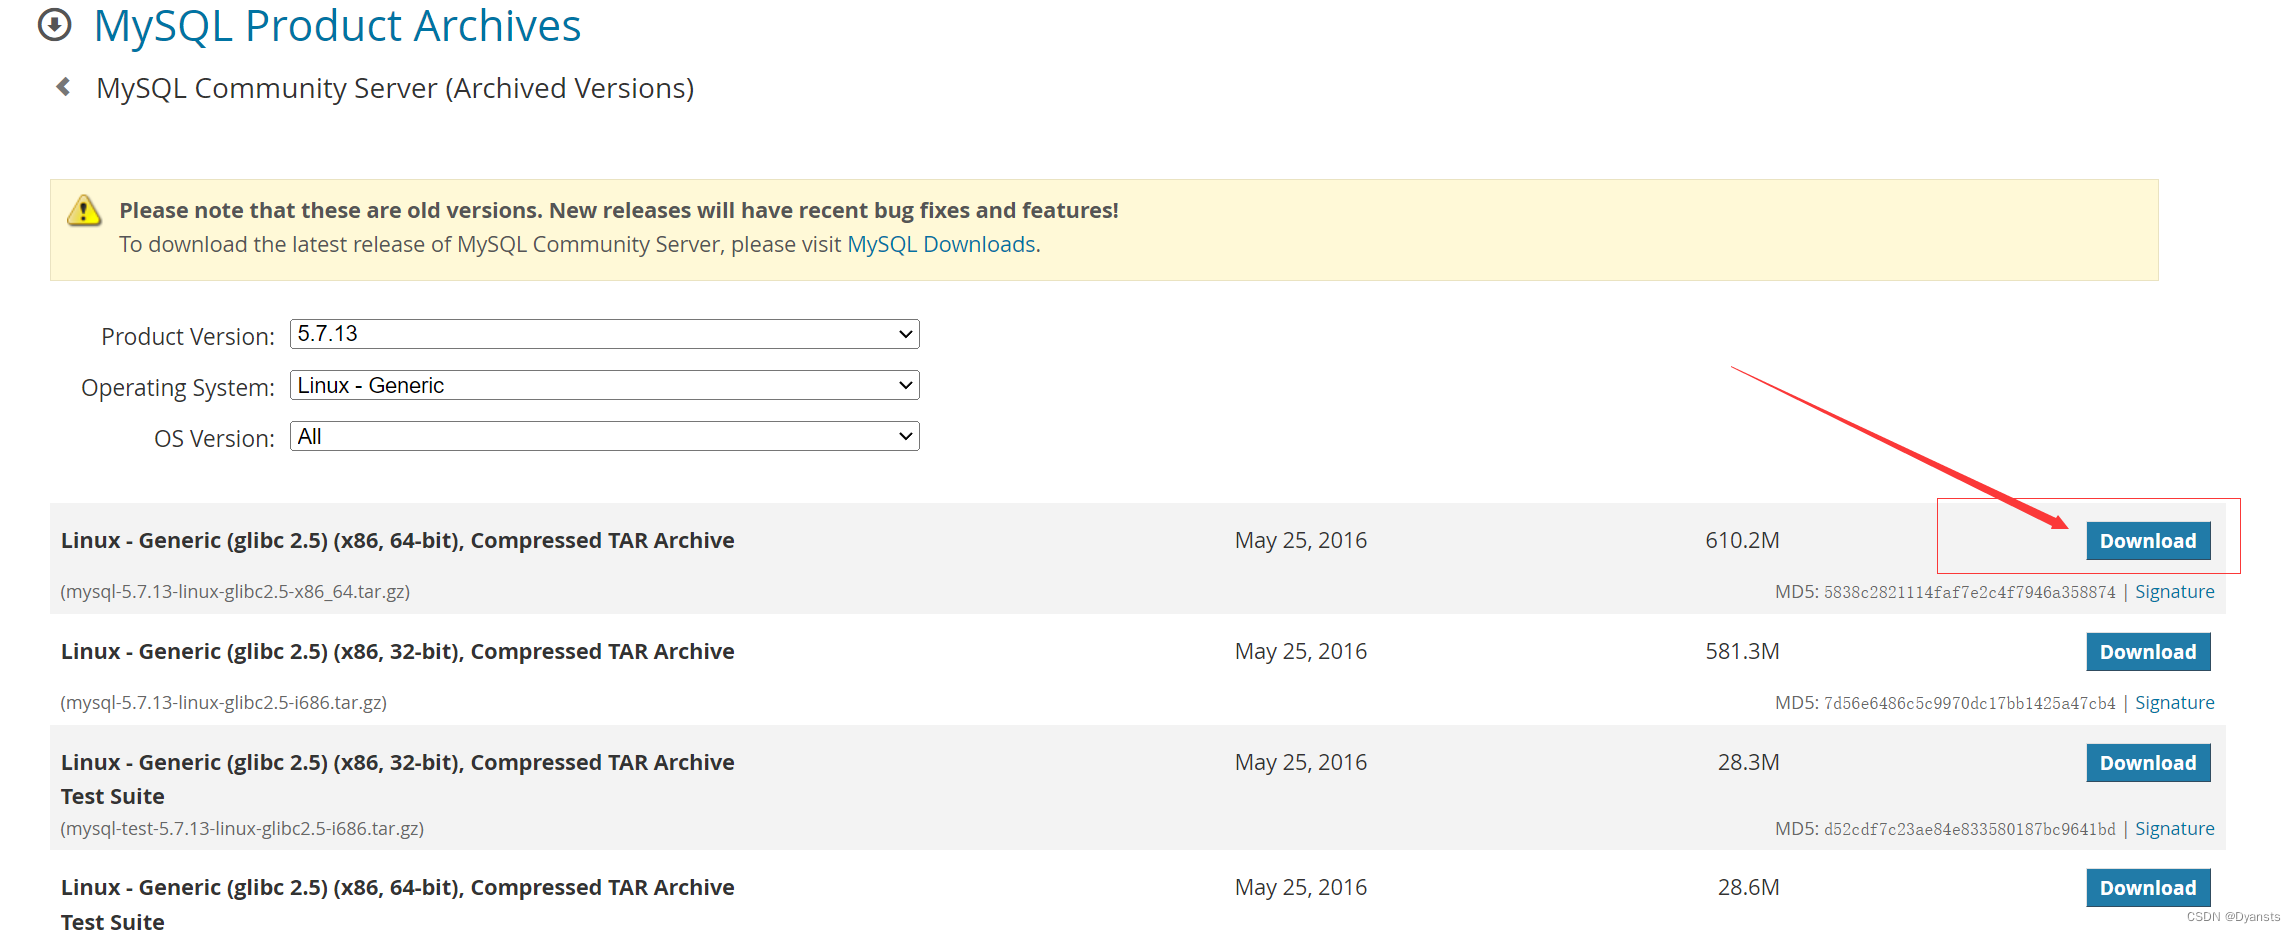
1.下载MySQL安装包
下载地址:MySQL :: Download MySQL Community Server (Archived Versions)
或者使用wget下载
wget https://cdn.mysql.com/archives/mysql-5.7/mysql-5.7.13-linux-glibc2.5-x86_64.tar.gz2.解压
可以直接在usr/local/下载直接下载也可以上传到这个文件夹
解压文件
[root@localhost local]# tar xzf mysql-5.7.13-linux-glibc2.5-x86_64.tar.gz


重命名
[root@localhost local]# mv mysql-5.7.13-linux-glibc2.5-x86_64 mysql-5.7.13

删除
[root@localhost local]# rm -f mysql-5.7.13-linux-glibc2.5-x86_64.tar.gz
3.配置MySQL
[root@localhost local]# cd mysql-5.7.13
//进入mysql目录

[root@localhost mysql-5.7.13]# mkdir data
//创建文件夹

[root@localhost mysql-5.7.13]# groupadd mysql
//添加mysql组

[root@localhost mysql-5.7.13]# useradd -r -g mysql mysql
//添加mysql用户

[root@localhost mysql-5.7.13]# chown -R mysql:mysql ./
//修改当前目录拥有者为mysql用户
4.准备工作
[root@localhost mysql-5.7.13]# cd /usr/local/mysql-5.7.13/support-files/
//进入目录


[root@localhost support-files]# cp my-default.cnf /etc/my.cnf
//拷贝一份过去
//要是遇到执行代码后有 xxx'?',在后面输入 yes


[root@localhost support-files]#vim /etc/my.cnf
//编辑my.cnf文件
修改以后:
# For advice on how to change settings please see
# http://dev.mysql.com/doc/refman/5.7/en/server-configuration-defaults.html
# *** DO NOT EDIT THIS FILE. It's a template which will be copied to the
# *** default location during install, and will be replaced if you
# *** upgrade to a newer version of MySQL.
[client]
default-character-set=utf8
[mysqld]
# Remove leading # and set to the amount of RAM for the most important data
# cache in MySQL. Start at 70% of total RAM for dedicated server, else 10%.
# innodb_buffer_pool_size = 128M

# Remove leading # to turn on a very important data integrity option: logging
# changes to the binary log between backups.
# log_bin
# These are commonly set, remove the # and set as required.
# basedir = .....
# datadir = .....
# port = .....
# server_id = .....
# socket = .....
# Remove leading # to set options mainly useful for reporting servers.
# The server defaults are faster for transactions and fast SELECTs.
# Adjust sizes as needed, experiment to find the optimal values.
# join_buffer_size = 128M
# sort_buffer_size = 2M
# read_rnd_buffer_size = 2M
default-storage-engine=InnoDB
character-set-server=utf8mb4
collation-server=utf8mb4_general_ci
sql_mode=NO_ENGINE_SUBSTITUTION,STRICT_TRANS_TABLES
修改mysql.server ,并拷贝到 /etc/init.d/mysql
修改后
# Set some defaults
mysqld_pid_file_path=
if test -z "$basedir"
then
  basedir=/usr/local/mysql-5.7.13
  bindir=/usr/local/mysql-5.7.13/bin
  if test -z "$datadir"
  then
    datadir=/usr/local/mysql-5.7.13/data
  fi
  sbindir=/usr/local/mysql-5.7.13/bin
  libexecdir=/usr/local/mysql-5.7.13/bin
else
============================================
拷贝到 /etc/init.d/mysql
[root@localhost support-files]# cp mysql.server /etc/init.d/mysql
//拷贝过去
添加环境
添加到环境里面
#vim /etc/profile
//进入环境

export PATH=$PATH:/usr/local/mysql-5.7.13/bin
//添加一行

#source /etc/profile
//重新加载
5.初始化、启动并查看初始化密码
[root@localhost support-files]# cd /usr/local/mysql-5.7.13/bin
//进入到mysql-5.7.13/bin 目录下

//执行Mysql数据库的安装命令 --basedir=mysql安装目录 --datadir=data数据表存放目录

[root@localhost bin]# ./mysqld --user=mysql --basedir=/usr/local/mysql-5.7.13 --datadir=/usr/local/mysql-5.7.13/data --initialize
==================================================================
执行后会生成
[Note] A temporary password is generated for root@localhost: xxxxxxx
后面的xxxxxx就是生成的临时密码
上面有【warning】的报错是正常的
==================================================================
[root@localhost support-files]# cd /usr/local/mysql-5.7.13
//进入到mysql-5.7.13 目录下

[root@localhost mysql-5.7.13]# ./support-files/mysql.server start
//启动mysql服务
service mysql start
//启动
service mysql stop
//停止
service mysql restart
//重启
6.修改密码并远程登陆
[root@localhost mysql-5.7.13]# mysql -uroot -pxxxxxxx
//xxxxxx是你初始化时候的密码

mysql> use mysql;
Database changed
//进入mysql数据库
mysql> ALTER USER 'root'@'localhost' IDENTIFIED WITH mysql_native_password BY 'a&2aa^dc%30$24';
Query OK, 0 rows affected (0.00 sec)
//BY后面是密码
mysql> flush privileges;
Query OK, 0 rows affected (0.00 sec)
//刷新
mysql> exit
Bye
//退出

[root@localhost mysql-5.7.13]# mysql -uroot -pa&2aa^dc%30$24
//再次登录

mysql>GRANT ALL PRIVILEGES ON *.* TO 'root'@'%' IDENTIFIED BY 'a&2aa^dc%30$24' WITH GRANT OPTION;
//开启远程登陆,账户:root 密码:a&2aa^dc%30$24

mysql> flush privileges;
//刷新
#打开3306端口,否则无法连navicat
https://blog.csdn.net/rj2012001/article/details/121479080


 396
396


 被折叠的 条评论
为什么被折叠?
被折叠的 条评论
为什么被折叠?
 到【灌水乐园】发言


