


对于无纸化操作pdf文件如果需要打印,一般为了保证完整有效性用数字签名就可以了,但是需要打印纸质后数字签名就呵呵了,对于人眼的完整行只能靠骑缝章来简单的保证一下了。所以骑缝章完全事为了人类肉眼识别出来的一个东西。对于要打印的pdf加一个骑缝章,无非就是把章按页数切割成等份的图片,合并在一起罢了。
import com.itextpdf.text.BadElementException;
import com.itextpdf.text.DocumentException;
import com.itextpdf.text.Image;
import com.itextpdf.text.Rectangle;
import com.itextpdf.text.pdf.PdfContentByte;
import com.itextpdf.text.pdf.PdfReader;
import com.itextpdf.text.pdf.PdfStamper;

import javax.imageio.ImageIO;
import java.awt.image.BufferedImage;
import java.io.*;

/**
 * 盖骑缝章
 * Created by zhangzhenhua on 2016/11/2.
 */
public class PDFStamperCheckMark {

    /**
     * 切割图片
     * @param imgPath  原始图片路径
     * @param n 切割份数
     * @return  itextPdf的Image[]
     * @throws IOException
     * @throws BadElementException
     */
    public static Image[] subImages(String imgPath,int n) throws IOException, BadElementException {
        Image[] nImage = new Image[n];
        ByteArrayOutputStream out = new ByteArrayOutputStream();
        BufferedImage img = ImageIO.read(new File(imgPath));
        int h = img.getHeight();
        int w = img.getWidth();

        int sw = w/n;
        for(int i=0;i<n;i++){
            BufferedImage subImg;
            if(i==n-1){//最后剩余部分
                 subImg = img.getSubimage(i * sw, 0, w-i*sw, h);
            }else {//前n-1块均匀切
                 subImg = img.getSubimage(i * sw, 0, sw, h);
            }

            ImageIO.write(subImg,imgPath.substring(imgPath.lastIndexOf('.')+1),out);
            nImage[i] = Image.getInstance(out.toByteArray());
            out.flush();
            out.reset();
        }
        return nImage;
    }

    /**
     *  盖骑缝章
     *
     * @param infilePath    原PDF路径
     * @param outFilePath    输出PDF路径
     * @param picPath    章图片路径
     * @throws IOException
     * @throws DocumentException
     */
    public static void stamperCheckMarkPDF(String infilePath,String outFilePath,String picPath) throws IOException, DocumentException {
        PdfReader reader = new PdfReader(infilePath);//选择需要印章的pdf
        PdfStamper stamp = new PdfStamper(reader, new FileOutputStream(outFilePath));//加完印章后的pdf

        Rectangle pageSize = reader.getPageSize(1);//获得第一页
        float height = pageSize.getHeight();
        float width  = pageSize.getWidth();

        int nums = reader.getNumberOfPages();
        Image[] nImage =  subImages(picPath,nums);//生成骑缝章切割图片


        for(int n=1;n<=nums;n++){
            PdfContentByte over = stamp.getOverContent(n);//设置在第几页打印印章
            Image img = nImage[n-1];//选择图片
//            img.setAlignment(1);
//            img.scaleAbsolute(200,200);//控制图片大小
            img.setAbsolutePosition(width-img.getWidth(),height/2-img.getHeight()/2);//控制图片位置
            over.addImage(img);
        }
        stamp.close();
    }


    public static void main(String[] args) throws IOException, DocumentException {
        String infilePath = "E:\\项目\\paperless\\page.pdf";
        String outfilePaht = "E:\\项目\\paperless\\page_pic.pdf";
        String picPath = "E:\\项目\\paperless\\公章.png";
        stamperCheckMarkPDF(infilePath,outfilePaht,picPath);
    }
}
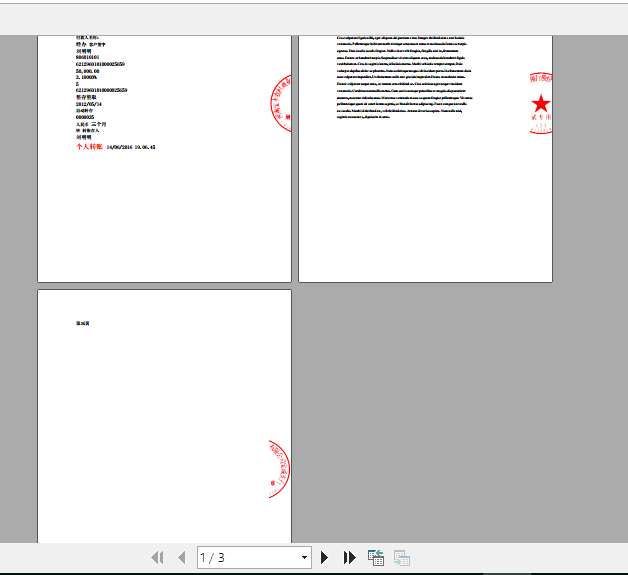
最后效果


 2502
2502


 被折叠的 条评论
为什么被折叠?
被折叠的 条评论
为什么被折叠?
 到【灌水乐园】发言


