基础知识
- STL内存分配
- STL内存分配分为一级分配器和二级分配器,一级分配器就是采用malloc分配内存,二级分配器采用内存池。
- 二级分配器设计的非常巧妙,分别给8 byte,16 byte,…, 128 byte 等比较小的内存片都维持一个空闲链表,每个链表的头节点由一个数组来维护。需要分配内存时从合适大小的链表中取一块下来。假设需要分配一块10 byte 的内存,那么就找到最小的大于等于10 byte 的块,也就是16 byte,从16 byte 的空闲链表里取出一个用于分配。释放该块内存时,将内存节点归还给链表。
- 如果要分配的内存大于128K则直接调用一级分配器。
- 链接链表时直接就地存储 next 指针,64 位操作系统指针占 8 byte,所以内存池维护的空闲链表不能小于 8 byte。
- next 指针可以采用 union 实现,也可以直接指针强制转换。
- 单例模式:确保进程里只有一个我们实现的内存池实例。
- 原子操作 compare_exchange_weak:无锁地实现并发,确保多个线程可以并发地调用我们实现的内存池进行内存分配。
代码实现
class tiny_mempool {
protected:
struct memNode { memNode *nextnode = nullptr; };
protected:
std::atomic<memNode*> m_free_head[16];
private:
tiny_mempool() {}
~tiny_mempool()
{ for (int i = 0; i < 16; i++)
{ if (m_free_head[i] != nullptr)
{ memNode *ptr = m_free_head[i];
while (ptr != nullptr)
{ auto nptr = ptr->nextnode;
free(ptr);
ptr = nptr;
}
}
m_free_head[i] = nullptr;
}
}
int getindex(int size)
{ static const unsigned int sizetable[16]
= { 8, 16, 24, 32, 40, 48, 56, 64, 72, 80, 88, 96, 104, 112, 120, 128 };
int __distance = 0;
for (; __distance < 16; __distance++)
if (sizetable[__distance] >= size)
break;
return __distance;
}
public:
static tiny_mempool &instance()
{ static tiny_mempool pool;
return pool;
}
public:
void *alloc(int size)
{ if (size > 128) return malloc(size);
int index = getindex(size);
int realsize = (index + 1) << 3;
memNode *p = m_free_head[index];
if (p == nullptr)
return malloc(realsize);
else
{ while (!m_free_head[index].compare_exchange_weak(p, p->nextnode))
if (p == nullptr) return malloc(realsize);
return p;
}
return nullptr;
}
void delloc(void *ptr, int size)
{ if (ptr == nullptr) return;
if (size > 128) return free(ptr);
int index = getindex(size);
memNode *pNew = (memNode *)ptr;
pNew->nextnode = m_free_head[index];
while (!(m_free_head[index].compare_exchange_weak(pNew->nextnode, pNew)))
;
}
void report()
{ printf("\033[32m\033[1mtiny_mempool report\033[0m\n");
printf("\033[34mindex\tnode size node count\033[0m\n");
for (int i = 0; i < 16; ++i)
{ int n = 0;
memNode *p = m_free_head[i];
while (p)
{ n++;
p = p->nextnode;
}
printf("\033[31m%5d\t %3d \033[35mbyte\033[31m %10d"
"\033[0m\n", i, (i + 1) << 3, n);
}
}
};
template<class T>
class tiny_allocator {
public:
using value_type = T;
using pointer = T*;
using const_pointer = const T*;
using reference = T&;
using const_reference = const T&;
using size_type = size_t;
tiny_allocator() {}
tiny_allocator(tiny_allocator const &) {}
tiny_allocator &operator=(tiny_allocator const &)
{ return *this; }
template<class Other>
tiny_allocator(tiny_allocator<Other> const &) {}
template<class Other>
tiny_allocator &operator=(tiny_allocator<Other> const &)
{ return *this; }
pointer allocate(size_type count)
{ return (pointer)tiny_mempool::instance()
.alloc(count * sizeof(value_type));
}
void deallocate(pointer ptr, size_type count)
{ return tiny_mempool::instance()
.delloc(ptr, count * sizeof(value_type));
}
};
代码解析
- 按照STL的内存分配策略进行实现。
- 单例模式确保实例的唯一性。
- 原子操作实现无锁并发(其实就是实现了一个无锁的线程安全的单向链表)。
代码测试
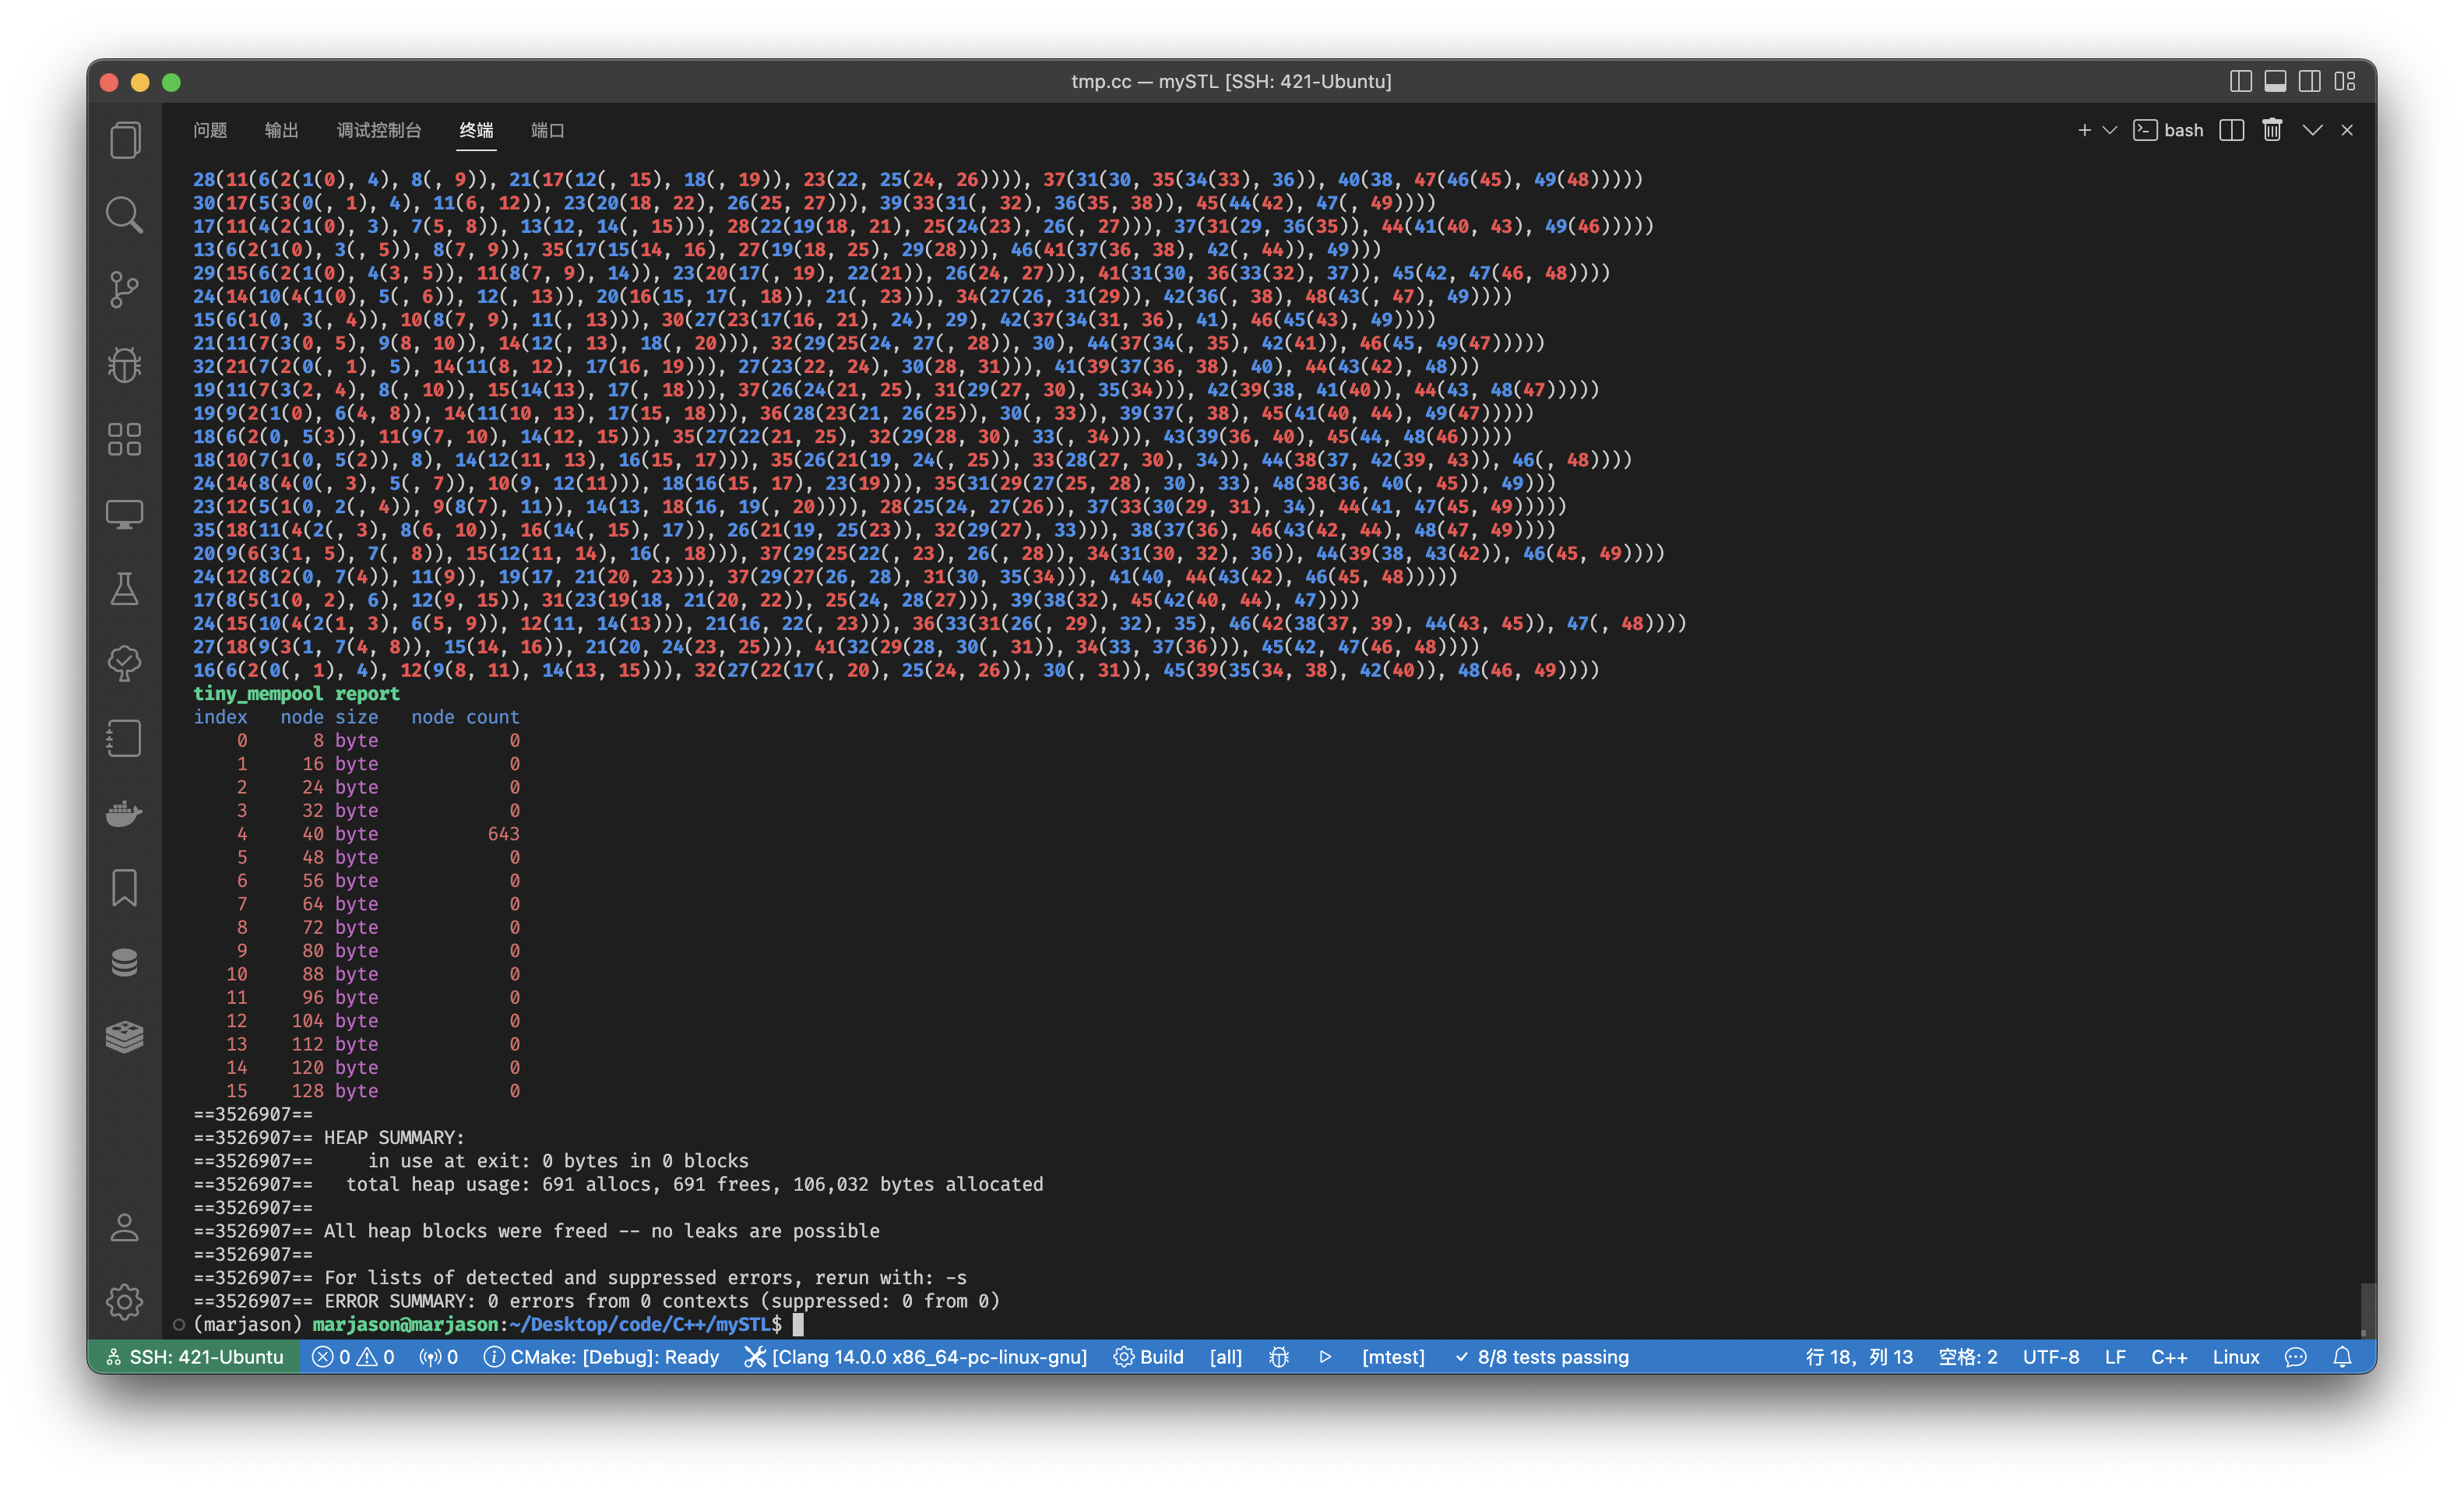
- 开启多个线程,并发地使用内存池进行内存分配,最后使用
valgrind 检测进程是否产生了内存泄露。测试代码可以见我的另一篇文章:红黑树的c++实现,里面使用实现的红黑树在多个线程里面使用这里实现的内存池进行内存管理。这里附上测试截图:


 956
956

 被折叠的 条评论
为什么被折叠?


