


一、使用vite创建vue3项目
创建命令
npm create vite@latest
选项如下
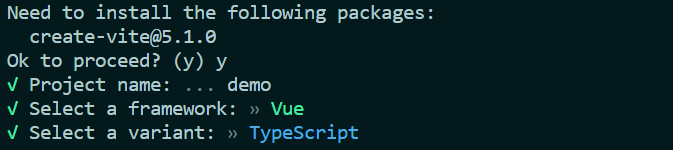
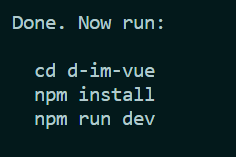
跑动代码就没问题
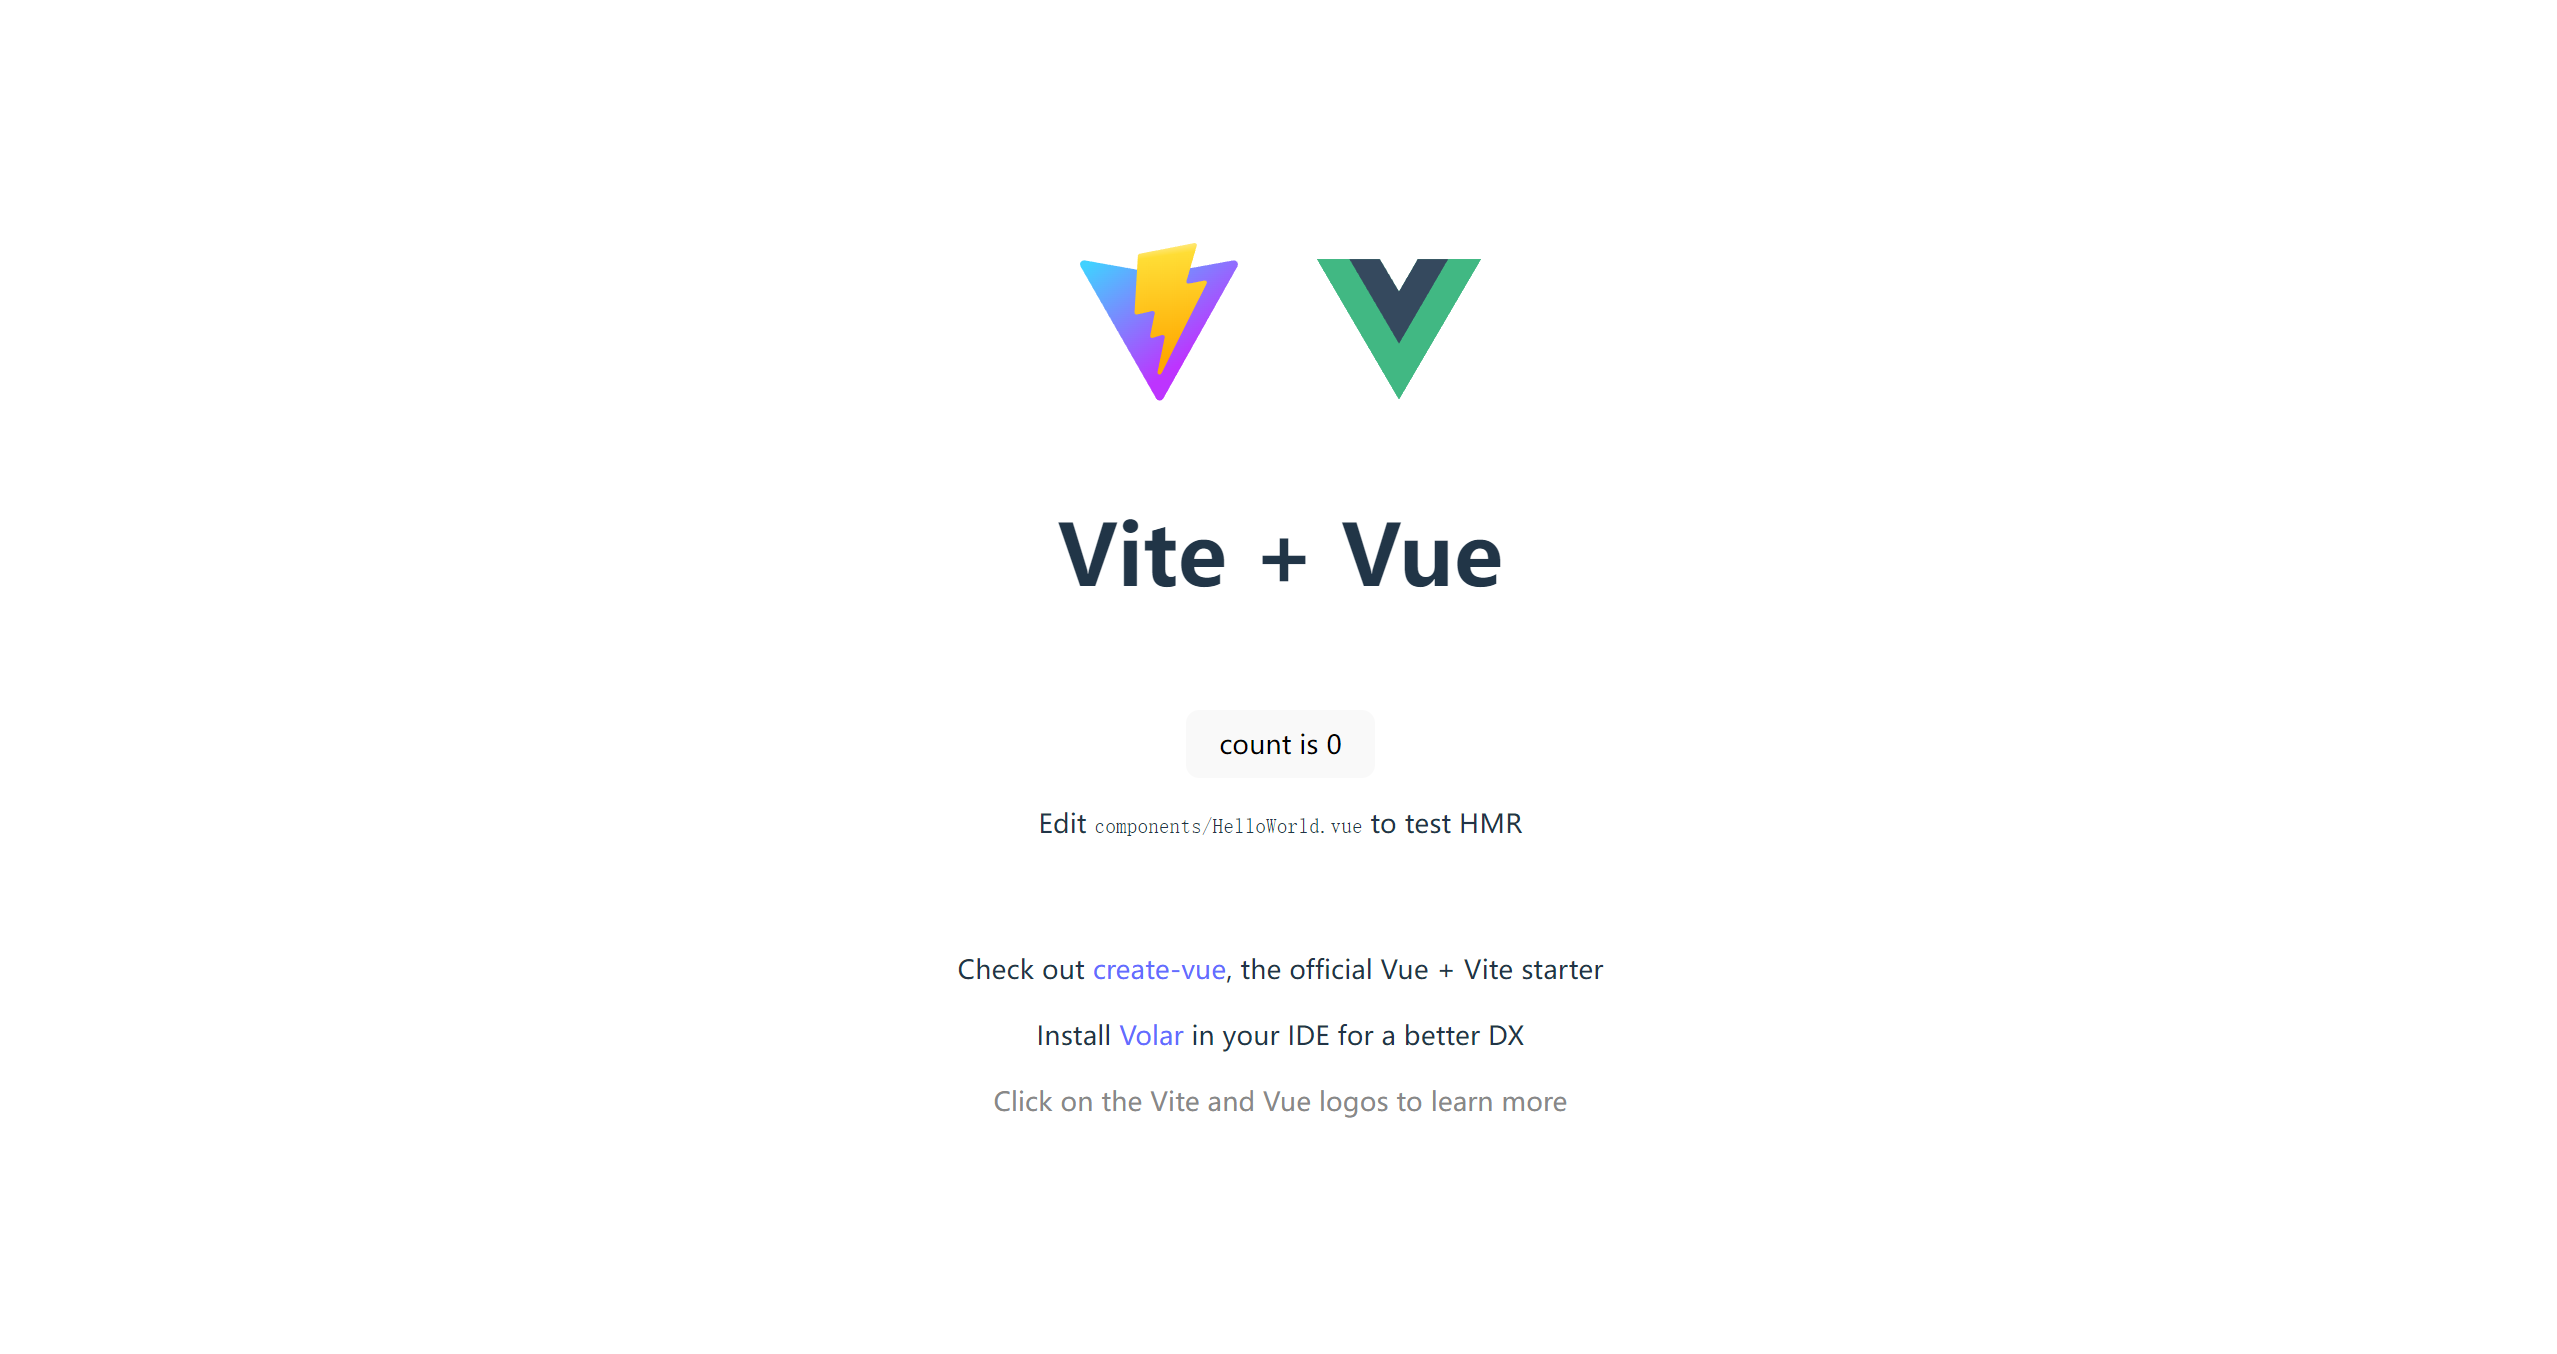
效果如下
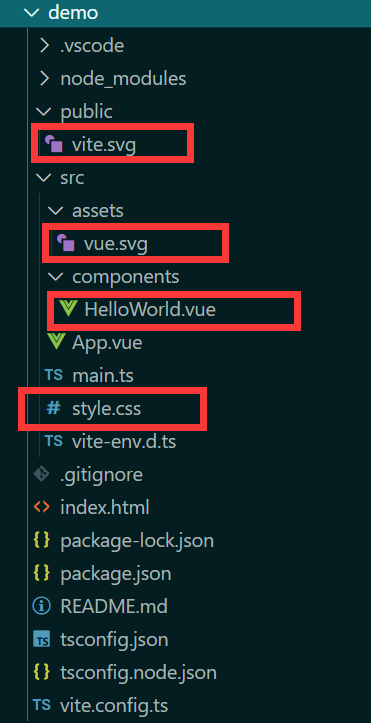
二、修改初始项目
初始有很多没用的文件,先给他删了
修改一些文件
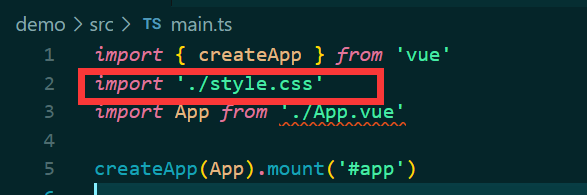
1.删除mian.ts的导入样式
2.修改App.vue
<script setup lang="ts">
</script>

<template>
  	<RouterView></RouterView>
</template>

<style scoped>
</style>
3.添加路径别名
在vite.config.ts下添加
//头部导入
import { resolve } from 'path'

//defineConfig里
resolve: {
	alias: {
		'@': resolve(__dirname, './src'),
		'*': resolve('')
	}
}
4.修改tsconfig.json
{
	"compilerOptions": {
		/* config path*/
		"baseUrl": ".",
		"paths": {
			"@/*": ["src/*"]
		},
		"target": "ES2020",
		"useDefineForClassFields": true,
		"module": "ESNext",
		"lib": ["ES2020", "DOM", "DOM.Iterable"],
		"skipLibCheck": true,

		/* Bundler mode */
		"moduleResolution": "bundler",
		"allowImportingTsExtensions": true,
		"resolveJsonModule": true,
		"isolatedModules": true,
		"noEmit": true,
		"jsx": "preserve",

		/* Linting */
		"strict": true,
		"noUnusedLocals": true,
		"noUnusedParameters": true,
		"noFallthroughCasesInSwitch": true,
		"noImplicitAny": false
	},
	"include": ["src/**/*.ts", "src/**/*.tsx", "src/**/*.vue"],
	"references": [{ "path": "./tsconfig.node.json" }]
}
三、代码规范插件
1.eslint
命令行安装
npm init @eslint/config
选项如下
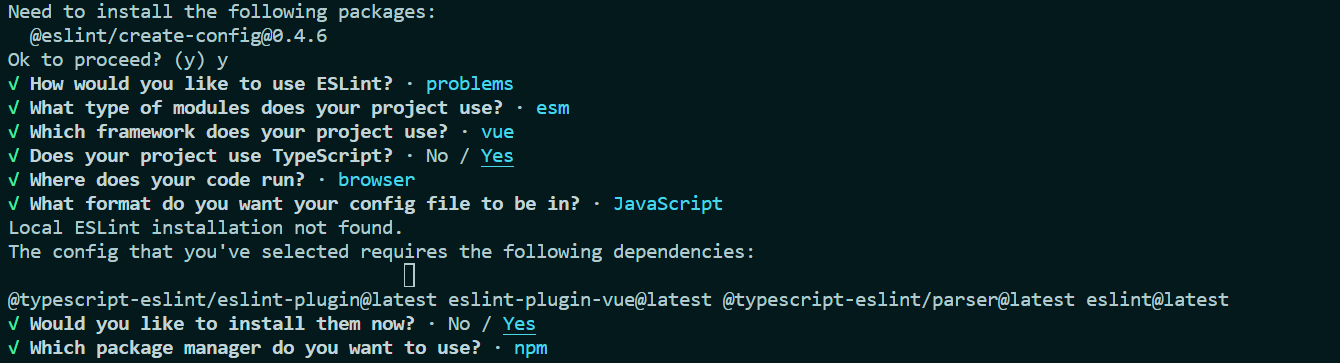
之后自动生成一个.eslintrc.cjs文件
我的配置如下:
module.exports = {
	env: {
		browser: true,
		es2021: true,
		node: true,
		jest: true
	},
	/* 指定如何解析语法 */
	parser: 'vue-eslint-parser',
	/** 优先级低于 parse 的语法解析配置 */
	parserOptions: {
		ecmaVersion: 'latest',
		sourceType: 'module',
		parser: '@typescript-eslint/parser',
		jsxPragma: 'React',
		ecmaFeatures: {
			jsx: true
		}
	},
	/* 继承已有的规则 */
	extends: ['eslint:recommended', 'plugin:vue/vue3-essential', 'plugin:@typescript-eslint/recommended', 'plugin:prettier/recommended'],
	plugins: ['vue', '@typescript-eslint'],
	/*
	 * "off" 或 0    ==>  关闭规则
	 * "warn" 或 1   ==>  打开的规则作为警告(不影响代码执行)
	 * "error" 或 2  ==>  规则作为一个错误(代码不能执行,界面报错)
	 */
	rules: {
		// eslint(https://eslint.bootcss.com/docs/rules/)
		'no-var': 'error', // 要求使用 let 或 const 而不是 var
		'no-multiple-empty-lines': ['warn', { max: 1 }], // 不允许多个空行
		'no-console': process.env.NODE_ENV === 'production' ? 'error' : 'off',
		'no-debugger': process.env.NODE_ENV === 'production' ? 'error' : 'off',
		'no-unexpected-multiline': 'error', // 禁止空余的多行
		'no-useless-escape': 'off', // 禁止不必要的转义字符

		// typeScript (https://typescript-eslint.io/rules)
		'@typescript-eslint/no-unused-vars': 'error', // 禁止定义未使用的变量
		'@typescript-eslint/prefer-ts-expect-error': 'error', // 禁止使用 @ts-ignore
		'@typescript-eslint/no-explicit-any': 'off', // 禁止使用 any 类型
		'@typescript-eslint/no-non-null-assertion': 'off',
		'@typescript-eslint/no-namespace': 'off', // 禁止使用自定义 TypeScript 模块和命名空间。
		'@typescript-eslint/semi': 'off',

		// eslint-plugin-vue (https://eslint.vuejs.org/rules/)
		'vue/multi-word-component-names': 'off', // 要求组件名称始终为 “-” 链接的单词
		'vue/script-setup-uses-vars': 'error', // 防止<script setup>使用的变量<template>被标记为未使用
		'vue/no-mutating-props': 'off', // 不允许组件 prop的改变
		'vue/attribute-hyphenation': 'off' // 对模板中的自定义组件强制执行属性命名样式
	}
}
同时,针对一些没必要检测的文件可以做个忽略配置.eslintignore,如:打包文件dist和node_modules文件
/dist/*
/html/*
.local
/node_modules/**
**/*.svg
**/*.sh
/public/*
安装vite对应的eslint插件
命令行
npm i vite-plugin-eslint -D
2.prettier
命令行
npm i prettier eslint-plugin-prettier eslint-config-prettier -D
新建.prettierrc.json文件
我的配置:
{
	"printWidth": 150,
	"tabWidth": 2,
	"useTabs": true,
	"semi": false,
	"singleQuote": true,
	"trailingComma": "none",
	"bracketSpacing": true,
	"bracketSameLine": true,
	"arrowParens": "always",
	"htmlWhitespaceSensitivity": "ignore",
	"vueIndentScriptAndStyle": false,
	"endOfLine": "auto",
	"singleAttributePerLine": false
}
新建忽略文件.prettierignore
/dist/*
/html/*
.local
/node_modules/**
**/*.svg
**/*.sh
/public/*
使用eslint和prettier
配置package.json的scripts
"lint": "eslint src",
"lint:fix": "eslint src --fix",
"format": "prettier --write \"./**/*.{html,vue,js,ts,json,md}\" ",
命令行运行上述脚本如果符合配置预期即配置成功
3.stylelint
命令行
npm install stylelint@14.16.1 postcss postcss-scss postcss-html stylelint-config-prettier stylelint-config-recommended-scss@8.0.0 stylelint-config-standard@29.0.0 stylelint-config-standard-vue stylelint-scss@4.x stylelint-order -D
创建文件.stylelintrc.cjs
// @see https://stylelint.bootcss.com/

module.exports = {
  extends: [
    'stylelint-config-standard', // 配置stylelint拓展插件
    'stylelint-config-recommended-scss', // 配置stylelint scss插件
    'stylelint-config-recommended-vue/scss', // 配置 vue 中 scss 样式格式化
    'stylelint-config-recess-order', // 配置stylelint css属性书写顺序插件,
    'stylelint-config-prettier', // 配置stylelint和prettier兼容
  ],
  overrides: [
    {
      files: ['**/*.(scss|css|vue|html)'],
      customSyntax: 'postcss-scss',
    },
    {
      files: ['**/*.(html|vue)'],
      customSyntax: 'postcss-html',
    },
  ],
  ignoreFiles: [
    '**/*.js',
    '**/*.jsx',
    '**/*.tsx',
    '**/*.ts',
    '**/*.json',
    '**/*.md',
    '**/*.yaml',
  ],
  /**
   * null  => 关闭该规则
   * always => 必须
   */
  rules: {
    'value-keyword-case': null, // 在 css 中使用 v-bind,不报错
    'no-descending-specificity': null, // 禁止在具有较高优先级的选择器后出现被其覆盖的较低优先级的选择器
    'function-url-quotes': 'always', // 要求或禁止 URL 的引号 "always(必须加上引号)"|"never(没有引号)"
    'no-empty-source': null, // 关闭禁止空源码
    'selector-class-pattern': null, // 关闭强制选择器类名的格式
    'property-no-unknown': null, // 禁止未知的属性(true 为不允许)
    'block-opening-brace-space-before': 'always', //大括号之前必须有一个空格或不能有空白符
    'value-no-vendor-prefix': null, // 关闭 属性值前缀 --webkit-box
    'property-no-vendor-prefix': null, // 关闭 属性前缀 -webkit-mask
    'selector-pseudo-class-no-unknown': [
      // 不允许未知的选择器
      true,
      {
        ignorePseudoClasses: ['global', 'v-deep', 'deep'], // 忽略属性,修改element默认样式的时候能使用到
      },
    ],
  },
}
创建忽略文件.stylelintignore
/node_modules/*
/dist/*
/html/*
/public/*
在package添加scripts
"lint:style": "stylelint src/**/*.{css,scss,vue} --cache --fix",
四、vscode插件使用
对于上述运行脚本,必须中断程序才能运行,比较麻烦,所以配置插件是有必要的
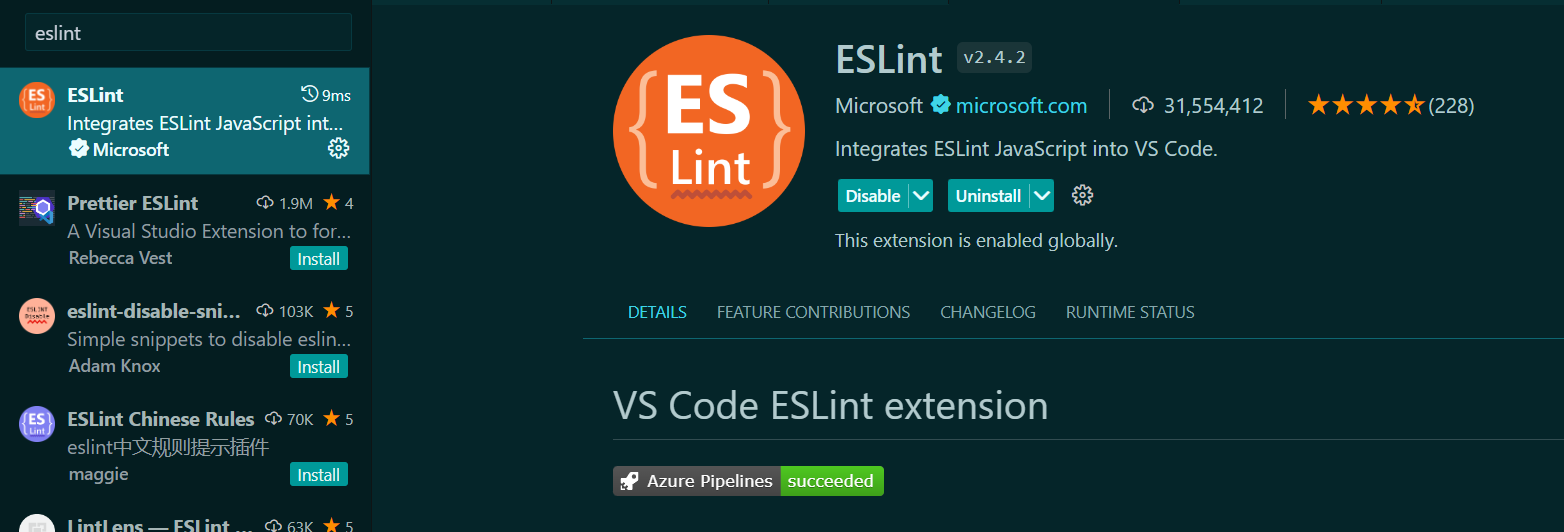
1.下载插件
eslint:
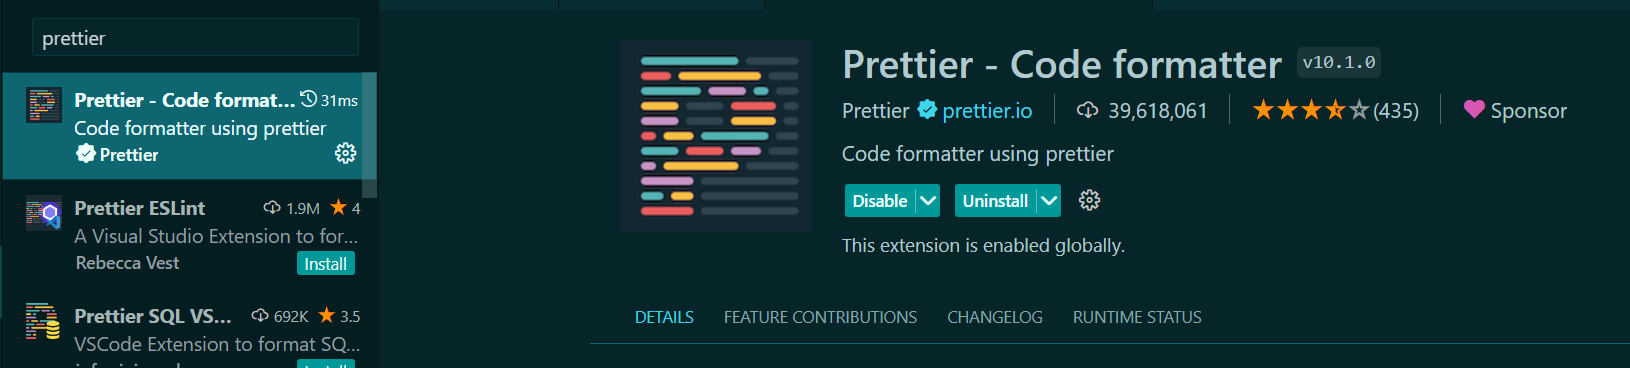
prettier:
stylelint:
2.添加配置
在根目录下的.vscode文件夹创建setting.json
我的配置:
{
    "editor.formatOnSave": true,
    "prettier.requireConfig": true,
    "eslint.enable": true,
    "editor.codeActionsOnSave": {
      "source.fixAll.eslint": true,
      "eslint.autoFixOnSave": true
     },
    "source.fixAll.stylelint": true,
    "stylelint.validate": ["css", "scss","sass"]
}
最后重启VScode即生效
ctrl + shift +p

五、上传gitee
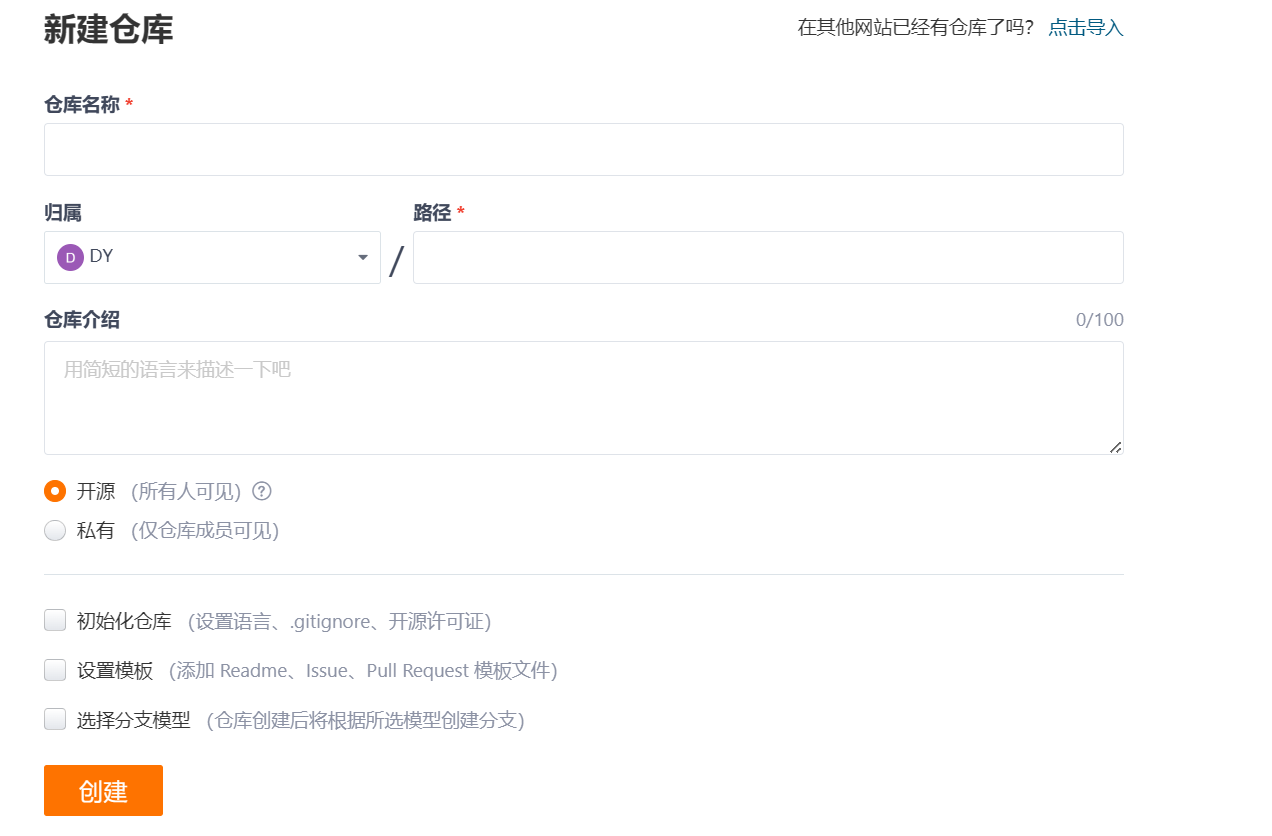
1.新建gitee仓库
2.查看gitee的代码

3.按照代码页面提示把项目上传远程仓库
六、 husky
husky是用来方便我们提交仓库时自动执行一些格式命令,以便仓库中格式符合规范
1.命令行
npm i husky -D
2.package.json添加scripts
"prepare": "husky install"
3.执行prepare命令
npm run prepare
4.添加自动执行命令
npx husky add .husky/pre-commit "npm run lint:fix && npm run format && npm run lint:style"
七、commitlint
配置 git 提交时的 commit 信息,统一提交 git 提交规范
1.安装
npm install --save-dev @commitlint/config-conventional @commitlint/cli
2.创建文件commitlint.config.cjs
module.exports = {
  // 继承的规则
  extends: ['@commitlint/config-conventional'],
  // 定义规则类型
  rules: {
    // type 类型定义,表示 git 提交的 type 必须在以下类型范围内
    'type-enum': [
      // 当前验证的错误级别
      2,
      // 在什么情况下进行验证
      'always',
      // 泛型内容,与cz-config.js中类型一致
      [
        'feat', // 新功能 feature
        'fix', // 修复 bug
        'docs', // 文档注释
        'style', // 代码格式(不影响代码运行的变动)
        'refactor', // 重构(既不增加新功能,也不是修复bug)
        'perf', // 性能优化
        'test', // 增加测试
        'chore', // 构建过程或辅助工具的变动
        'revert', // 回退
        'build' // 打包
      ]
    ],
    // subject 大小写不做校验
    'subject-case': [0]
  }
}
3.配置husky
npx husky add .husky/commit-msg "npx --no -- commitlint --edit $1"
八、项目结构搭建
1.解决报错

在vite-env.d.ts下添加
declare module "*.vue" {
  import { defineComponent } from "vue";
  const component: ReturnType<typeof defineComponent>;
  export default component;
}
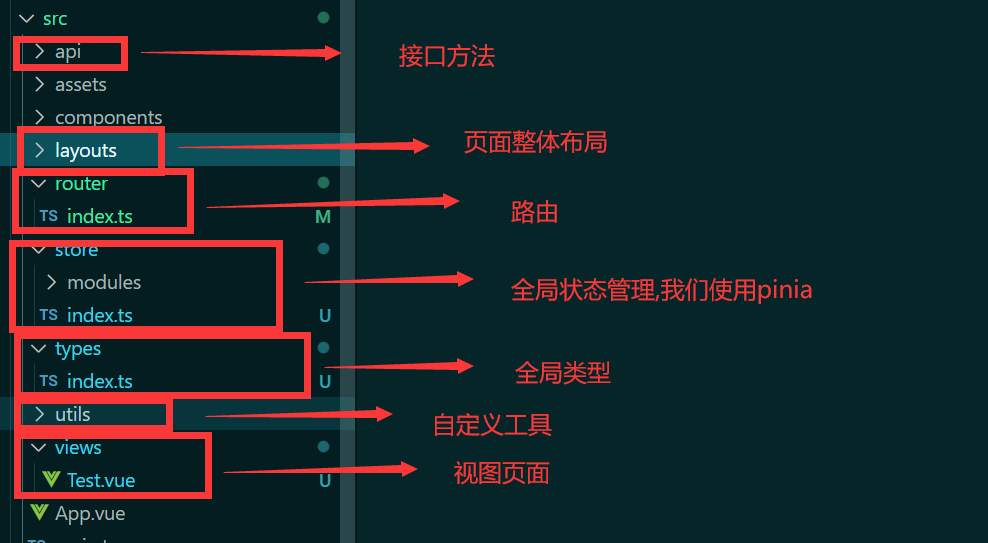
2.项目目录创建
3.路由vue-router
命令行
npm i vue-router
创建router/index.ts
import { RouteRecordRaw, createRouter, createWebHistory } from 'vue-router'

const routes: RouteRecordRaw[] = [
	{
		path: '/',
		name: 'layout',
		component: () => import('@/views/Test.vue')
	}
]

const router = createRouter({
	history: createWebHistory(),
	routes
})

export default router
在main.ts使用router
import { createApp } from 'vue'
import App from './App.vue'
import router from './router'

createApp(App).use(router).mount('#app')
查看效果
4.pinia
安装命令
npm install pinia
在main.ts使用
import { createApp } from 'vue'
import { createPinia } from 'pinia'

import App from './App.vue'
import router from './router'

const pinia = createPinia()

createApp(App).use(router).use(pinia).mount('#app')
在store/index.ts创建store
import { defineStore } from 'pinia'

export const userMainStore = defineStore('main', {
	state: () => {
		return {
			data: 1
		}
	},
	getters: {},
	actions: {}
})
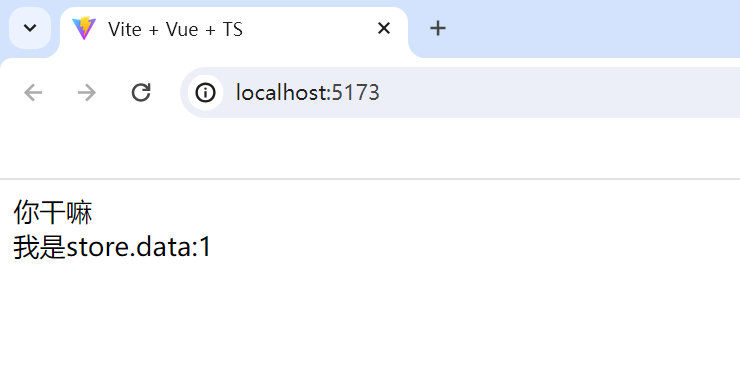
在Test.vue使用store
<script lang="ts" setup>
import { userMainStore } from '@/store'
const mainStore = userMainStore()
</script>
<template>
	<div>你干嘛</div>
	<div>我是store.data:{{ mainStore.data }}</div>
</template>
<style lang="scss" scoped></style>
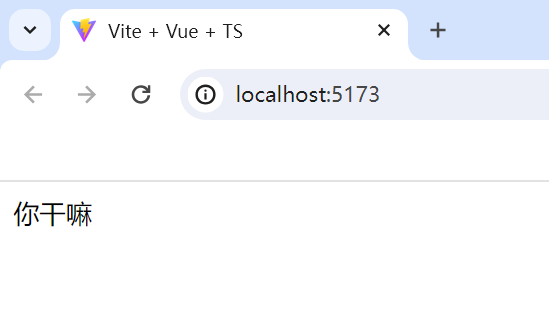
效果
5.axios
安装命令行
npm i axios
在utils/request.ts封装axios
import axios from 'axios'

const service = axios.create({
	baseURL: '',
	timeout: 20000
})

service.interceptors.request.use(
	(config) => {
		return config
	},
	async (err) => {
		return await Promise.reject(err)
	}
)

service.interceptors.response.use(
	async (res) => {
		if (res?.data.code === 200) return res.data
		return await Promise.reject(res?.data.errorMessage)
	},
	async (err) => {
		return await Promise.reject(err)
	}
)
export default service
6.配置代理
在vite.config.ts中添加代理配置
import { defineConfig } from 'vite'
import vue from '@vitejs/plugin-vue'
import eslint from 'vite-plugin-eslint'
import { resolve } from 'path'
// https://vitejs.dev/config/
export default defineConfig({
	plugins: [vue(), eslint()],
	server: {
		host: 'localhost',
		port: 8080, // 端口
		proxy: {
			'/backend': {
				// 请求接口中要替换的标识
				target: 'http://localhost:6060', // 代理地址
				changeOrigin: true, // 是否允许跨域
				secure: true
			}
		}
	},
	resolve: {
		alias: {
			'@': resolve(__dirname, './src'),
			'*': resolve('')
		}
	}
})


 888
888


 被折叠的 条评论
为什么被折叠?
被折叠的 条评论
为什么被折叠?
 到【灌水乐园】发言


