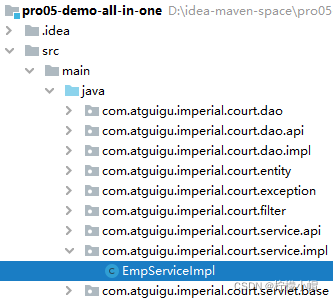
Maven 体系
6. 业务功能:登录
6.1 显示首页
6.1.1 流程图
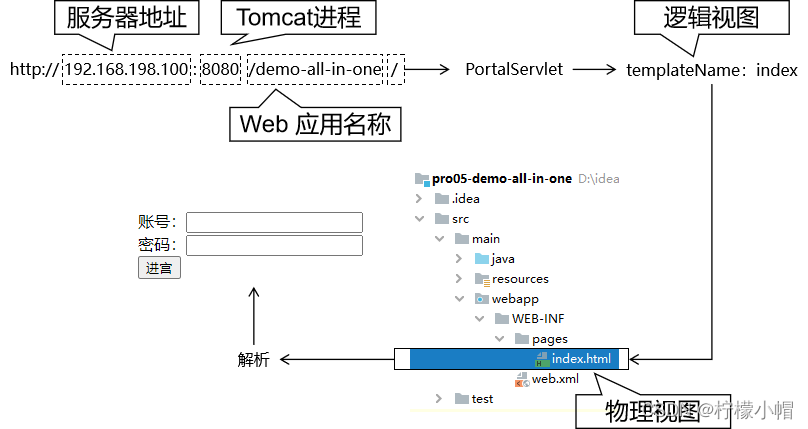
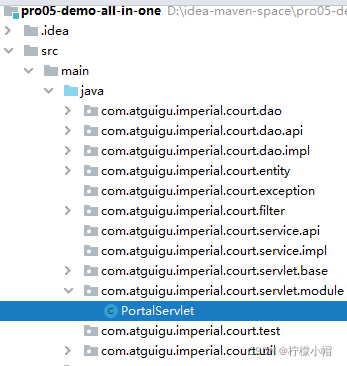
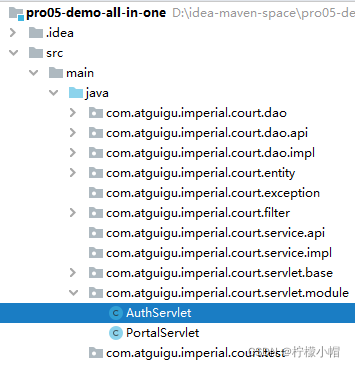
6.1.2 创建 PortalServlet
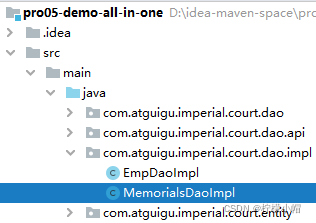
6.1.2.1 创建 Java 类
public class PortalServlet extends ViewBaseServlet {
@Override
protected void doGet(HttpServletRequest req, HttpServletResponse resp) throws ServletException, IOException {
doPost(req, resp);
}
@Override
protected void doPost(HttpServletRequest req, HttpServletResponse resp) throws ServletException, IOException {
String templateName = "index";
processTemplate(templateName, req, resp);
}
}
6.1.2.2 注册

<servlet>
    <servlet-name>portalServlet</servlet-name>
    <servlet-class>com.alex.imperial.court.servlet.module.PortalServlet</servlet-class>
</servlet>
<servlet-mapping>
    <servlet-name>portalServlet</servlet-name>
    <url-pattern>/</url-pattern>
</servlet-mapping>
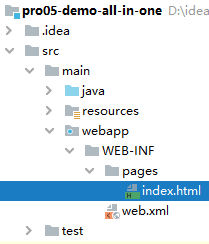
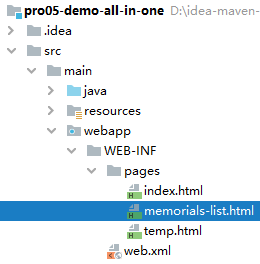
6.1.3 在 index.html 中编写登录表单
<!DOCTYPE html>
<html lang="en" xml:th="http://www.thymeleaf.org">
<head>
<meta charset="UTF-8">
<title>Title</title>
</head>
<body>
<form th:action="@{/auth}" method="post">
<input type="hidden" name="method" value="login" />
<p th:text="${message}"></p>
<p th:text="${systemMessage}"></p>
账号:<input type="text" name="loginAccount"/><br/>
密码:<input type="password" name="loginPassword"><br/>
<button type="submit">进宫</button>
</form>
</body>
</html>
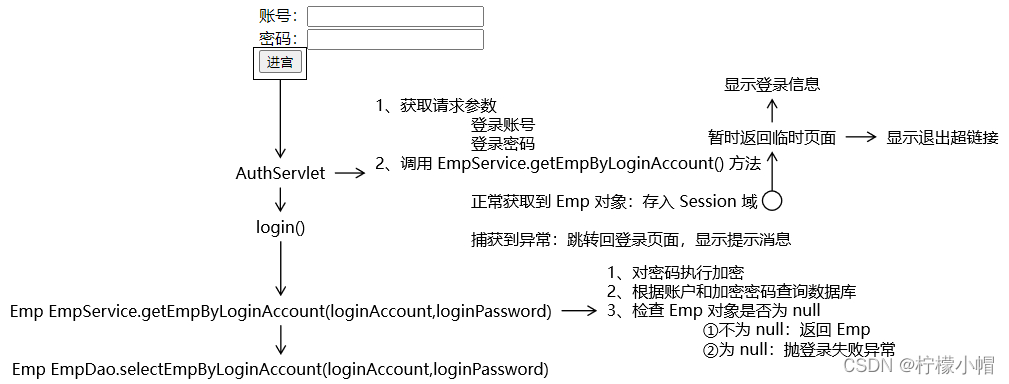
6.2 登录操作
6.2.1 流程图
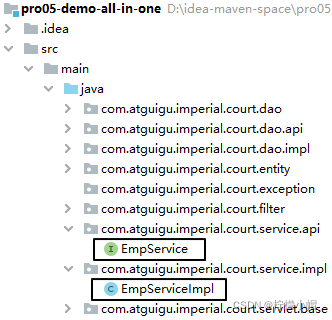
6.2.2 创建 EmpService
6.2.3 创建登录失败异常
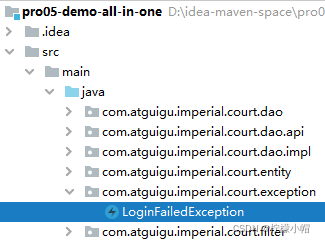
public class LoginFailedException extends RuntimeException {

    public LoginFailedException() {
    }

    public LoginFailedException(String message) {
        super(message);
    }

    public LoginFailedException(String message, Throwable cause) {
        super(message, cause);
    }

    public LoginFailedException(Throwable cause) {
        super(cause);
    }

    public LoginFailedException(String message, Throwable cause, boolean enableSuppression, boolean writableStackTrace) {
        super(message, cause, enableSuppression, writableStackTrace);
    }
}
6.2.4 增加常量声明
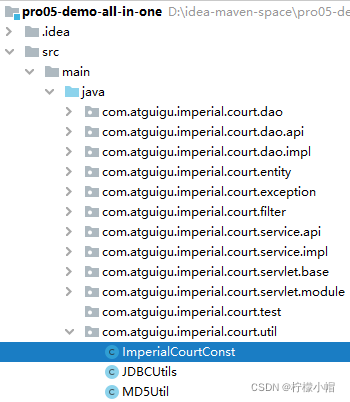
public class ImperialCourtConst {

    public static final String LOGIN_FAILED_MESSAGE = "账号、密码错误,不可进宫!";
    public static final String ACCESS_DENIED_MESSAGE = "宫闱禁地,不得擅入!";
    public static final String LOGIN_EMP_ATTR_NAME = "loginInfo";

}
6.2.5 创建 AuthServlet
6.2.5.1 创建 Java 类

public class AuthServlet extends ModelBaseServlet {
private EmpService empService = new EmpServiceImpl();
protected void login(
HttpServletRequest request,
HttpServletResponse response)
throws ServletException, IOException {
try {
String loginAccount = request.getParameter("loginAccount");
String loginPassword = request.getParameter("loginPassword");
Emp emp = empService.getEmpByLoginAccount(loginAccount, loginPassword);
HttpSession session = request.getSession();
session.setAttribute(ImperialCourtConst.LOGIN_EMP_ATTR_NAME, emp);
String templateName = "temp";
processTemplate(templateName, request, response);
} catch (Exception e) {
e.printStackTrace();
if (e instanceof LoginFailedException) {
request.setAttribute("message", e.getMessage());
processTemplate("index", request, response);
}else {
throw new RuntimeException(e);
}
}
}
}
6.2.5.2 注册
<servlet>
    <servlet-name>authServlet</servlet-name>
    <servlet-class>com.alex.imperial.court.servlet.module.AuthServlet</servlet-class>
</servlet>
<servlet-mapping>
    <servlet-name>authServlet</servlet-name>
    <url-pattern>/auth</url-pattern>
</servlet-mapping>
6.2.6 EmpService 方法
public class EmpServiceImpl implements EmpService {
private EmpDao empDao = new EmpDaoImpl();
@Override
public Emp getEmpByLoginAccount(String loginAccount, String loginPassword) {
String encodedLoginPassword = MD5Util.encode(loginPassword);
Emp emp = empDao.selectEmpByLoginAccount(loginAccount, encodedLoginPassword);
if (emp != null) {
return emp;
} else {
throw new LoginFailedException(ImperialCourtConst.LOGIN_FAILED_MESSAGE);
}
}
}
6.2.7 EmpDao 方法
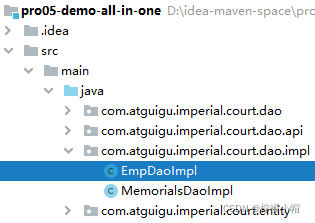
public class EmpDaoImpl extends BaseDao<Emp> implements EmpDao {
@Override
public Emp selectEmpByLoginAccount(String loginAccount, String encodedLoginPassword) {
String sql = "select emp_id empId," +
"emp_name empName," +
"emp_position empPosition," +
"login_account loginAccount," +
"login_password loginPassword " +
"from t_emp where login_account=? and login_password=?";
return super.getSingleBean(sql, Emp.class, loginAccount, encodedLoginPassword);
}
}
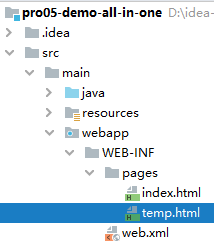
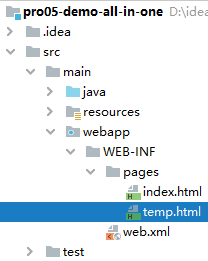
6.2.8 临时页面
<!DOCTYPE html>
<html lang="en" xml:th="http://www.thymeleaf.org">
<head>
    <meta charset="UTF-8">
    <title>临时</title>
</head>
<body>

    <p th:text="${session.loginInfo}"></p>

</body>
</html>
6.3 退出登录
6.3.1 在临时页面编写超链接
<a th:href="@{/auth?method=logout}">退朝</a>
6.3.2 在 AuthServlet 编写退出逻辑

protected void logout(HttpServletRequest request, HttpServletResponse response) throws ServletException, IOException {
HttpSession session = request.getSession();
session.invalidate();
String templateName = "index";
processTemplate(templateName, request, response);
}
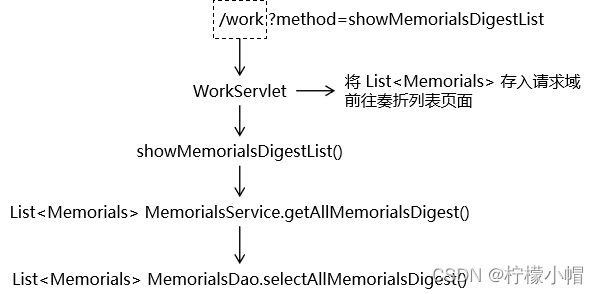
7. 业务功能:显示奏折列表
7.1 流程图
7.2 创建组件
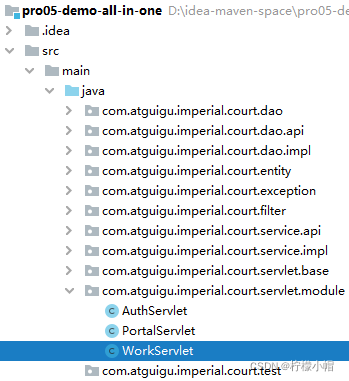
7.2.1 创建 WorkServlet
7.2.1.1 创建 Java 类
- 刚开始是空的,还没有写方法:

public class WorkServlet extends ModelBaseServlet {

    private MemorialsService memorialsService = new MemorialsServiceImpl();

}
7.2.1.2 注册
<servlet>
    <servlet-name>workServlet</servlet-name>
    <servlet-class>com.alex.imperial.court.servlet.module.WorkServlet</servlet-class>
</servlet>
<servlet-mapping>
    <servlet-name>workServlet</servlet-name>
    <url-pattern>/work</url-pattern>
</servlet-mapping>
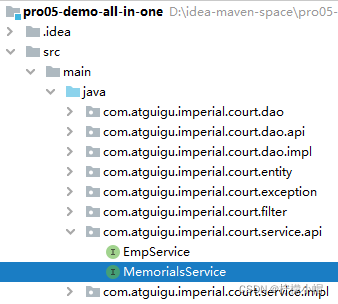
7.2.2 创建 MemorialsService
7.2.2.1 接口
7.2.2.2 实现类
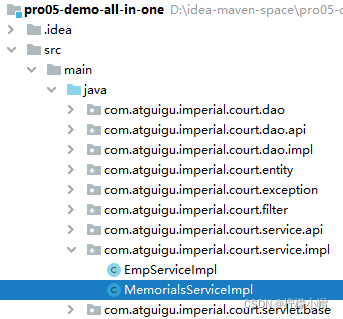
public class MemorialsServiceImpl implements MemorialsService {

    private MemorialsDao memorialsDao = new MemorialsDaoImpl();

}
7.3 WorkServlet 方法
protected void showMemorialsDigestList(HttpServletRequest request, HttpServletResponse response) throws ServletException, IOException {
List<Memorials> memorialsList = memorialsService.getAllMemorialsDigest();
request.setAttribute("memorialsList", memorialsList);
String templateName = "memorials-list";
processTemplate(templateName, request, response);
}
7.4 MemorialsService 方法

@Override
public List<Memorials> getAllMemorialsDigest() {
    return memorialsDao.selectAllMemorialsDigest();
}
7.5 MemorialsDao 方法
@Override
public List<Memorials> selectAllMemorialsDigest() {

    String sql = "select memorials_id memorialsId,\n" +
            "       memorials_title memorialsTitle,\n" +
            "       concat(left(memorials_content, 10), \"...\") memorialsContentDigest,\n" +
            "       emp_name memorialsEmpName,\n" +
            "       memorials_create_time memorialsCreateTime,\n" +
            "       memorials_status memorialsStatus\n" +
            "from t_memorials m left join  t_emp e on m.memorials_emp=e.emp_id;";

    return getBeanList(sql, Memorials.class);
}
7.6 页面显示
7.6.1 页面上的样式声明
<style type="text/css">
    table {
        border-collapse: collapse;
        margin: 0px auto 0px auto;
    }

    table th, td {
        border: 1px solid black;
        text-align: center;
    }

    div {
        text-align: right;
    }
</style>
7.6.2 用户登录信息部分
<div>
<span th:if="${session.loginInfo.empPosition == 'emperor'}">恭请皇上圣安</span>
<span th:if="${session.loginInfo.empPosition == 'minister'}">给<span th:text="${session.loginInfo.empName}">XXX</span>大人请安</span>
<a th:href="@{/auth?method=logout}">退朝</a>
</div>
7.6.3 数据展示信息部分
<table>
<thead>
<tr>
<th>奏折标题</th>
<th>内容摘要</th>
<th>上疏大臣</th>
<th>上疏时间</th>
<th>奏折状态</th>
<th>奏折详情</th>
</tr>
</thead>
<tbody th:if="${#lists.isEmpty(memorialsList)}">
<tr>
<td colspan="6">没有人上过折子</td>
</tr>
</tbody>
<tbody th:if="${not #lists.isEmpty(memorialsList)}">
<tr th:each="memorials : ${memorialsList}">
<td th:switch="${memorials.memorialsStatus}">
<span th:text="${memorials.memorialsTitle}" th:case="0" style="color: red;">奏折标题</span>
<span th:text="${memorials.memorialsTitle}" th:case="1" style="color: blue;">奏折标题</span>
<span th:text="${memorials.memorialsTitle}" th:case="2">奏折标题</span>
</td>
<td th:switch="${memorials.memorialsStatus}">
<span th:text="${memorials.memorialsContentDigest}" th:case="0" style="color: red;">内容摘要</span>
<span th:text="${memorials.memorialsContentDigest}" th:case="1" style="color: blue;">内容摘要</span>
<span th:text="${memorials.memorialsContentDigest}" th:case="2">内容摘要</span>
</td>
<td th:switch="${memorials.memorialsStatus}">
<span th:text="${memorials.memorialsEmpName}" th:case="0" style="color: red;">上疏大臣</span>
<span th:text="${memorials.memorialsEmpName}" th:case="1" style="color: blue;">上疏大臣</span>
<span th:text="${memorials.memorialsEmpName}" th:case="2">上疏大臣</span>
</td>
<td th:switch="${memorials.memorialsStatus}">
<span th:text="${memorials.memorialsCreateTime}" th:case="0" style="color: red;">上疏时间</span>
<span th:text="${memorials.memorialsCreateTime}" th:case="1" style="color: blue;">上疏时间</span>
<span th:text="${memorials.memorialsCreateTime}" th:case="2">上疏时间</span>
</td>
<td th:switch="${memorials.memorialsStatus}">
<span th:case="0" style="color: red;">未读</span>
<span th:case="1" style="color: blue;">已读</span>
<span th:case="2">已批示</span>
</td>
<td>
<a th:href="@{/work?method=detail}">奏折详情</a>
</td>
</tr>
</tbody>
</table>
7.7 和登录成功对接
protected void login(
HttpServletRequest request,
HttpServletResponse response)
throws ServletException, IOException {
try {
String loginAccount = request.getParameter("loginAccount");
String loginPassword = request.getParameter("loginPassword");
Emp emp = empService.getEmpByLoginAccount(loginAccount, loginPassword);
HttpSession session = request.getSession();
session.setAttribute(ImperialCourtConst.LOGIN_EMP_ATTR_NAME, emp);
response.sendRedirect(request.getContextPath() + "/work?method=showMemorialsDigestList");
} catch (Exception e) {
e.printStackTrace();
if (e instanceof LoginFailedException) {
request.setAttribute("message", e.getMessage());
processTemplate("index", request, response);
}else {
throw new RuntimeException(e);
}
}
}


 535
535


 被折叠的 条评论
为什么被折叠?
被折叠的 条评论
为什么被折叠?
 到【灌水乐园】发言


