


作为一个合格的android开发工程师,服务器开发是一项必须掌握的技能,现在到各大应用商店看看,哪里还有单机的应用。所以从今天开始我打算学习服务器的ssm框架,首先就是springmvc,当然这一系列的博客适用于有一定基础的人,没有基础谁会上来就学框架呢。不废话了,首先来搭建springmvc的框架吧,我们使用eclipse作为开发工具。
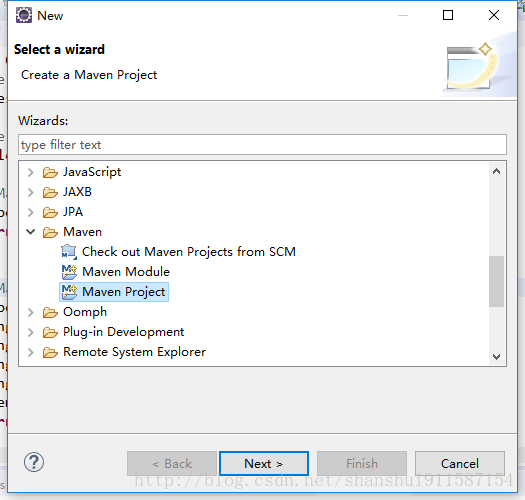
1.创建Maven项目
在eclipse中创建一个Maven项目:
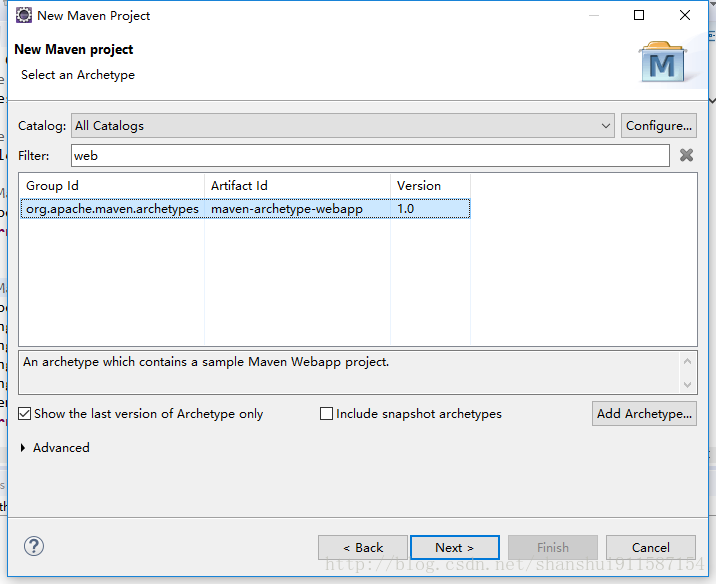
在Filter中输入“web”过滤到下面这个项目
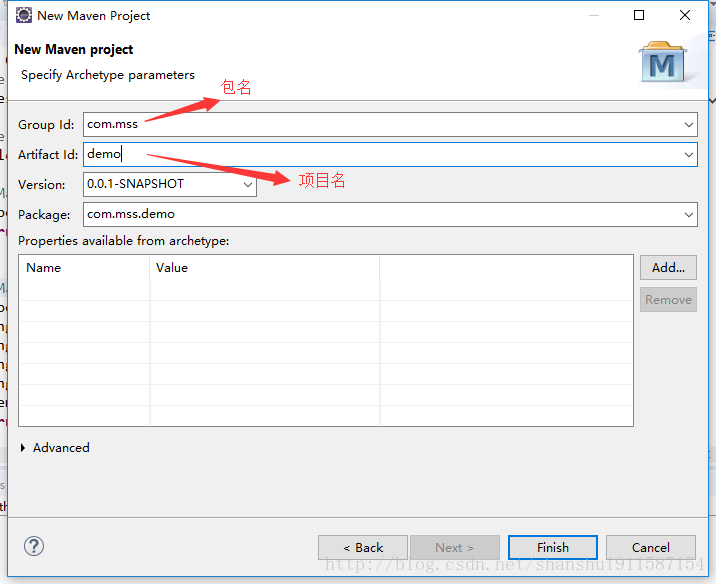
输入包名和项目名
2.配置Maven项目
右键项目,build path
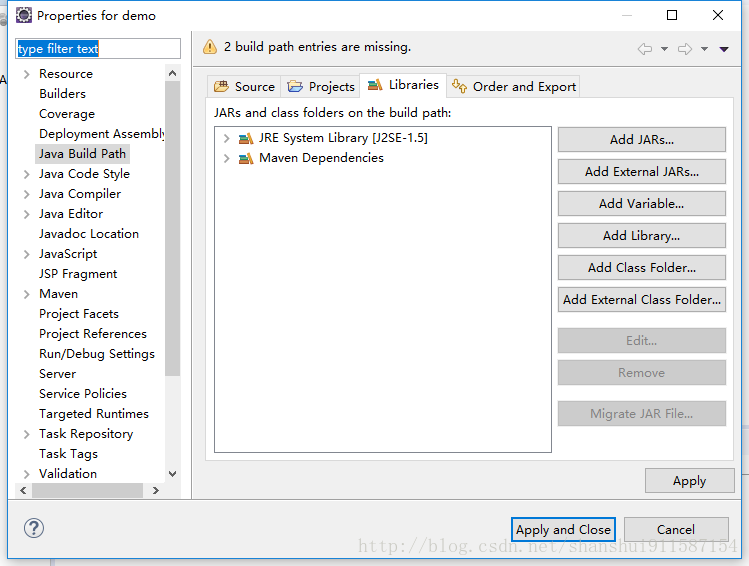
点击add library,选择server runtime
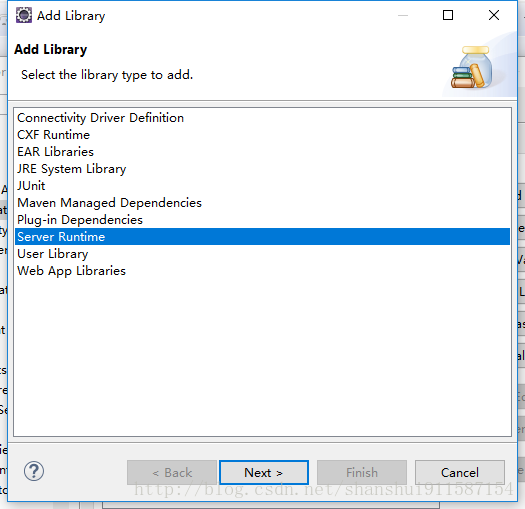
然后选择你的服务器,应用并退出就可以了。
现在的项目结构如下:

现在要真正配置springmvc了,打开pom.xml文件修改
<project xmlns="http://maven.apache.org/POM/4.0.0" xmlns:xsi="http://www.w3.org/2001/XMLSchema-instance"
    xsi:schemaLocation="http://maven.apache.org/POM/4.0.0 http://maven.apache.org/maven-v4_0_0.xsd">
    <modelVersion>4.0.0</modelVersion>
    <groupId>com.mss</groupId>
    <artifactId>springmvc</artifactId>
    <packaging>war</packaging>
    <version>0.0.1-SNAPSHOT</version>
    <name>springmvc Maven Webapp</name>
    <url>http://maven.apache.org</url>
    <properties>
        <spring.version>4.0.5.RELEASE</spring.version>
        <project.build.sourceEncoding>UTF-8</project.build.sourceEncoding>
        <java.version>1.7</java.version>
        <jackson.version>2.3.1</jackson.version>
    </properties>
    <dependencies>
        <dependency>
            <groupId>junit</groupId>
            <artifactId>junit</artifactId>
            <version>3.8.1</version>
            <scope>test</scope>
        </dependency>
        <dependency>
            <groupId>org.springframework</groupId>
            <artifactId>spring-webmvc</artifactId>
            <version>${spring.version}</version>
        </dependency>
        <dependency>
            <groupId>org.springframework</groupId>
            <artifactId>spring-oxm</artifactId>
            <version>${spring.version}</version>
        </dependency>

        <!-- jackson start -->
        <dependency>
            <groupId>org.codehaus.jackson</groupId>
            <artifactId>jackson-core-asl</artifactId>
            <version>1.9.12</version>
        </dependency>
        <dependency>
            <groupId>org.codehaus.jackson</groupId>
            <artifactId>jackson-mapper-lgpl</artifactId>
            <version>1.9.12</version>
        </dependency>
        <!-- jackson end -->
    </dependencies>
    <build>
        <finalName>springmvc</finalName>
    </build>
</project>
在WEB-INF目录下创建dispatcher-servlet.xml文件,并加入下面的内容:
<?xml version="1.0" encoding="UTF-8"?>
<beans xmlns="http://www.springframework.org/schema/beans"
    xmlns:p="http://www.springframework.org/schema/p" xmlns:xsi="http://www.w3.org/2001/XMLSchema-instance"
    xmlns:context="http://www.springframework.org/schema/context"
    xmlns:mvc="http://www.springframework.org/schema/mvc"
    xmlns:util="http://www.springframework.org/schema/util"
    xsi:schemaLocation="http://www.springframework.org/schema/mvc http://www.springframework.org/schema/mvc/spring-mvc-4.0.xsd
        http://www.springframework.org/schema/beans http://www.springframework.org/schema/beans/spring-beans-4.0.xsd
        http://www.springframework.org/schema/context http://www.springframework.org/schema/context/spring-context-4.0.xsd
        http://www.springframework.org/schema/util http://www.springframework.org/schema/util/spring-util-3.0.xsd">

    <!-- 自动扫描 com.jikexueyuan 包下面的所有组件(使用了springmvc注解)-->
    <context:component-scan base-package="com.mss.*" />

</beans>
最后一项,修改web.xml中的代码:
<?xml version="1.0" encoding="UTF-8"?>
<web-app xmlns:xsi="http://www.w3.org/2001/XMLSchema-instance"
    xmlns="http://java.sun.com/xml/ns/javaee" xmlns:jsp="http://java.sun.com/xml/ns/javaee/jsp"
    xsi:schemaLocation="http://java.sun.com/xml/ns/javaee http://java.sun.com/xml/ns/javaee/web-app_3_0.xsd"
    version="3.0">
    <display-name></display-name>

    <listener>
        <listener-class>org.springframework.web.context.ContextLoaderListener</listener-class>
    </listener>

    <context-param>
        <param-name>contextConfigLocation</param-name>
        <param-value>classpath*:applicationContext.xml</param-value>
    </context-param>
    <servlet>
        <servlet-name>dispatcher</servlet-name>
        <servlet-class>org.springframework.web.servlet.DispatcherServlet</servlet-class>
        <init-param>
            <param-name>contextConfigLocation</param-name>
            <param-value>/WEB-INF/dispatcher-servlet.xml</param-value>
        </init-param>
    </servlet>
    <servlet-mapping>
        <servlet-name>dispatcher</servlet-name>
        <!-- 使用.html作为请求后缀 -->
        <url-pattern>*.html</url-pattern>
    </servlet-mapping>

    <welcome-file-list>
        <welcome-file>index.jsp</welcome-file>
    </welcome-file-list>

</web-app>
到现在springmvc的配置就完成了,接下来我们验证一下有没有配置成功。
修改index.jsp:
<%@ page language="java" contentType="text/html; charset=ISO-8859-1"
    pageEncoding="utf-8"%>
<!DOCTYPE html PUBLIC "-//W3C//DTD HTML 4.01 Transitional//EN" "http://www.w3.org/TR/html4/loose.dtd">
<html>
<head>
<meta http-equiv="Content-Type" content="text/html; charset=utf-8">
<title>Insert title here</title>
</head>
<body>

<h1>success</h1>
</body>
</html>
在src/main/java下创建一个class:
package com.mss.controll;

import org.springframework.stereotype.Controller;
import org.springframework.web.bind.annotation.RequestMapping;
import org.springframework.web.servlet.ModelAndView;


@Controller
public class ControllTest{

    @RequestMapping("index")
    public ModelAndView toLogin() {
        System.out.println("---------");
        return new ModelAndView("index.jsp");
    }
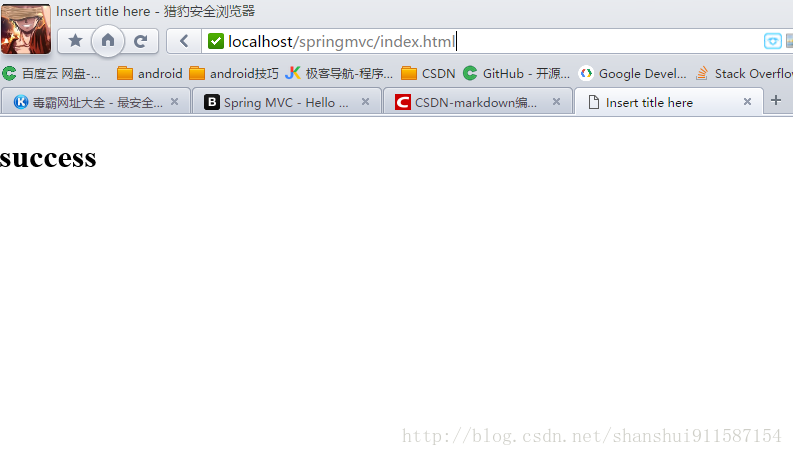
}将项目部署到tomcat上,然后通过:http://localhost/springmvc/index.html访问
如果看到下面的页面,恭喜你,成功了


 被折叠的 条评论
为什么被折叠?
被折叠的 条评论
为什么被折叠?
 到【灌水乐园】发言


