


高可用ribbon负载均衡业务整合
创建2个工程
![]()
工程1
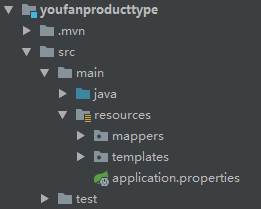
application.properties
server.port=8081
spring.application.name=youfanproducttype
eureka.client.serviceUrl.defaultZone=http://localhost:8761/eureka/
工程2
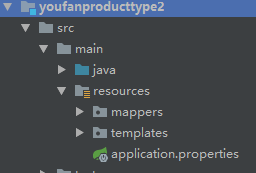
application.properties
server.port=8011
spring.application.name=youfanproducttype
eureka.client.serviceUrl.defaultZone=http://localhost:8761/eureka/
产品类型控制器
package com.youfan.control;


import com.youfan.model.ProductType;
import org.springframework.beans.factory.annotation.Autowired;
import org.springframework.web.bind.annotation.*;
import org.springframework.web.client.RestTemplate;

import java.util.List;

/**
 * Created by youfan on 2018/6/6 0006.
 */
@RestController
public class ProducttypoutControl {
    /**
     * 注入RestTemplate
     */
    @Autowired
    RestTemplate restTemplate;

    @RequestMapping(value = "/listproducttype",method = RequestMethod.GET)
    public List<ProductType> listproducttype(){
        String url="http://YOUFANPRODUCTTYPE/listproducttype";
        List<ProductType> list = restTemplate.getForObject(url,List.class);
        return list;
    }

}
说明:
1)通过YOUFANPRODUCTTYPE可以访问对应的实例服务;
==============================
QQ群:143522604
群里有相关资源
欢迎和大家一起学习、交流、提升!
==============================


 212
212


 被折叠的 条评论
为什么被折叠?
被折叠的 条评论
为什么被折叠?
 到【灌水乐园】发言


