


自研框架整体介绍
自研框架架构简图
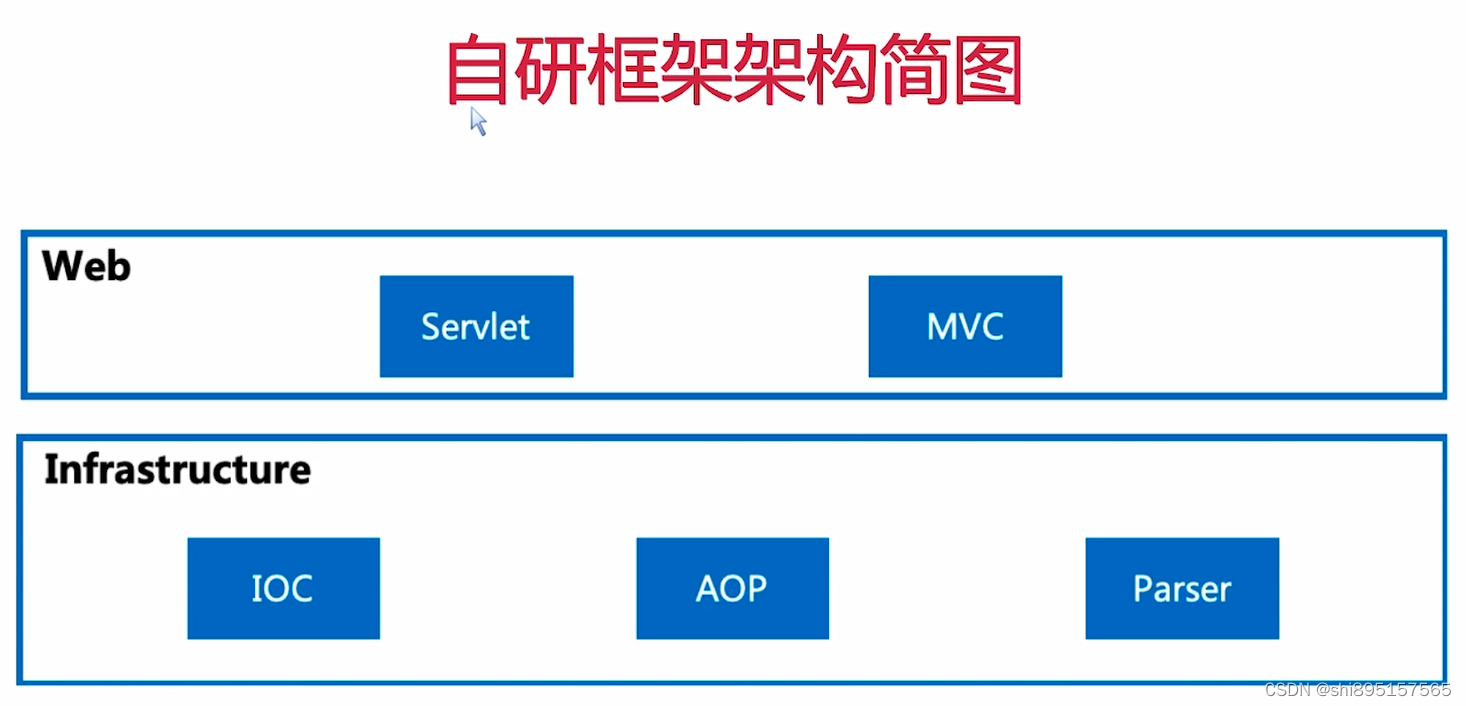
在基础架构层中,笔者主要实现容器管理以及依赖注入的IOC模块、面向切面编程的AOP模块以及解析相关配置映射到Bean中的Parser模块。
在Web层开发servlet开发MVC模块,无缝介入到业务中。
自研框架雏形搭建
从创建hello world页面开始
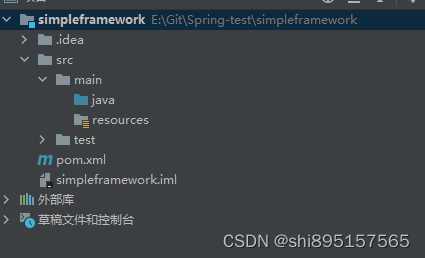
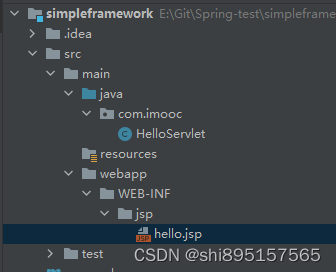
2.1新建一个maven project
2.2 修改pom.xml
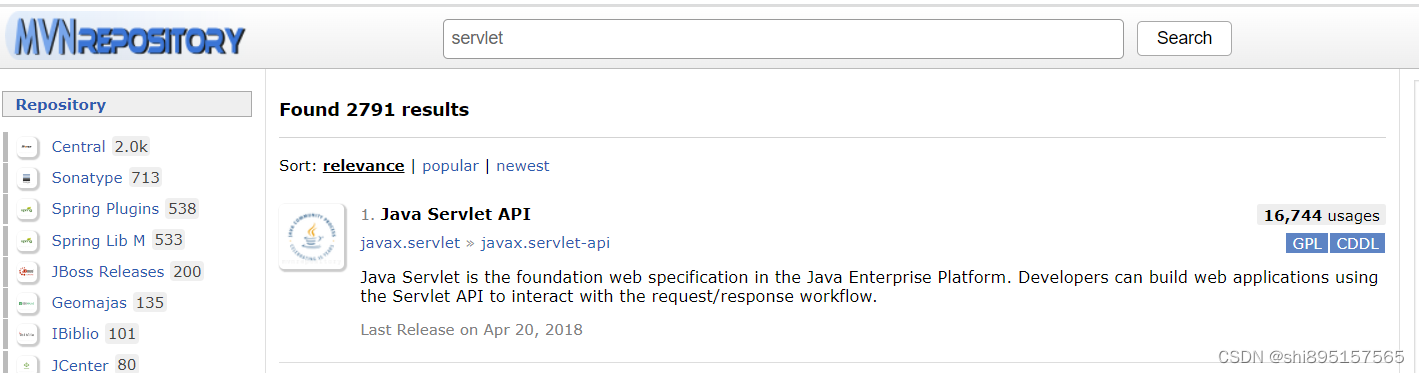
通过servlet转发到jsp页面上,因此先引入相关依赖
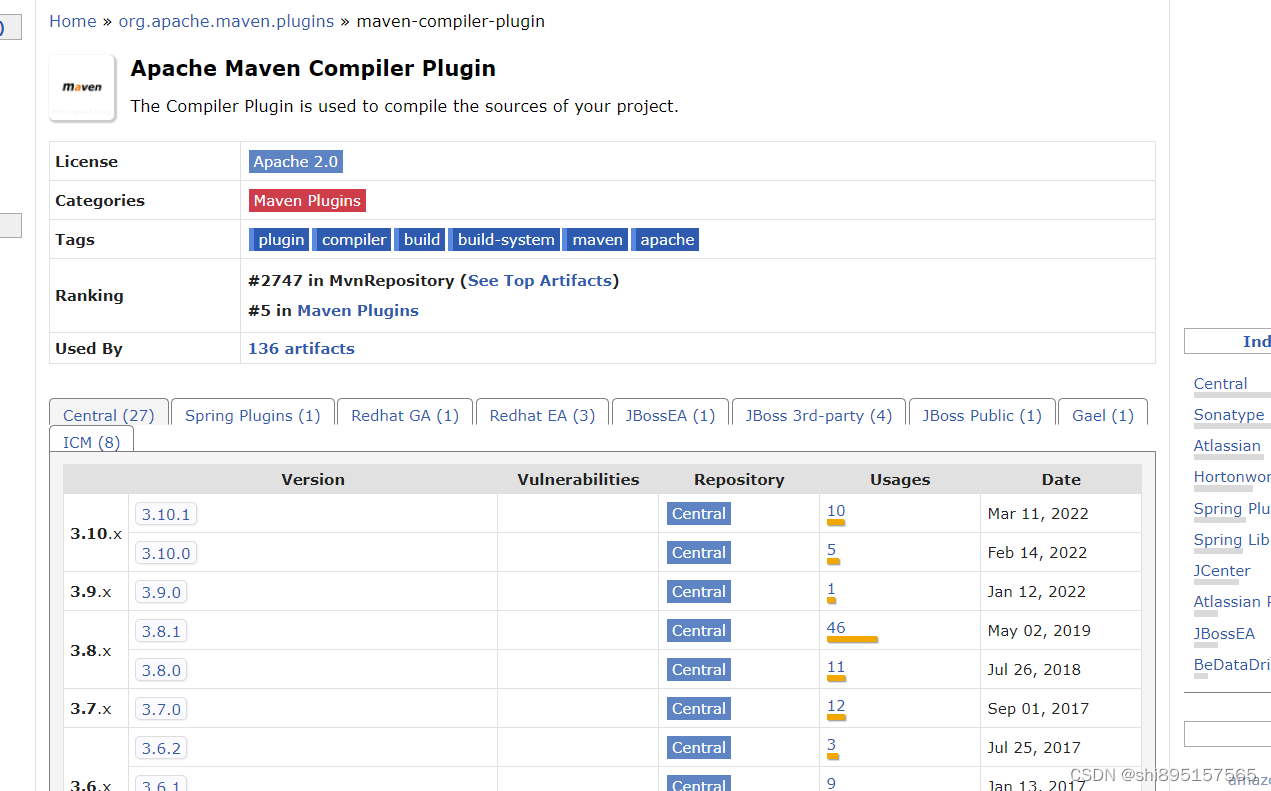
相关依赖配置在链接: https://mvnrepository.com/打开官方库找到相关依赖
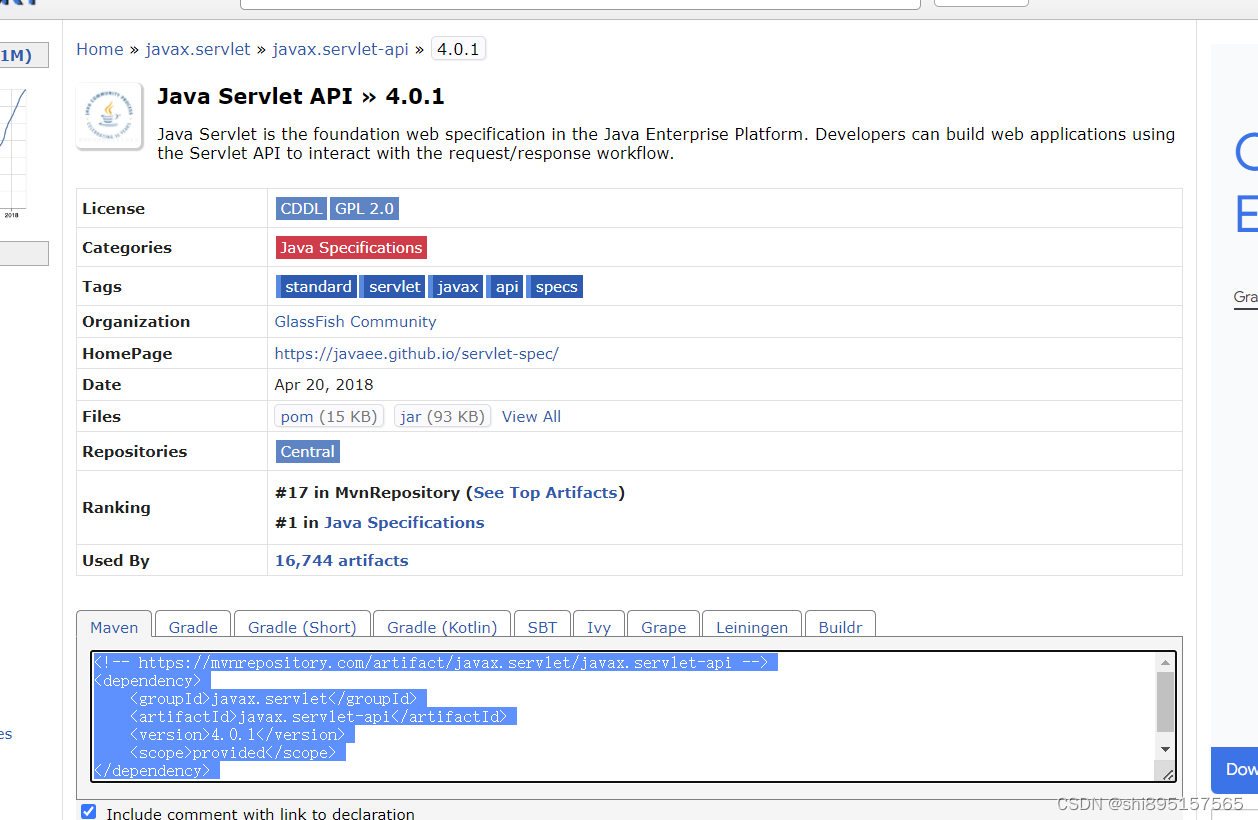
将相关内容复制到xml文件中
<?xml version="1.0" encoding="UTF-8"?>
<project xmlns="http://maven.apache.org/POM/4.0.0"
         xmlns:xsi="http://www.w3.org/2001/XMLSchema-instance"
         xsi:schemaLocation="http://maven.apache.org/POM/4.0.0 http://maven.apache.org/xsd/maven-4.0.0.xsd">
    <modelVersion>4.0.0</modelVersion>

    <groupId>com.imooc</groupId>
    <artifactId>simpleframework</artifactId>
    <version>1.0-SNAPSHOT</version>
    <dependencies>
        <!-- https://mvnrepository.com/artifact/javax.servlet/javax.servlet-api -->
        <dependency>
            <groupId>javax.servlet</groupId>
            <artifactId>javax.servlet-api</artifactId>
            <version>4.0.1</version>
            <scope>provided</scope>
        </dependency>

    </dependencies>

    <properties>
        <maven.compiler.source>16</maven.compiler.source>
        <maven.compiler.target>16</maven.compiler.target>
    </properties>

</project>
2.3 编写HelloServlet
Servlet3.0之后通过注解指明相关服务,因此直接注解指定访问相关路径后转发到该servlet,此处Http数据处理采用get方式(改写自带get方法)
package com.imooc;

import javax.servlet.annotation.WebServlet;
import javax.servlet.http.HttpServlet;
import javax.servlet.http.HttpServletRequest;
import javax.servlet.http.HttpServletResponse;

@WebServlet
public class HelloServlet extends HttpServlet {
    @Override
    protected void doGet(HttpServletRequest req, HttpServletResponse response){
        String name = "我的简易框架";
//        将name载入request参数,转发到对应jsp页面
        req.setAttribute("name",name);
//        转发
        req.getRequestDispatcher("/WEB-INF/jsp/hello.jsp").forward(req,response);
    }

}
2.4 创建hello.jsp页面
手动创建web项目,新建hello.jsp文件
<%@ page pageEncoding="UTF-8"%>
<html>
    <head>
        <title>Hello</title>
    </head>
    <body>
        <h1>hello!</h1>
        <h2>第一波,${name}</h2>
    </body>
</html>
2.4 修改pom.xml文件
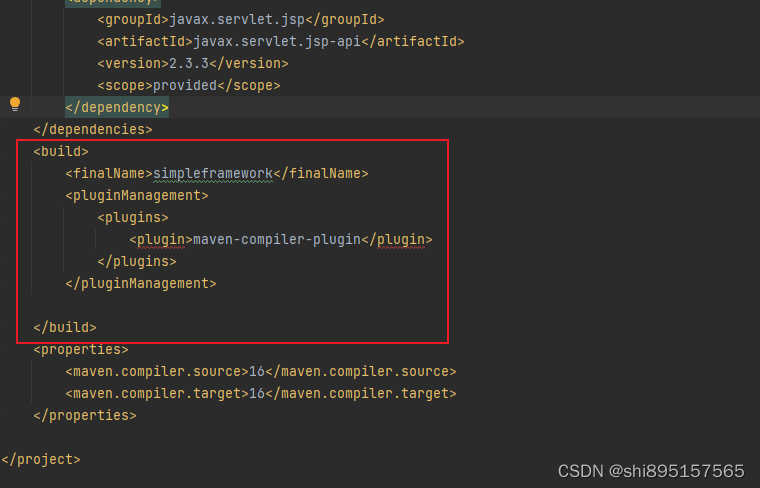
相关依赖如前所述查询
社区版还需maven配置web容器插件tomcat,老版本配置比较稳定,将项目名通过path配置定制
                <plugin>
                    <groupId>org.apache.tomcat.maven</groupId>
                    <artifactId>tomcat7-maven-plugin</artifactId>
                    <version>2.2</version>
                    <!-- 指定项目名 -->
                    <configuration>
                        <path>/${project.artifactId}</path>
                    </configuration>
                </plugin>
添加配置,运行

在网页输入链接: http://localhost:8080/simpleframework/hello后即可看到jsp输出
遇到的问题: The requested resource is not available.
这个错误引起的原因很多,最主要的还是路径问题,笔者在查找项目代码后发现是注解转发时没有指定地址,修改后解决。
@WebServlet("/hello")
public class HelloServlet extends HttpServlet {
JSP运行原理


 232
232


 被折叠的 条评论
为什么被折叠?
被折叠的 条评论
为什么被折叠?
 到【灌水乐园】发言


