


(1)Spring Cloud Security的应用
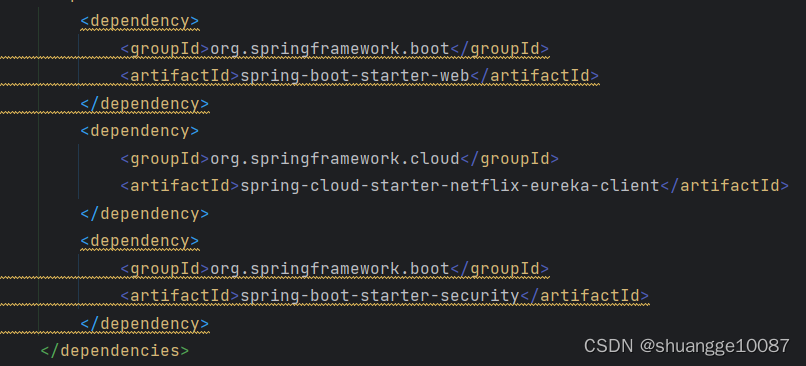
1.添加依赖
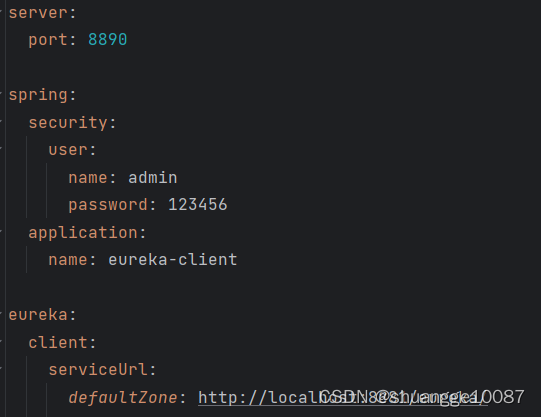
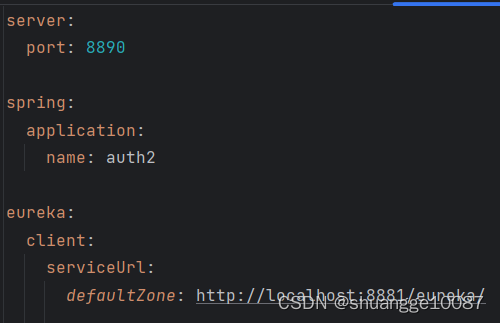
2.yml配置
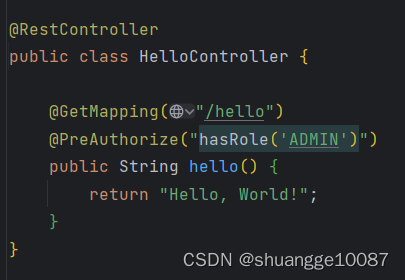
3.添加注解

4.添加控制器类
效果如下:
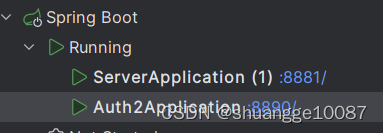
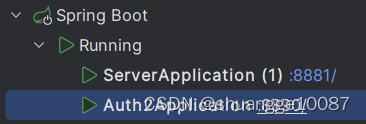
启动
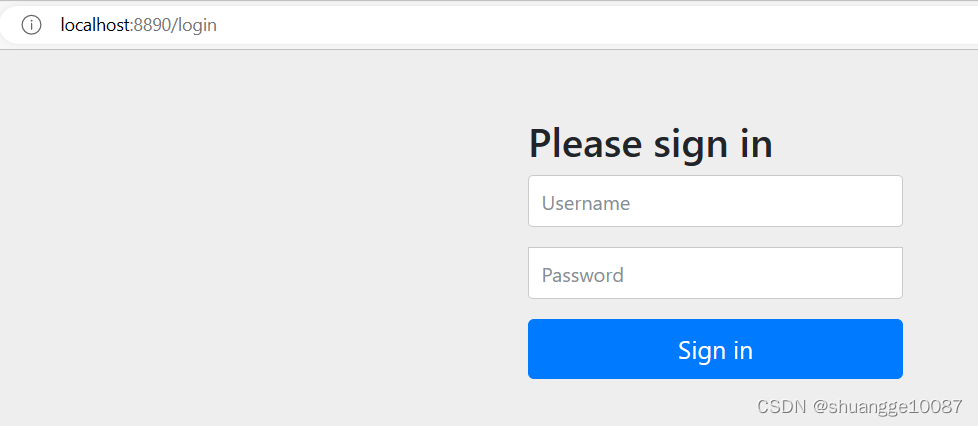
访问http://localhost:8890/hello,因为没登录,自动跳转到该页面
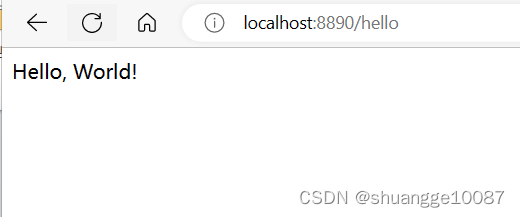
登录后,可以访问
(2)Spring Cloud OAuth 2的应用
1.在第1题的基础上,再添加依赖

2.yml配置
3. 添加认证服务器配置,使用@EnableAuthorizationServer注解开启
@Configuration
@EnableAuthorizationServer
public class AuthorizationServerConfig extends AuthorizationServerConfigurerAdapter {
@Autowired
private PasswordEncoder passwordEncoder;
@Autowired
private AuthenticationManager authenticationManager;
@Autowired
private UserService userService;
@Autowired
@Qualifier("jwtTokenStore")
private TokenStore tokenStore;
@Autowired
private JwtAccessTokenConverter jwtAccessTokenConverter;
@Override
public void configure(AuthorizationServerEndpointsConfigurer endpoints) {
endpoints.authenticationManager(authenticationManager)
.userDetailsService(userService)
.tokenStore(tokenStore)
.accessTokenConverter(jwtAccessTokenConverter);
}
@Override
public void configure(AuthorizationServerSecurityConfigurer security) throws Exception {
//允许表单认证
security.allowFormAuthenticationForClients();
//允许check_token访问
security.checkTokenAccess("permitAll()");
}
@Override
public void configure(ClientDetailsServiceConfigurer clients) throws Exception {
//直接写死的方法
clients.inMemory()
.withClient("admin")//配置client_id
.secret(passwordEncoder.encode("123456"))//配置client-secret
.redirectUris("http://www.baidu.com")//配置redirect_uri,用于授权成功后跳转
.scopes("all") // 配置申请的权限范围
.accessTokenValiditySeconds(3600)//配置访问token的有效期
.refreshTokenValiditySeconds(864000)//配置刷新token的有效期
.authorizedGrantTypes("authorization_code","password");//配置grant_type,表示授权类型
//密码授权
}
}
4. 添加资源服务器配置,使用@EnableResourceServer注解开启
@Configuration
@EnableResourceServer
public class ResourceServerConfig extends ResourceServerConfigurerAdapter {
@Override
public void configure(HttpSecurity http) throws Exception {
http.authorizeRequests()
.anyRequest()
.authenticated()
.and()
.requestMatchers()
.antMatchers("/**");//配置需要保护的资源路径
}
}
6.添加SpringSecurity配置,允许认证相关路径的访问及表单登录
@Configuration
@EnableWebSecurity
public class SecurityConfig extends WebSecurityConfigurerAdapter {
@Bean
public PasswordEncoder passwordEncoder() {
return new BCryptPasswordEncoder();
}
@Bean
public UserDetailsService userDetailsService(){
InMemoryUserDetailsManager userDetailsManager = new InMemoryUserDetailsManager();
userDetailsManager.createUser(User.withUsername("user").password(passwordEncoder().encode("123456")).authorities("ROLE_ADMIN1").build());
userDetailsManager.createUser(User.withUsername("user1").password(passwordEncoder().encode("123456")).authorities("ROLE_ADMIN2").build());
userDetailsManager.createUser(User.withUsername("user2").password(passwordEncoder().encode("123456")).authorities("ROLE_ADMIN3").build());
return userDetailsManager;
}
@Bean
public AuthenticationProvider authenticationProvider(){
DaoAuthenticationProvider daoAuthenticationProvider =new DaoAuthenticationProvider();
daoAuthenticationProvider.setUserDetailsService(userDetailsService());
daoAuthenticationProvider.setHideUserNotFoundExceptions(false);
daoAuthenticationProvider.setPasswordEncoder(passwordEncoder());
return daoAuthenticationProvider;
}
@Bean
@Override
public AuthenticationManager authenticationManagerBean() {
AuthenticationManager authenticationManager = new AuthenticationManager() {
@Override
public Authentication authenticate(Authentication authentication) throws AuthenticationException {
return authenticationProvider().authenticate(authentication);
}
};
return authenticationManager;
}
@Override
public void configure(HttpSecurity http) throws Exception {
// http.authorizeRequests().antMatchers("/**").fullyAuthenticated().and().httpBasic();
http.csrf()
.disable()
.authorizeRequests()
.antMatchers("/oauth/**", "/login/**", "/logout/**")
.permitAll()
.anyRequest()
.authenticated()
.and()
.formLogin()
.permitAll();
}
}
7.添加接口,测试用
@RestController
public class HelloController {
@GetMapping("/hello")
public String hello() {
return "Hello, World!";
}
}
效果如下:
启动
在浏览器访问该地址进行登录授权,
localhost:8890/oauth/authorize?response_type=code&client_id=admin&redirect_uri=http://www.baidu.com,然后自动跳转到这个页面上。
输入定义好的账号和密码
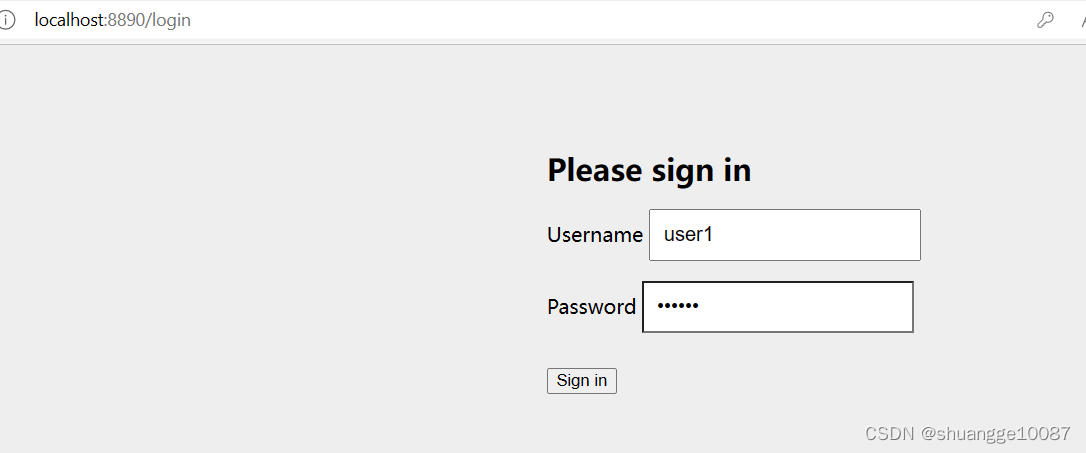
进行认证
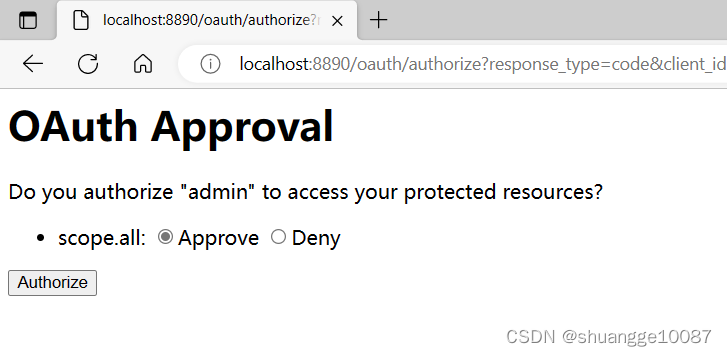
获取到授权码

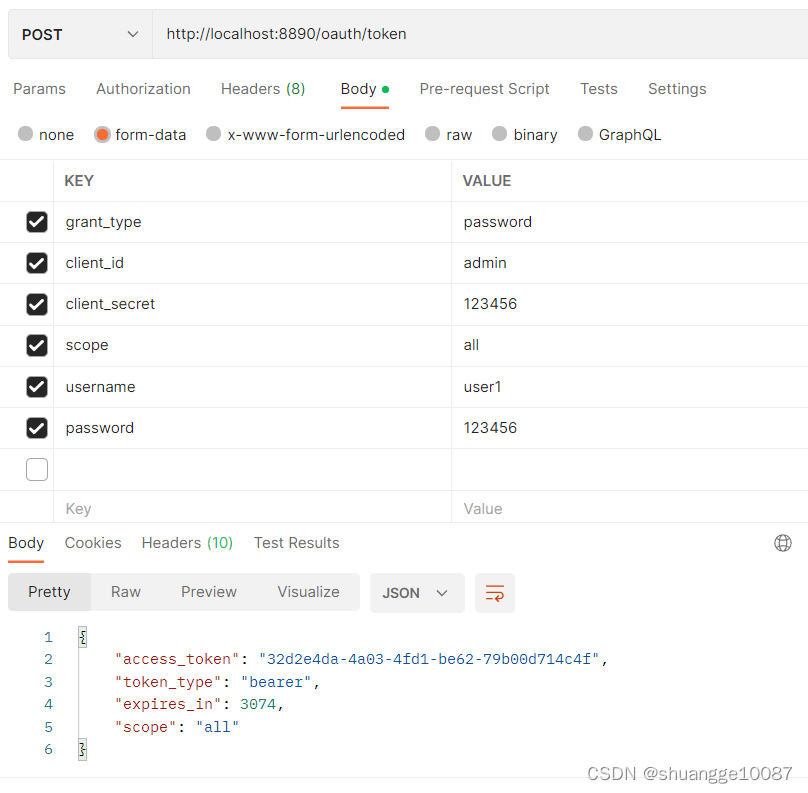
使用该授权码获取accessToken,在postman下输入
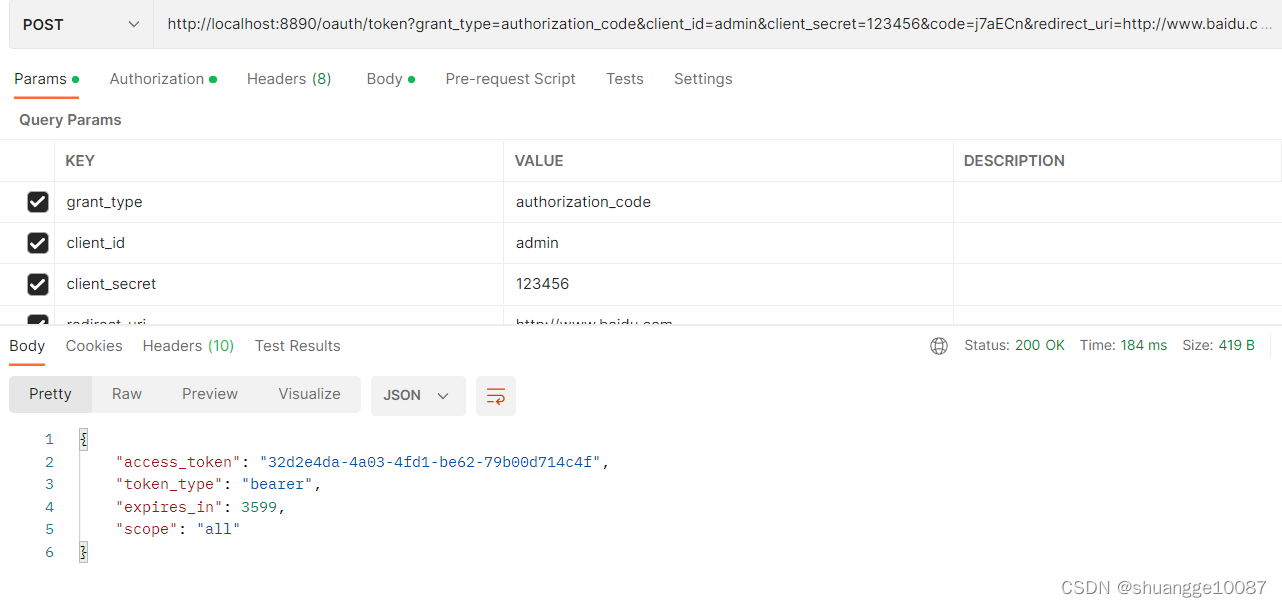
(密码模式获取accessToken)
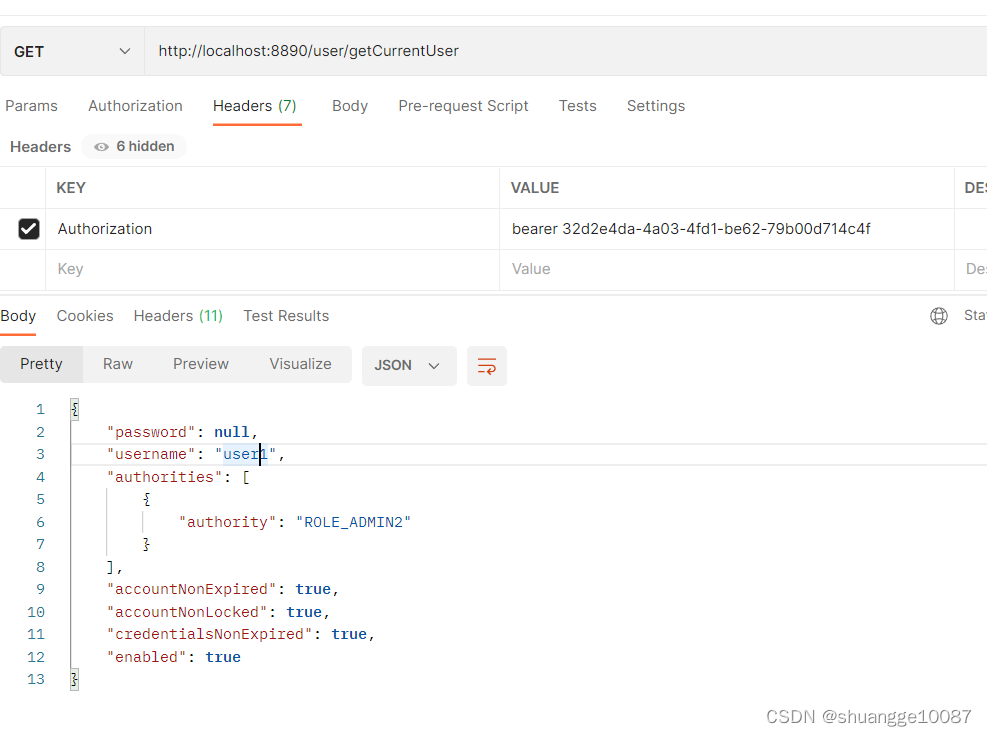
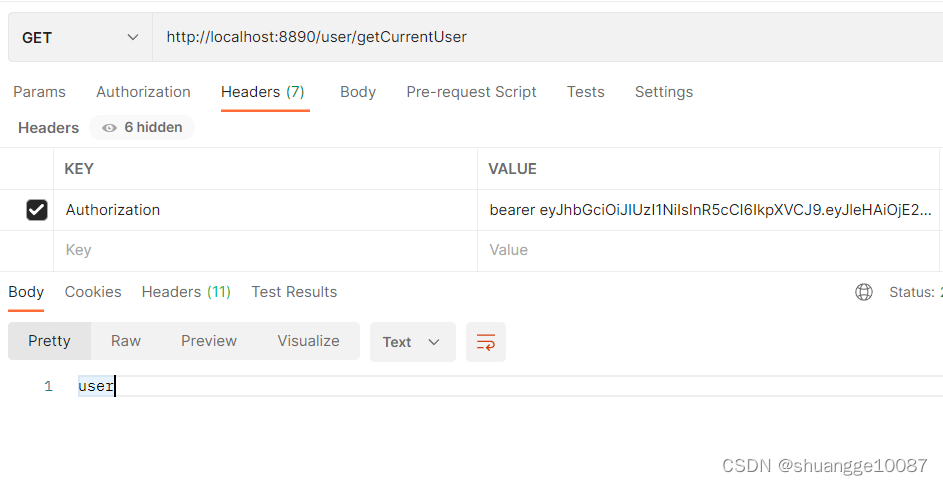
然后调用测试接口,用刚刚获取到的请求头accessToken,展示得到的User对象
(3)JWT的简单应用
在实验2的代码基础上,进行jwt整合,使用JWT存储令牌(Token)
1.添加使用JWT存储令牌的配置
@Configuration
public class JwtTokenStoreConfig {
@Bean
public TokenStore jwtTokenStore() {
return new JwtTokenStore(jwtAccessTokenConverter());
}
@Bean
public JwtAccessTokenConverter jwtAccessTokenConverter() {
JwtAccessTokenConverter accessTokenConverter = new JwtAccessTokenConverter();
accessTokenConverter.setSigningKey("test_key");//配置JWT使用的秘钥
return accessTokenConverter;
}
}
2.修改认证服务器的配置,添加以下代码

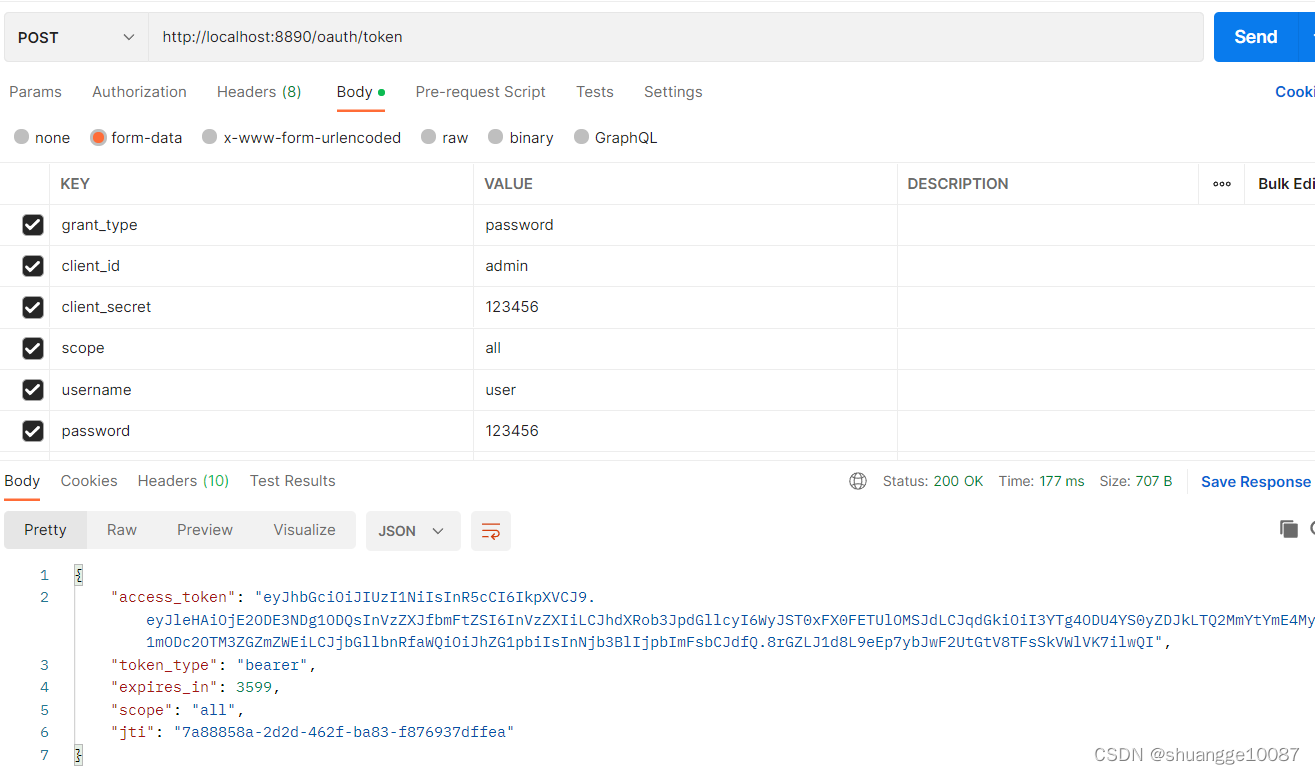
效果如下:(1).启动项目后使用密码模式来获取令牌
(2).通过postman,访问http://localhost:8890/oauth/token,获取jwt令牌
(3).调用测试接口,获取到user对象


 3408
3408


 被折叠的 条评论
为什么被折叠?
被折叠的 条评论
为什么被折叠?
 到【灌水乐园】发言


