


本次课程老师讲述关于多维的输入值如何训练,通过多层神经网络对原输入值进行线性处理最后得到需要的结果
视频如下:《PyTorch深度学习实践》完结合集_哔哩哔哩_bilibili
代码如下:
import torch
import numpy as np
import matplotlib.pyplot as plt
# 得到数据集
def getDataset(path):
xy = np.loadtxt(path, delimiter=',',
dtype=np.float32)
x_data = torch.from_numpy(xy[:, :-1])
y_data = torch.from_numpy(xy[:, [-1]])
return x_data,y_data
# 构建神经网络
class NNModel(torch.nn.Module):
def __init__(self,name):
super(NNModel, self).__init__()
self.name = name
self.linear1 = torch.nn.Linear(8,6)
self.linear2 = torch.nn.Linear(6,4)
self.linear3 = torch.nn.Linear(4,1)
if (self.name == 'ELU'):
self.active = torch.nn.ELU()
self.sigmoid = torch.nn.Sigmoid()
elif (self.name == 'Hardswish'):
self.active = torch.nn.Hardswish()
self.sigmoid = torch.nn.Sigmoid()
elif (self.name == 'ReLU6'):
self.active = torch.nn.ReLU6()
self.sigmoid = torch.nn.Sigmoid()
elif (self.name == 'Softplus'):
self.active = torch.nn.Softplus()
self.sigmoid = torch.nn.Sigmoid()
elif (self.name == 'Tanf'):
self.active = torch.nn.Tanh()
self.sigmoid = torch.nn.Sigmoid()
else:
self.active = torch.nn.Sigmoid()
self.sigmoid = torch.nn.Sigmoid()
def forward(self,x):
x = self.active(self.linear1(x))
x = self.active(self.linear2(x))
# 判断矩阵中是否有小于0或者大于1的值
return self.judge(x)
# 当计算y_hat时,如果有值小于0 或者 大于1,就进行sigmoid计算
def judge(self,x):
if (torch.where(x < 0) or torch.where(x > 1)):
return self.sigmoid(self.linear3(x))
else:
return self.active(self.linear3(x))
# 绘制epoch-loss图
def draw_image_epoch_loss(name,loss):
epoch = range(1,len(loss)+1)
plt.plot(epoch, loss)
plt.xlabel('Epoch')
plt.ylabel('Loss')
plt.title(name)
plt.savefig('./'+name +'.jpg', dpi=300)
def run(path,name):
l = []
x_data,y_data = getDataset(path)
model = NNModel(name)
# 构建loss值和优化器
criterion = torch.nn.BCELoss(size_average=False)
optimizer = torch.optim.SGD(model.parameters(),lr = 0.01)
for epoch in range(200):
# Forward
y_pred = model(x_data)
loss = criterion(y_pred,y_data)
l.append(loss.item())
# Backward
optimizer.zero_grad()
loss.backward()
# Update
optimizer.step()
# 将loss变化图保存
draw_image_epoch_loss(name,l)
if __name__ == '__main__':
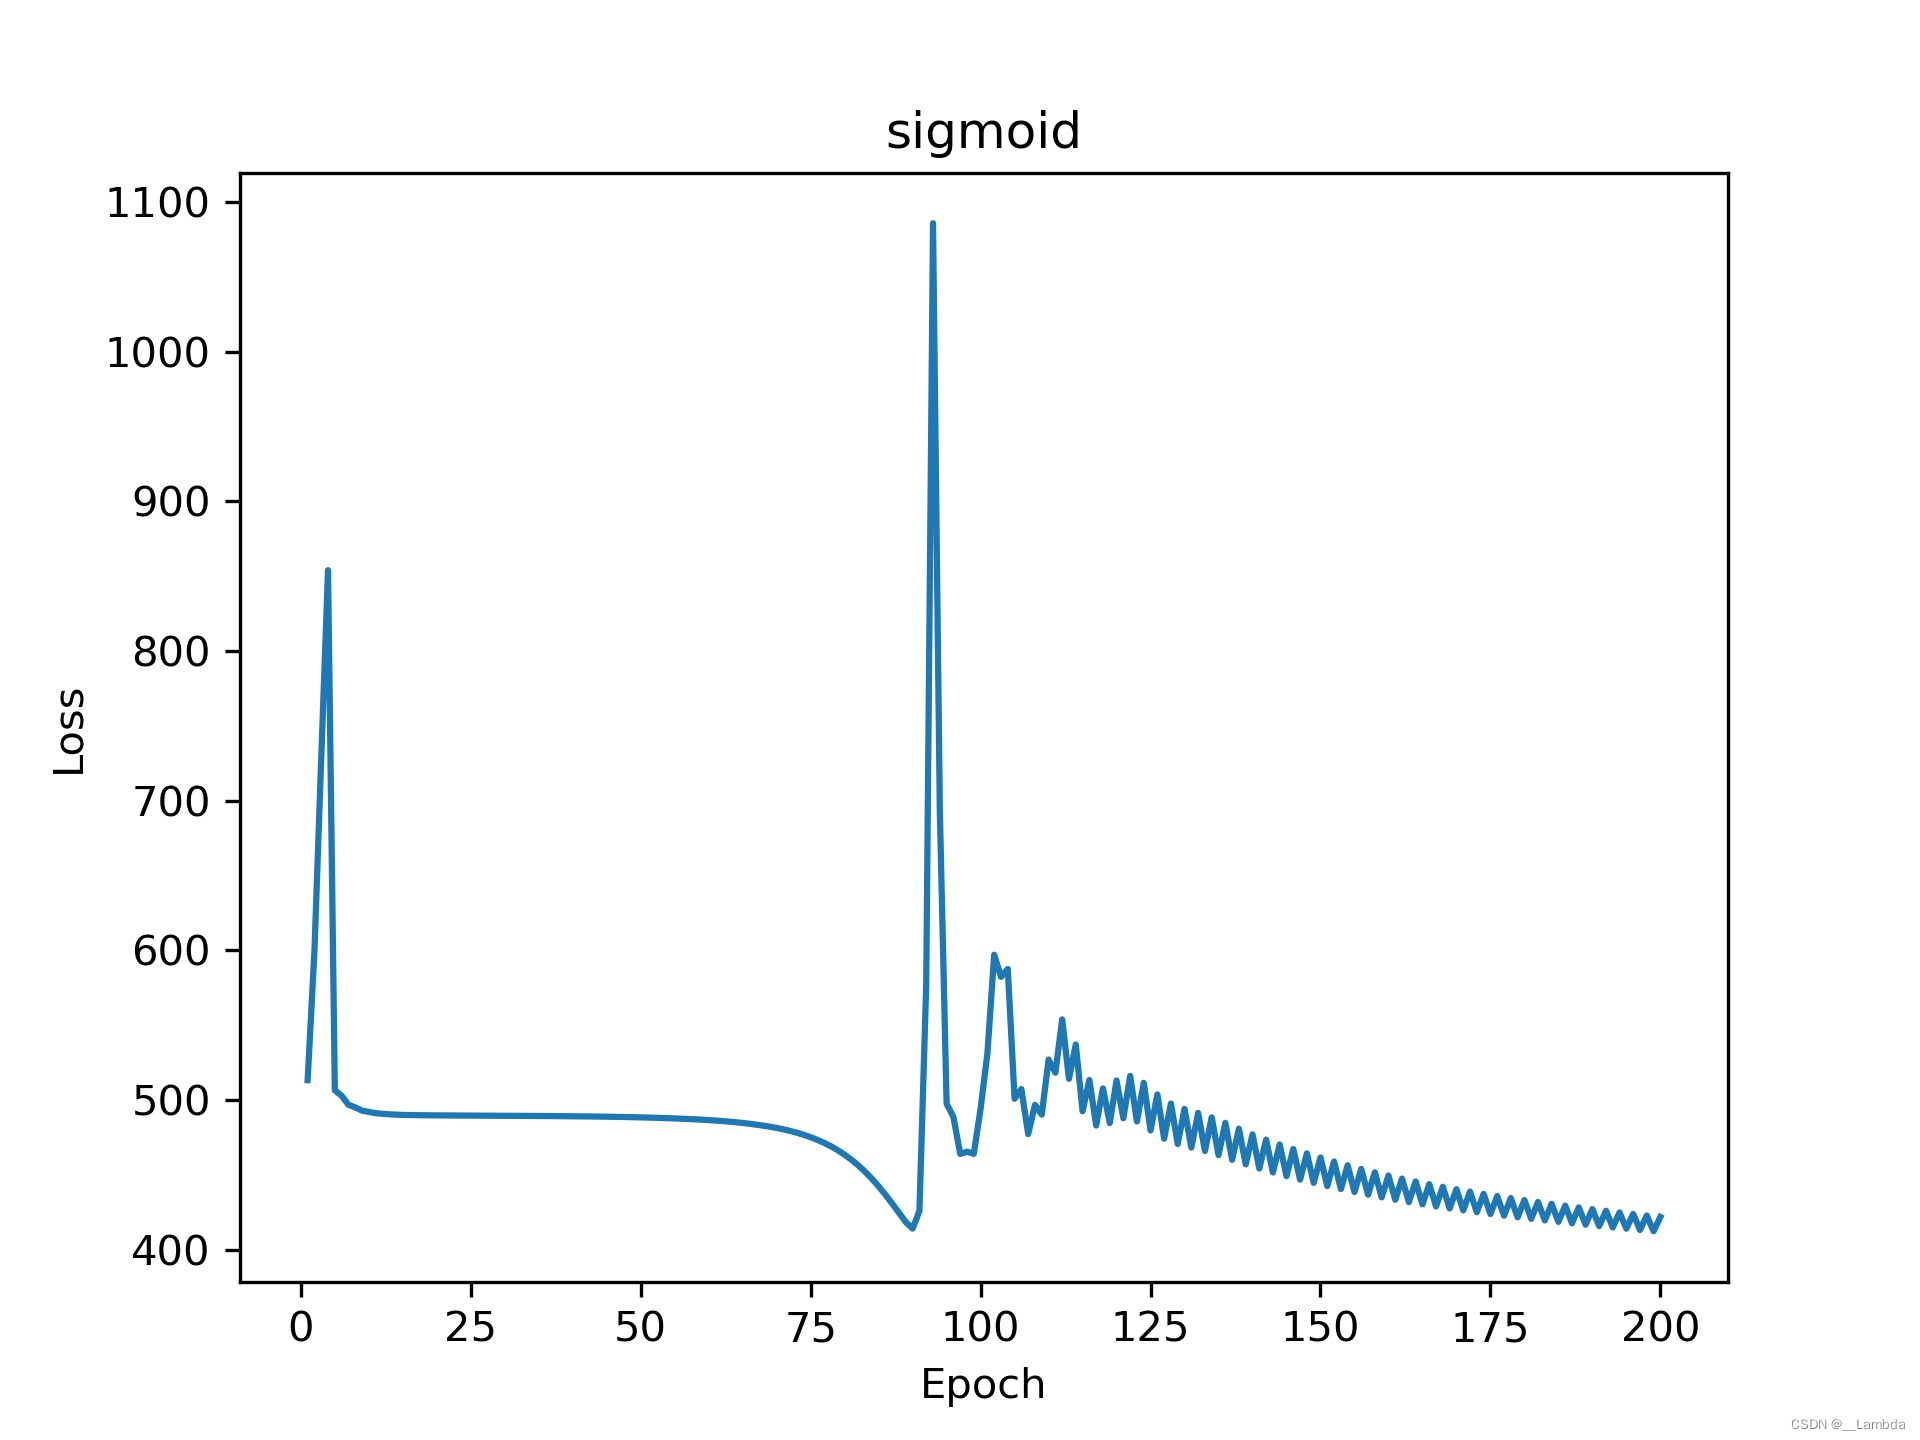
name = 'sigmoid'
# name = 'Hardswish'
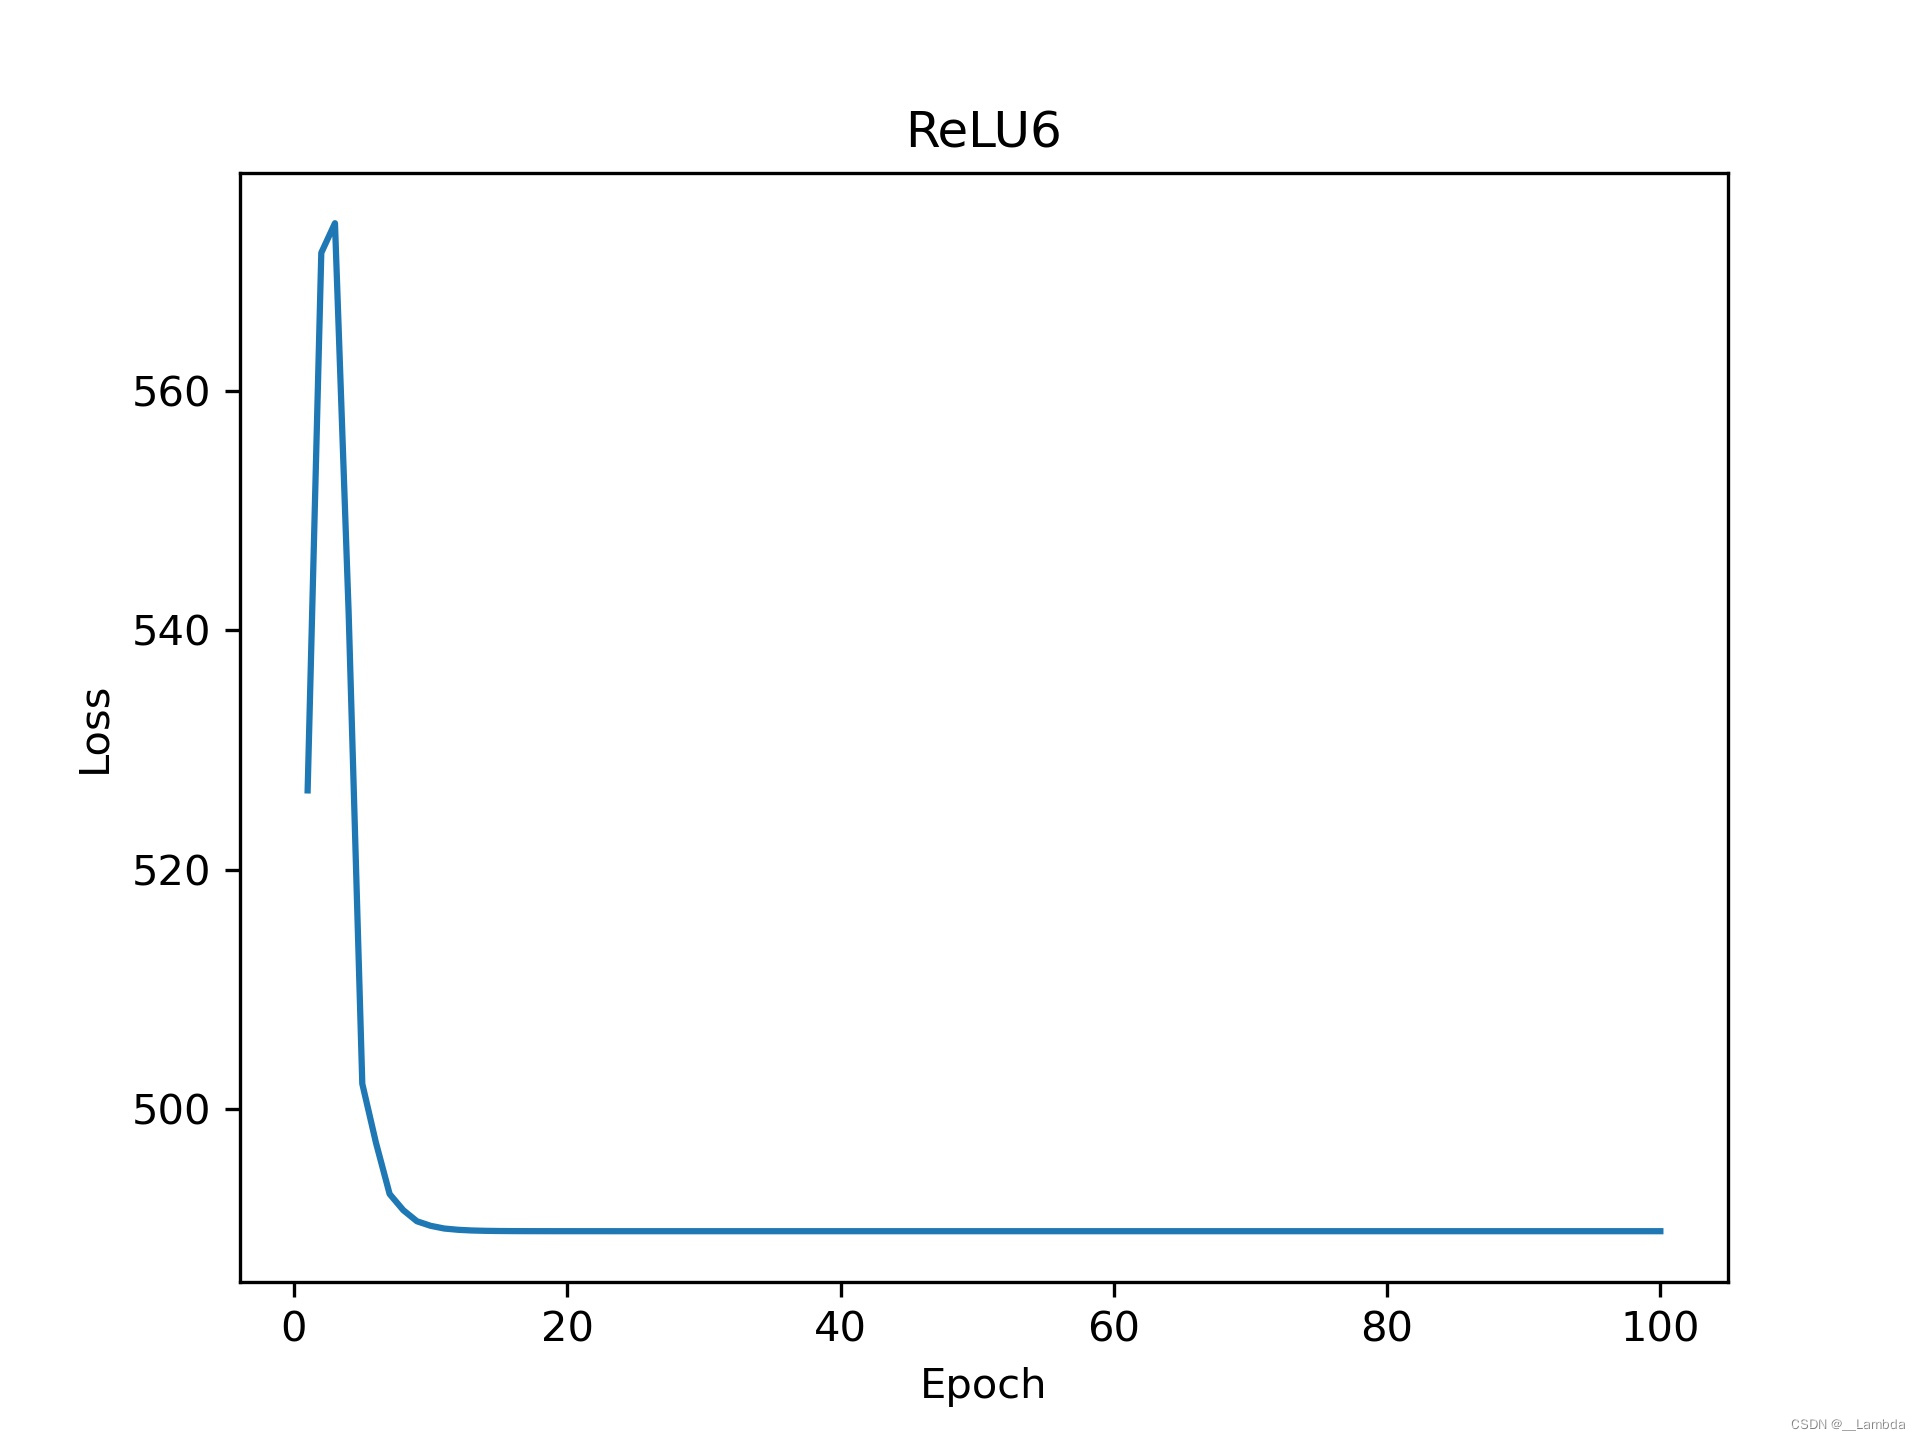
# name = 'ReLU6'
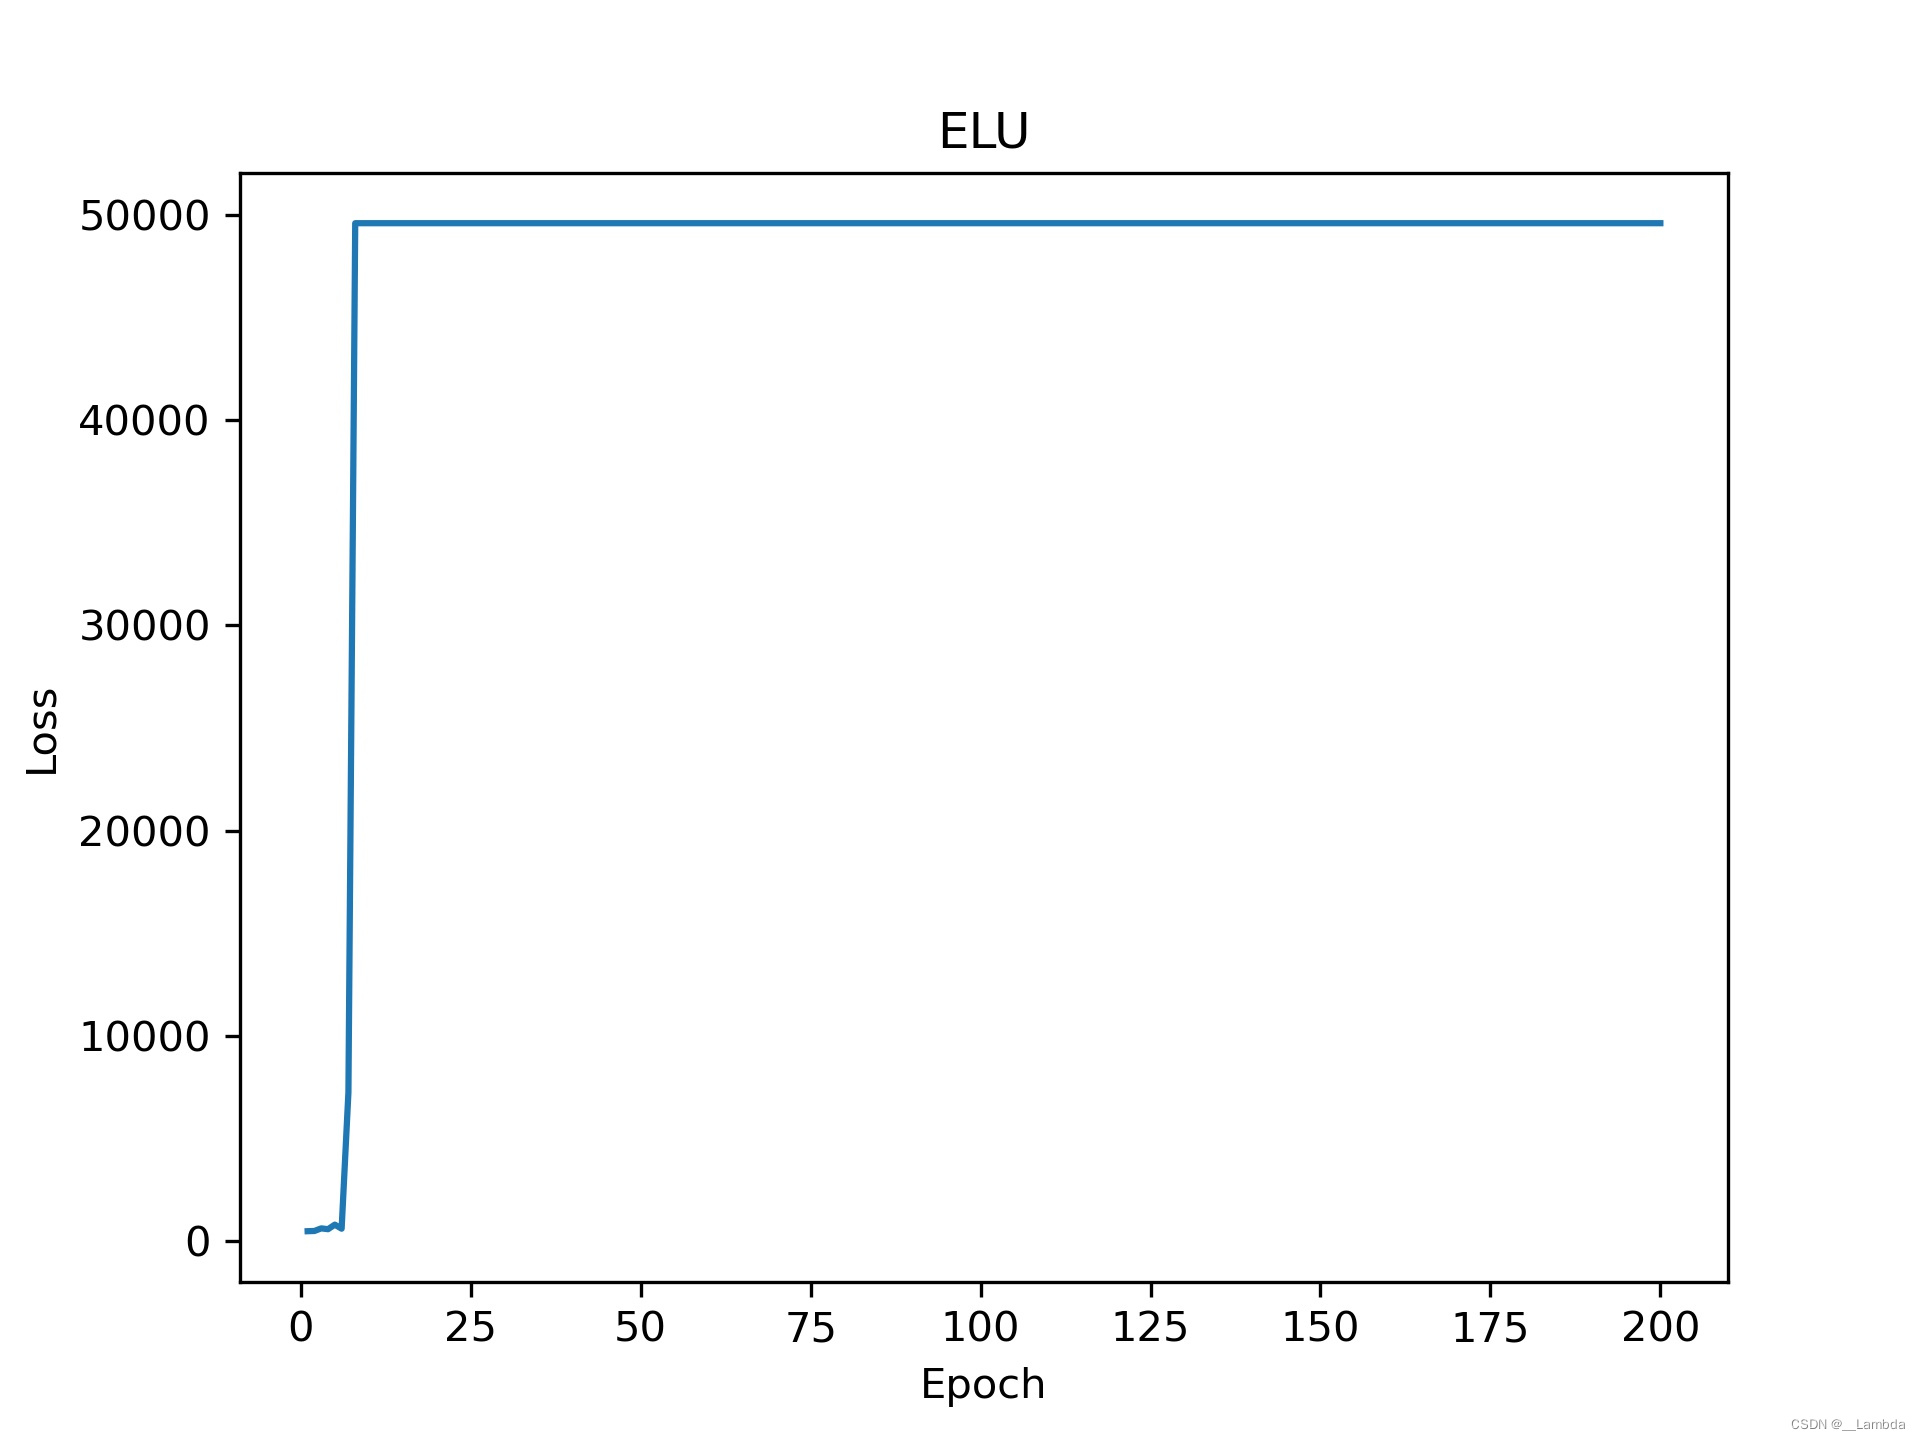
# name = 'ELU'
# name = 'Softplus'
# name = 'Tanf'
run('diabetes.csv',name)
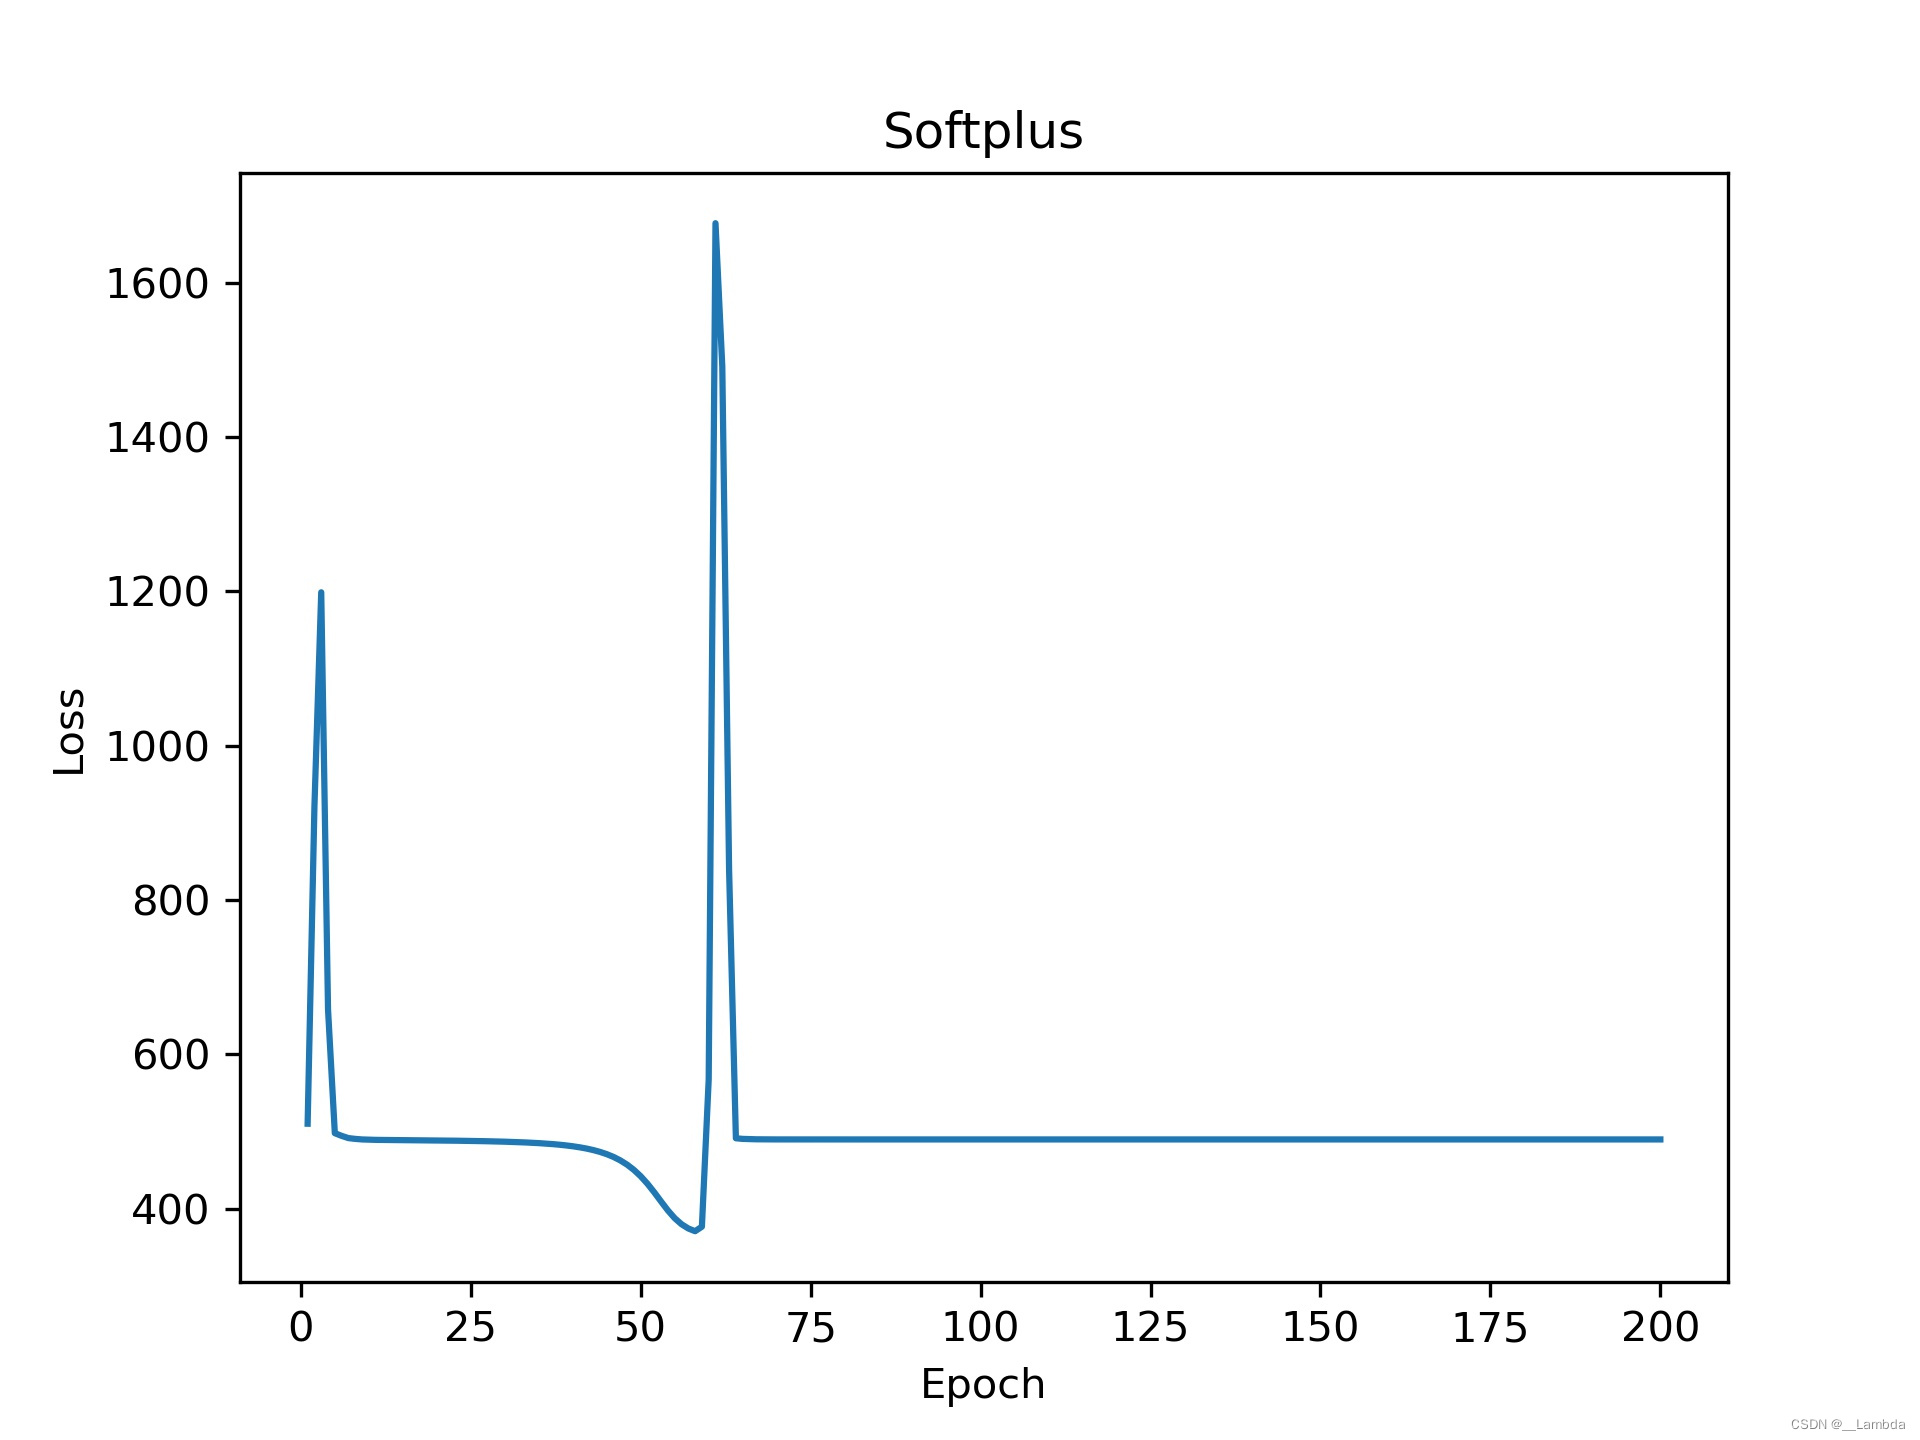
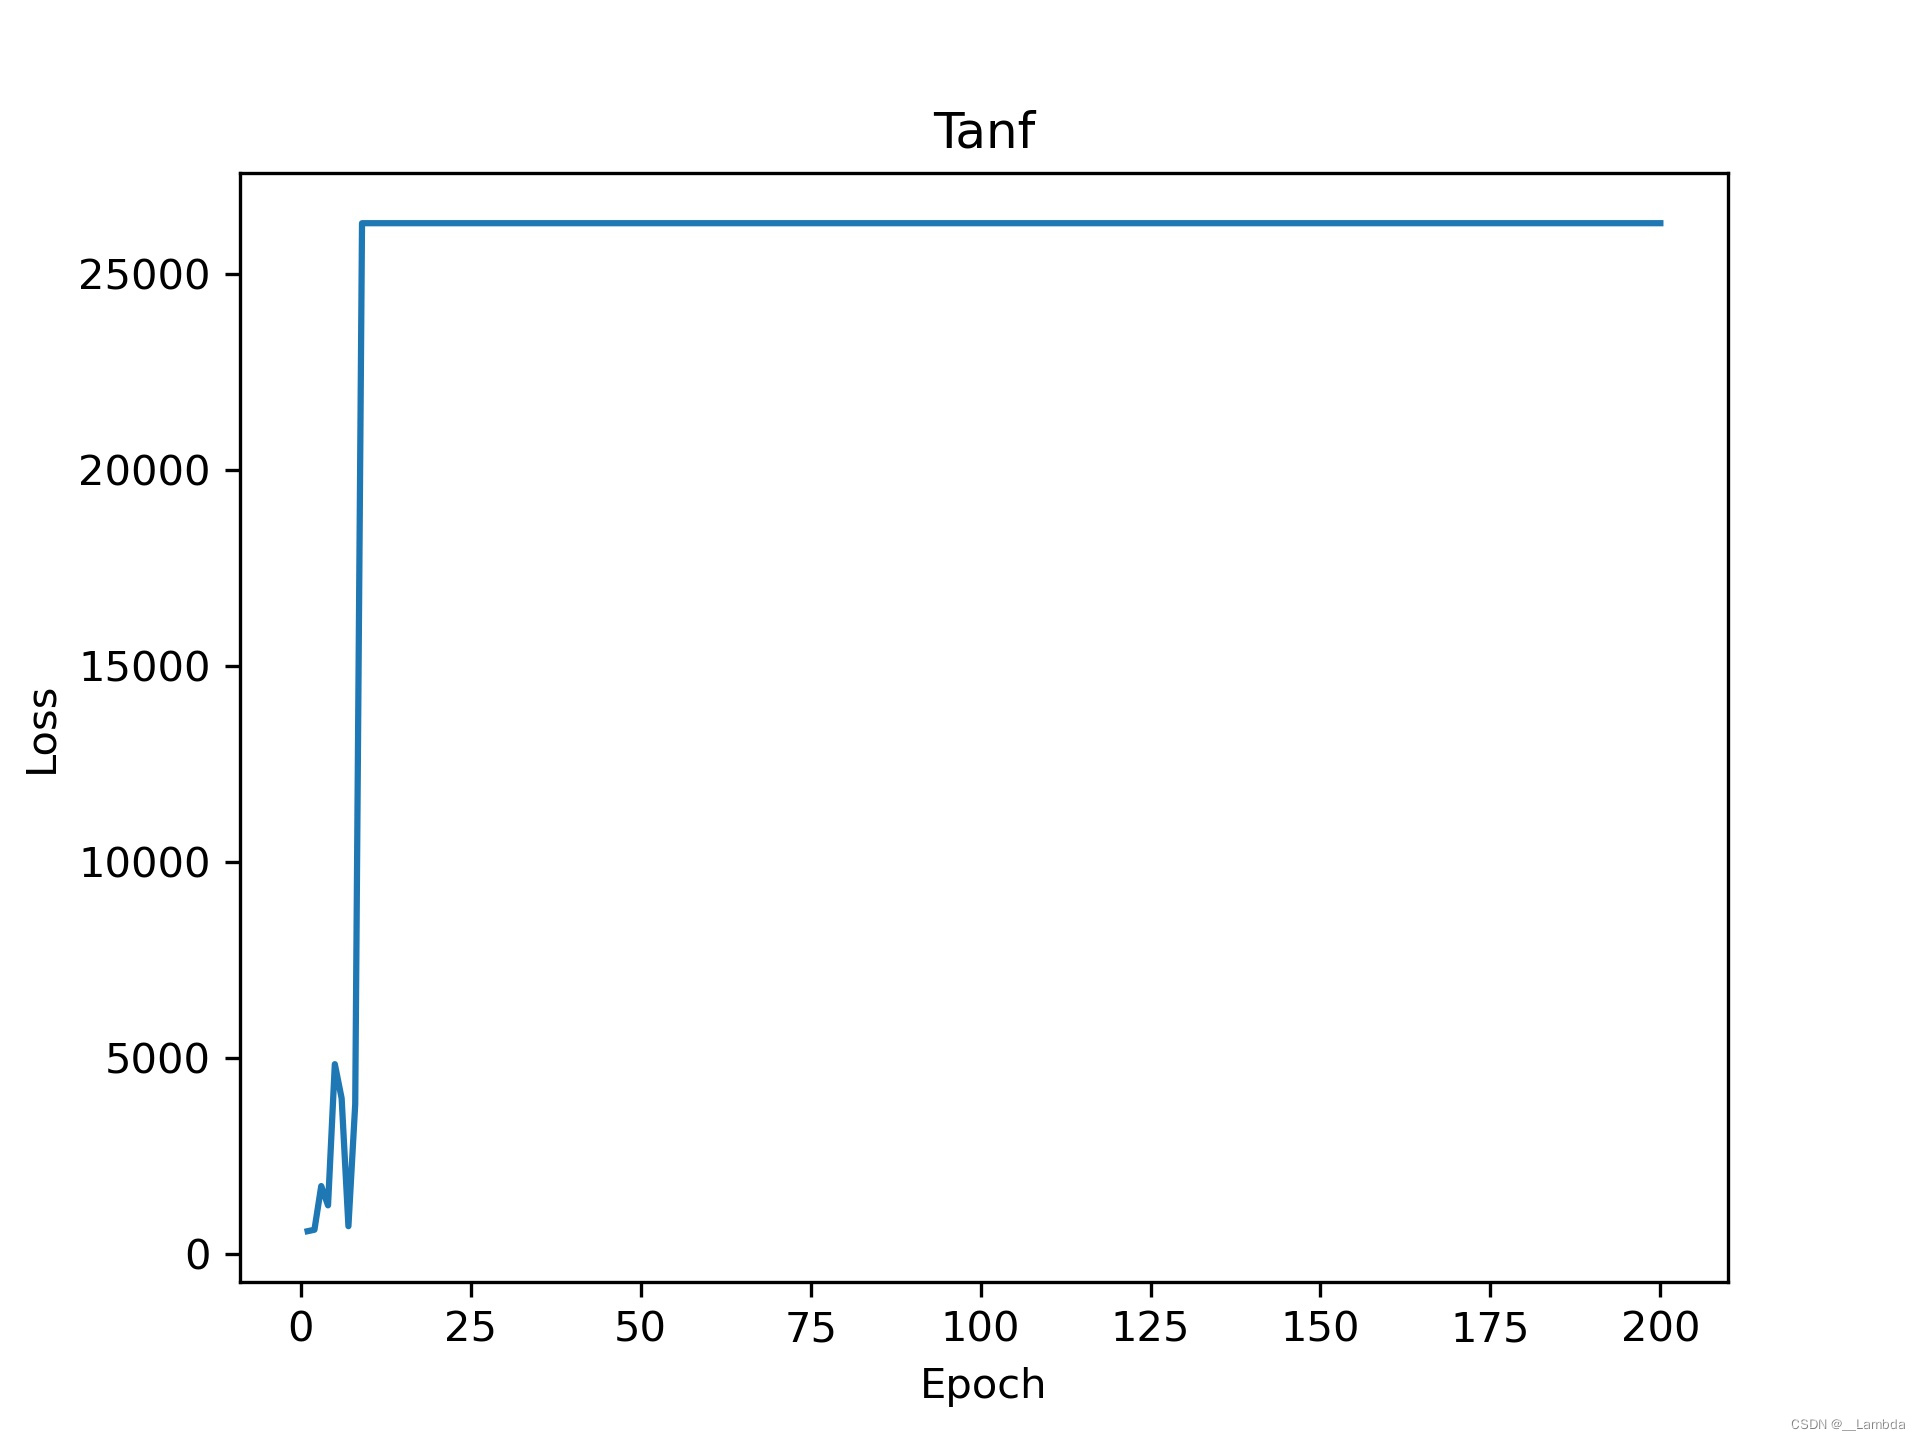
从老师的PPT中所列举的激活函数进行训练,这里只列举几个函数(本人才疏学浅,不理解有些激活函数让Loss值居高不降?如果有大佬指错,本人长揖到地表示感谢)。
各类激活函数:
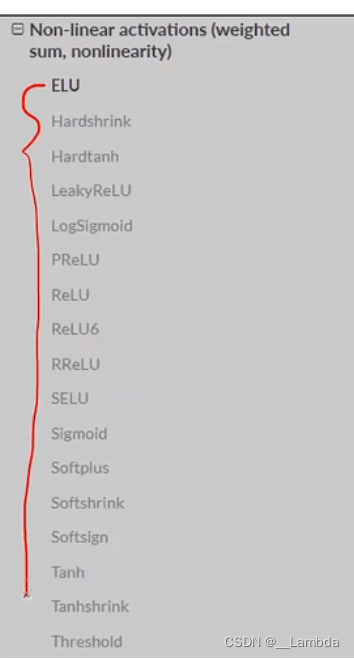
(侵权删)
运行的效果图:


 441
441


 被折叠的 条评论
为什么被折叠?
被折叠的 条评论
为什么被折叠?
 到【灌水乐园】发言


