


《Android GridView子元素按击交互设计:背景颜色改变》
转载https://blog.csdn.net/zhangphil/article/details/46048583
效果图:
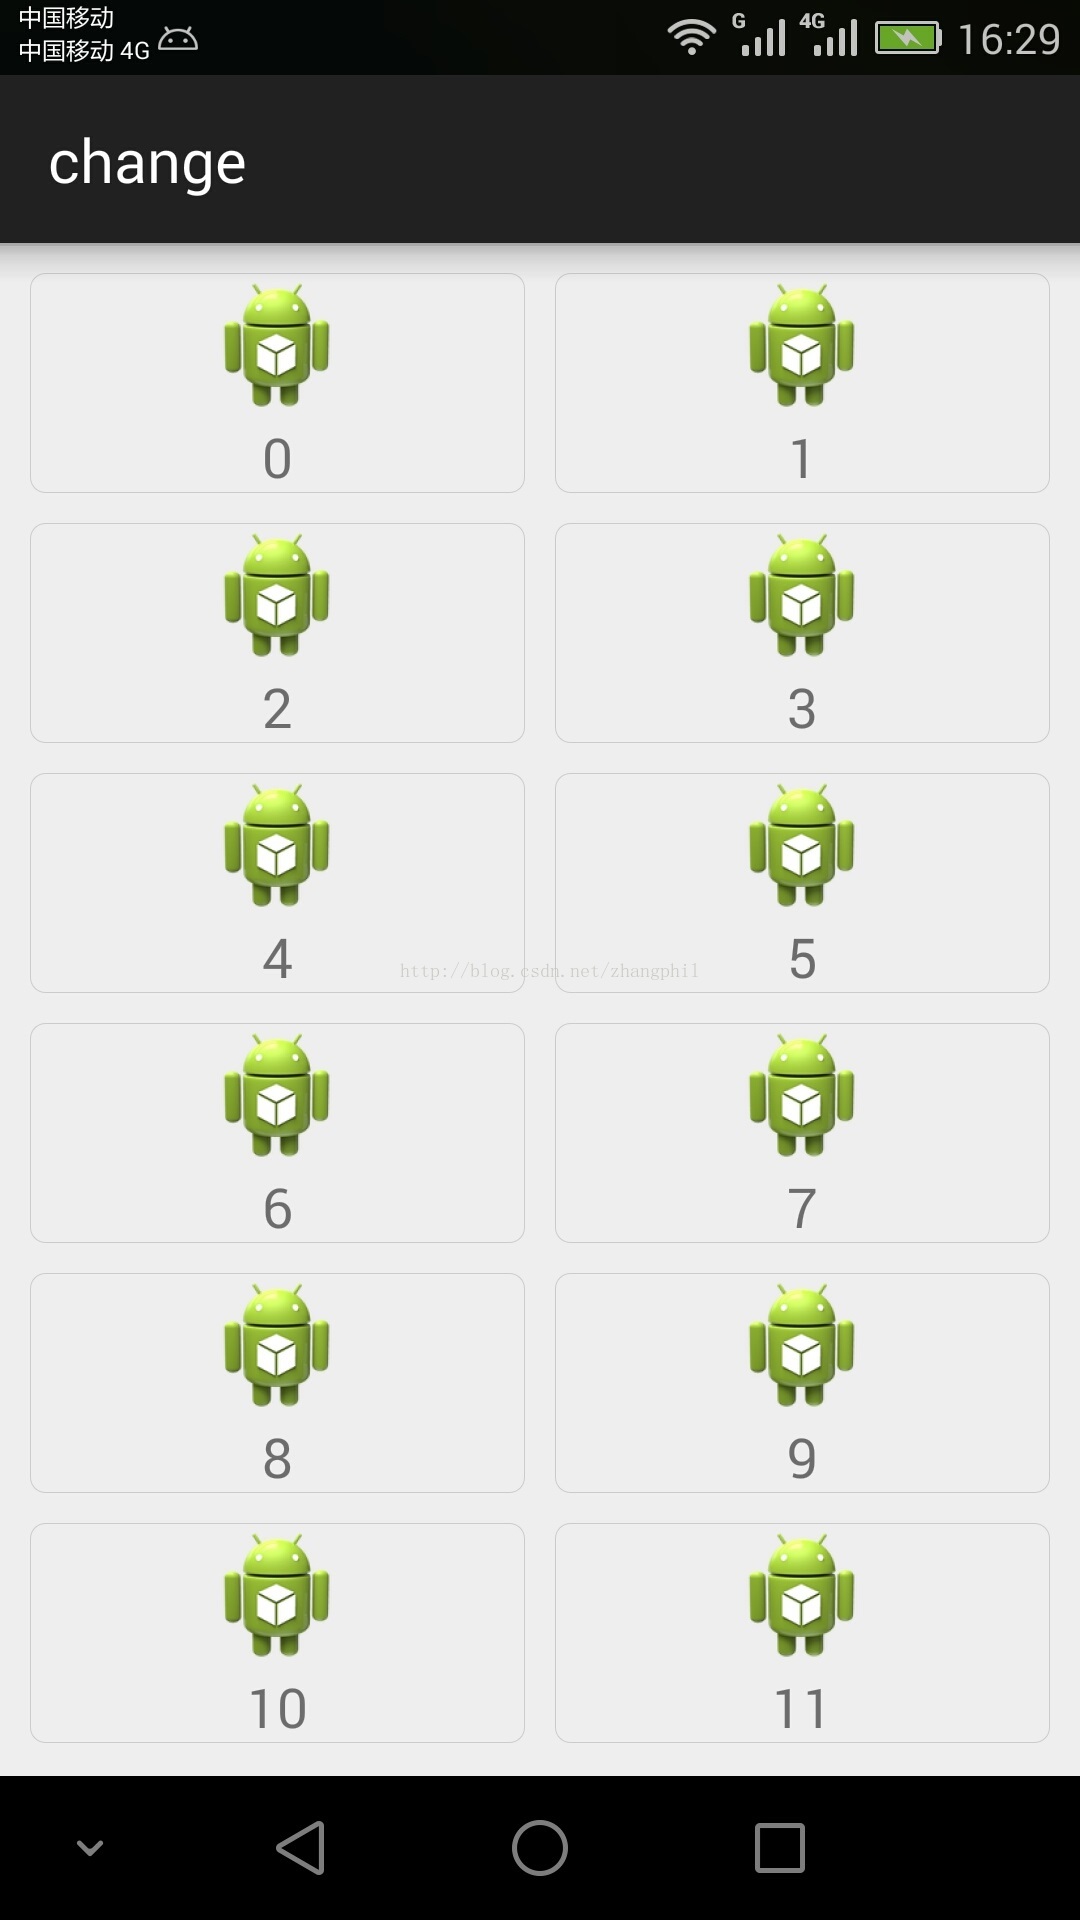
大致的需求和ListView相仿,就是要求用户点击GridView中的子元素时候,要有一定的交互响应(背景颜色改变表明用户的操作)。重点是在GridView的适配器中,子元素的布局文件中,把android:background属性配置成一个响应的selector,在selector中分别处理android:state_pressed事件在true和false两种状态下的情况。
首先写一个MainActivity:
- package zhangphil.bg_change;
- import java.util.ArrayList;
- import java.util.HashMap;
- import android.support.v7.app.ActionBarActivity;
- import android.content.Context;
- import android.os.Bundle;
- import android.view.View;
- import android.widget.AdapterView;
- import android.widget.AdapterView.OnItemClickListener;
- import android.widget.GridView;
- import android.widget.SimpleAdapter;
- import android.widget.Toast;
- public class MainActivity extends ActionBarActivity {
- private final String IMAGE_TAG = "image", TEXT_TAG = "text";
- @Override
- protected void onCreate(Bundle savedInstanceState) {
- super.onCreate(savedInstanceState);
- setContentView(R.layout.activity_main);
- GridView gridview = (GridView) findViewById(R.id.gridview);
- // 数据集
- ArrayList<HashMap<String, Object>> data = new ArrayList<HashMap<String, Object>>();
- for (int i = 0; i < 19; i++) {
- HashMap<String, Object> map = new HashMap<String, Object>();
- map.put(IMAGE_TAG, R.drawable.ic_launcher);
- map.put(TEXT_TAG, String.valueOf(i));
- data.add(map);
- }
- SimpleAdapter adapter = new SimpleAdapter(this, data, R.layout.item,
- new String[] { IMAGE_TAG, TEXT_TAG }, new int[] { R.id.image,
- R.id.text });
- gridview.setAdapter(adapter);
- // 添加点击事件
- final Context context = this;
- gridview.setOnItemClickListener(new OnItemClickListener() {
- public void onItemClick(AdapterView<?> parent, View v,
- int position, long id) {
- Toast.makeText(context, String.valueOf(position),
- Toast.LENGTH_SHORT).show();
- }
- });
- }
- }
MainActivity需要的布局文件activity_main.xml:
- <?xml version="1.0" encoding="utf-8"?>
- <GridView xmlns:android="http://schemas.android.com/apk/res/android"
- android:id="@+id/gridview"
- android:layout_width="match_parent"
- android:layout_height="match_parent"
- android:padding="10dip"
- android:numColumns="auto_fit"
- android:verticalSpacing="10dip"
- android:horizontalSpacing="10dip"
- android:stretchMode="columnWidth" />
在为GridView添加子元素时候,数据集中需要的item.xml,该XML文件中的item_selector将对交互时间做出响应(用户长按、点击的背景颜色改变):
- <?xml version="1.0" encoding="utf-8"?>
- <FrameLayout xmlns:android="http://schemas.android.com/apk/res/android"
- android:layout_width="match_parent"
- android:layout_height="match_parent" >
- <LinearLayout
- android:layout_width="match_parent"
- android:layout_height="wrap_content"
- android:gravity="center"
- android:orientation="vertical" >
- <ImageView
- android:id="@+id/image"
- android:layout_width="wrap_content"
- android:layout_height="wrap_content"
- android:src="@drawable/ic_launcher" />
- <TextView
- android:id="@+id/text"
- android:layout_width="wrap_content"
- android:layout_height="wrap_content" />
- </LinearLayout>
- <View
- android:layout_width="match_parent"
- android:layout_height="match_parent"
- android:background="@drawable/item_selector" />
- </FrameLayout>
item_selector.xml:
- <?xml version="1.0" encoding="utf-8"?>
- <selector xmlns:android="http://schemas.android.com/apk/res/android">
- <item android:drawable="@drawable/item_pressed" android:state_pressed="true"/>
- <item android:drawable="@drawable/item_normal" android:state_pressed="false"/>
- </selector>
item_selector需要的两个文件item_normal.xml 和 item_pressed.xml:
item_normal
- <?xml version="1.0" encoding="utf-8"?>
- <shape xmlns:android="http://schemas.android.com/apk/res/android" >
- <solid android:color="#00000000" />
- <corners
- android:radius="5dp" />
- <stroke android:width="1px" android:color="#CCCCCC" />
- </shape>
item_pressed
- <?xml version="1.0" encoding="utf-8"?>
- <shape xmlns:android="http://schemas.android.com/apk/res/android" >
- <solid android:color="#5501D1FF" />
- <corners android:radius="5dp" />
- <stroke
- android:width="1px"
- android:color="#CCCCCC" />
- </shape>


 429
429


 被折叠的 条评论
为什么被折叠?
被折叠的 条评论
为什么被折叠?
 到【灌水乐园】发言


