


突然发现好久没有写博客了,一直放到笔记里面,今天update一下。
最近做的一个项目中,是盒子+电视,用户通过遥控器来操作。
这里只是说下GridView在当前业务下的简单使用,其实效果可以更多,实现的方式可以更高级。
比如下面这个开源项目:https://github.com/FrozenFreeFall/Android-tv-widget
描述:一个界面里面有多个Item选项,当进入到页面后,默认选中第一个Item,并更新Item的背景为选中状态,并且该GridView有OnItemSelectedListener和onItemClickListener以及OnLayoutChange监听,使用OK按钮,可以实现点击效果。
自定义控件MyGridView.java
package com.shenqijiazu.daillylesson.widget;

import com.shenqijiazu.daillylesson.R;

import android.content.Context;
import android.content.res.TypedArray;
import android.text.TextUtils;
import android.util.AttributeSet;
import android.view.View;
import android.view.View.OnLayoutChangeListener;
import android.view.ViewGroup;
import android.widget.AdapterView;
import android.widget.GridView;

/**
 * @author xxiang1x
 *
 *         教师界面、班级界面、等都用到GridView,这个把公共部分提取出来。比如选中效果,制作成自定义控件。
 */
public class MyGridView extends GridView implements OnLayoutChangeListener,
        android.widget.AdapterView.OnItemSelectedListener,
        android.widget.AdapterView.OnItemClickListener {

    /**
     * 被选中的GridView's adapter's item.xml中,对应布局layout。用于设置背景
     */
    private int selectedLayoutResId = -1;
    /**
     * 未被选中时候的背景
     */
    private int unSelectedResBgId = -1;
    /**
     * 被选中时候的背景
     */
    private int selectedResBgId = -1;
    /**
     * 布局layout的名字。因为这个布局是Adapter里面item的布局id,所以我们这里用name来绑定到对应的id layout
     */
    private String selectedItemLayoutName;

    public MyGridView(Context context) {
        super(context);
        // TODO Auto-generated constructor stub
        initMonitors();
    }

    /**
     * 设置监听
     */
    private void initMonitors() {
        // TODO Auto-generated method stub
        this.setOnItemSelectedListener(this);
        this.addOnLayoutChangeListener(this);
        this.setOnItemClickListener(this);
        this.setFocusable(true);
        this.setFocusableInTouchMode(true);
    }

    public MyGridView(Context context, AttributeSet attrs, int defStyle) {
        super(context, attrs, defStyle);
        initMonitors();
        // TODO Auto-generated constructor stub

        initAttributes(context, attrs, defStyle);
    }

    /**
     * Get自定义属性。
     *
     * @param context
     * @param attrs
     * @param defStyle
     */
    private void initAttributes(Context context, AttributeSet attrs,
            int defStyle) {
        // TODO Auto-generated method stub
        TypedArray a = null;
        try {

            // a = context.obtainStyledAttributes(attrs,
            // R.styleable.MagicGridView, defStyle, 0);
            a = context
                    .obtainStyledAttributes(attrs, R.styleable.MagicGridView);

            selectedResBgId = a.getResourceId(
                    R.styleable.MagicGridView_selected_item_background, -1);
            unSelectedResBgId = a.getResourceId(
                    R.styleable.MagicGridView_unselected_item_background, -1);

            selectedItemLayoutName = a
                    .getString(R.styleable.MagicGridView_selected_item_layout_name);
            if (!TextUtils.isEmpty(selectedItemLayoutName)) {
                // 听过设定layout的名字去获取对应的id
                selectedLayoutResId = a.getResources().getIdentifier(
                        selectedItemLayoutName, "id", context.getPackageName());
            }
        } finally {

            a.recycle();
        }
    }

    public MyGridView(Context context, AttributeSet attrs) {
        super(context, attrs);
        initMonitors();
        // TODO Auto-generated constructor stub
        initAttributes(context, attrs, -1);
    }

    @Override
    public void onLayoutChange(View v, int left, int top, int right,
            int bottom, int oldLeft, int oldTop, int oldRight, int oldBottom) {
        // TODO Auto-generated method stub

        this.setSelection(0);

    }

    /**
     * 记录之前的被选中的View
     */
    private int mPrevPosition = -1;

    @Override
    public void onItemSelected(AdapterView<?> parent, View view, int position,
            long id) {
        // TODO Auto-generated method stub

        responseSelectAndClick(parent, view, position, id);

    }

    @Override
    public void onNothingSelected(AdapterView<?> parent) {
        // TODO Auto-generated method stub

    }

    /**
     * 响应选择和点击效果。
     *
     * @param parent
     * @param view
     * @param position
     * @param id
     */
    private void responseSelectAndClick(AdapterView<?> parent, View view,
            int position, long id) {
        // TODO Auto-generated method stub
        if (null != view) {
            if (selectedLayoutResId == -1 || selectedResBgId == -1
                    || unSelectedResBgId == -1) {

                return;
            }
            if (mPrevPosition != -1 && mPrevPosition != position) {
                // 首先恢复状态
                ViewGroup mPrevViewGroup = (ViewGroup) parent
                        .getChildAt(mPrevPosition);
                if (null != mPrevViewGroup) {

                    ((ViewGroup) mPrevViewGroup).findViewById(
                            selectedLayoutResId).setBackgroundResource(
                            unSelectedResBgId);
                }
            }
            if (mPrevPosition != position) {
                // 把选中状态设置到新的View
                mPrevPosition = position;
                ((ViewGroup) view).findViewById(selectedLayoutResId)
                        .setBackgroundResource(selectedResBgId);
            }
        }
    }

    /**
     * <p>
     * 如果动态创建的GridView则使用这个方式设置对应值。
     * </p>
     * <p>
     * 如果是xml中配置则使用自定义属性添加到xml中。
     * </p>
     *
     * @param layoutResId
     * @param bgSelectedResId
     * @param unSelectedResId
     */
    public void setSelectedEffectRes(int layoutResId, int bgSelectedResId,
            int unSelectedResId) {

        this.selectedLayoutResId = layoutResId;
        this.selectedResBgId = bgSelectedResId;
        this.unSelectedResBgId = unSelectedResId;
    }

    @Override
    public void onItemClick(AdapterView<?> parent, View view, int position,
            long id) {
        // TODO Auto-generated method stub
        onItemClickCallBack.onItemClick(parent, view, position, id);
        // 点击也加上效果。
        responseSelectAndClick(parent, view, position, id);
    }

    private OnItemClickCallBack onItemClickCallBack;

    public void setOnItemClickCallBack(OnItemClickCallBack onItemClickCallBack) {
        this.onItemClickCallBack = onItemClickCallBack;
    }

    public interface OnItemClickCallBack {
        void onItemClick(AdapterView<?> parent, View view, int position, long id);

    }
}
自定义相关属性:
    <!-- MyGridView自定义属性 -->
    <declare-styleable name="MagicGridView">
        <attr name="selected_item_layout_name" format="string"></attr>
        <attr name="selected_item_background" format="reference"></attr>
        <attr name="unselected_item_background" format="reference"></attr>
</declare-styleable>- selected_item_layout_name对应的是该界面的GridView所使用的Adapter的Item布局中外层Layout的resource id。
- selected_item_background对应Item为选中状态时候的背景
- unselected_item_background对应Item为非选中状态时候的背景
在xml中的定义:
<com.androidtest.widget.MyGridView
                android:id="@+id/gv_classinfos"
                android:layout_width="782dip"
                android:layout_height="300dip"
                android:layout_centerHorizontal="true"
                android:layout_marginLeft="100dip"
                android:layout_marginRight="100dip"
                android:layout_marginTop="170dip"
                android:horizontalSpacing="10dip"
                android:listSelector="#00000000"
                android:numColumns="3"
                android:scrollbars="none"
                android:verticalSpacing="20dp" app:selected_item_background="@drawable/dialog_classinfo_item_pressed"
                app:selected_item_layout_name="dialog_classes_bglayout"
                app:unselected_item_background="@drawable/dialog_classinfo_item_normal" >
            </com.shenqijiazu.daillylesson.widget.MyGridView>
其中的重点在于下面属性的定义:
app:selected_item_background="@drawable/dialog_classinfo_item_pressed"
                app:selected_item_layout_name="dialog_classes_bglayout"
                app:unselected_item_background="@drawable/dialog_classinfo_item_normal"
对应的MyGridView.java中的解析:
private void initAttributes(Context context, AttributeSet attrs,
            int defStyle) {
        // TODO Auto-generated method stub
        TypedArray a = null;
        try {

            // a = context.obtainStyledAttributes(attrs,
            // R.styleable.MagicGridView, defStyle, 0);
            a = context
                    .obtainStyledAttributes(attrs, R.styleable.MagicGridView);

            selectedResBgId = a.getResourceId(
                    R.styleable.MagicGridView_selected_item_background, -1);
            unSelectedResBgId = a.getResourceId(
                    R.styleable.MagicGridView_unselected_item_background, -1);

            selectedItemLayoutName = a
                    .getString(R.styleable.MagicGridView_selected_item_layout_name);
            if (!TextUtils.isEmpty(selectedItemLayoutName)) {
                // 听过设定layout的名字去获取对应的id
                selectedLayoutResId = a.getResources().getIdentifier(
                        selectedItemLayoutName, "id", context.getPackageName());
            }
        } finally {

            a.recycle();
        }
    }
因为xml中无法指定别的xml文件里面对应id的layout,所以这里使用a.getResources().getIdentifier方法,利用layout的name获取到对应的layout resource id ,此时就绑定了Adapter Item布局中对应id的ViewGroup,这样就可以进行其他的操作了。
selectedItemLayoutName = a
                    .getString(R.styleable.MagicGridView_selected_item_layout_name);
            if (!TextUtils.isEmpty(selectedItemLayoutName)) {
                // 听过设定layout的名字去获取对应的id
                selectedLayoutResId = a.getResources().getIdentifier(
                        selectedItemLayoutName, "id", context.getPackageName());
            }
最后说一下mPrevPosition这个变量,主要在responseSelectAndClick()方法中使用。当使用遥控左右上下切换的时候,我们需要将前一个的背景还原,新的选中item更新背景。
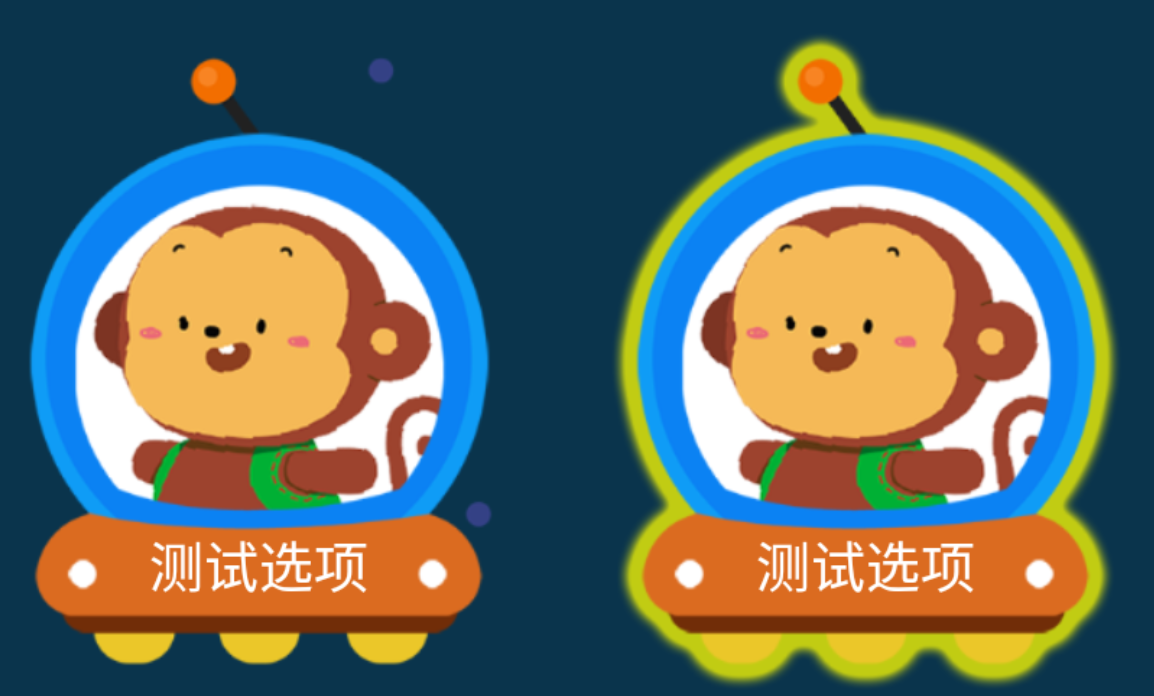
因为某些原因,图片信息不能透露过多。就简单截屏一两个效果。


 被折叠的 条评论
为什么被折叠?
被折叠的 条评论
为什么被折叠?
 到【灌水乐园】发言


